 EN
 IT Italiano
 ES Español
 FR Français
 DE Deutsch
Description
Tutorial: How to Use 4N25
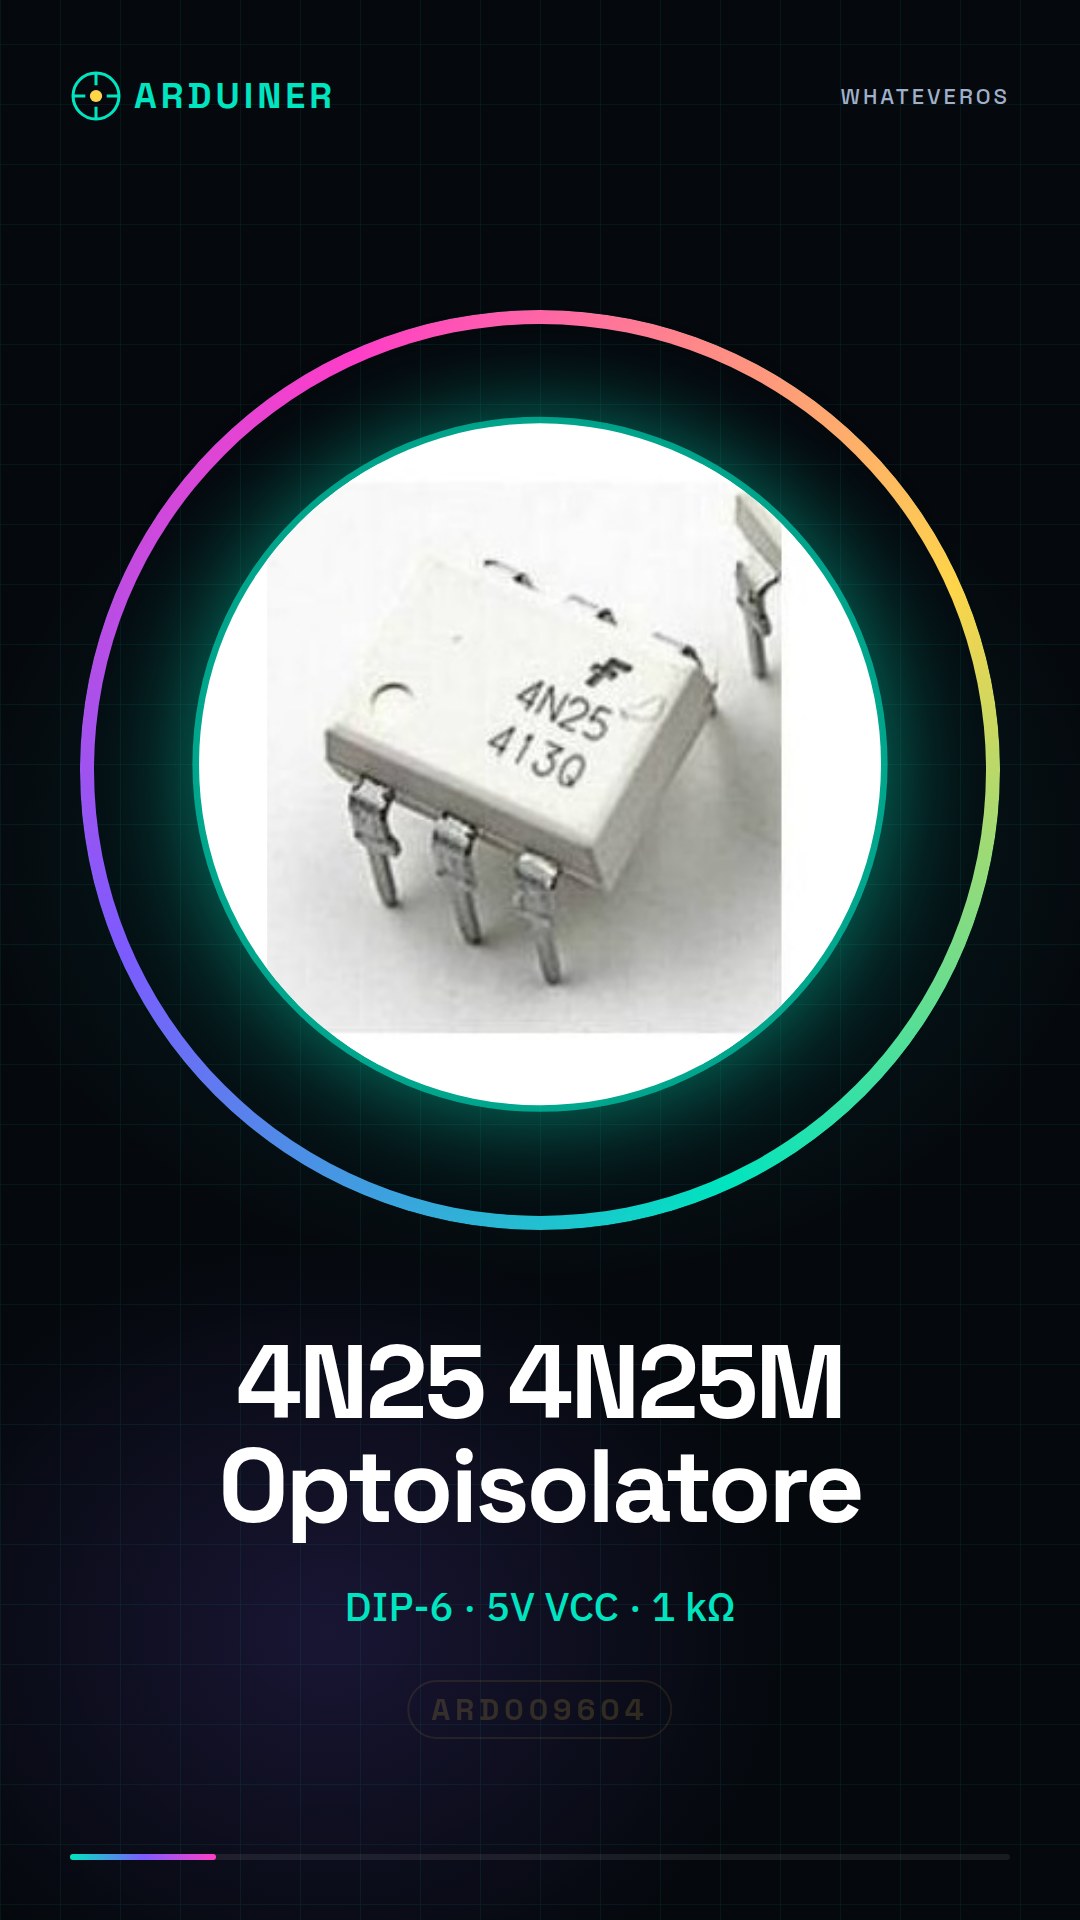
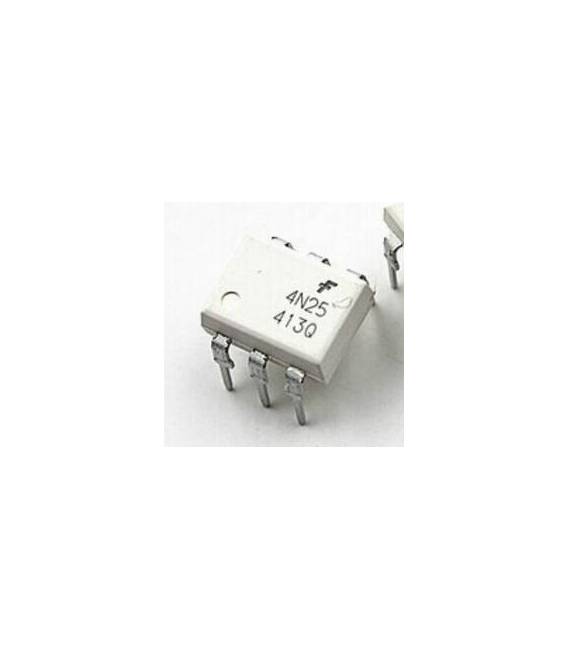
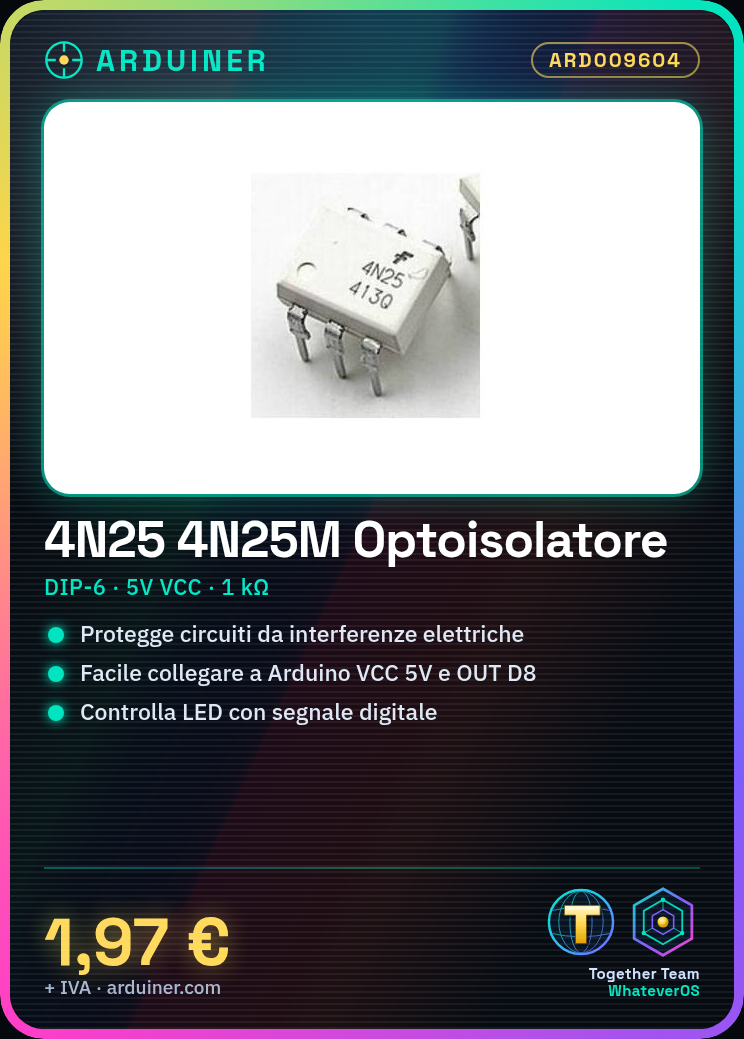
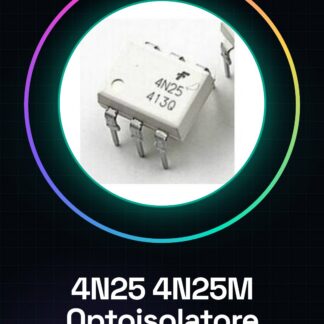
The 4N25 is an optoisolator used to protect electronic circuits from electrical interference. Useful for beginners and intermediates in electronics.
What you need
- Test Lead
- 1 kΩ Resistor
- Arduino
- LED
Steps
- Step 1: Connect the 4N25 to the Arduino. VCC to 5V, GND to GND, OUT to pin D8.
- Step 2: Connect the resistor to the LED. One end of the LED to the OUT of the 4N25, the other to GND.
- Step 3: Upload the following code to the Arduino.
- Step 4: Turn on the LED with a square wave signal.
- Step 5: Check the maximum current on the datasheet.
- Step 6: Try reversing the VCC and GND connectors.
- Step 7: Check the behavior of the LED when the signal is low.
- Step 8: Try connecting another component to the 4N25.
Example code
void loop() { digitalWrite(8, HIGH); delay(1000); digitalWrite(8, LOW); delay(1000);}Mini project
Create a simple optical switch that turns an LED on and off.
Common mistakes
- Connect GND to VCC.
- Use a resistor that is too low for the LED.
- Ignore the maximum current of the 4N25.
- Do not check the LED behavior with low signals.
Recommended accessories
- LED
- 1 kΩ resistor
- Arduino
- Test lead
Frequently asked questions
What is the difference between 4N25 and 4N25M?
There is no substantial difference. Check the datasheet for specific specifications.
Can I use a different power supply than 5V?
Check the datasheet for compatibility with other voltages.
How much current can the 4N25 protect against?
Check the datasheet for the maximum current.
Reviews
There are no reviews yet.