 EN
 IT Italiano
 ES Español
 FR Français
 DE Deutsch
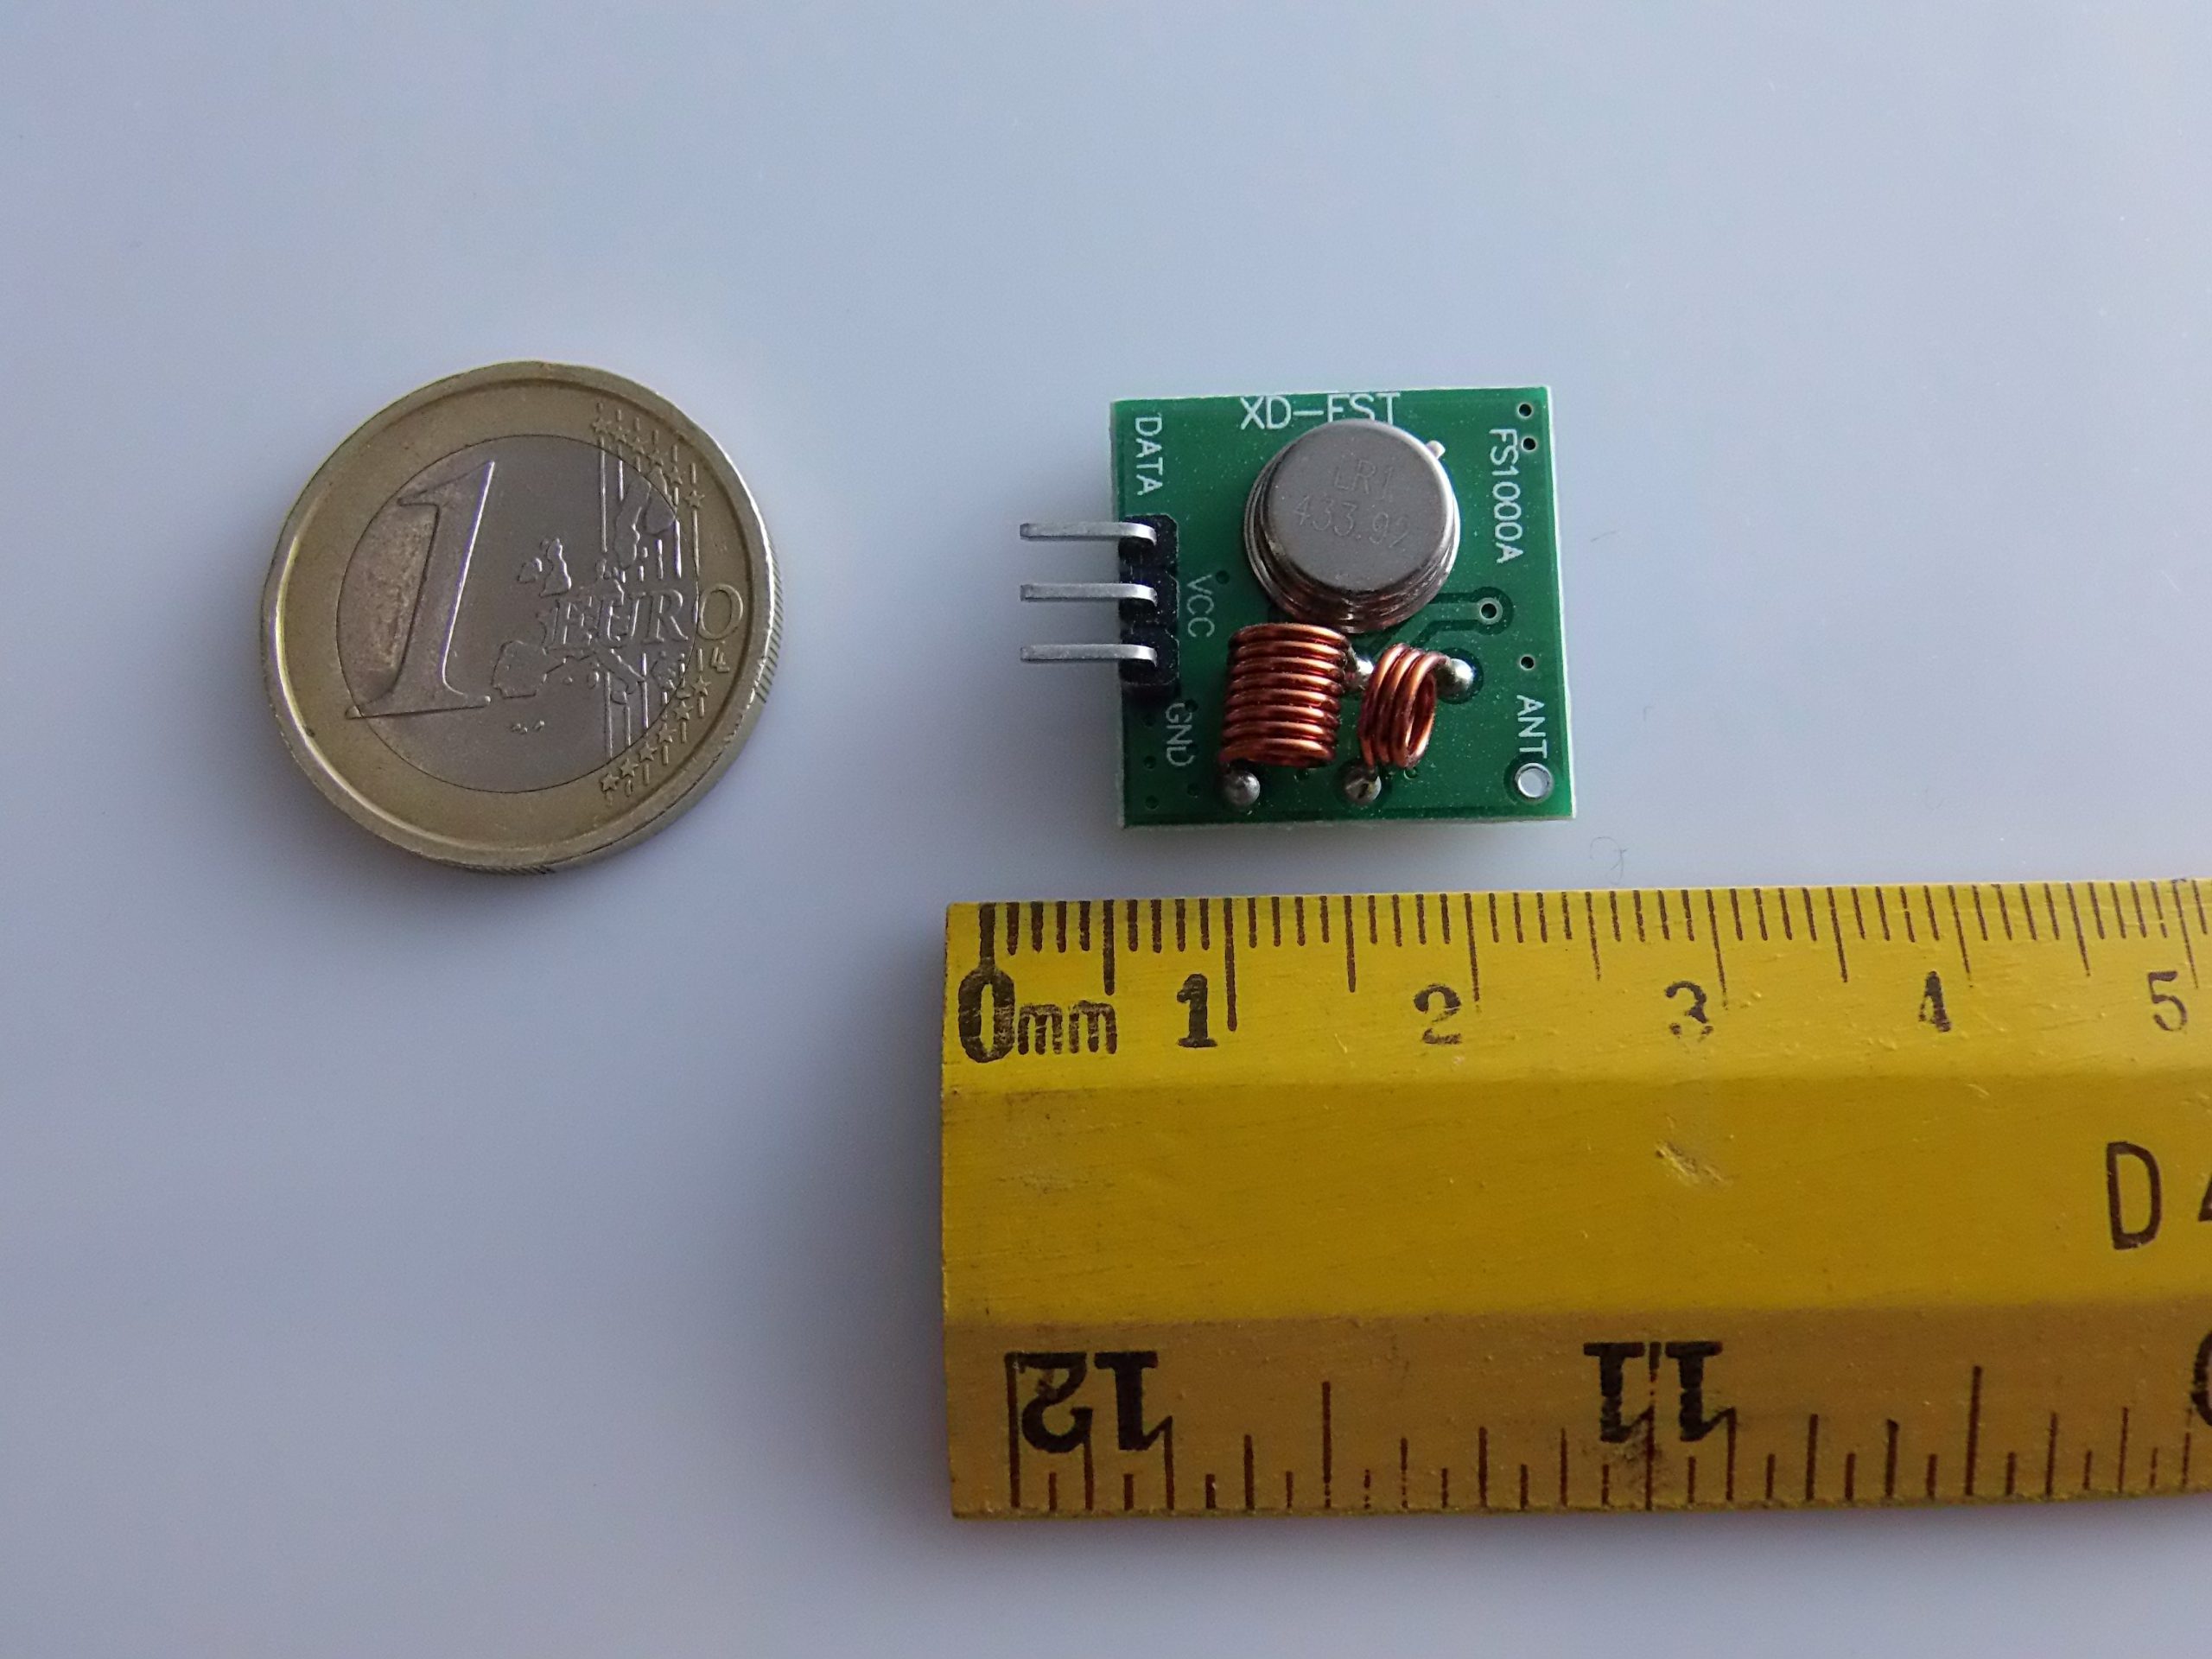
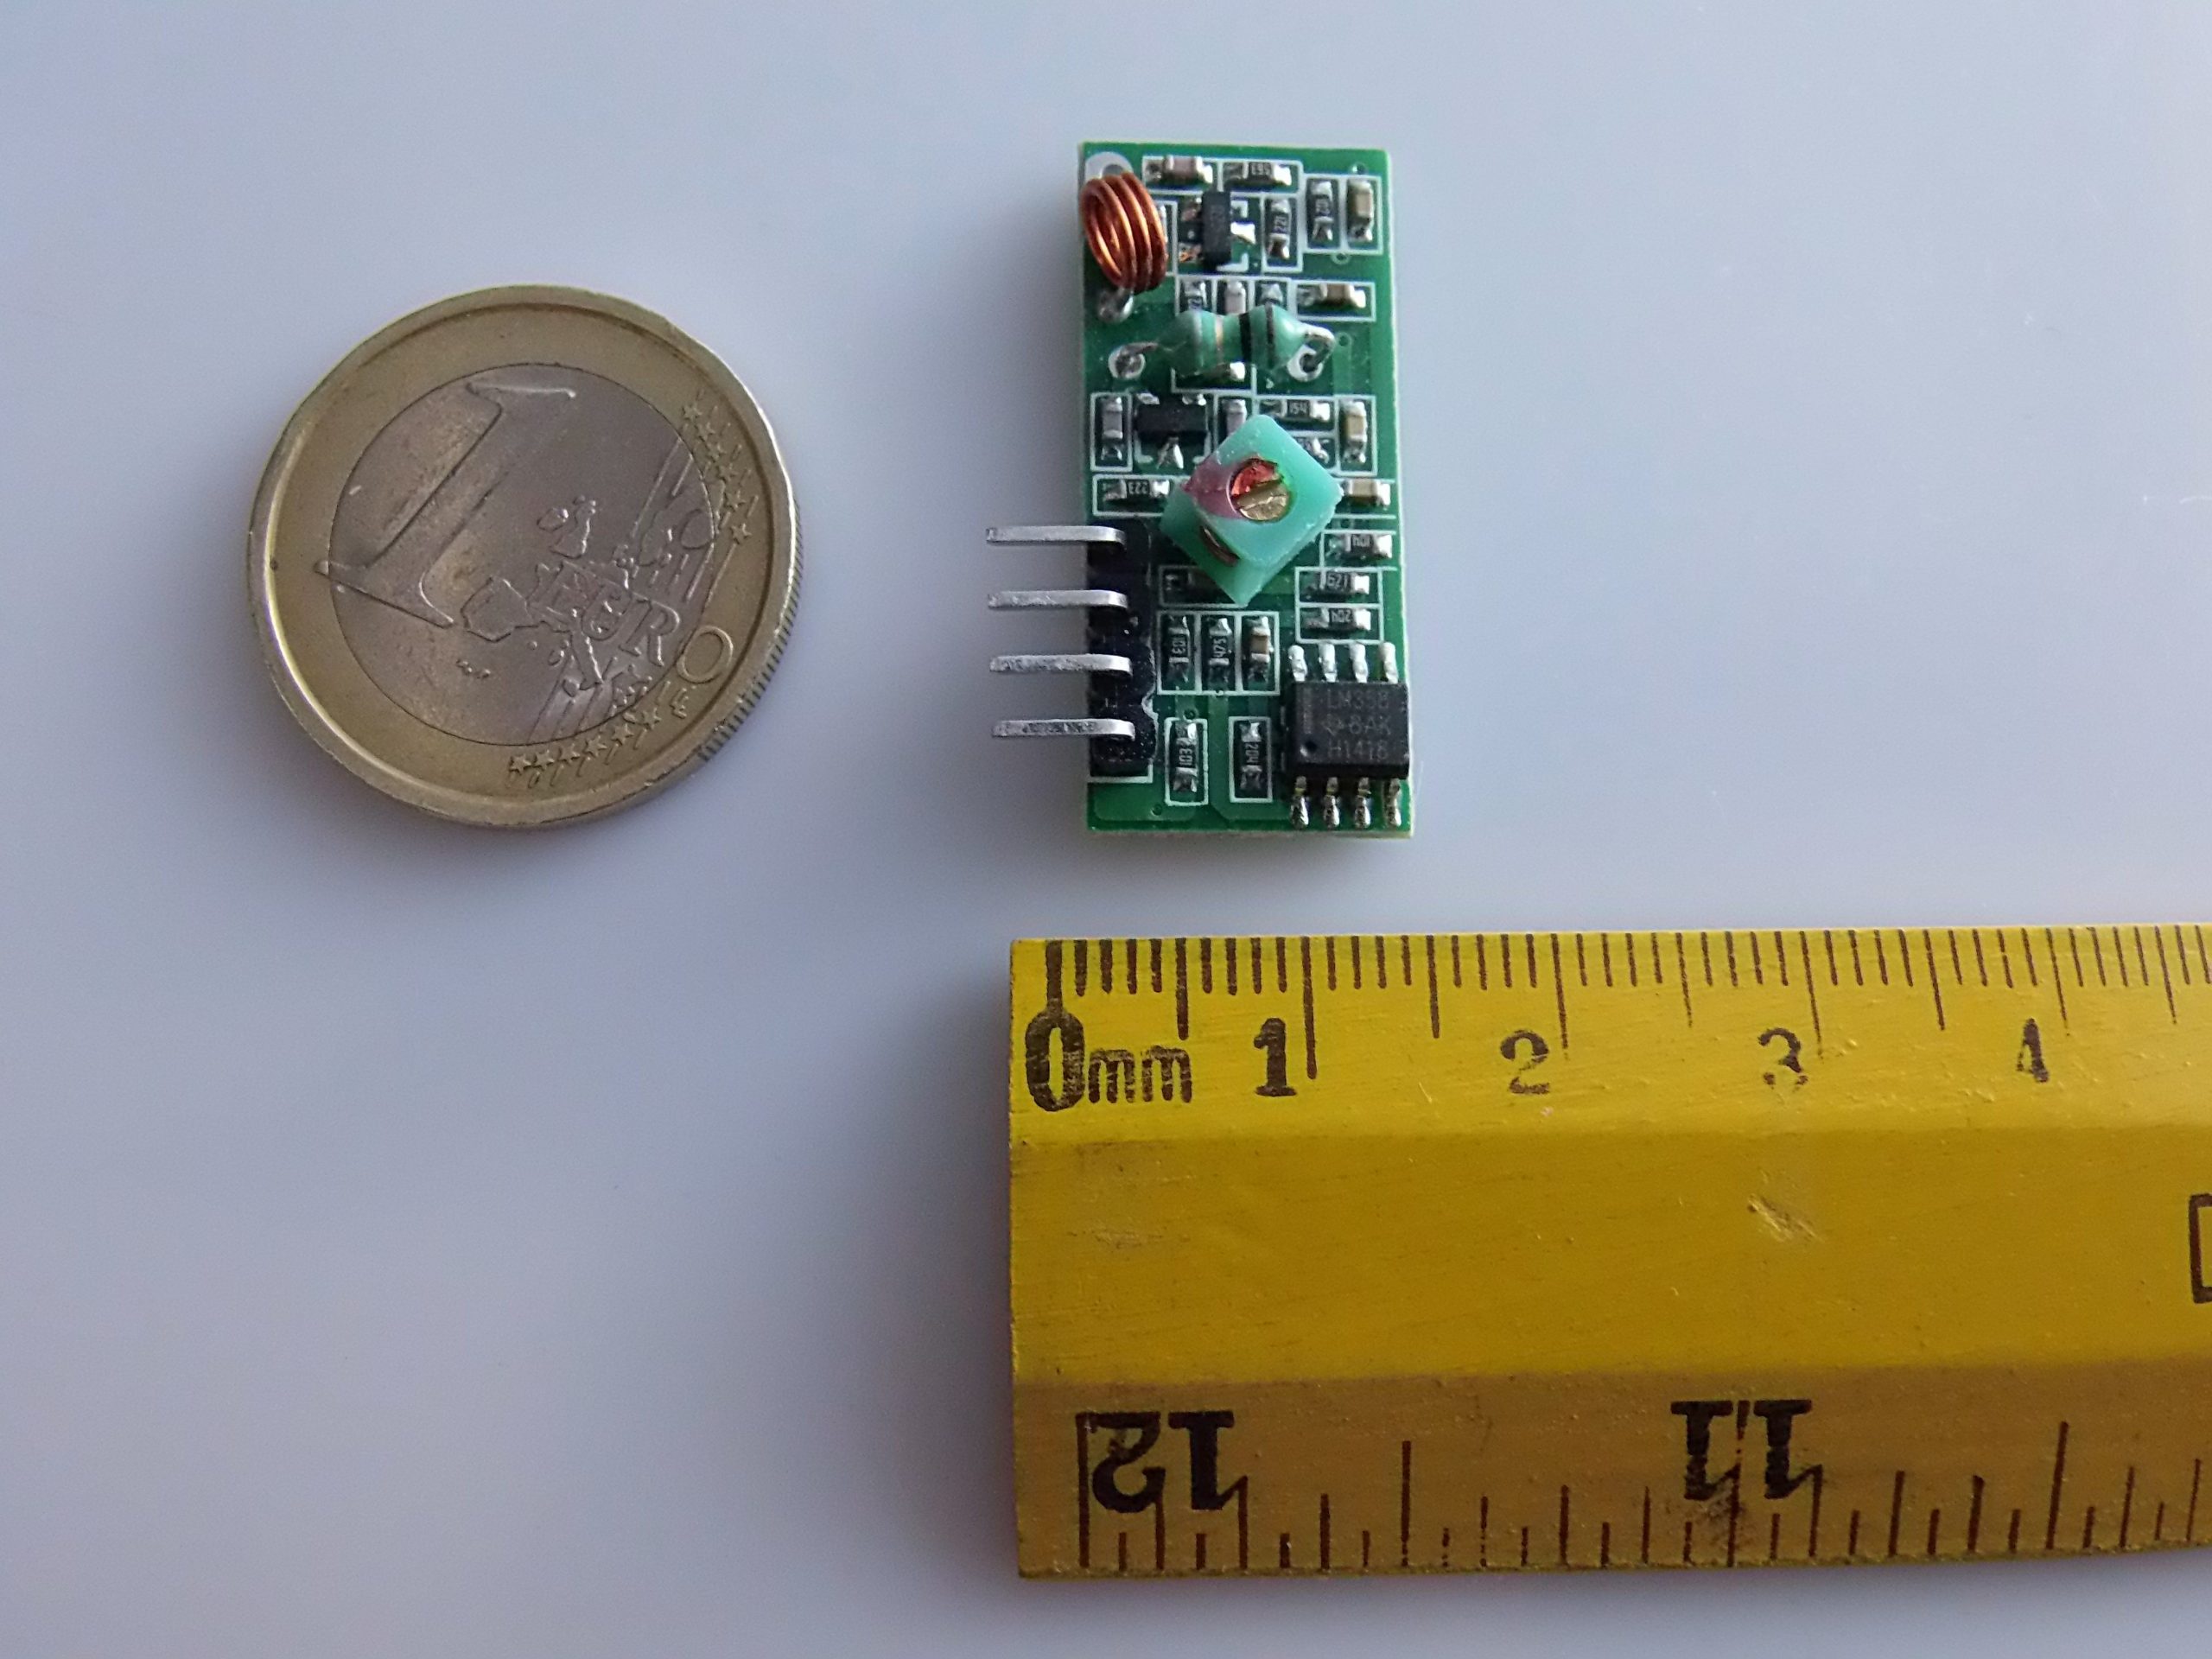
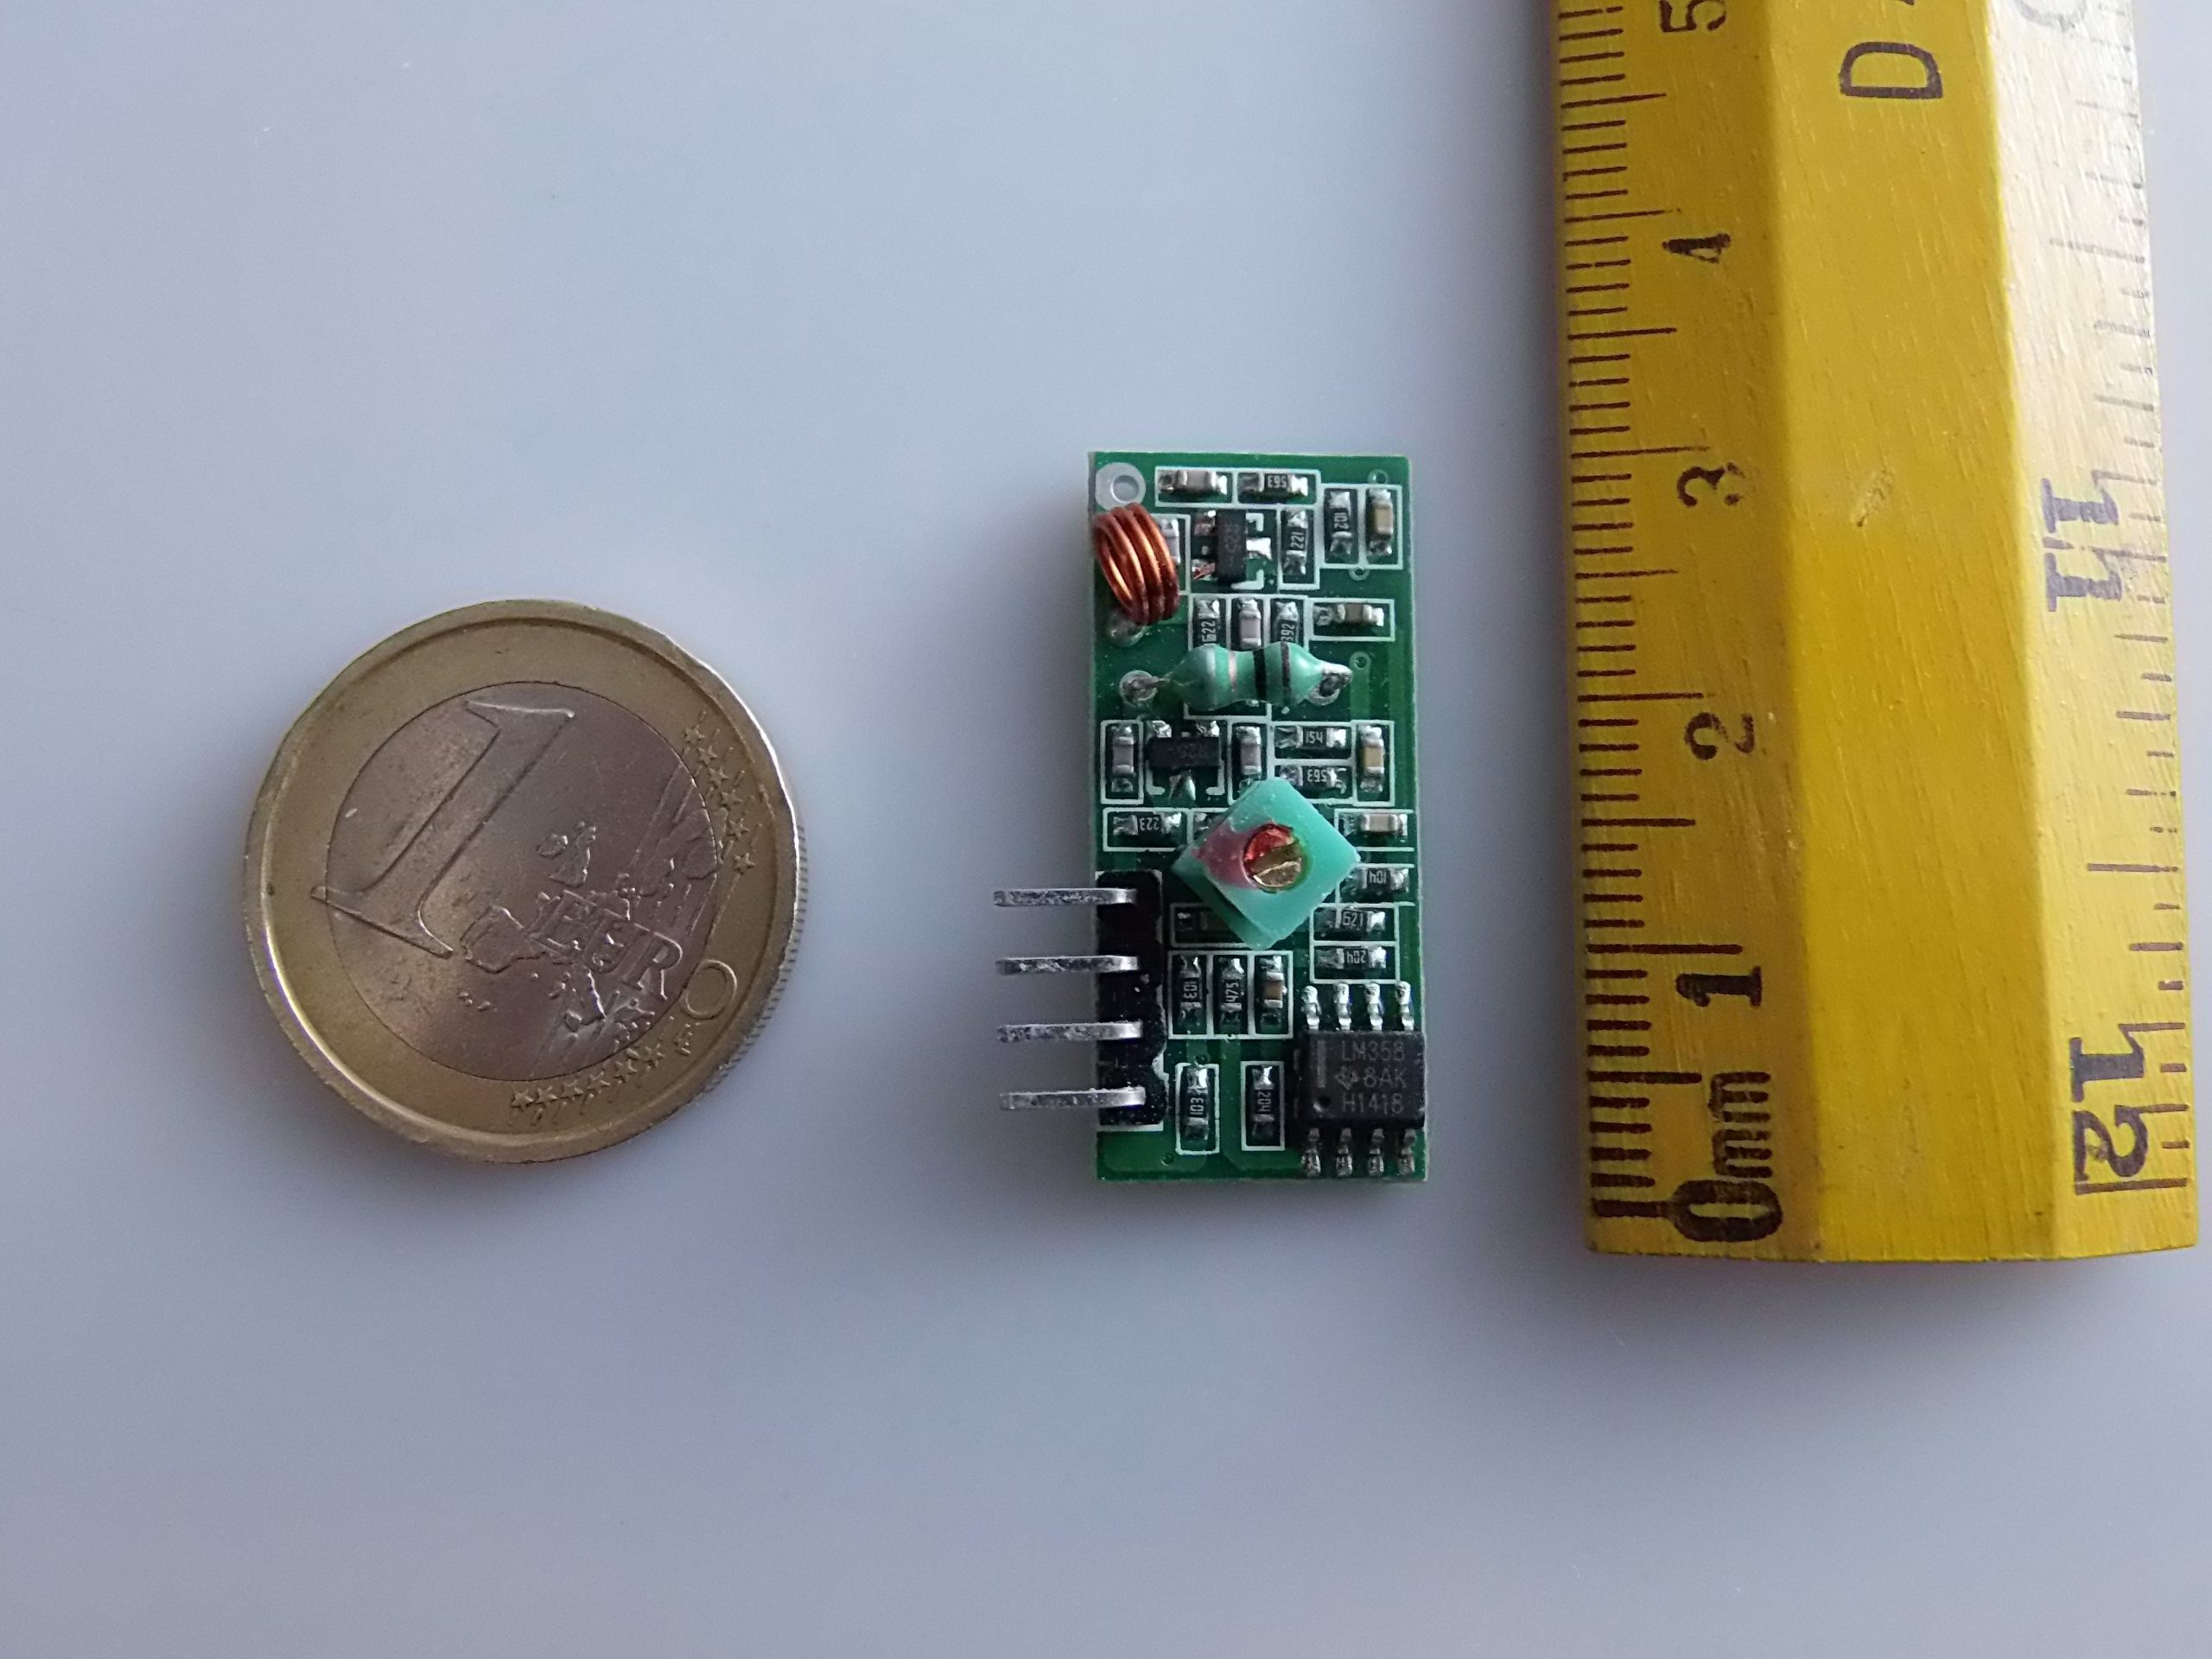
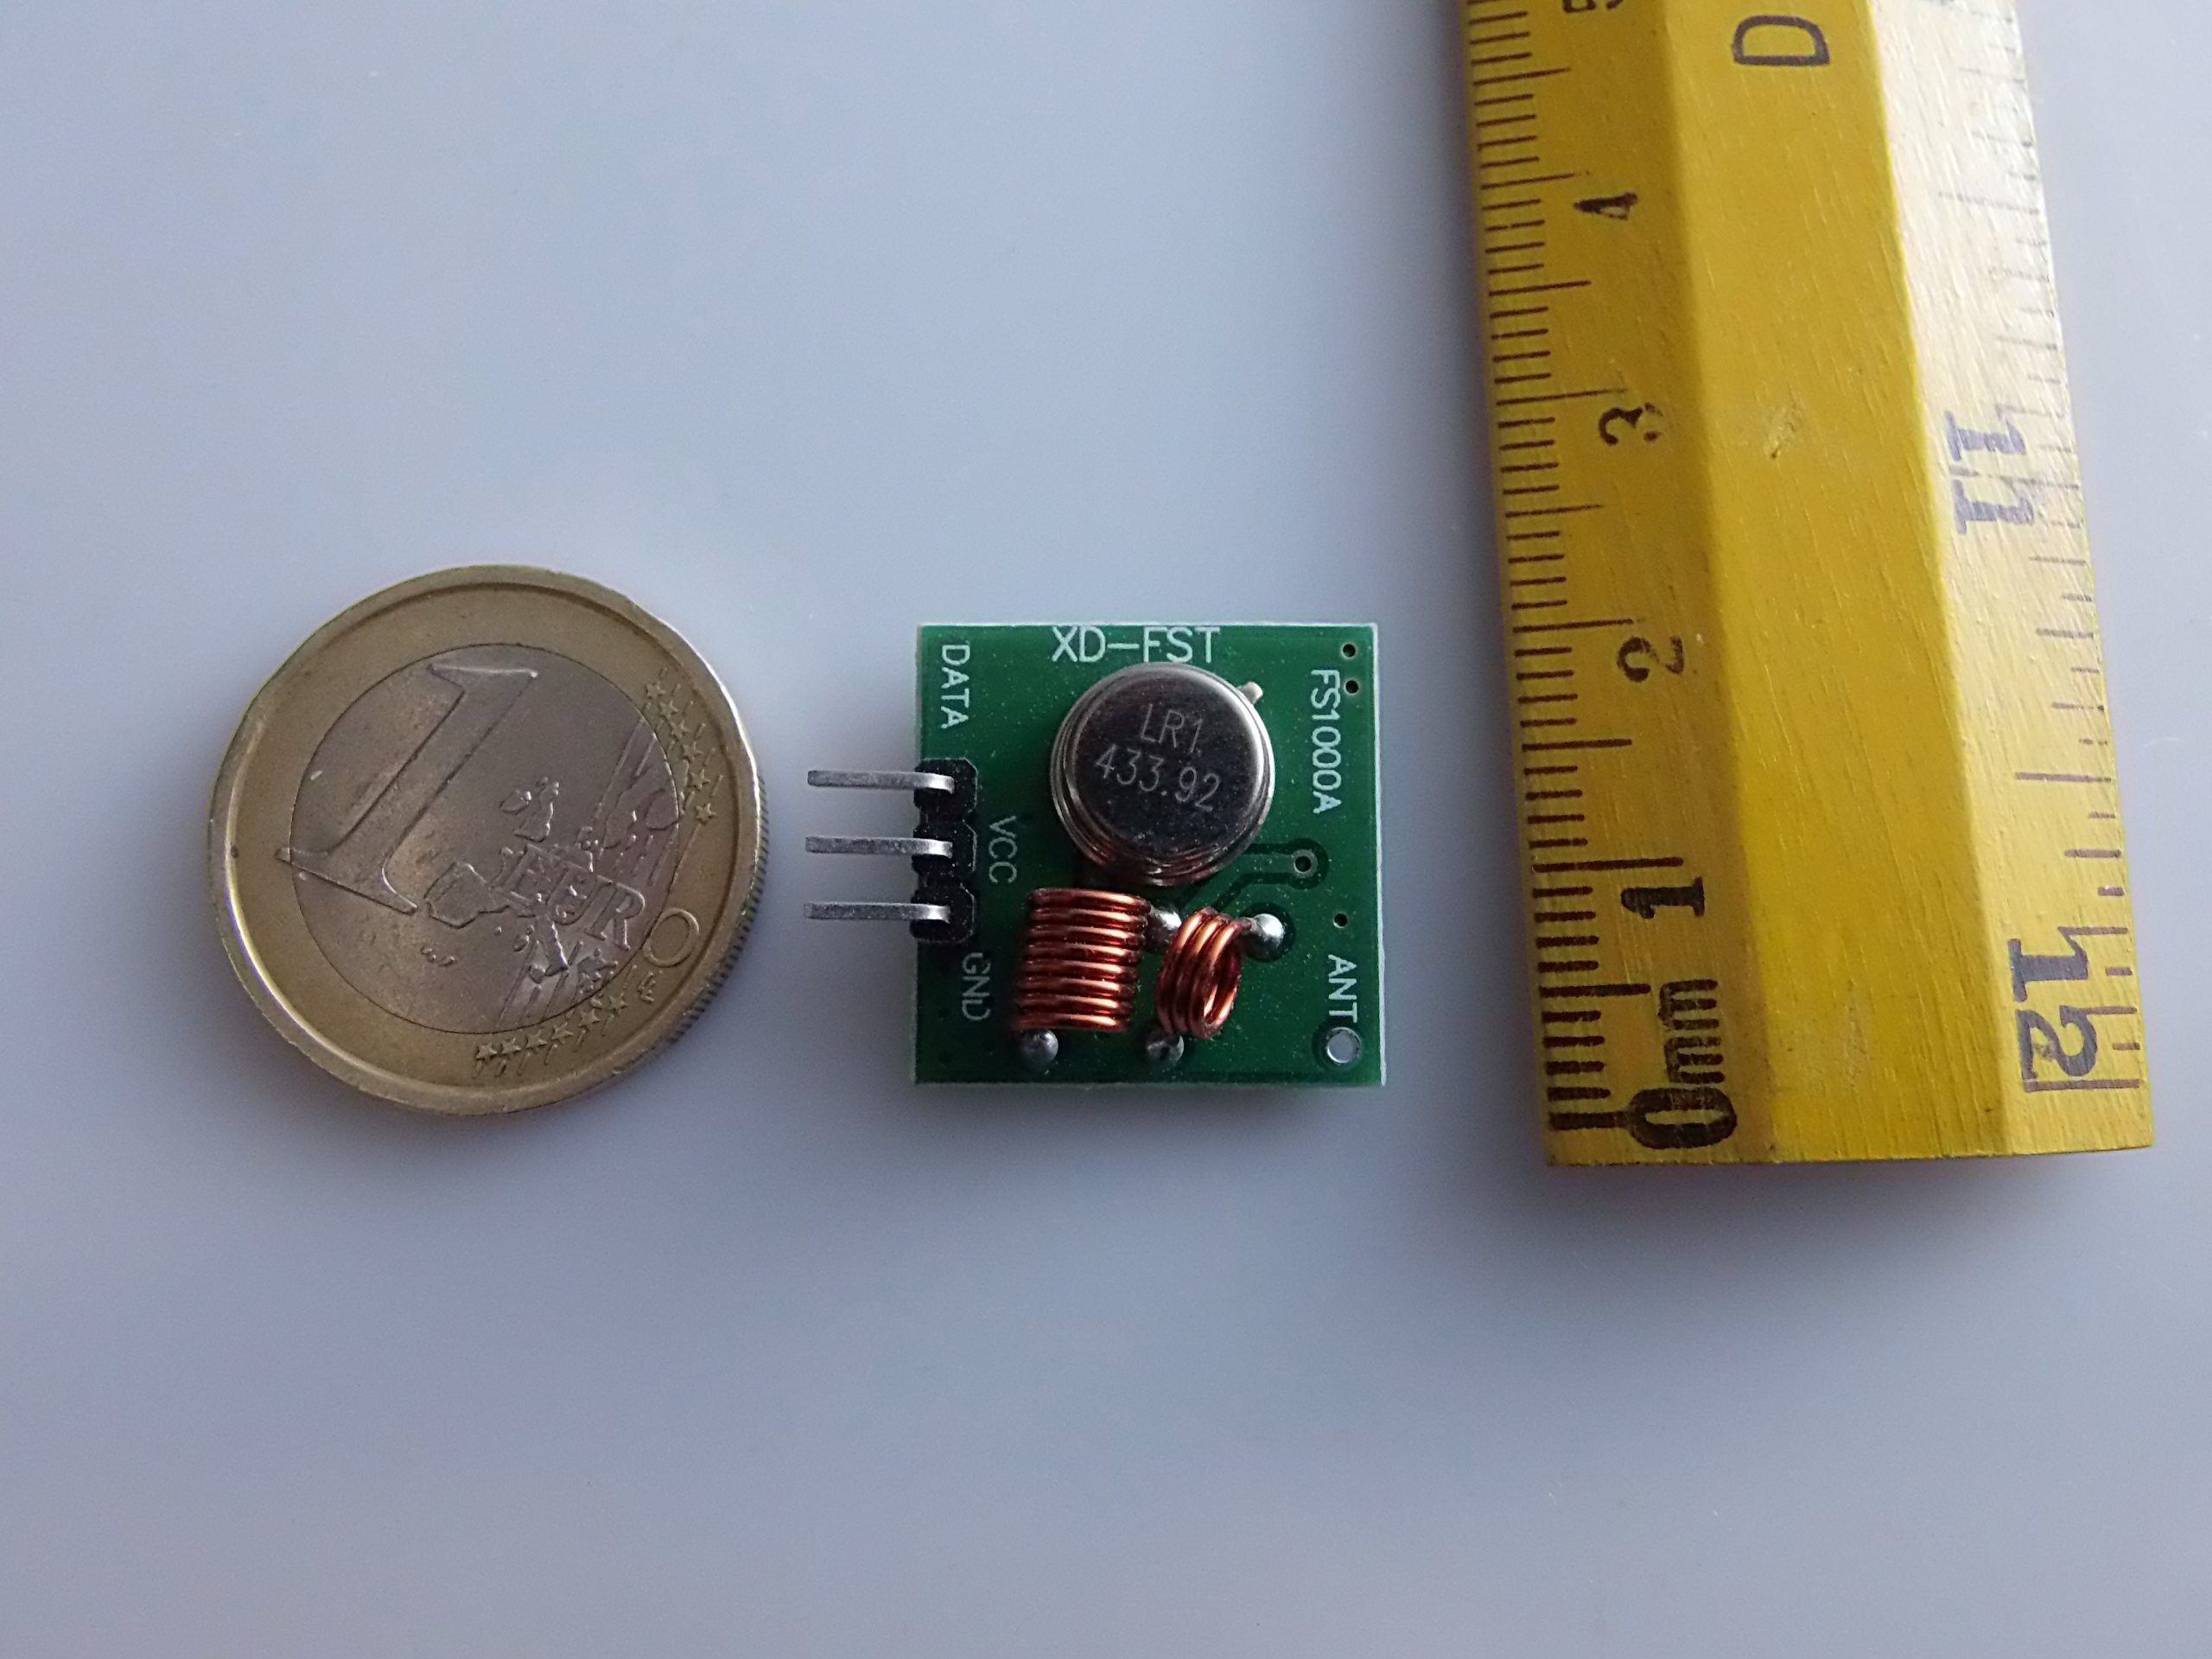
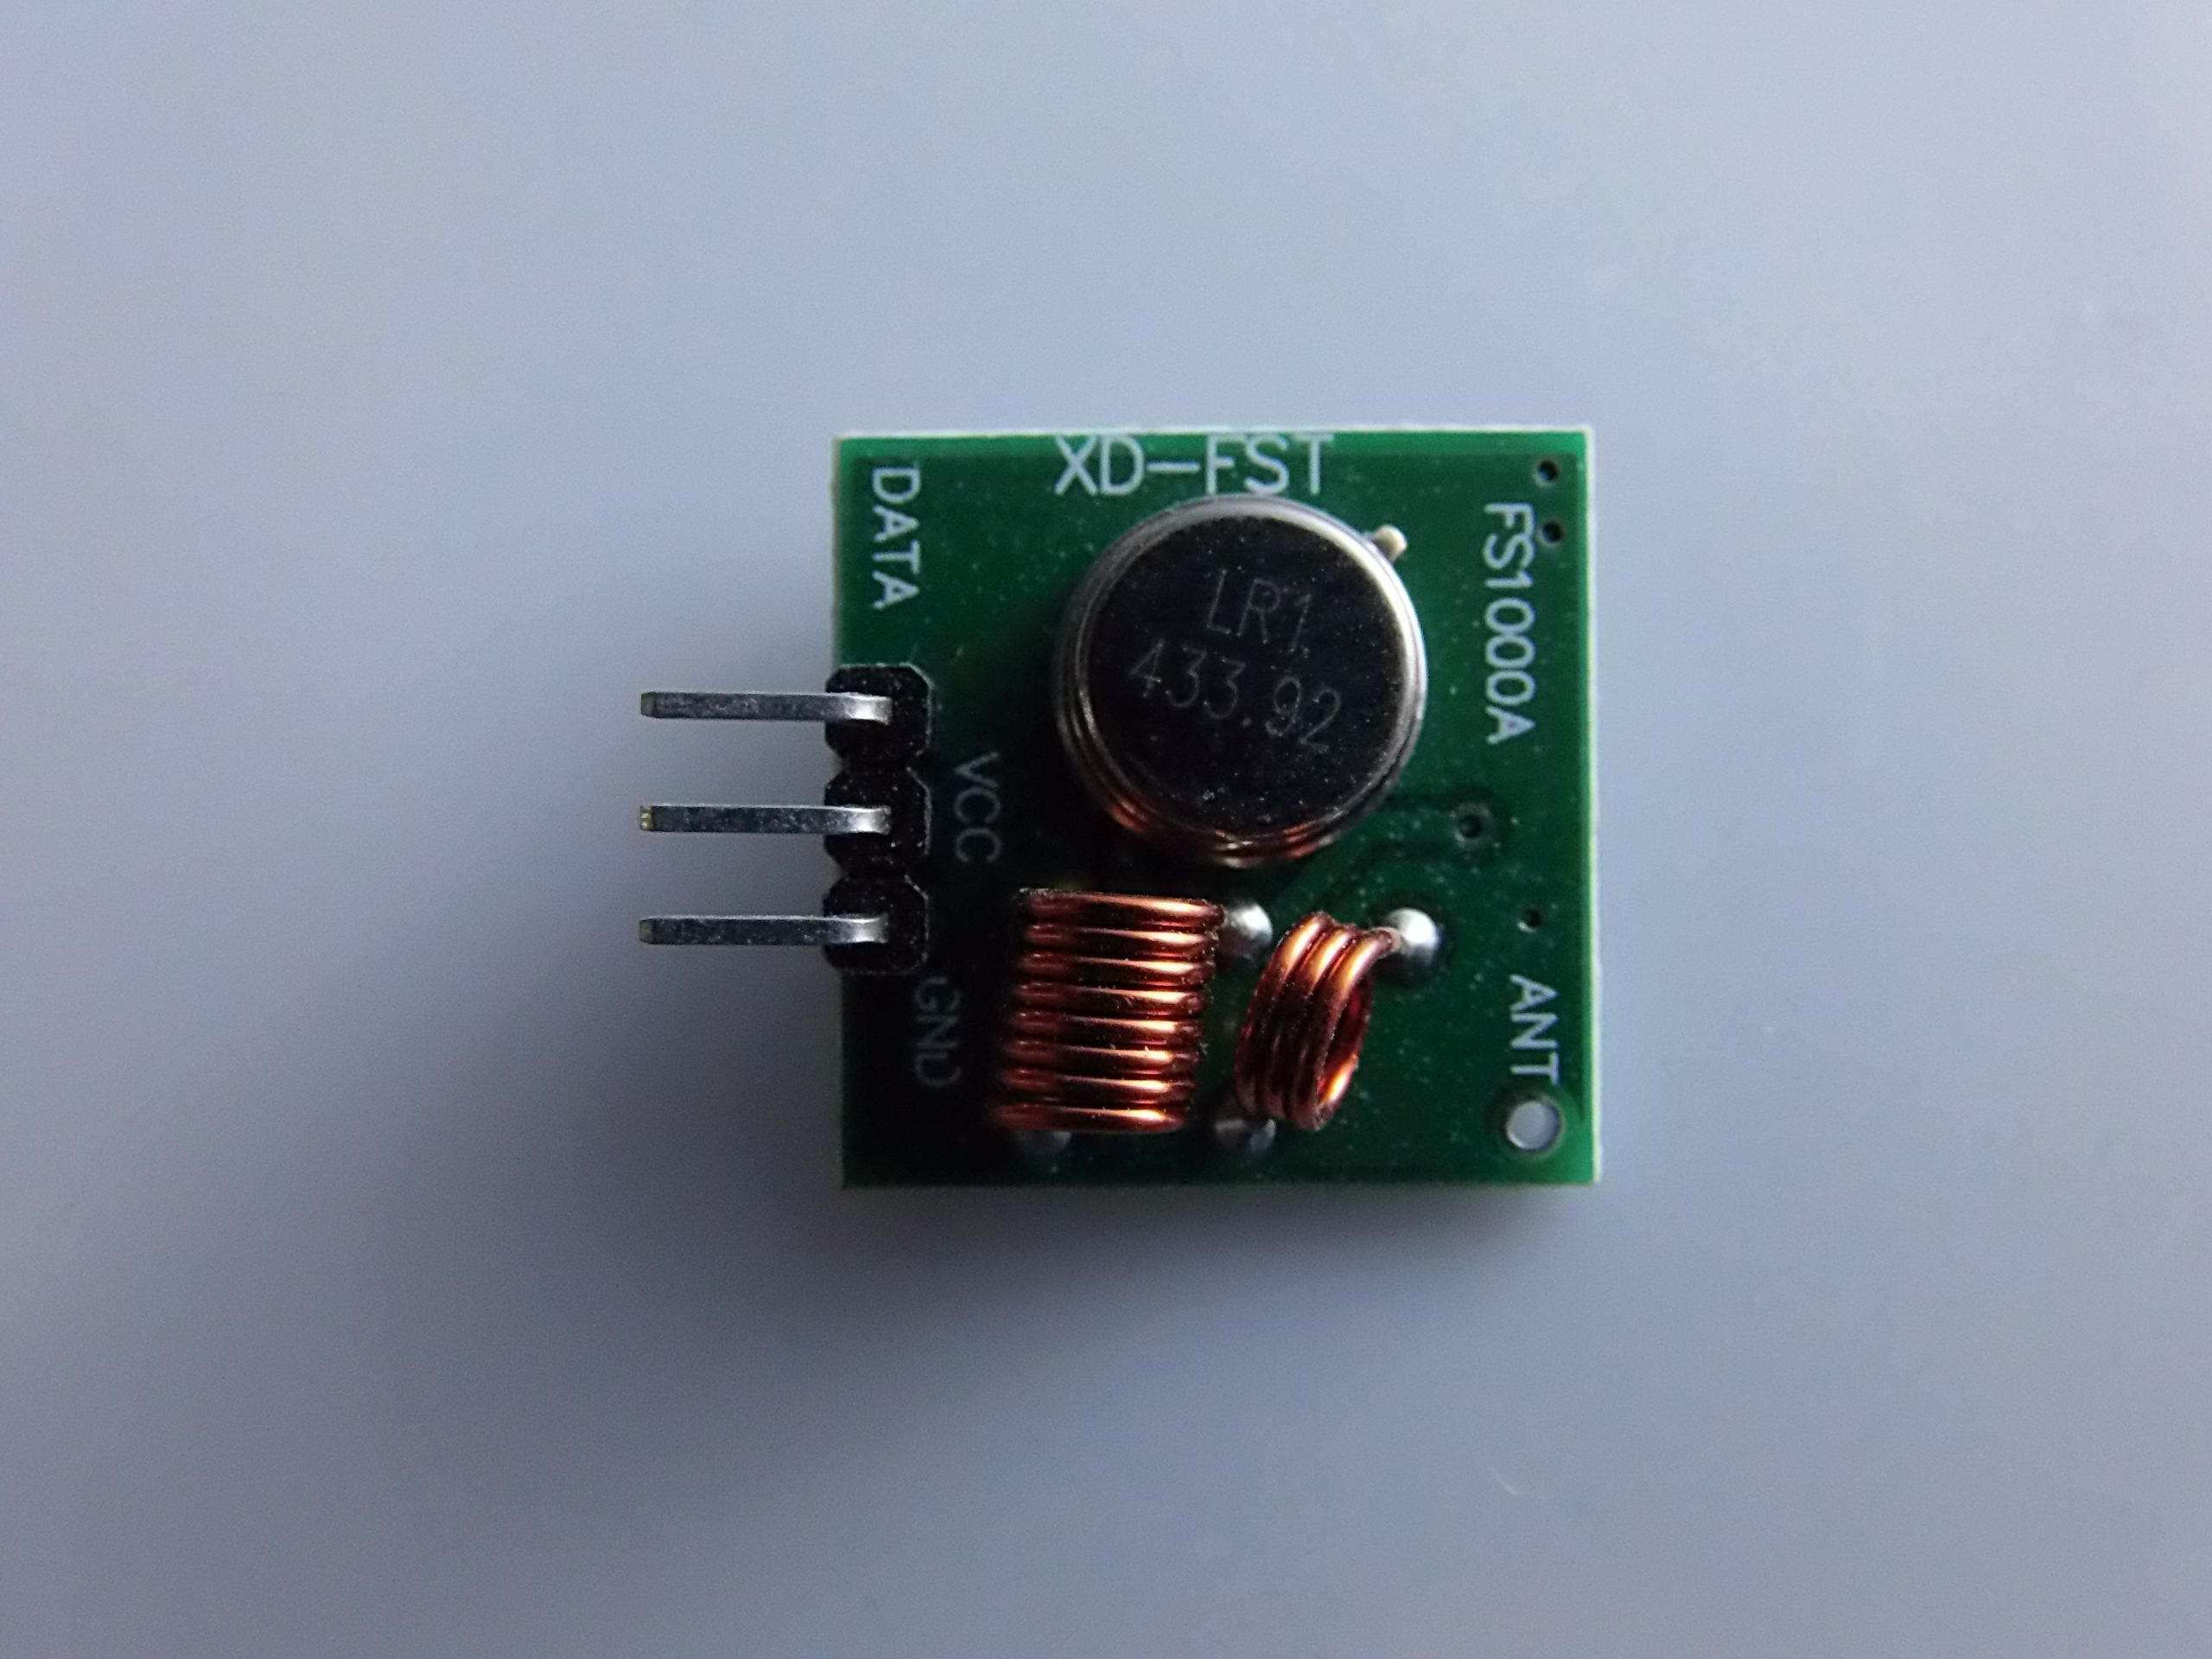
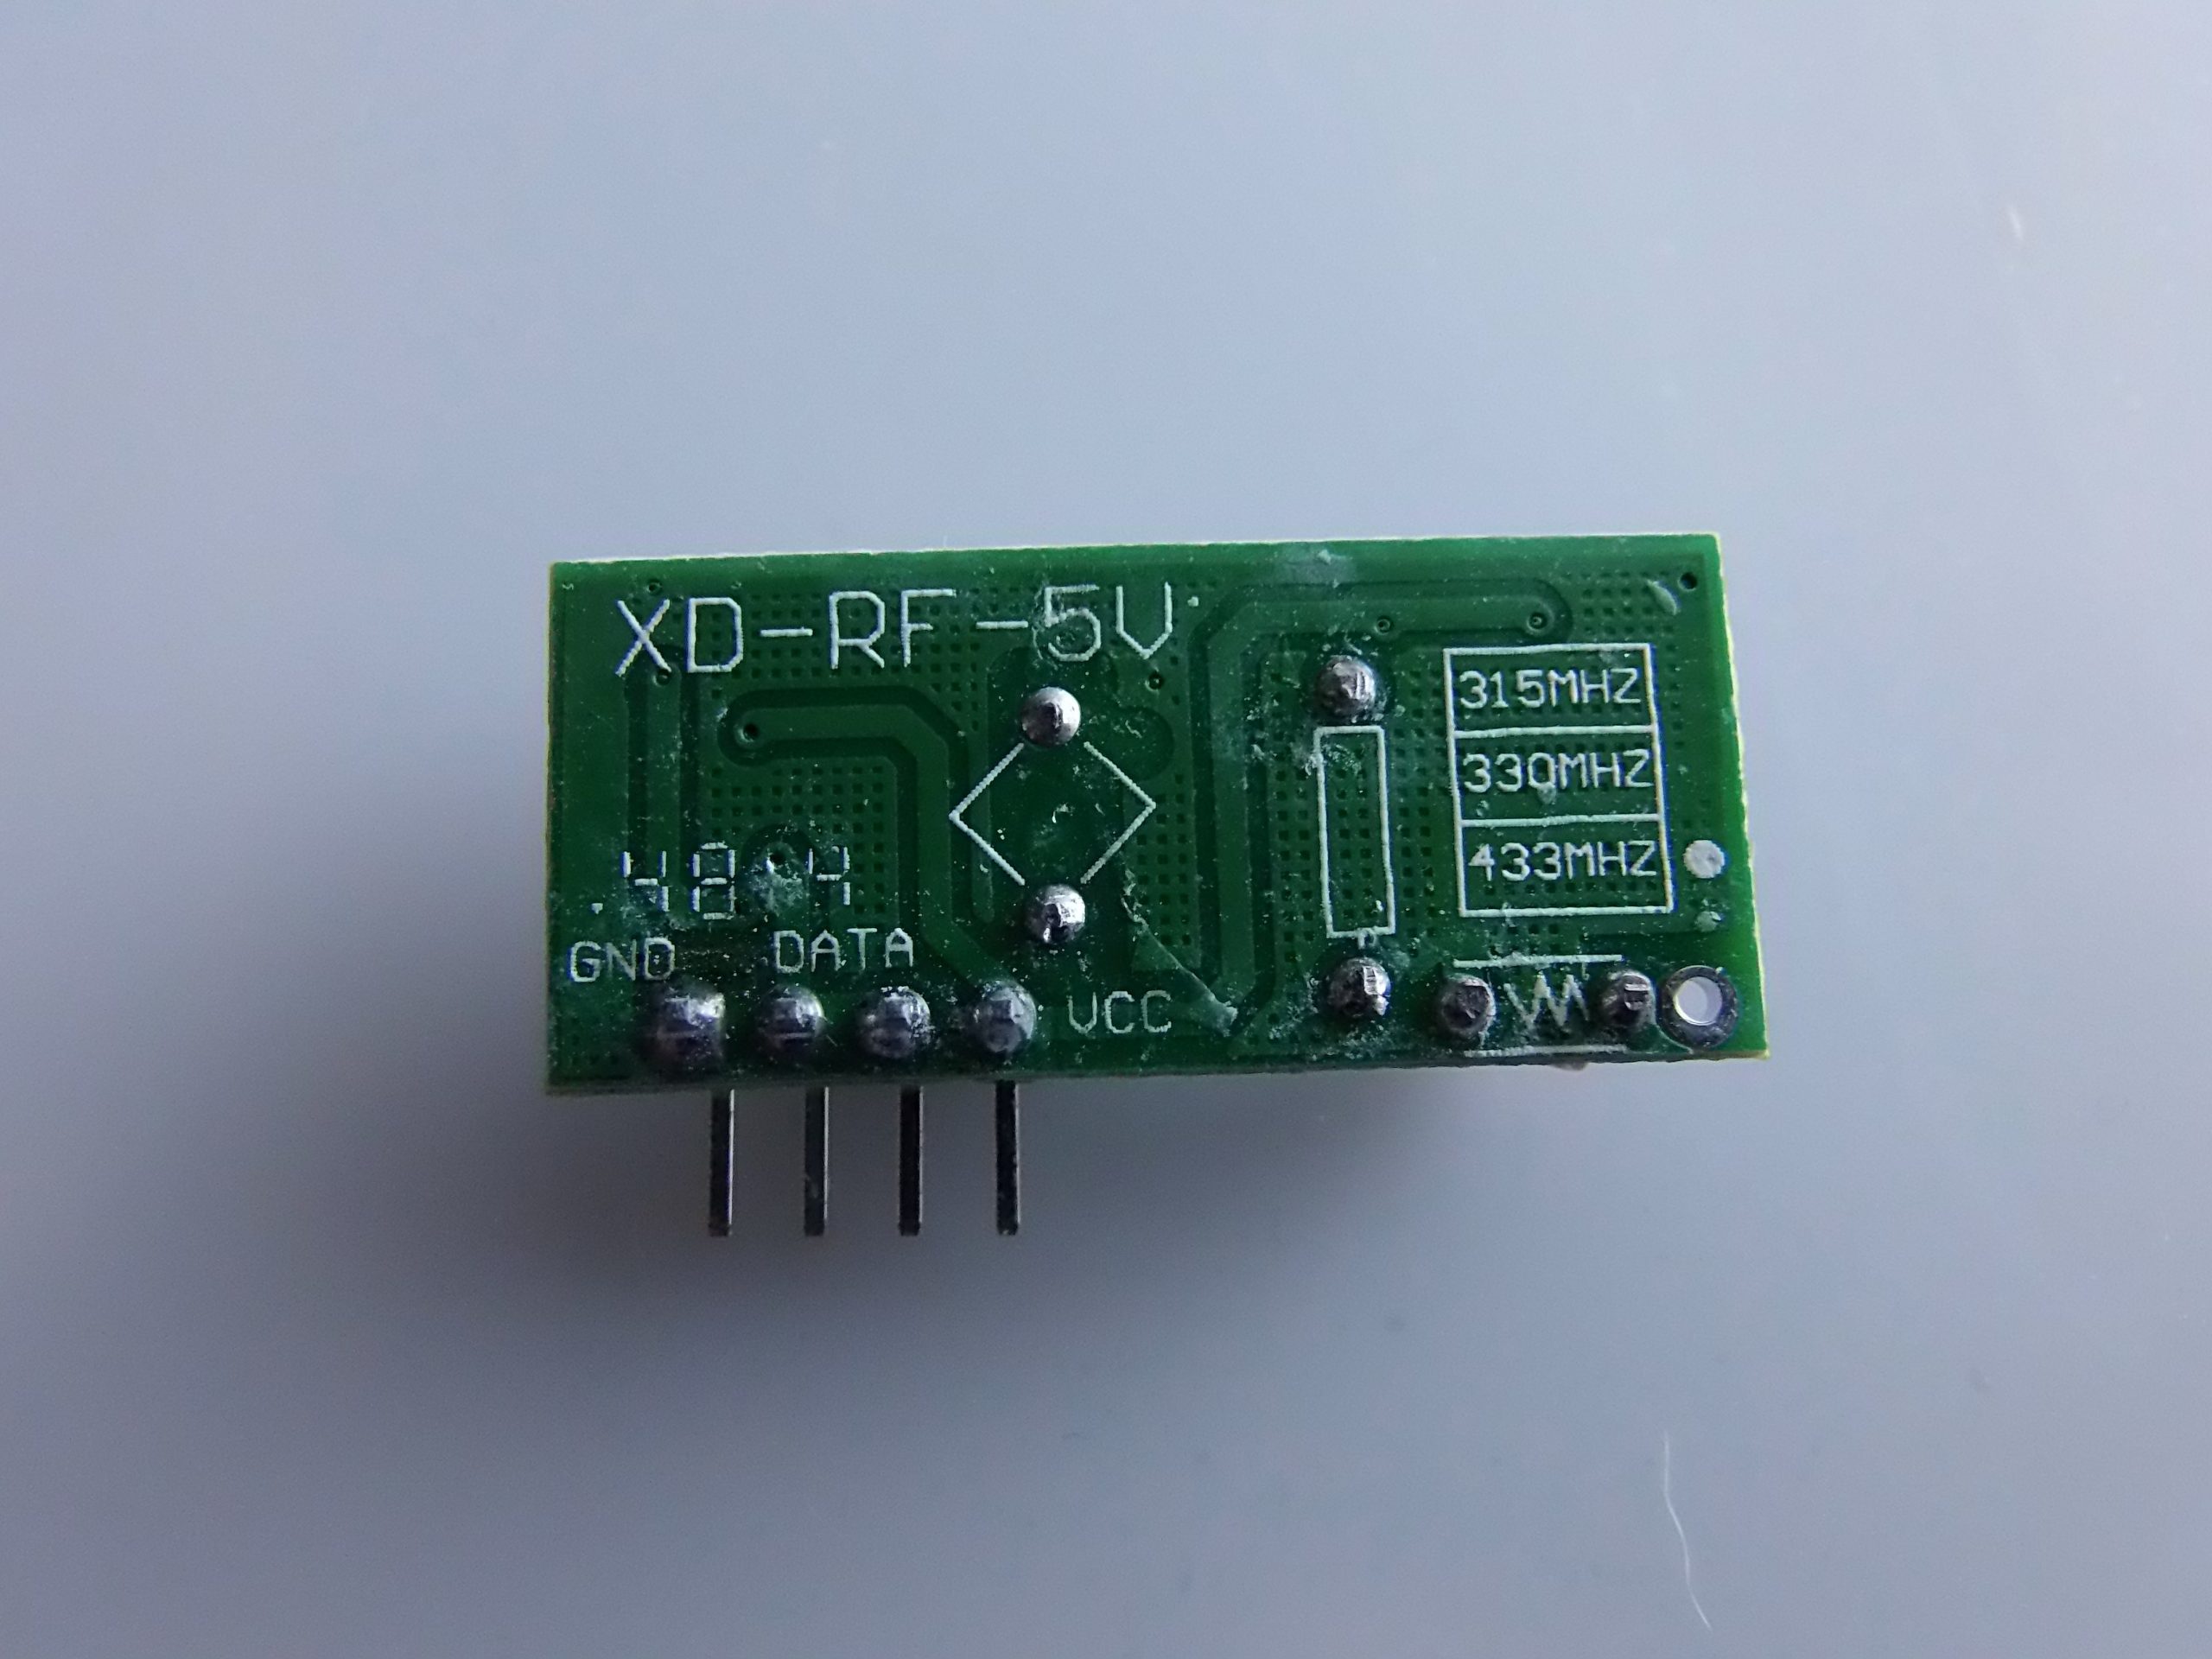
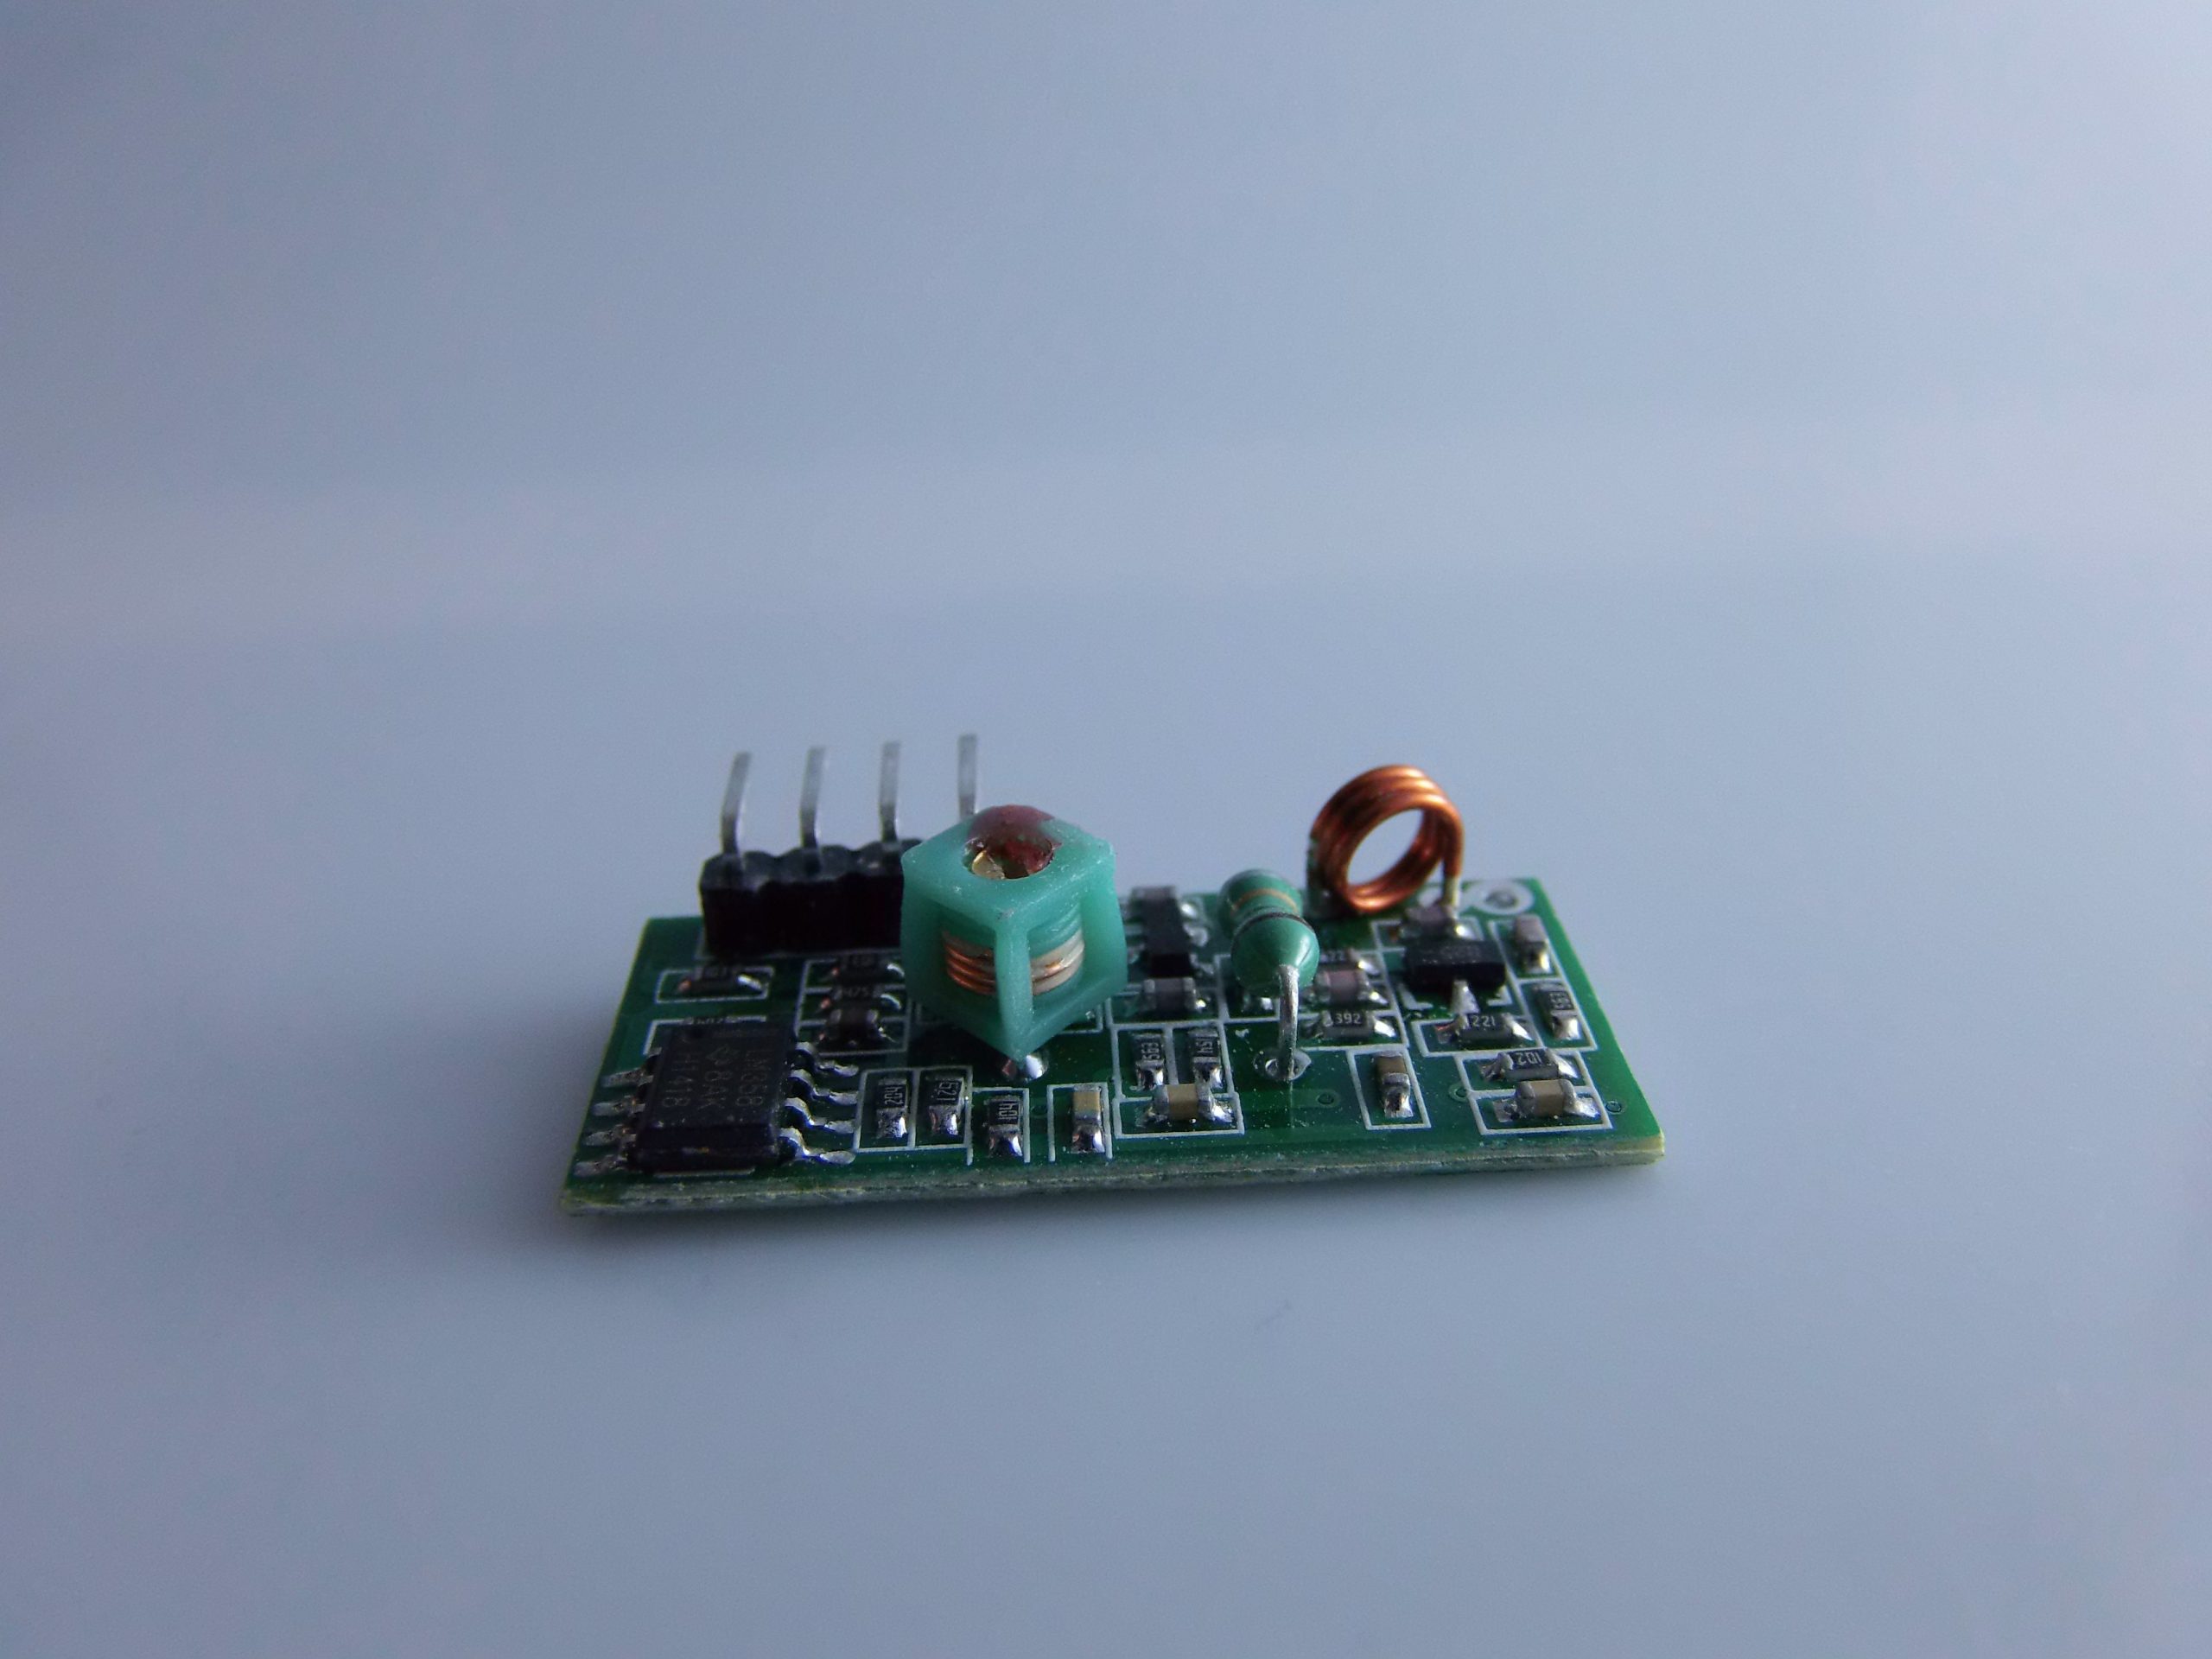
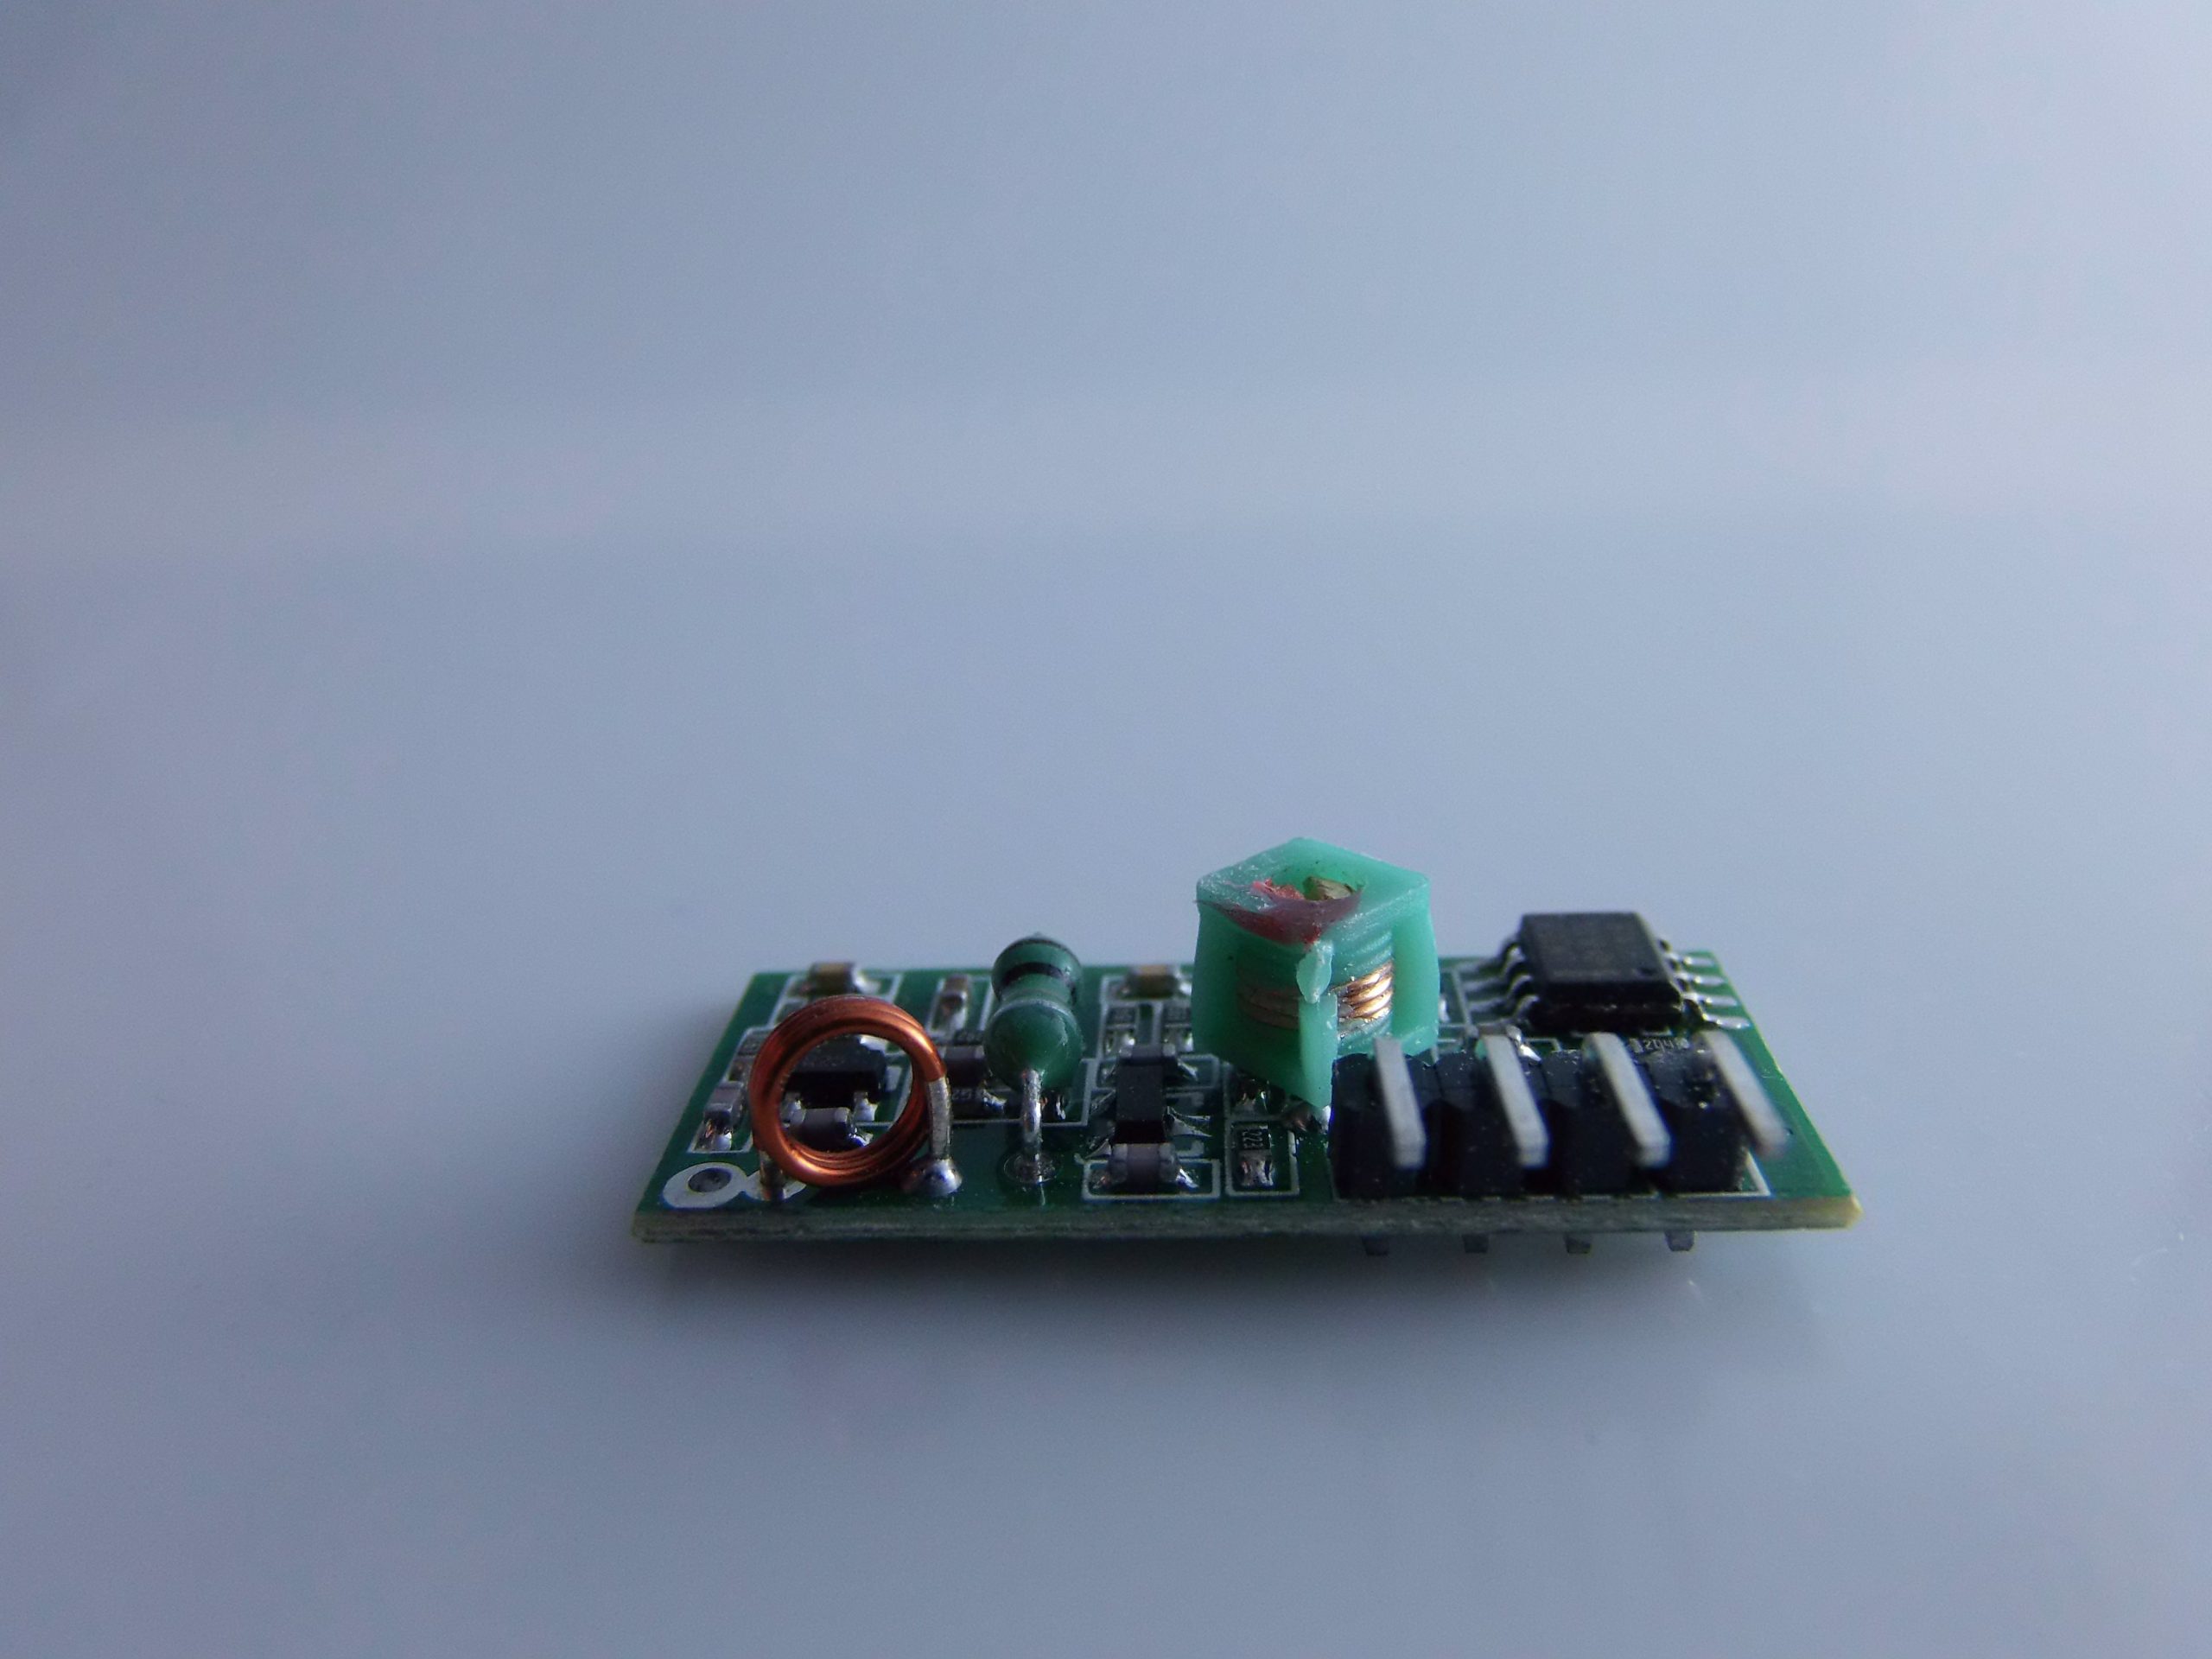
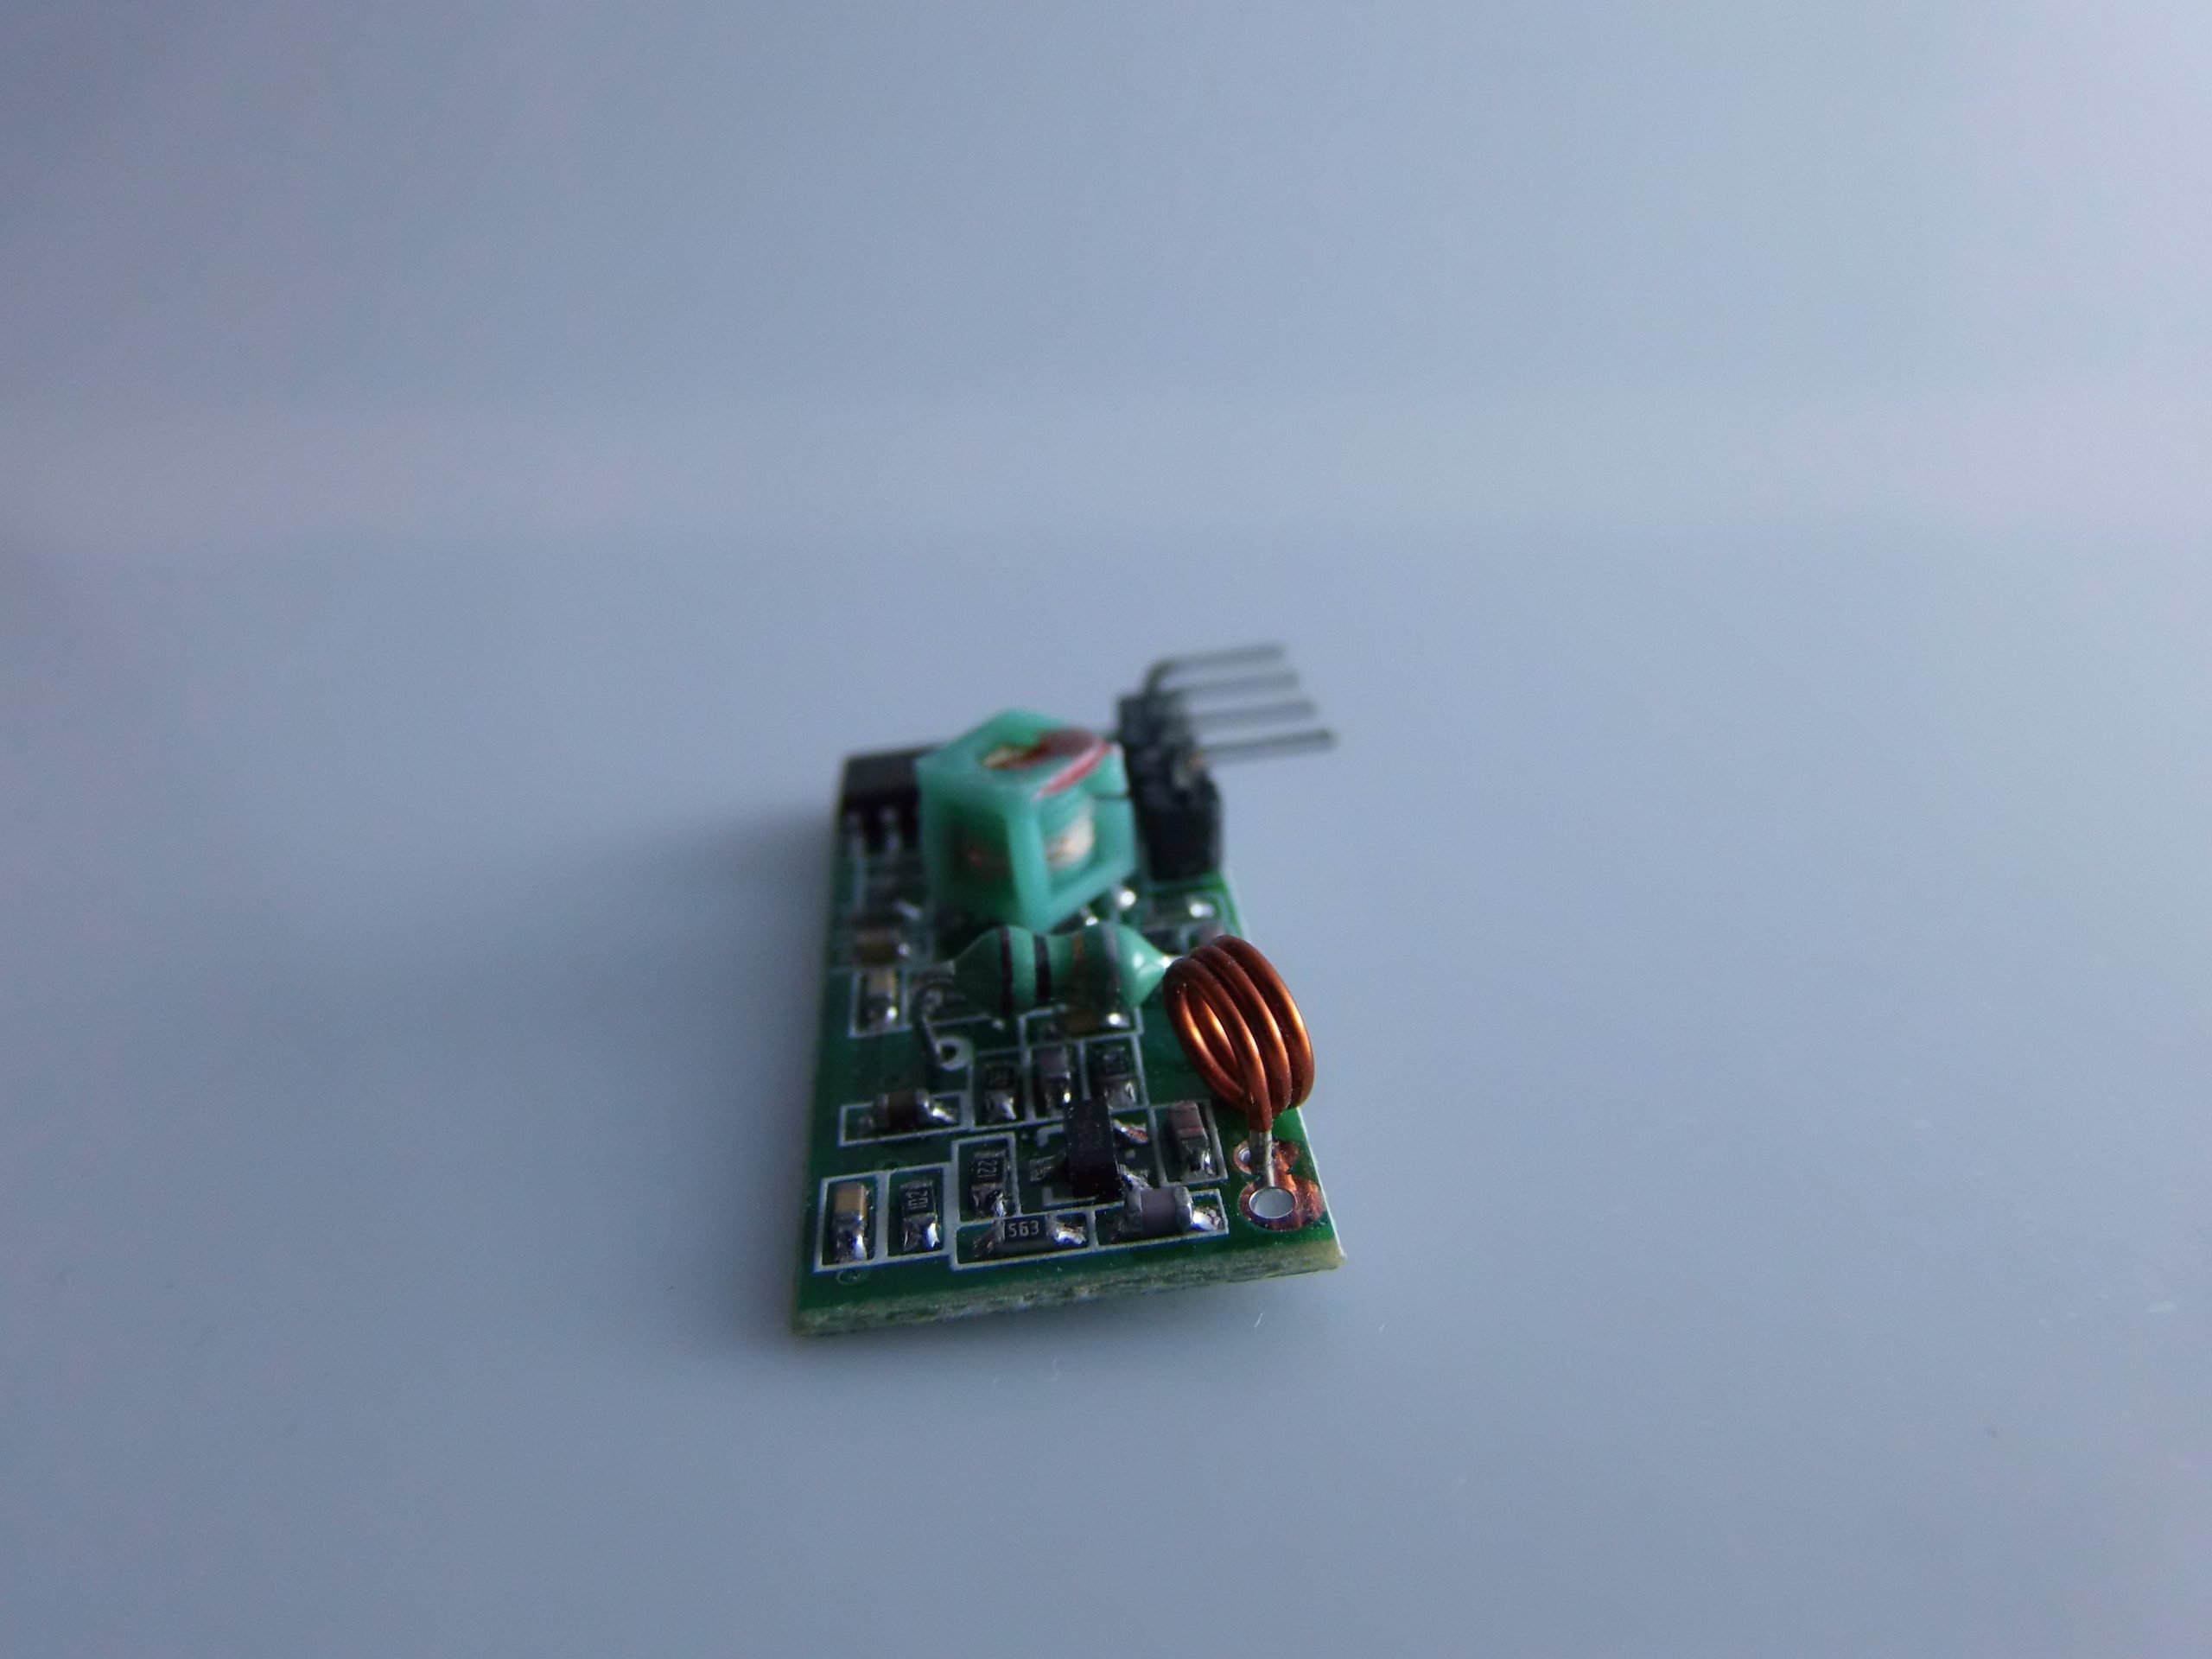
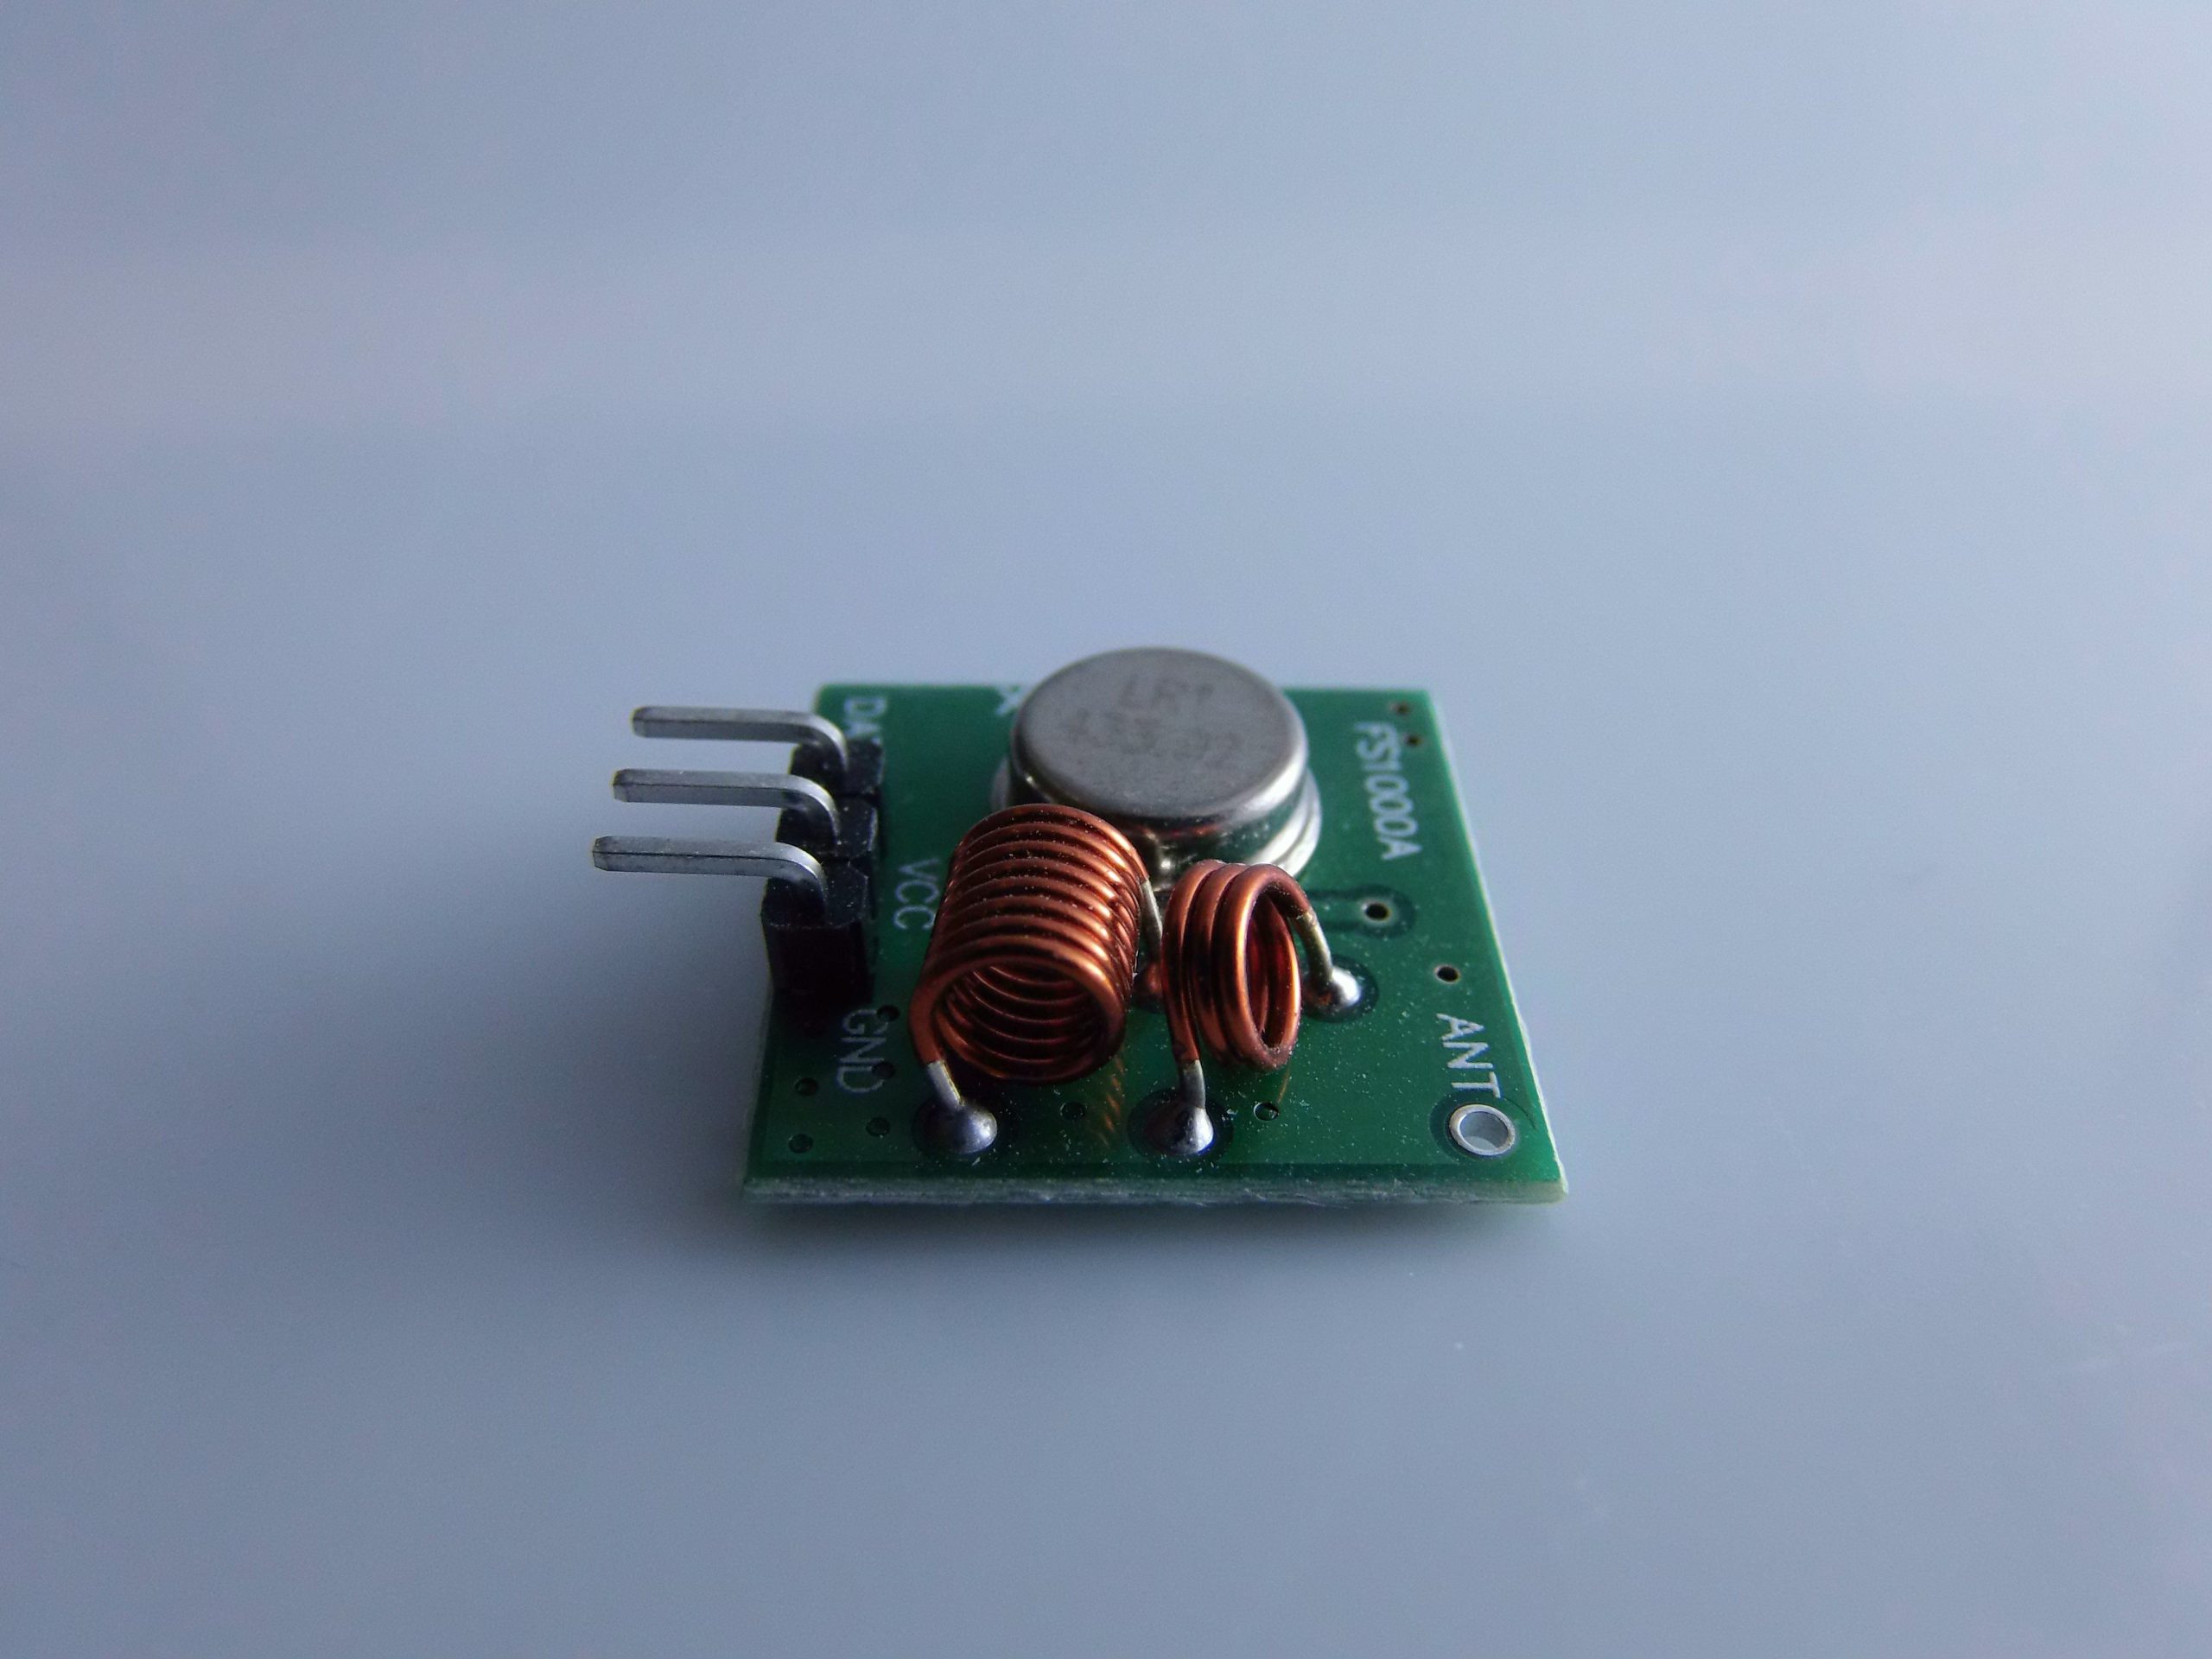
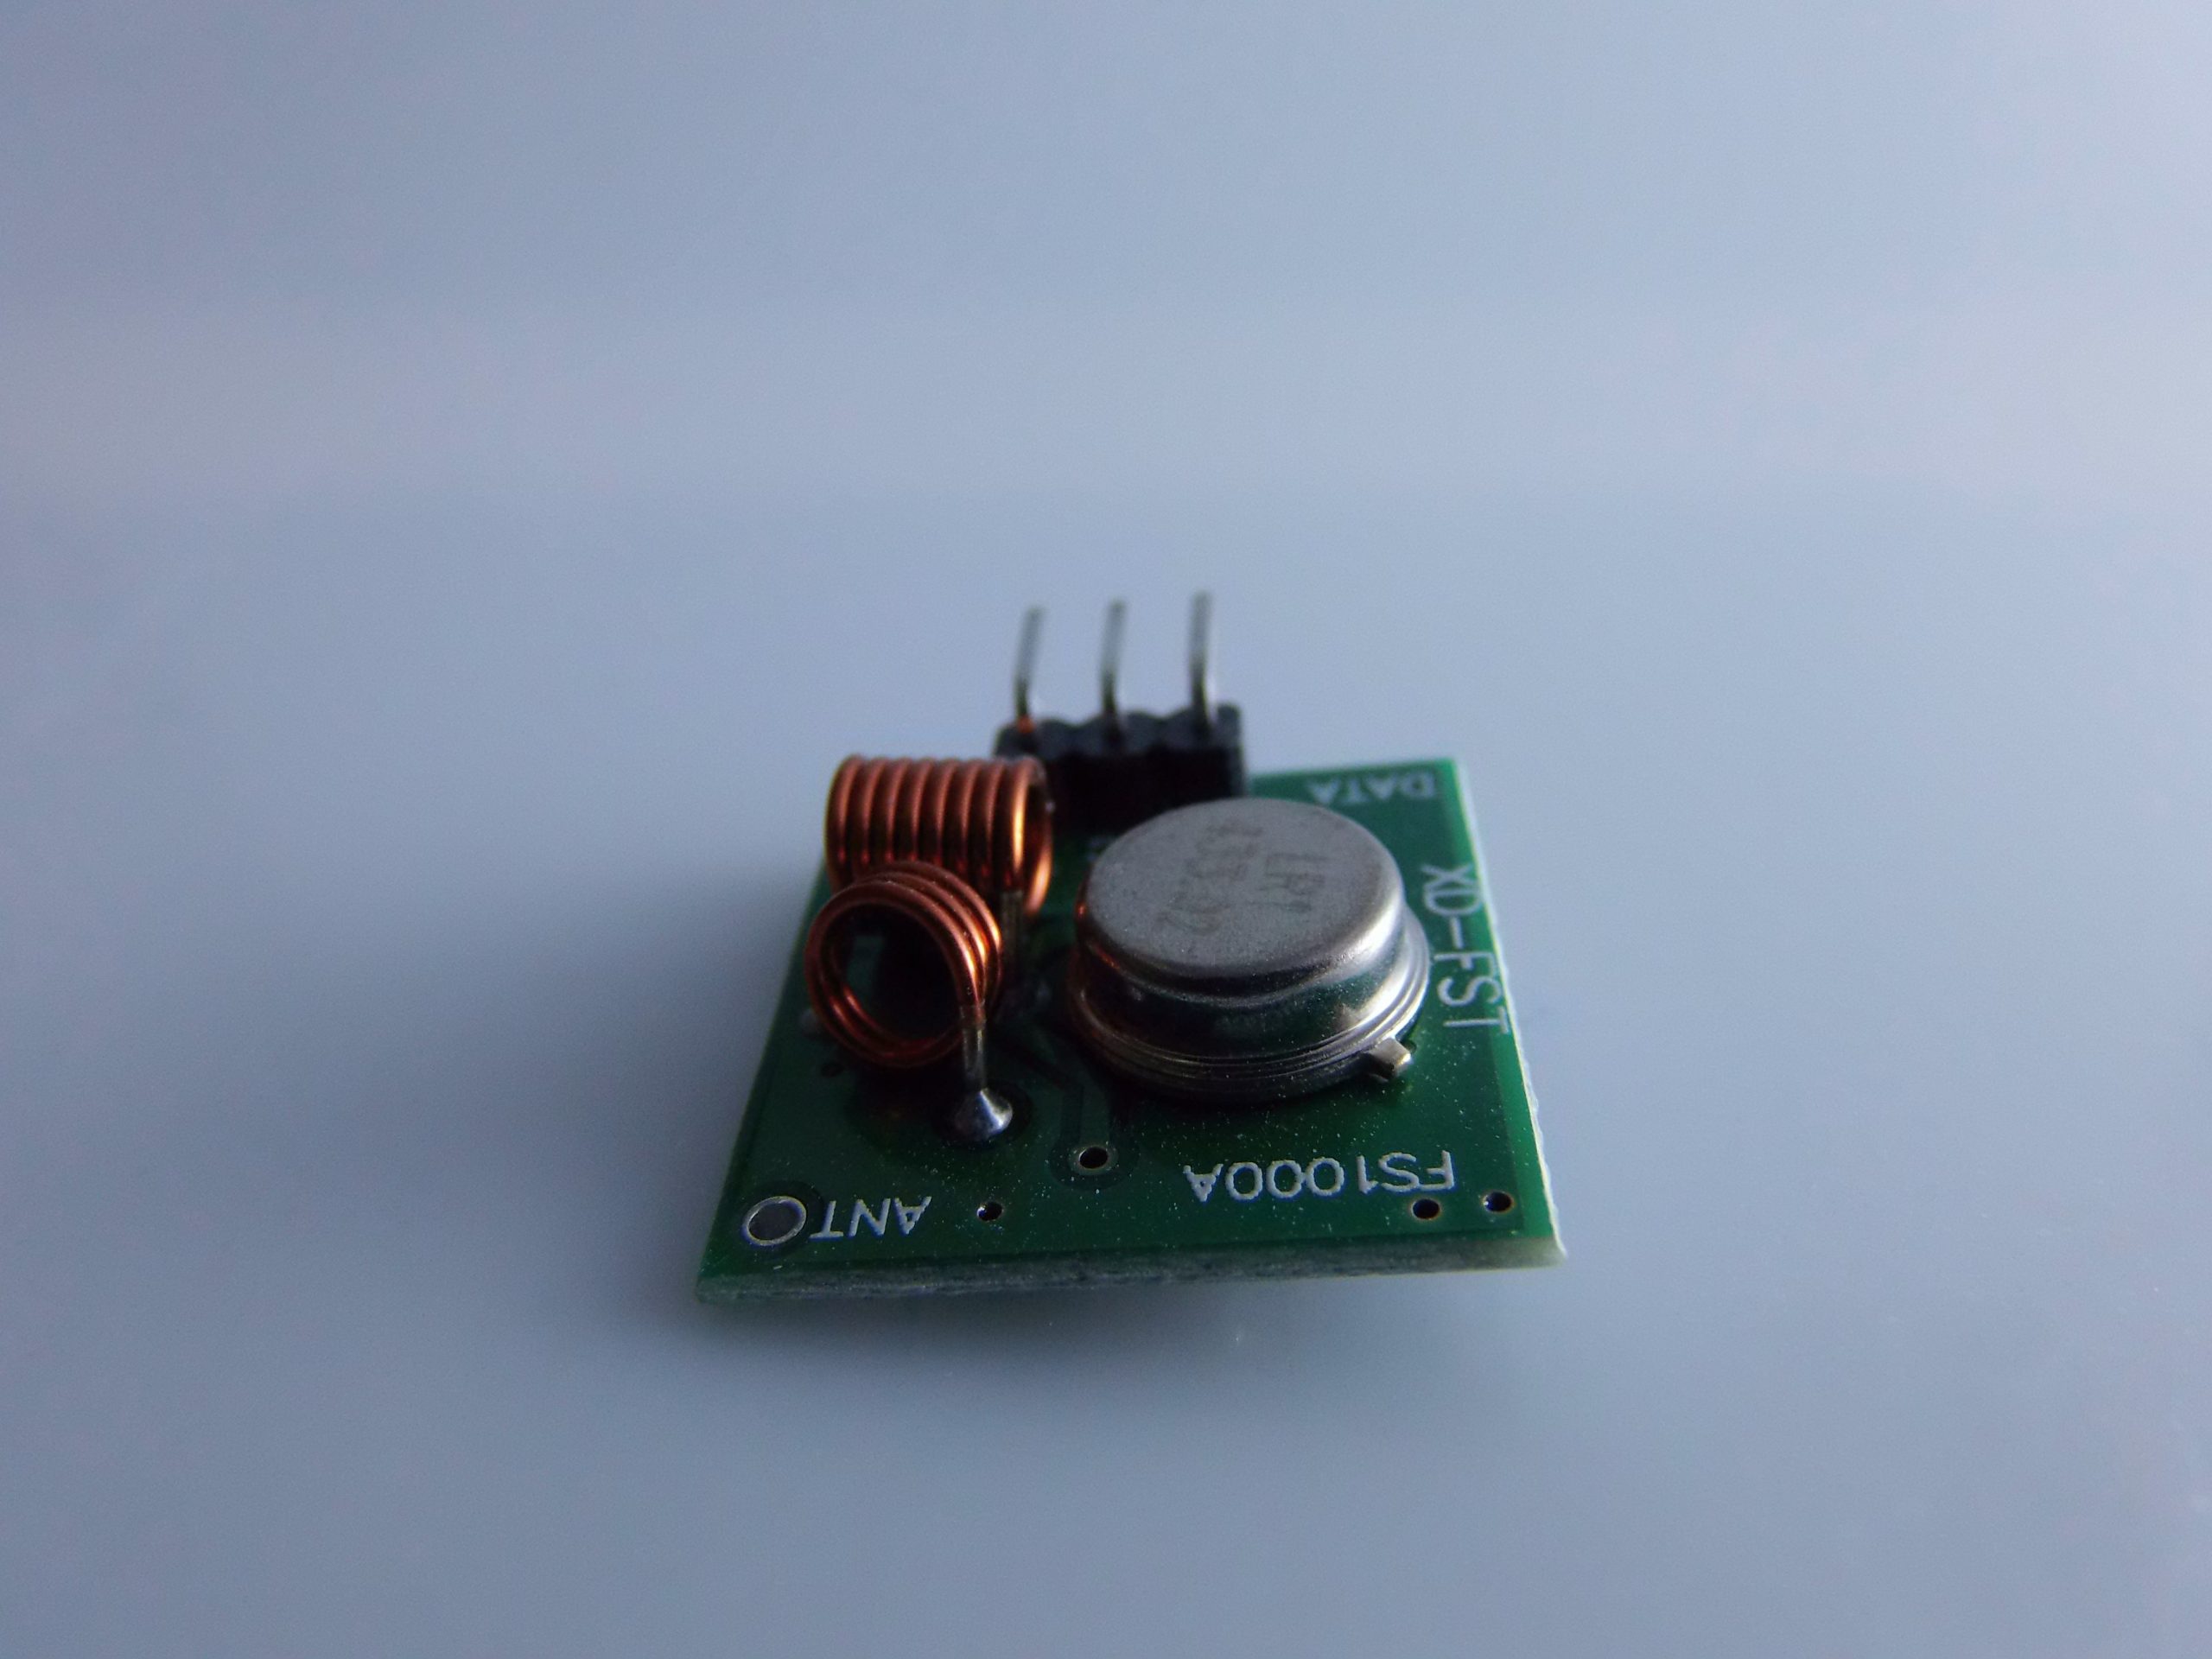
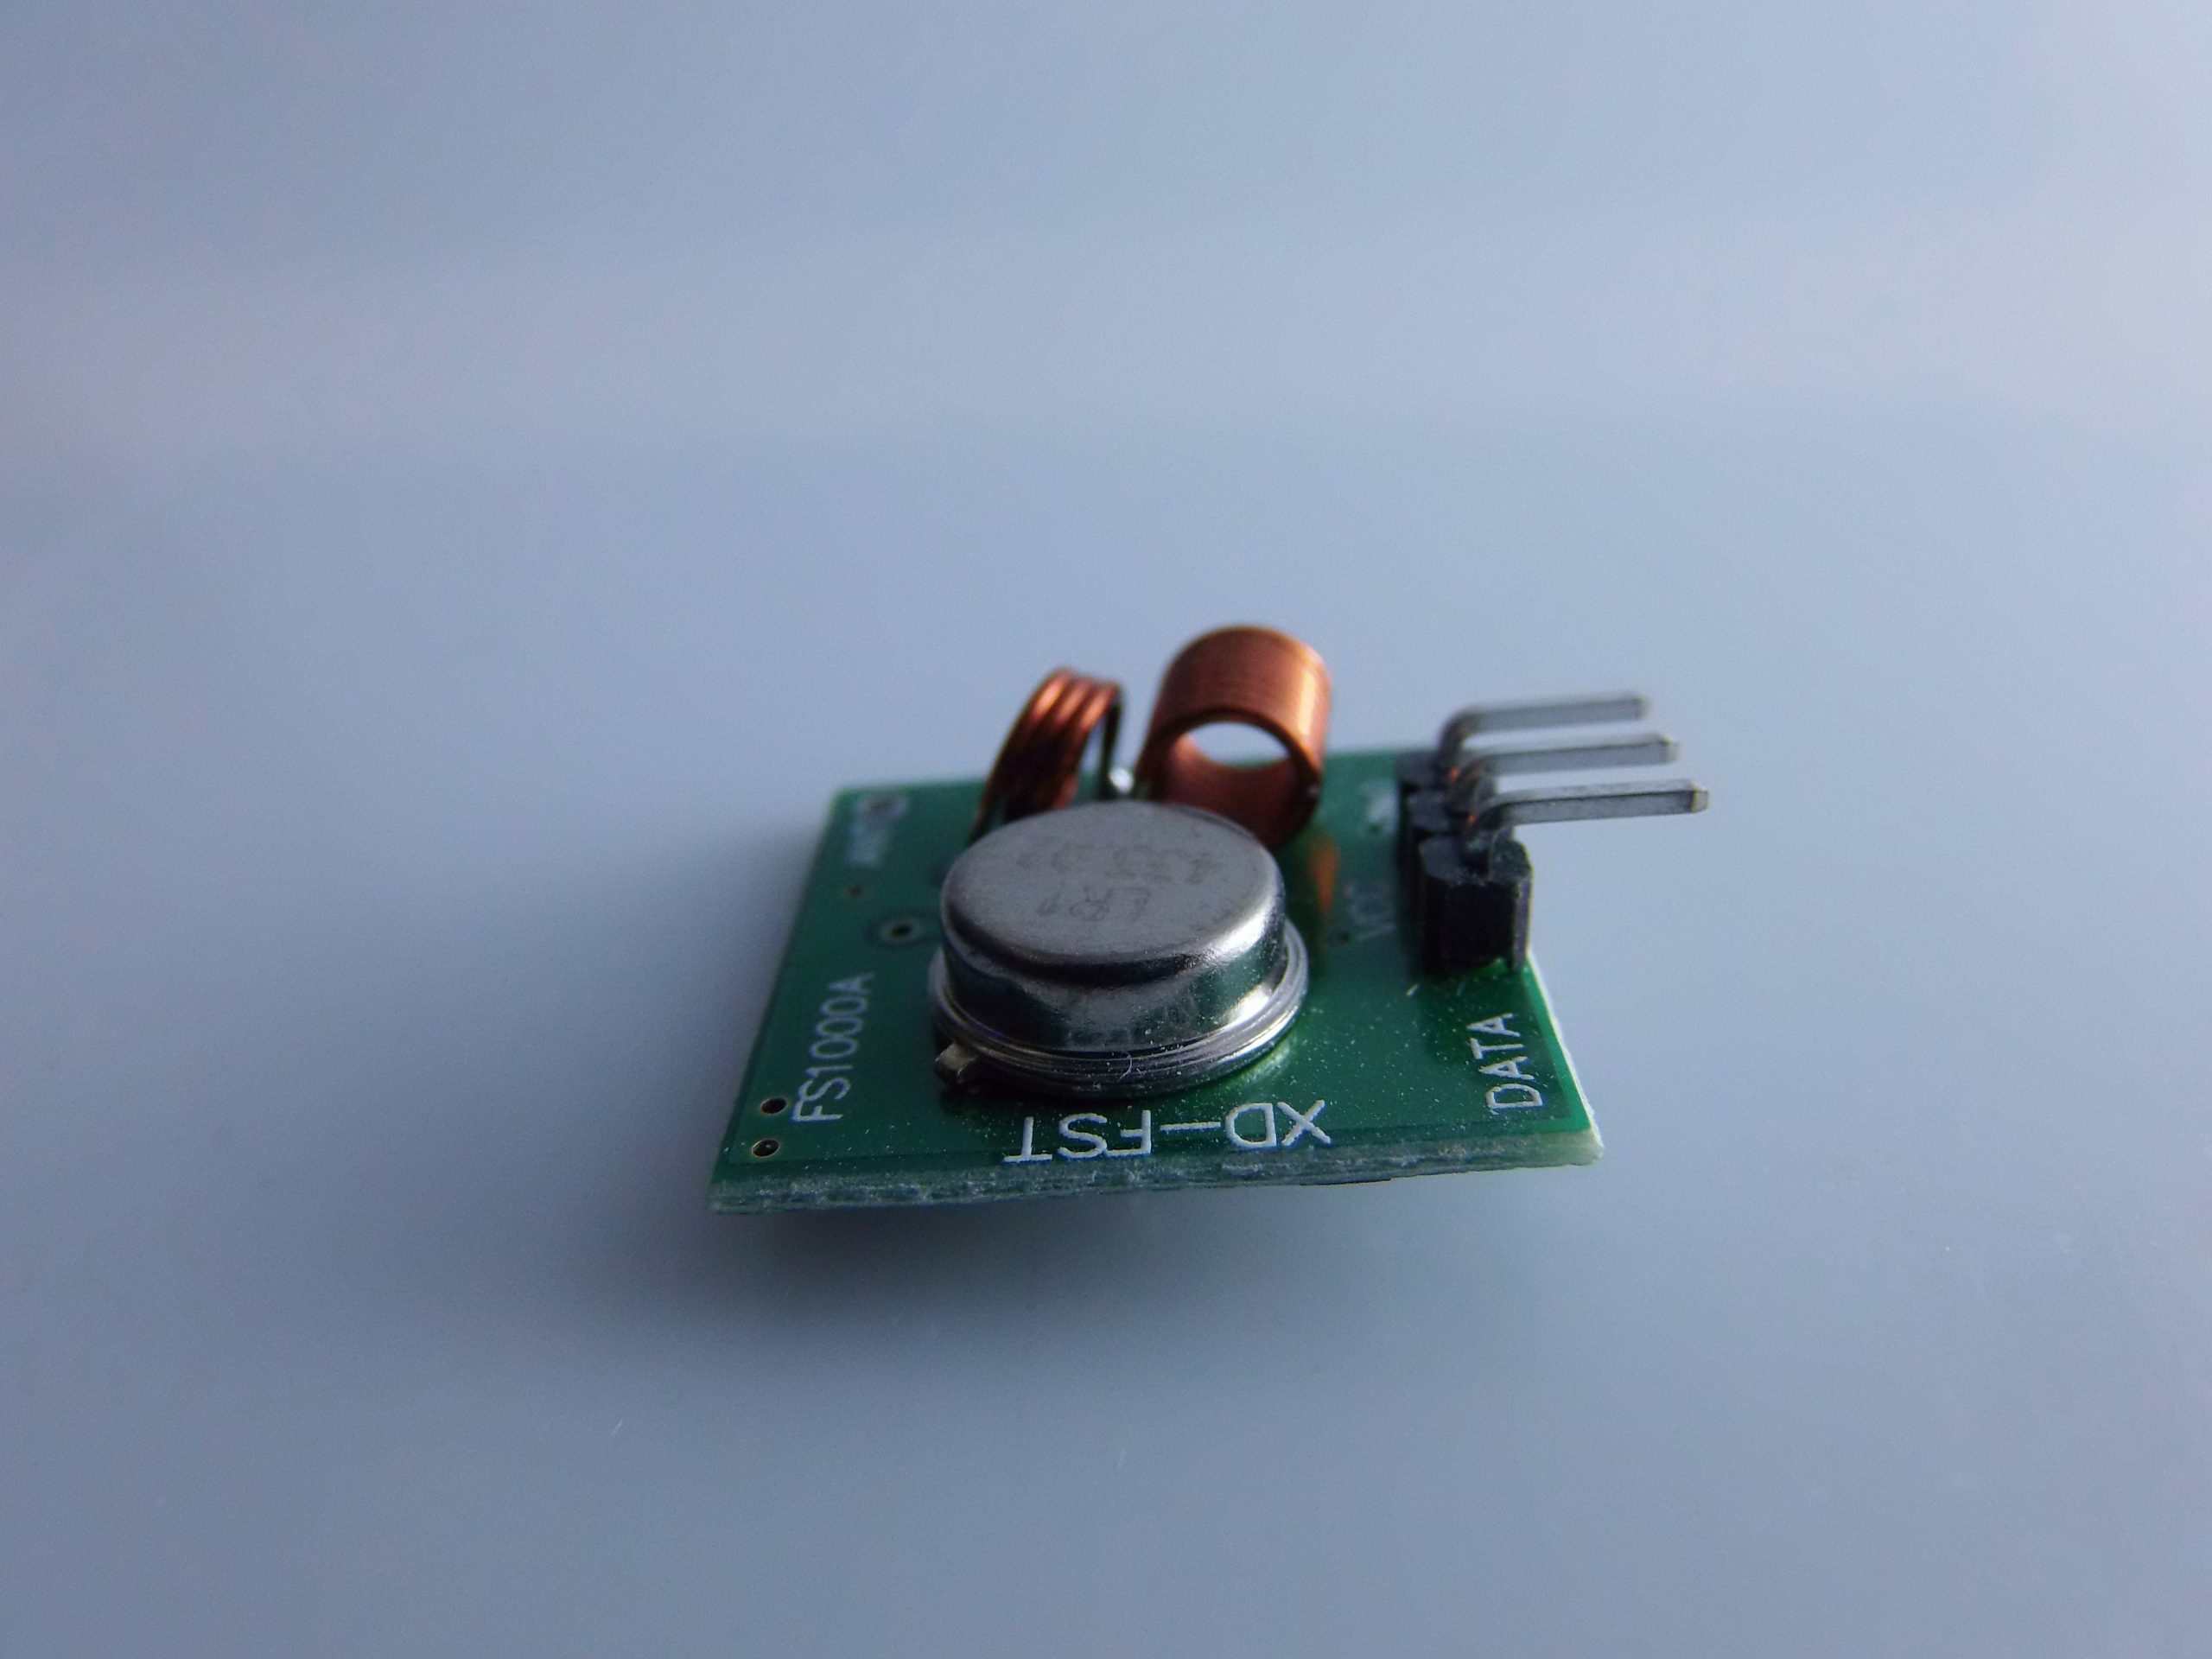
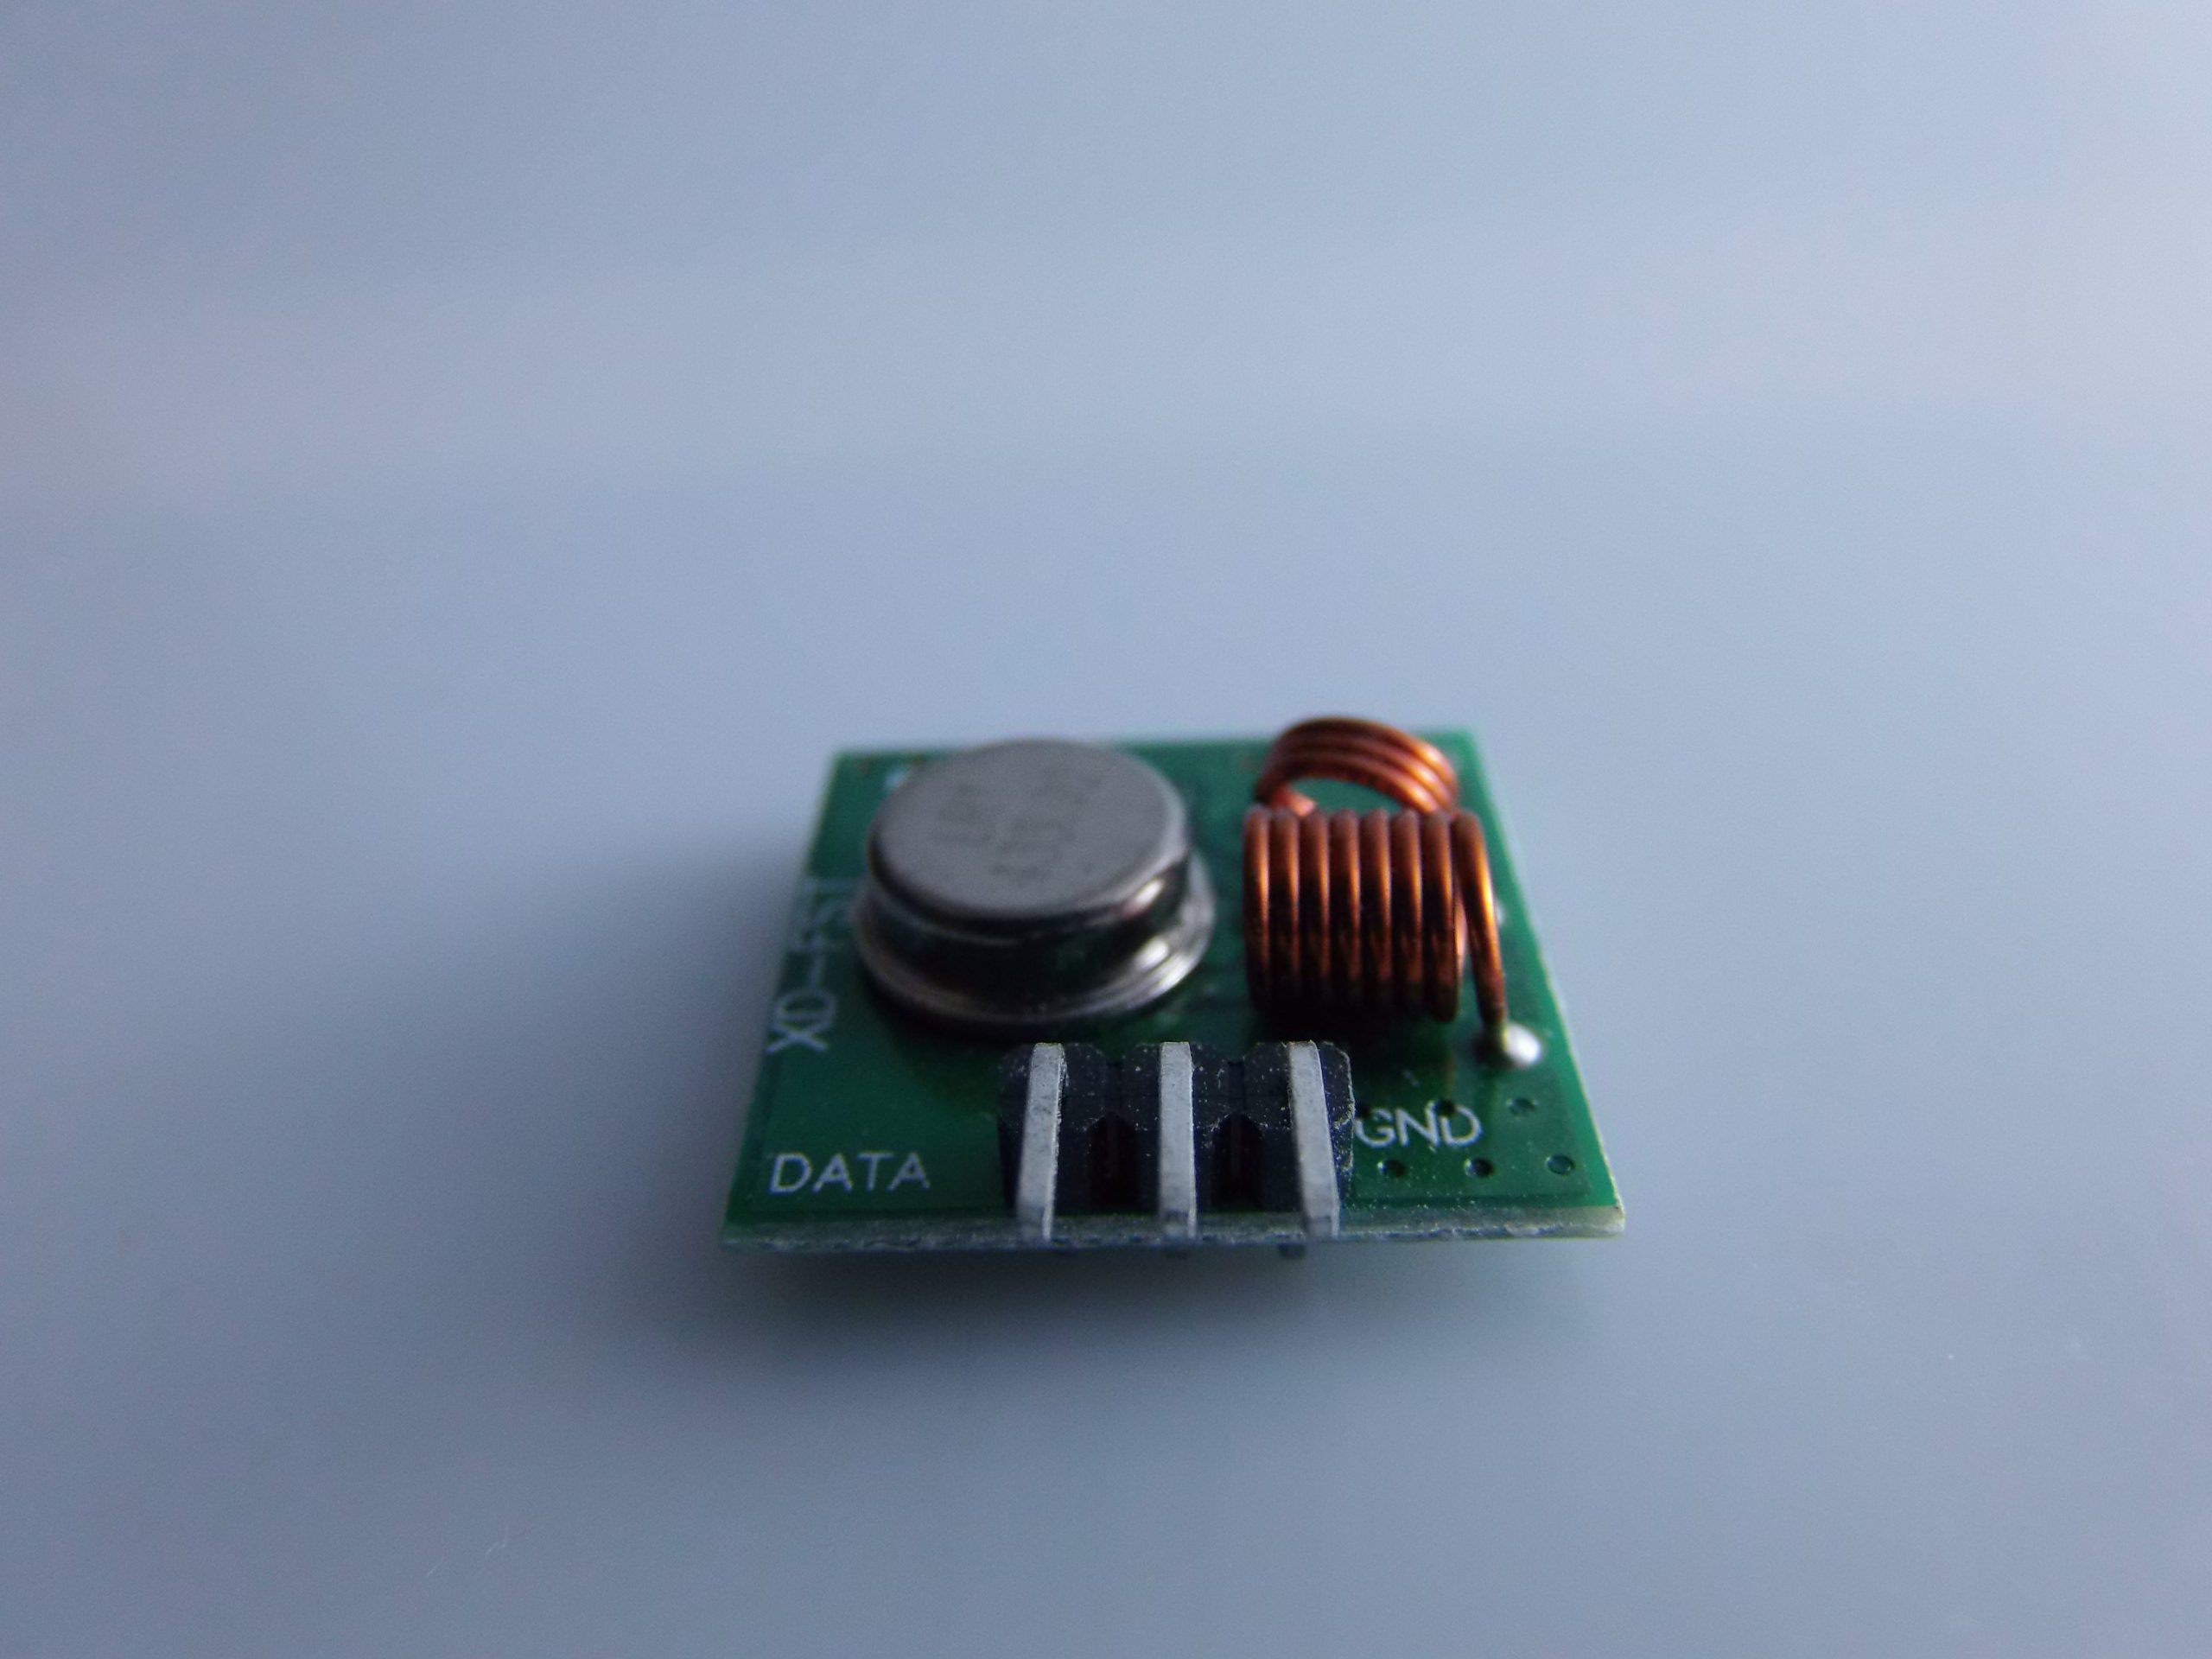
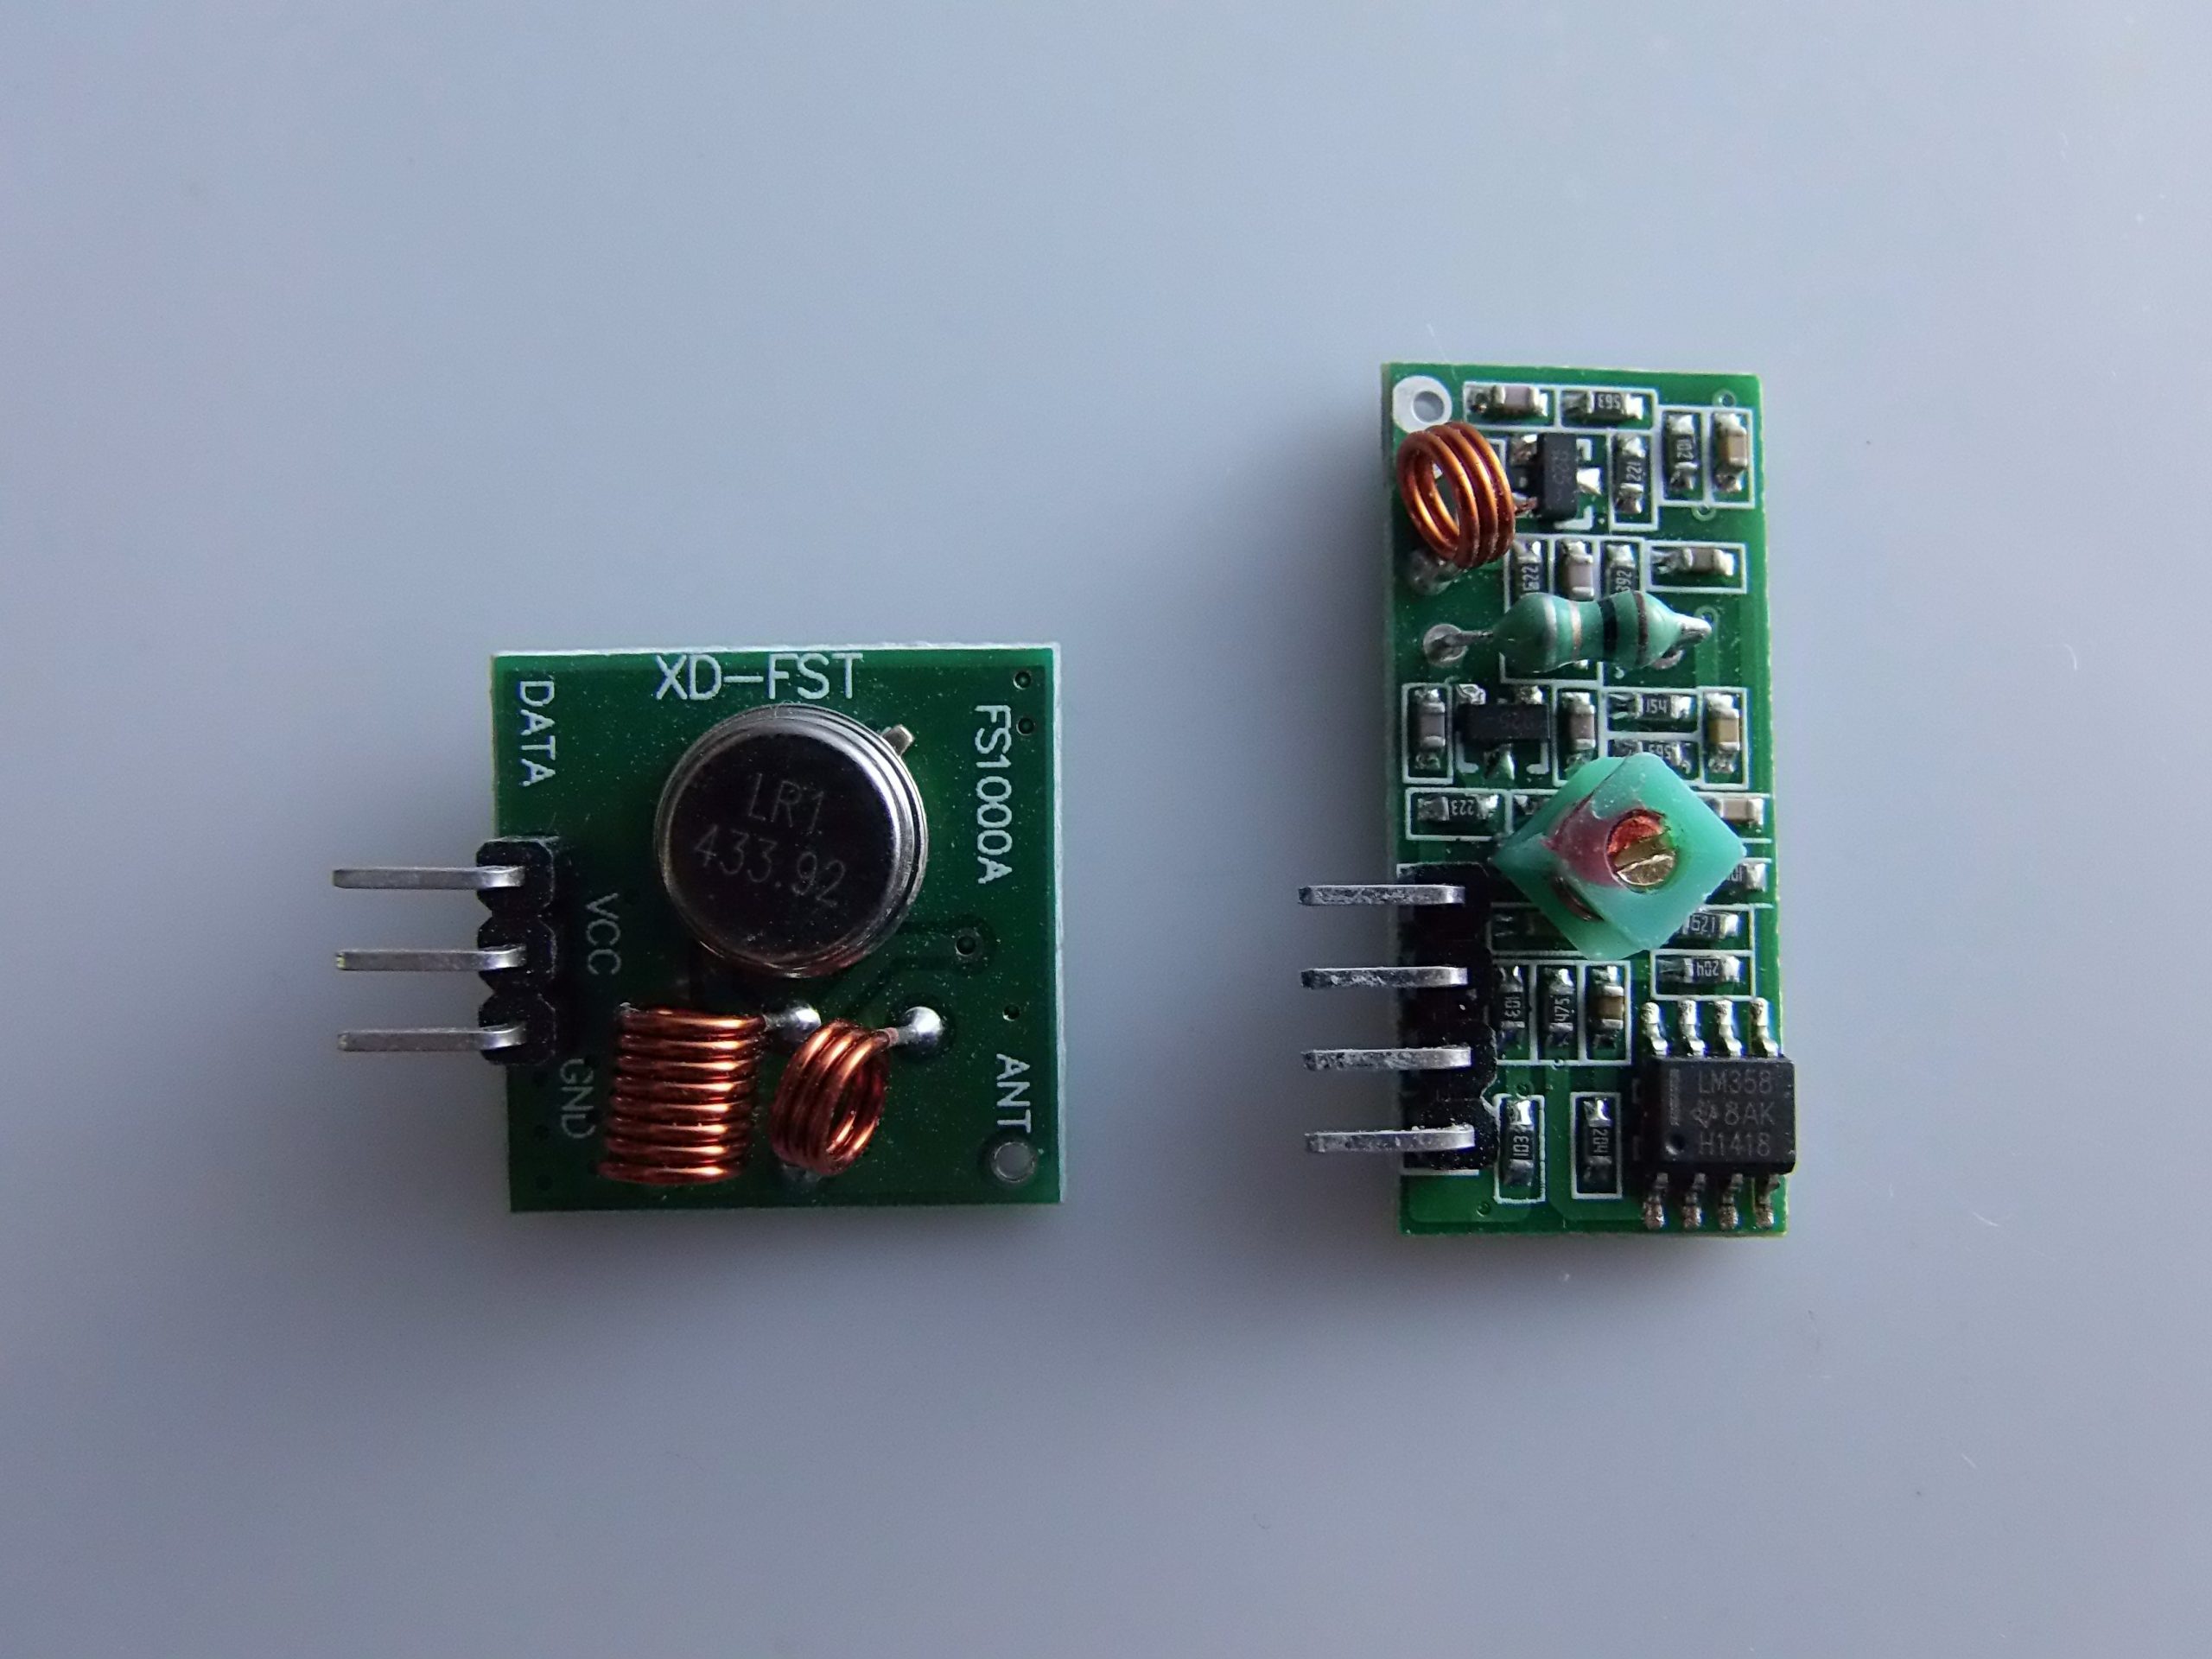
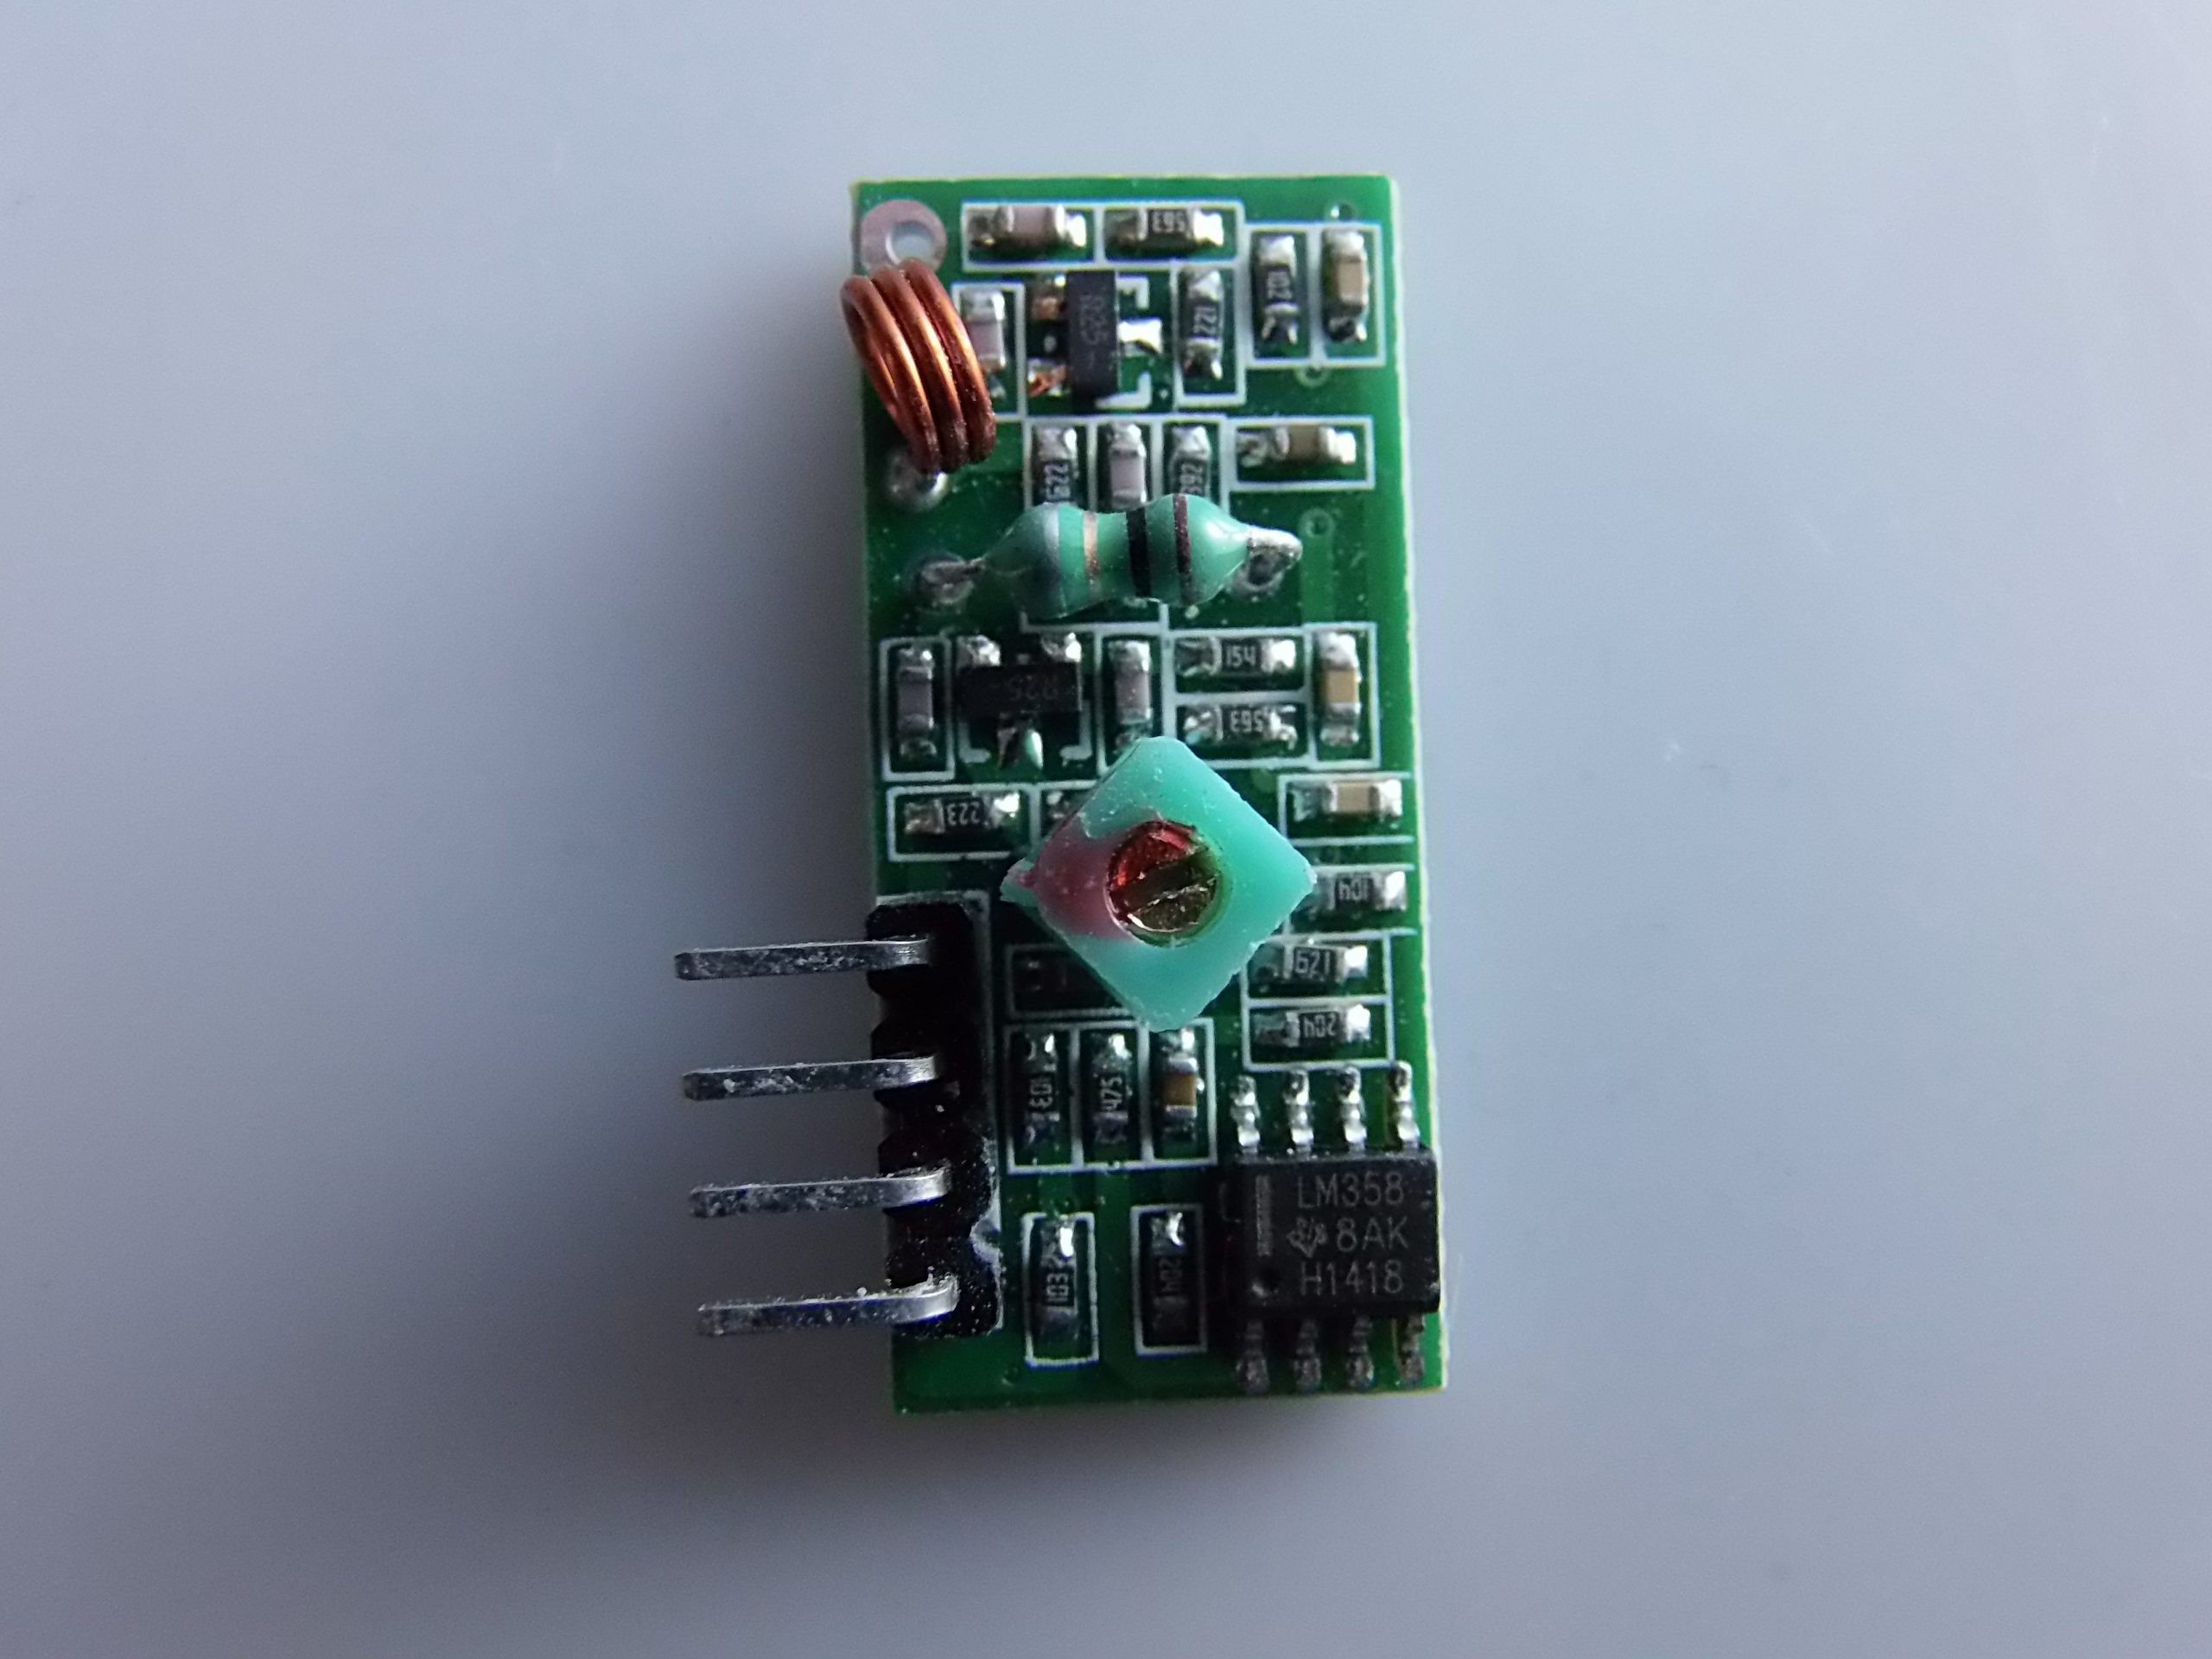
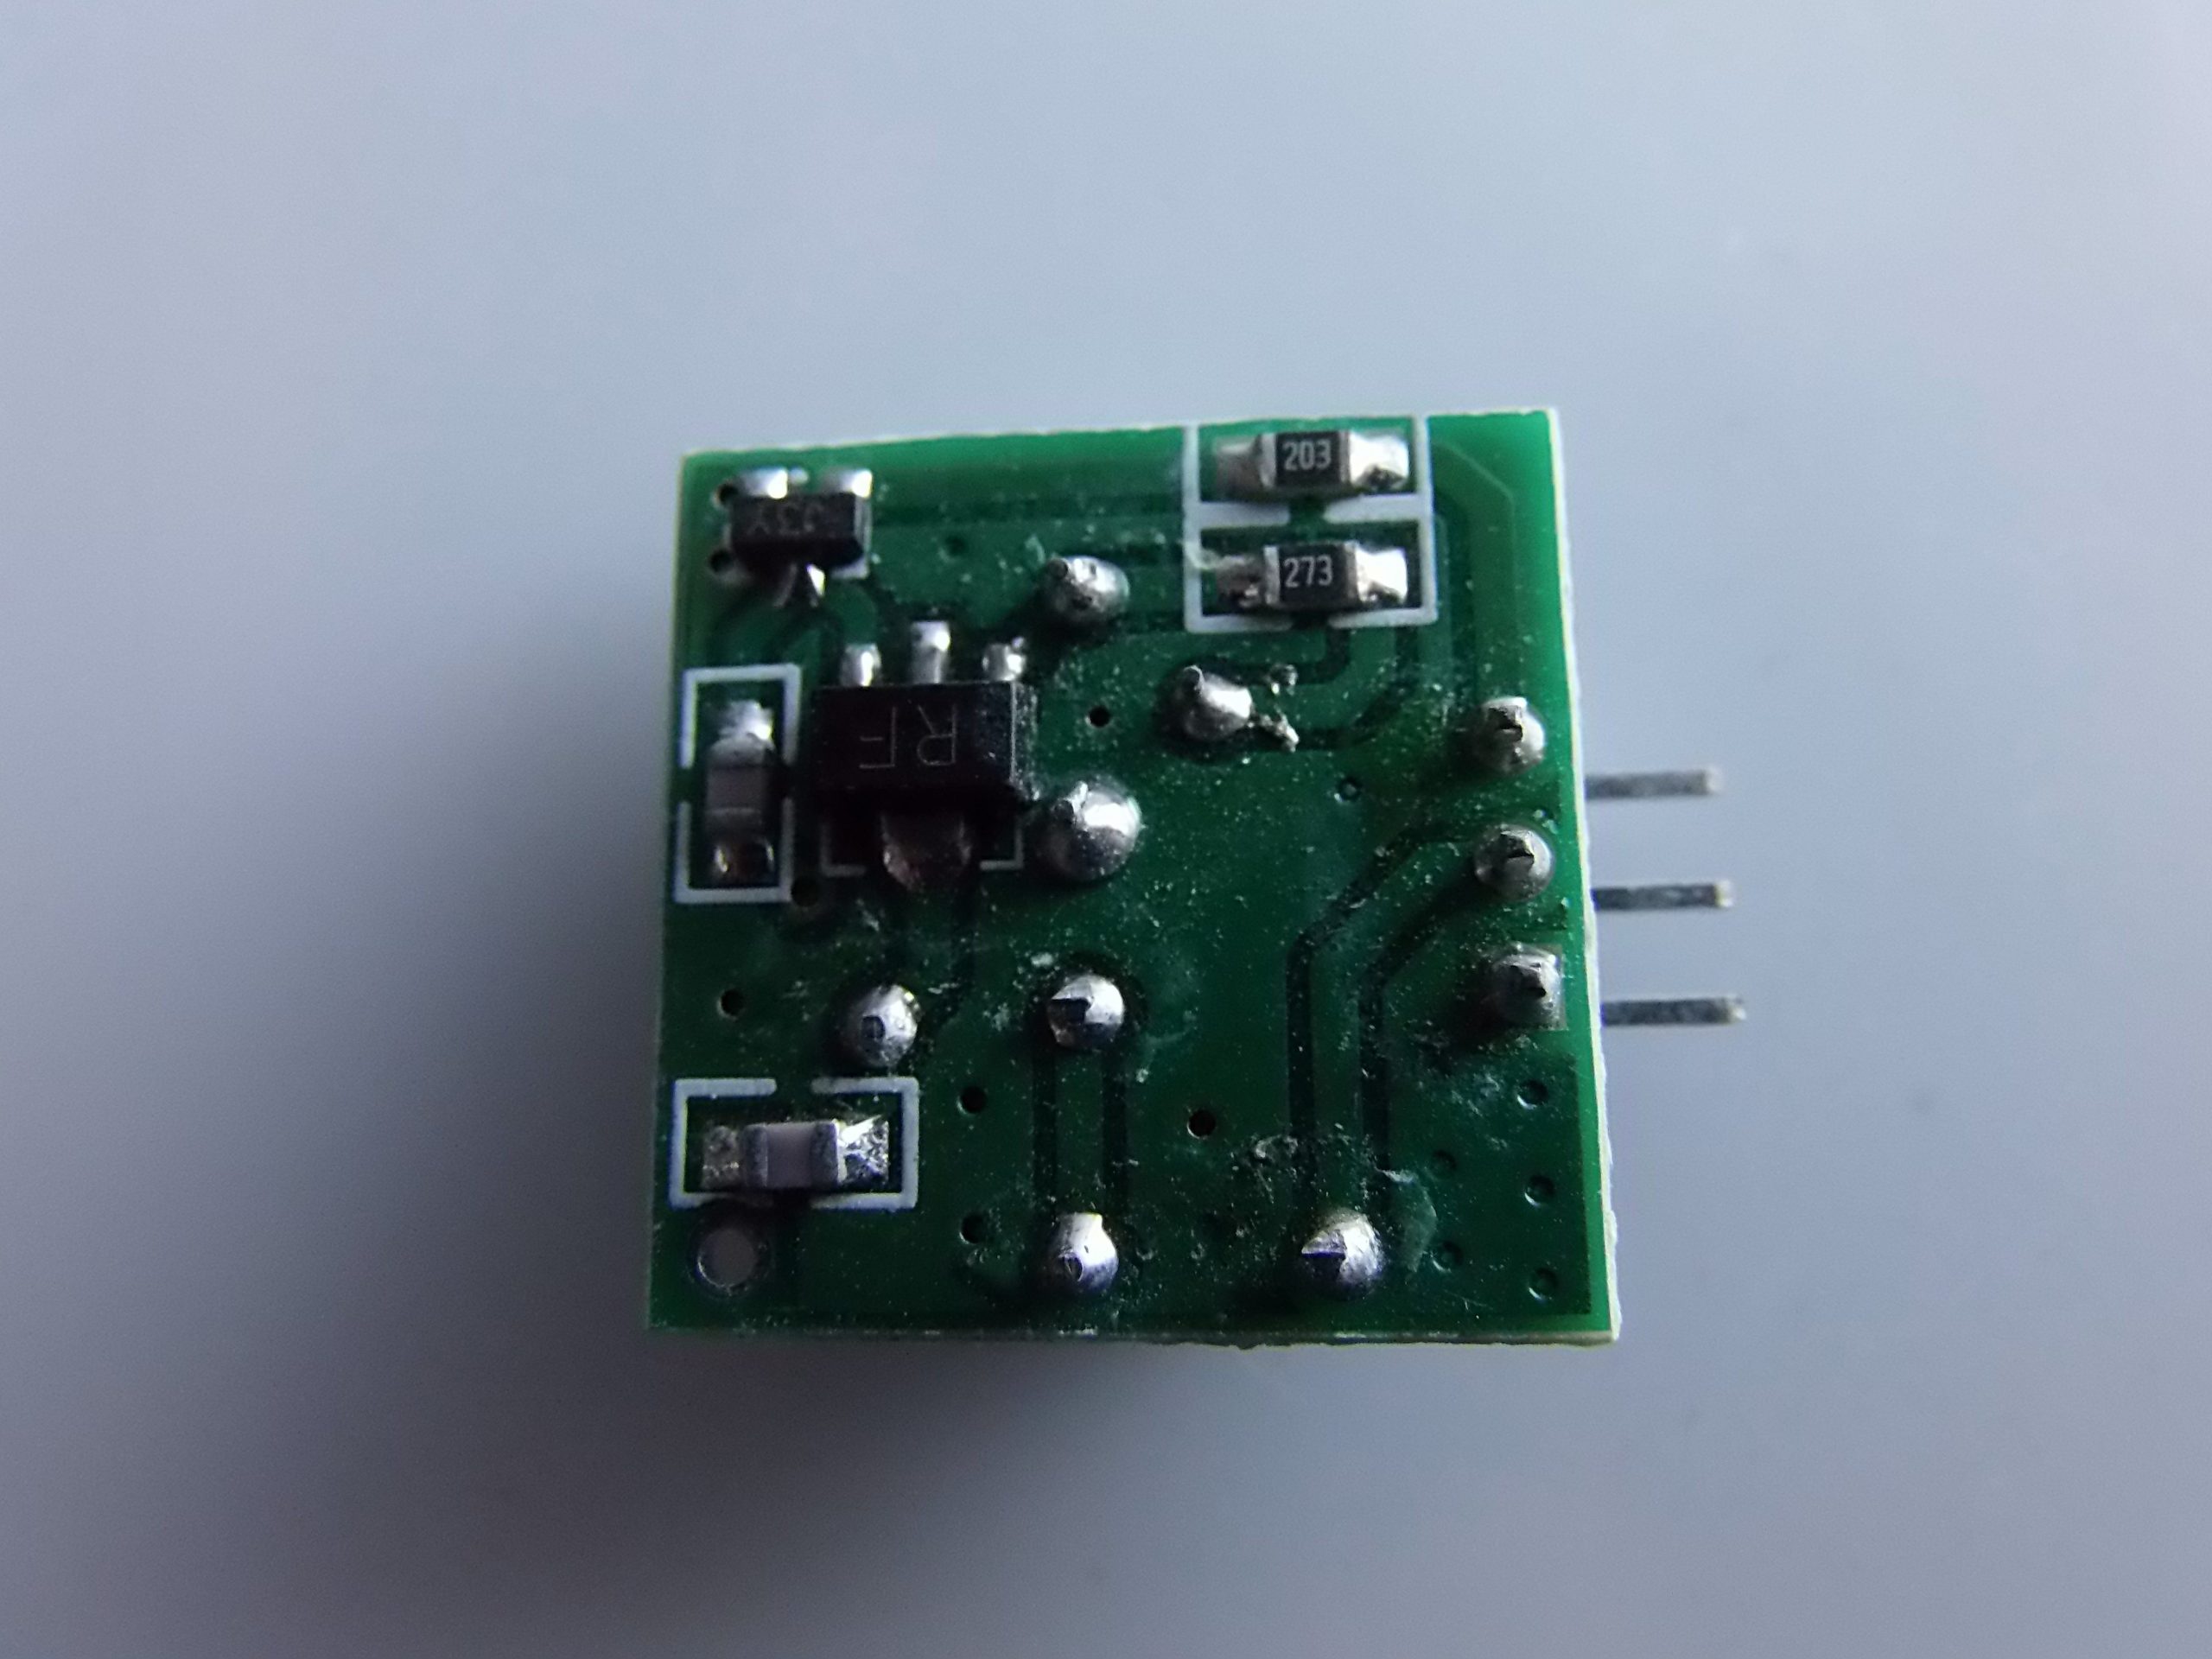
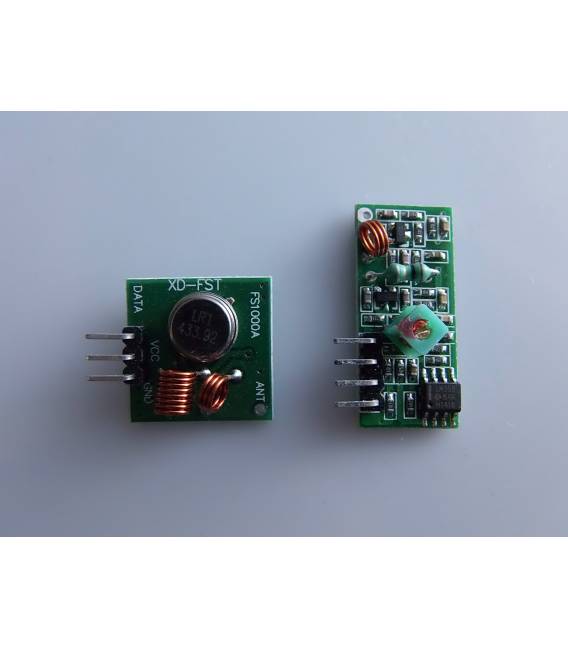
Description
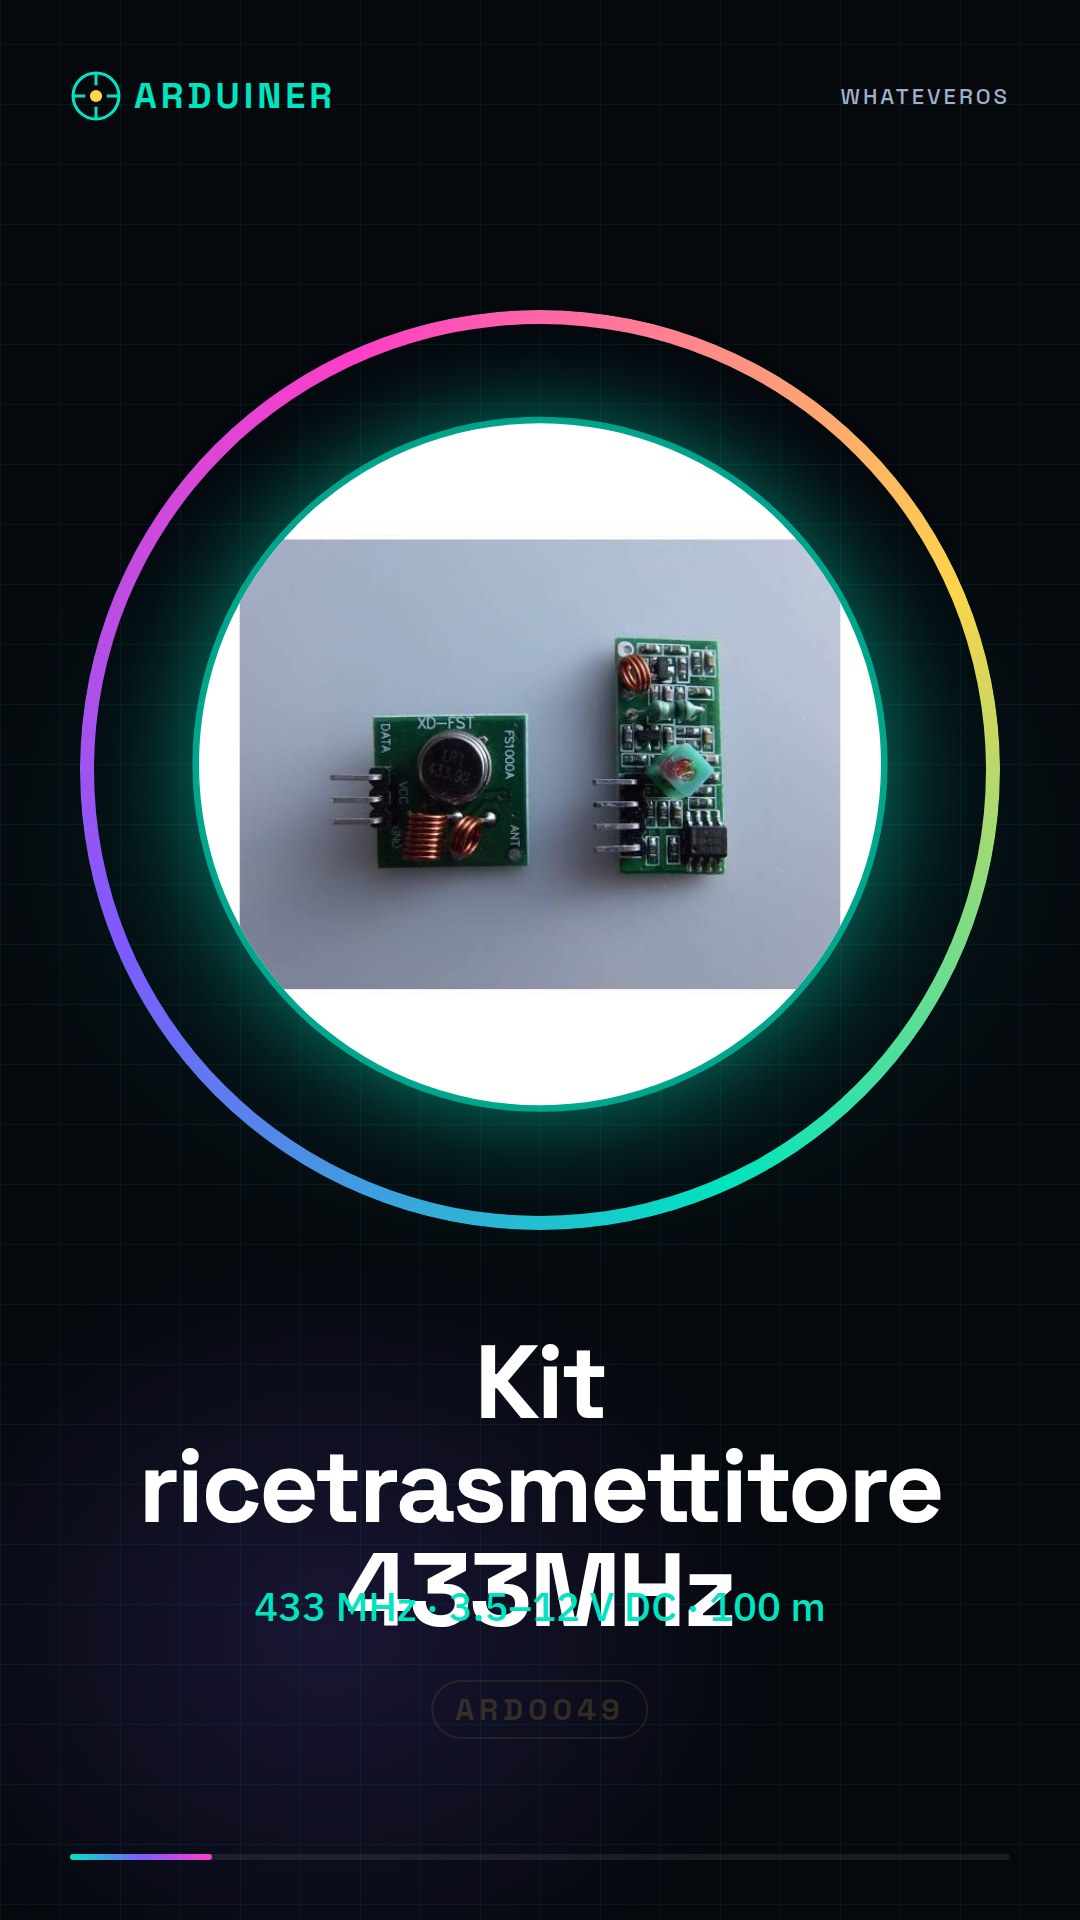
📡 Description of the Wireless 433 MHz (RX/TX) Transceiver Kit
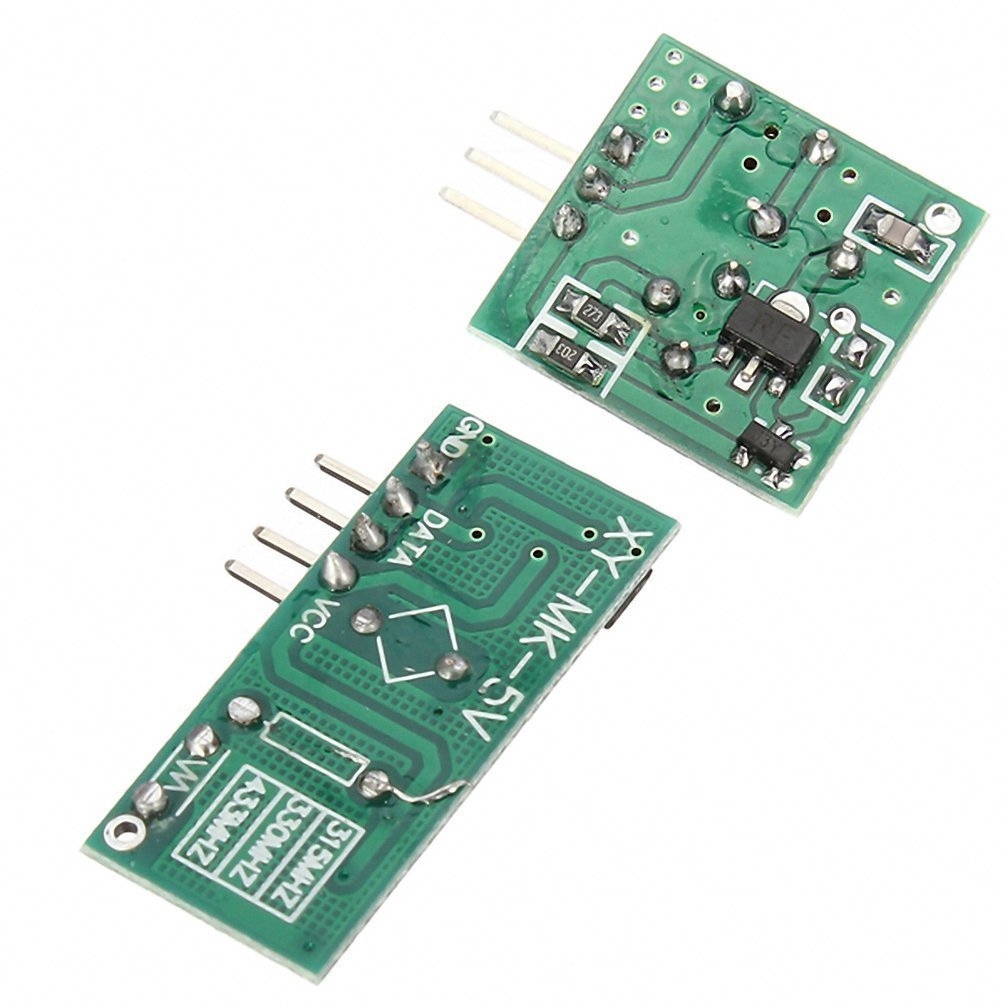
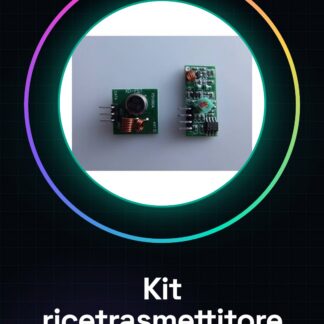
The wireless 433 MHz RX/TX transceiver kit is a low-cost module designed for wireless data transmission via radio waves. This kit consists of two modules:
- Transmitter Module (TX) 433 MHz
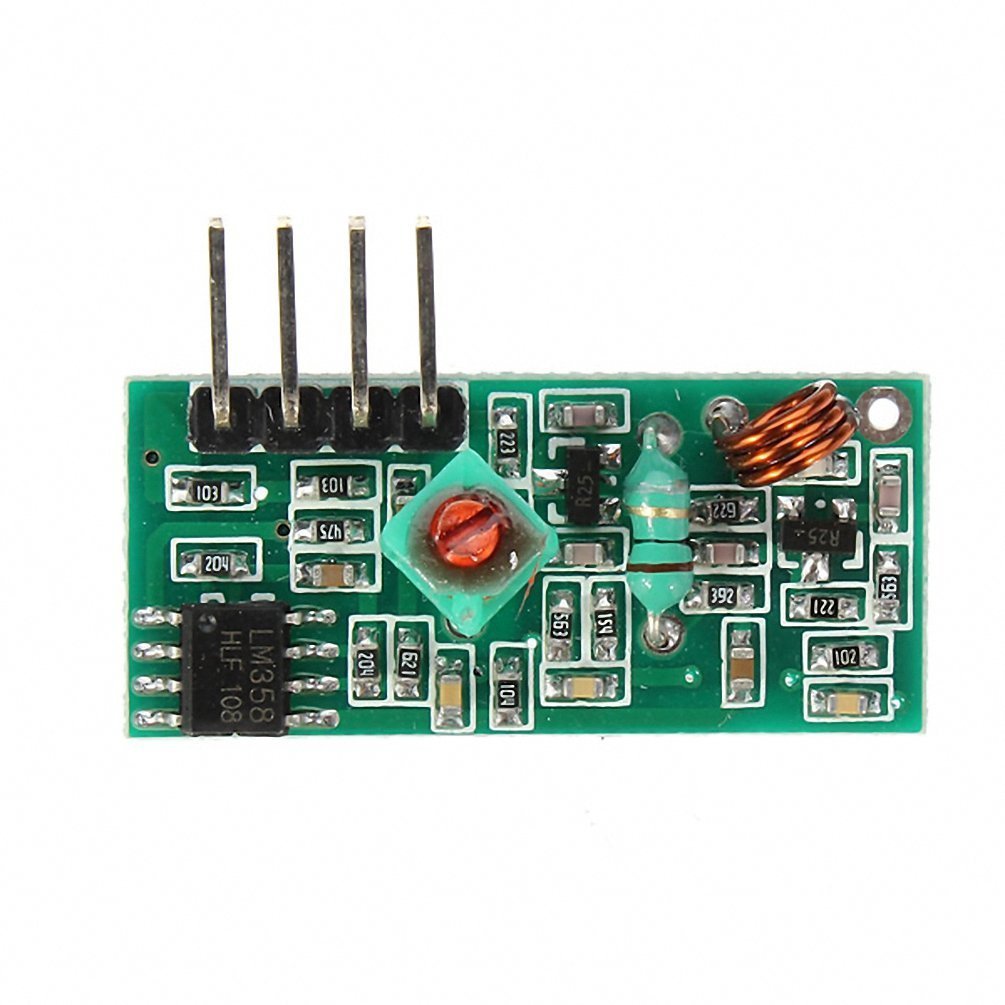
- Receiver Module (RX) 433 MHz
It is commonly used in Arduino projects, home automation, smart home, and generally for short/medium range wireless communication (up to 100 meters in open field).
⚙️ Technical Specifications
📤 Transmitter Module (TX):
- Operating Frequency: 433 MHz
- Operating Voltage: 3.5V – 12V DC
- Transmission Current: 10-40 mA
- Output Power: up to 10mW
- Transmission Range: 20-100 meters (open field)
- Modulation Type: ASK (Amplitude Shift Keying)
📥 Receiver Module (RX):
- Operating Frequency: 433 MHz
- Operating Voltage: 5V DC
- Reception Current: < 5.5 mA
- Sensitivity: -105 dB
- Modulation Type: ASK
🛠️ Connection with Arduino
📡 TX Connection (Transmitter):
| TX Pin | Arduino |
|---|---|
| VCC | 5V (or 3.3V if specified) |
| GND | GND |
| DATA | Digital Pin (e.g., D12) |
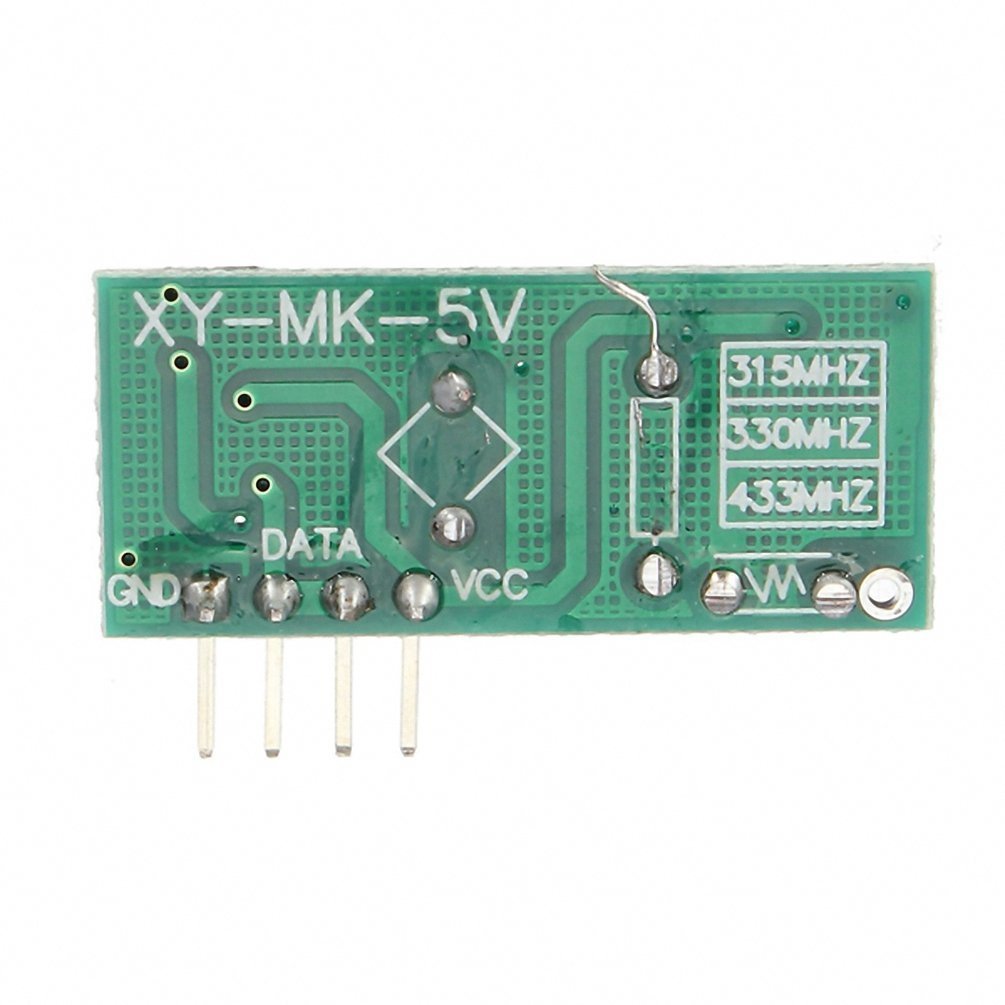
📡 RX Connection (Receiver):
| RX Pin | Arduino |
|---|---|
| VCC | 5V |
| GND | GND |
| DATA | Digital Pin (e.g., D11 or D2) |
💾 Required Library: VirtualWire (obsolete) or RadioHead
For new projects it is recommended RadioHead, but many tutorials still use VirtualWire.
🔧 Library Installation VirtualWire
- Go to Sketch > Include Library > Manage Libraries
- Search for
VirtualWireand install it.
Or:
Download from https://github.com/PaulStoffregen/VirtualWire and put it in the folder libraries.
🧪 Example Usage with Arduino
📤 Transmitter Code (TX)
#include <VirtualWire.h>

void setup() {
 vw_set_tx_pin(12); // pin dati TX
 vw_setup(2000); // Velocità di trasmissione: 2000 bps
}

void loop() {
 const char *msg = "Ciao da TX!";
 vw_send((uint8_t *)msg, strlen(msg));
 vw_wait_tx(); // Attende che la trasmissione sia completata
 delay(1000);
}
📥 Receiver Code (RX)
#include <VirtualWire.h>

void setup() {
 Serial.begin(9600);
 vw_set_rx_pin(11); // pin dati RX
 vw_setup(2000); // Velocità di ricezione: 2000 bps
 vw_rx_start(); // Avvia il ricevitore
}

void loop() {
 uint8_t buf[VW_MAX_MESSAGE_LEN];
 uint8_t buflen = VW_MAX_MESSAGE_LEN;

 if (vw_get_message(buf, &buflen)) {
 Serial.print("Messaggio ricevuto: ");
 for (int i = 0; i < buflen; i++) {
 Serial.print((char)buf[i]);
 }
 Serial.println();
 }
}
🧠 Useful Tips
- Use antennas (e.g., wire approximately 17 cm long for 433 MHz) to improve range.
- Avoid interference: do not place TX and RX too close together.
- Power TX separately if using voltages higher than 5V (e.g., 9V).
- Not suitable for large data volumes (ideal for sending short commands/texts).
🛠️ Typical Applications
- Wireless Remote Controls
- Remote Sensors (temperature, humidity, etc.)
- Remote Relay/Light Control
- Wireless Alarms
|
GENERAL |
||
|
MATERIALS |
pcb + copper + components |
|
|
COMPATIBILITY |
ARDUINO |
|
|
WEIGHT AND DIMENSIONS |
PRODUCT WEIGHT |
8g |
|
PACKAGE WEIGHT |
0,15 kg |
|
|
PRODUCT DIMENSIONS (L x W x H) |
1,5 x 3 x 0,3 cm + 2,5 x 2 x 0,3 cm |
|
|
PACKAGE DIMENSIONS (L x W x H) |
5 x 10 x 2 cm |
|
|
PACKAGE CONTENT |
PACKAGE CONTENT |
2 Modules 1 x Module |
We have available the technical sheet of all components, if it is not present in the product download card, send us a message from the contact us form and we will publish it as soon as possible on our website.
Tutorial: How to use Kit RX TX 433MHz (Arduino Wireless)
Wireless data transmission kit for Arduino. For beginners and intermediate users.
What you need
- Arduino Uno
- 433MHz Transceiver Kit
- USB cable
- Battery
Steps
- Connect the RX module to digital pin 2 on Arduino.
- Connect the TX module to digital pin 3 on Arduino.
- Install the VirtualWire library following the official website instructions.
- Configure the modules in transmission and reception mode, check the datasheet.
- Write the code to send data from the TX module to the RX module.
- Verify that the data is received correctly on the Arduino serial interface.
Example code
include <VirtualWire.h>
void setup() {
 vw_setup(2000);
}

void loop() {
 vw_send((uint8_t *)
Reviews
There are no reviews yet.