 EN
 IT Italiano
 ES Español
 FR Français
 DE Deutsch
Description
Technical Description
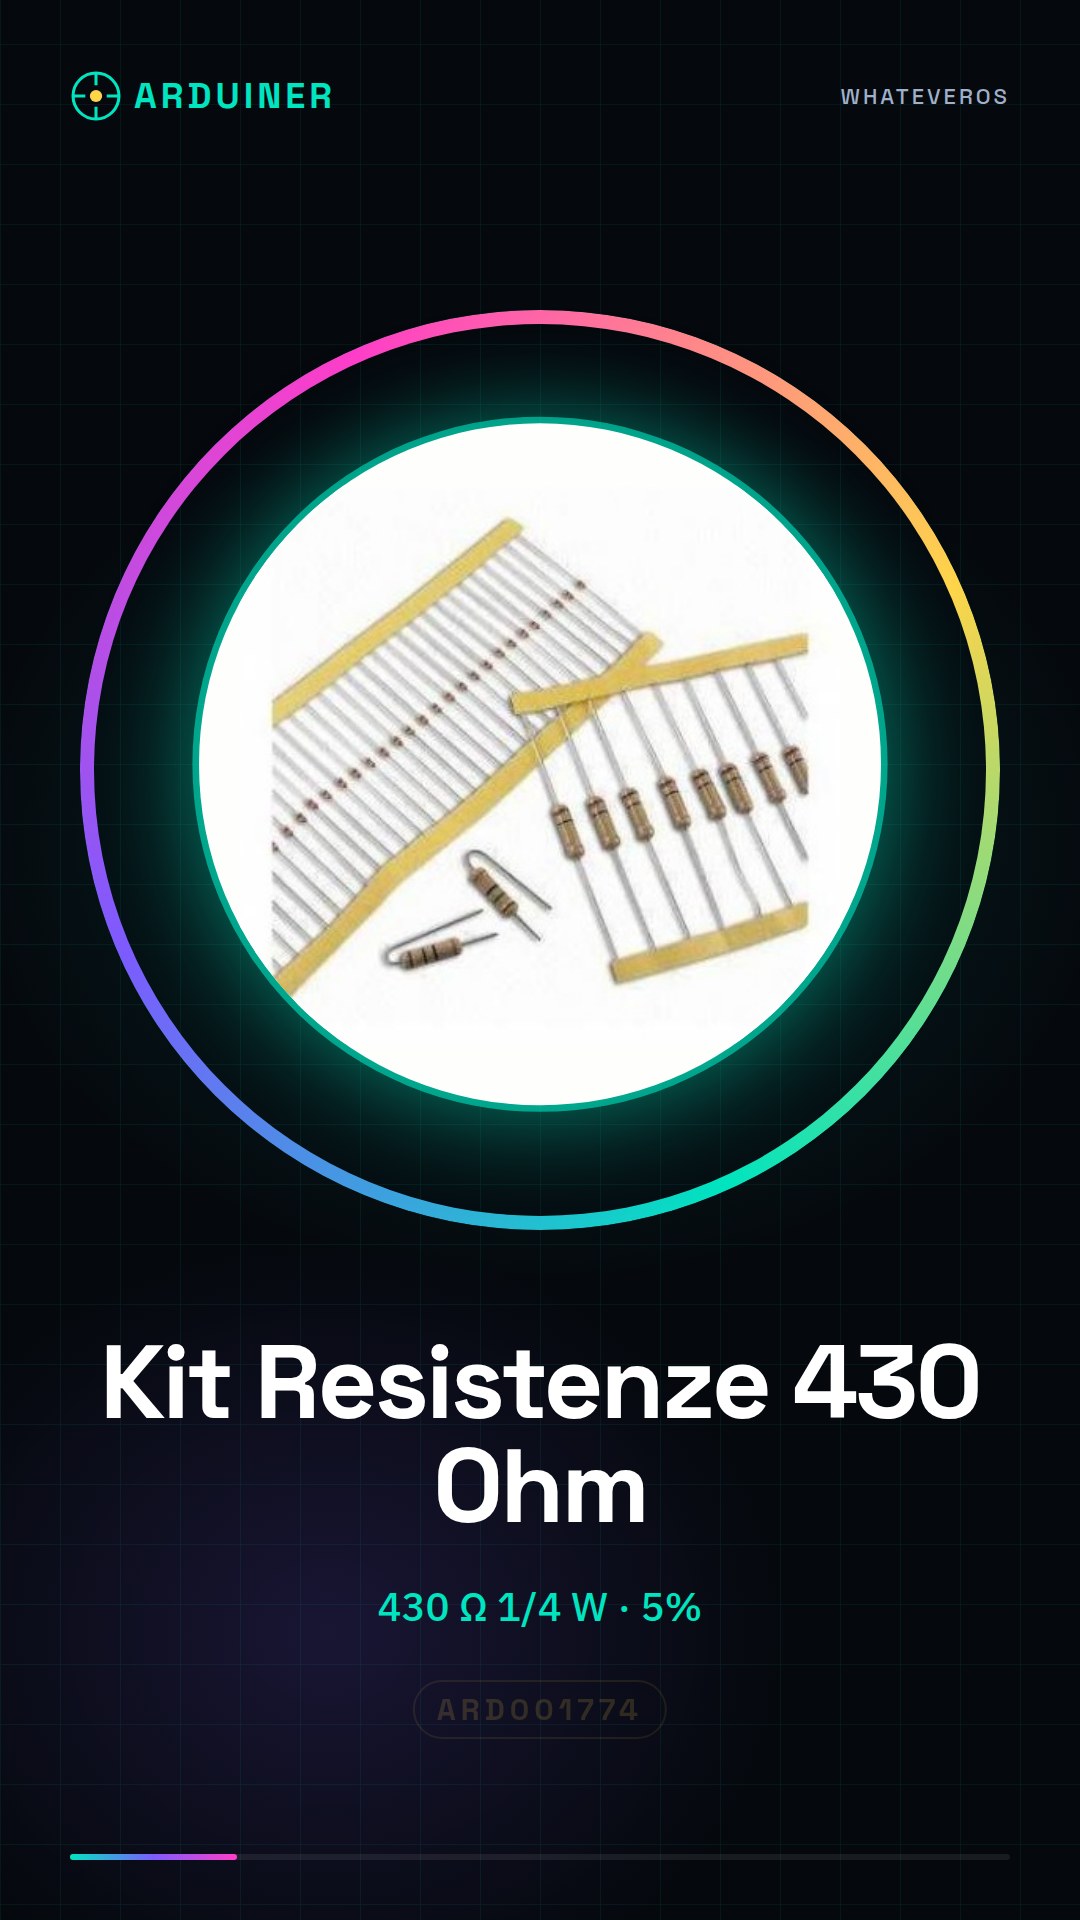
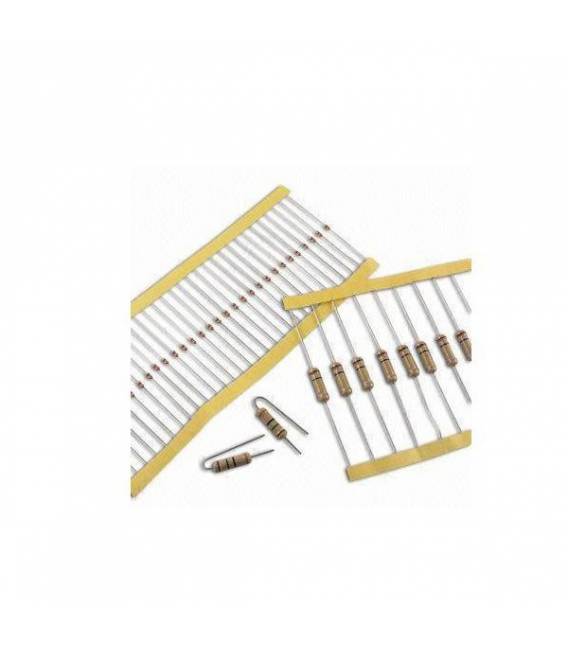
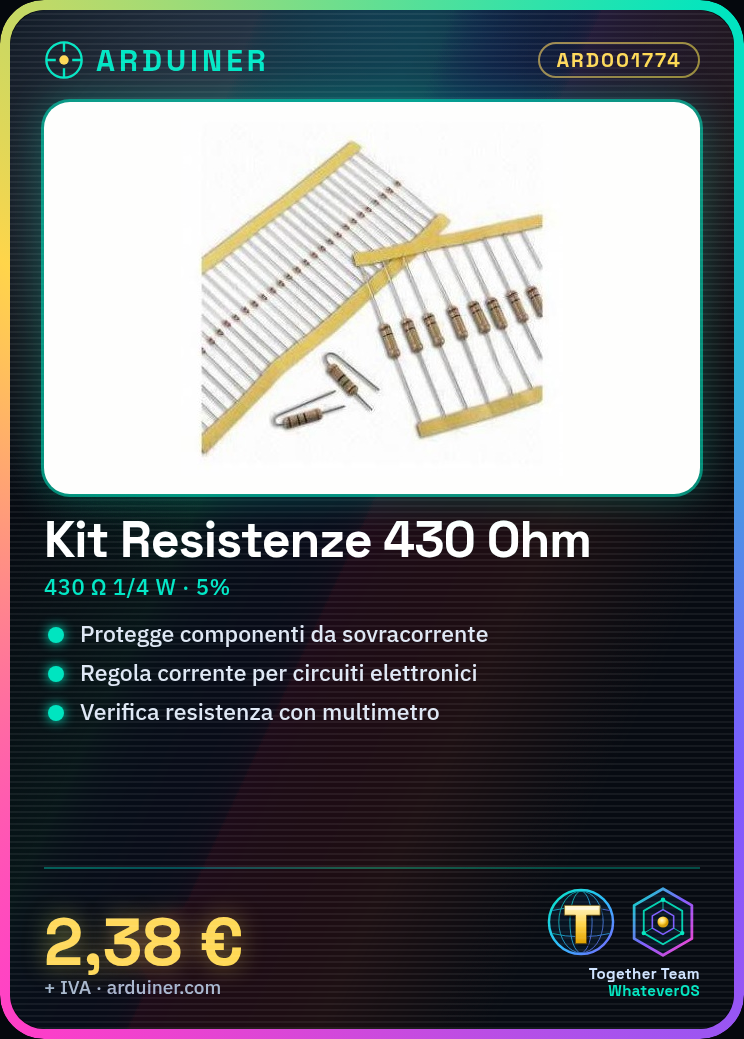
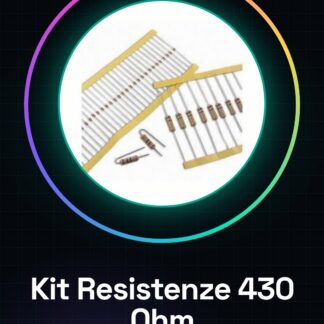
The 430 Ohm 1/4W 5% Resistor Kit – 50 Pieces is a set of electronic components used to protect electronic circuits and regulate the flow of current. These resistors are designed to handle a maximum power of 1/4 Watt and have a tolerance of 5%. Each resistor is marked with the standard resistor color codes to facilitate identification.
The resistors are supplied in a protective container that ensures their integrity during transportation and their use in various electronic projects. Their application is widely varied, from prototyping projects to electronic control systems.
To use these resistors, it is necessary to connect them correctly to the electronic circuits, ensuring that the resistance is adequate for the power and current of the circuit. It is important to check the specifications in the datasheet to ensure that the selected resistor is the most suitable for the project.
Key Specifications
| Parameter | Value |
| Model | Kit Resistors 430 Ohm 1/4W 5% |
| Quantity | 50 |
| Resistance Value | 430 Ohm |
| Maximum Power | 1/4W |
| Tolerance | 5% |
| Container | Protective Packaging |
| Dimensions | N/D (see manufacturer’s technical sheet) |
Installation and Usage
- Check the specifications in the datasheet for the 430 Ohm resistor.
- Select the resistor to use in the project.
- Cut the connection wires with a chisel.
- Connect the resistance wires to the electronic circuit.
- Check the resistance with a multimeter.
Compatibility and Requirements
- This resistance kit is compatible with a wide range of electronic circuits and prototypes. It can be used with Arduino, Raspberry Pi, and other electronic control systems.
- A multimeter is required to check the resistance value and a set of cutting tools are needed to prepare the connection wires.
- To use these resistors, a prototype circuit or a printed circuit board is required to connect the resistor.
Limitations and Important Notes
- These resistors are not designed for applications requiring power above 1/4 Watt.
- It is important to verify that the selected resistance is adequate for the circuit current.
- Ensure that the thermal enrichment is adequate to prevent overheating of the resistance.
- Do not use these resistors in applications requiring a tolerance greater than 5%.
Troubleshooting
The resistance overheats.
Probable cause: The resistance may not be adequate for the circuit power.
Solution: Check the maximum power of the resistance and replace it with a more suitable resistance.
The measured value of the resistance does not correspond to the nominal value.
Probable cause: The resistance may have a tolerance greater than the nominal value.
Solution: Check the value of the resistance with a multimeter and replace it if necessary.
The circuit does not work correctly.
Probable cause: The resistance may be incorrectly connected or not adequate for the circuit current.
Solution: Check the resistor connection and the resistor value.
The resistor is broken.
Probable cause: The resistor might not be suitable for the circuit power or overheating.
Solution: Check the maximum power of the resistor and replace it with a more suitable one.
Use cases
LED Lighting Project
Objective: Regulate the current flow to protect the LEDs.
What’s needed: 430 Ohm 1/4W 5% Resistor Kit – 50 Pieces, LEDs, prototype circuit.
Steps: 1) Check the datasheet specifications for the 430 Ohm resistor. 2) Select the resistor to use in the project. 3) Cut the connection wires with a utility knife. 4) Connect the resistor and the LED to the prototype circuit. 5) Check the resistor and the LED with a multimeter.
Expected result: The LED lighting project works correctly with the regulated resistor.
Temperature Control System
Objective: Regulate the flow of current to protect the temperature sensor.
What you need: 430 Ohm Resistor Kit 1/4W 5% – 50 Pieces, temperature sensor, prototype circuit.
Steps: 1) Check the specifications in the datasheet for the 430 Ohm resistor. 2) Select the resistor to use in the project. 3) Cut the connection wires with a utility knife. 4) Connect the resistor and the temperature sensor to the prototype circuit. 5) Verify the resistor and the temperature sensor with a multimeter.
Expected result: The temperature control system works correctly with the regulated resistor.
Prototype Prototyping Project
Objective: Test the resistor in a prototype circuit.
What you need: 430 Ohm Resistor Kit 1/4W 5% – 50 Pieces, prototype circuit.
Steps: 1) Check the datasheet specifications for the 430 Ohm resistor. 2) Select the resistor to use in the project. 3) Cut the connection wires with a utility knife. 4) Connect the resistor to the prototype circuit. 5) Verify the resistor with a multimeter.
Expected result: The prototyping project works correctly with the regulated resistor.
Lighting Control System
Objective: Regulate the current flow to protect the LEDs.
What’s needed: 430 Ohm 1/4W 5% Resistor Kit – 50 Pieces, LEDs, prototype circuit.
Steps: 1) Check the datasheet specifications for the 430 Ohm resistor. 2) Select the resistor to use in the project. 3) Cut the connection wires with a utility knife. 4) Connect the resistor and LED to the prototype circuit. 5) Verify the resistor and LED with a multimeter.
Expected result: The lighting control system works correctly with the regulated resistance.
Home Automation Project
Objective: Regulate the current flow to protect the sensors.
What’s needed: 430 Ohm Resistors Kit 1/4W 5% – 50 Pieces, sensors, prototype circuit.
Steps: 1) Check the specifications in the datasheet for the 430 Ohm resistor. 2) Select the resistor to use in the project. 3) Cut the connection wires with a utility knife. 4) Connect the resistor and sensors to the prototype circuit. 5) Check the resistor and sensors with a multimeter.
Expected result: The home automation project works correctly with the regulated resistance.
Environmental Monitoring Project
Objective: Regulate the current flow to protect the sensors.
What’s needed: 430 Ohm Resistors Kit 1/4W 5% – 50 Pieces, sensors, prototype circuit.
Steps: 1) Check the datasheet specifications for the 430 Ohm resistor. 2) Select the resistor to use in the project. 3) Cut the connection wires with a utility knife. 4) Connect the resistor and sensors to the prototype circuit. 5) Verify the resistor and sensors with a multimeter.
Expected outcome: The environmental monitoring project functions correctly with the regulated resistance.
Motors Control Project
Objective: Regulate the current flow to protect the motors.
What’s needed: 430 Ohm 1/4W 5% Resistors Kit – 50 Pieces, motors, prototype circuit.
Steps: 1) Check the datasheet specifications for the 430 Ohm resistor. 2) Select the resistor to use in the project. 3) Cut the connection wires with a utility knife. 4) Connect the resistor and motors to the prototype circuit. 5) Verify the resistor and motors with a multimeter.
Expected result: The motor control project works correctly with the regulated resistance.
Temperature Control Project
Objective: Regulate the current flow to protect the temperature sensors.
What’s needed: 430 Ohm 1/4W 5% Resistor Kit – 50 Pieces, temperature sensors, prototype circuit.
Steps: 1) Check the datasheet specifications for the 430 Ohm resistor. 2) Select the resistor to use in the project. 3) Cut the connection wires with a utility knife. 4) Connect the resistor and temperature sensors to the prototype circuit. 5) Verify the resistor and temperature sensors with a multimeter.
Expected result: The temperature control project works correctly with the regulated resistance.
In the package
- 50 Pieces
Complete the project
- 50 Pieces Resistance, 10000 ohm, 10k, ohm 1/4w 1/4 w 5% , Arduino Compatible Resistors: To verify the resistance value.
Technical FAQs
How do I verify the resistance value?
Use a multimeter set to resistance measurement to verify the resistance value.
What is the tolerance of the resistance?
The tolerance of the 430 Ohm 1/4W resistance is 5%.
Can I use these resistors in a low-power circuit?
Yes, but make sure the resistor is suitable for the circuit’s current.
What is the maximum power of the resistor?
The maximum power of the 430 Ohm 1/4W resistor is 1/4 Watt.
Tutorial: How to use 430 Ohm 1/4W 5% Resistor Kit
These 430 ohm 1/4W resistors are ideal for protecting components and regulating current in your electronic creations.
What you need
- 430 ohm 1/4W resistors
- Connections
- Multimeter
- Sculptor’s knife
Steps
- 1. Check the specifications on the datasheet.
- 2. Take a resistor.
- 3. Cut the wire with the utility knife.
- 4. Connect the wires to a circuit.
- 5. Check the resistance with the multimeter.
- 6. Repeat for all resistors.
- 7. Verify the maximum current.
- 8. Ensure adequate thermal enhancement.
Mini project
Build a simple protection circuit for an LED.
Common mistakes
- Use resistors with a higher value than required.
- Connect the wires without checking the resistance.
- Ignore the maximum current verification.
- Do not use adequate thermal enhancement.
Recommended accessories
- Multimeter
- Utility knife
- Prototype circuit board
- LED
Frequently asked questions
How to check the resistance?
Use the multimeter set to resistance.
What thermal enhancement is necessary?
Check the datasheet or use a heat sink.
Can I use these resistors for low-power circuits?
Yes, but check the maximum current.
Reviews
There are no reviews yet.