 EN
 IT Italiano
 ES Español
 FR Français
 DE Deutsch
Description
What it is
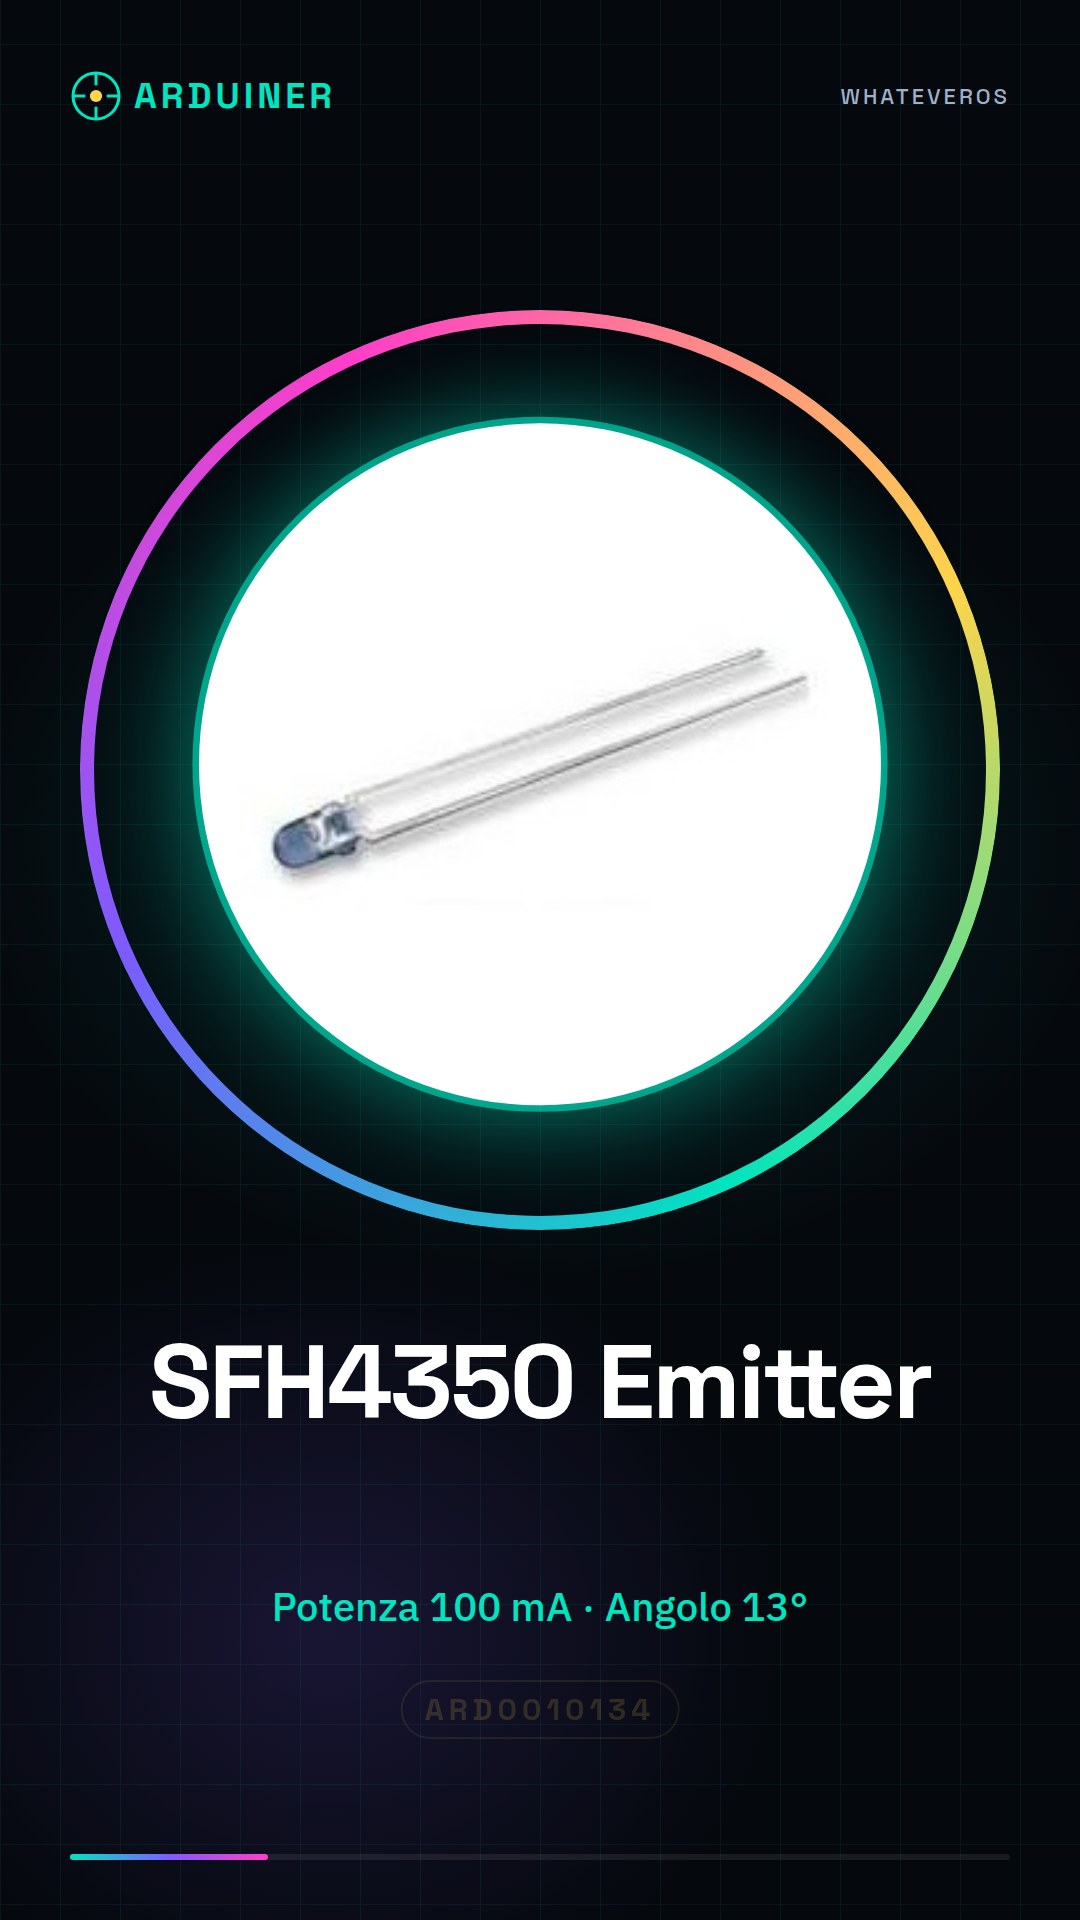
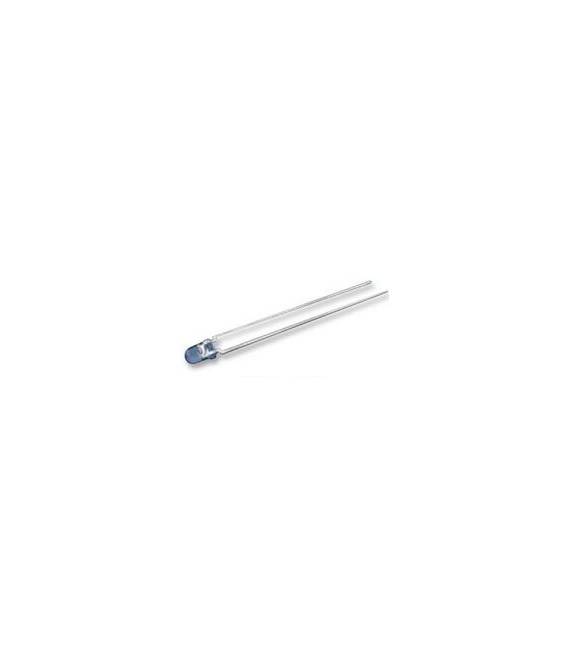
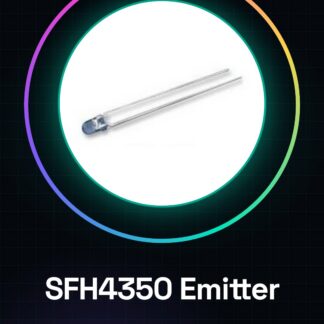
The SFH4350 is a high-power infrared emitter, ideal for transmitting infrared signals in applications that require a robust transmission.
Features
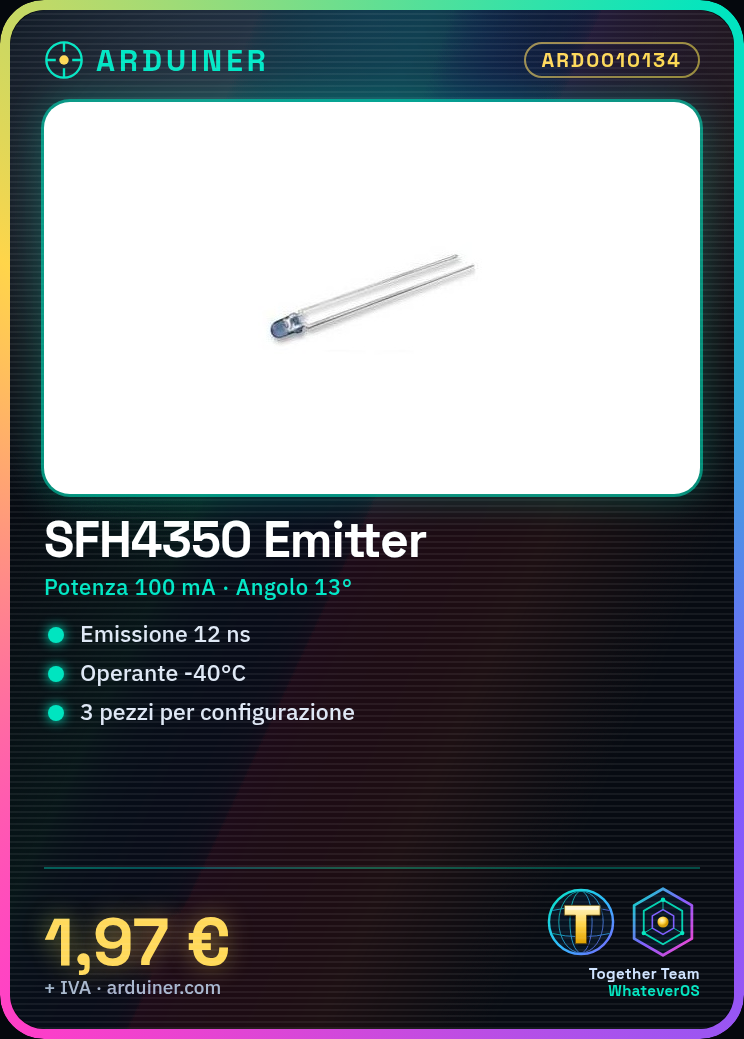
- Power: 100 mA
- Emission time: 12 ns
- Emission angle: 13 °
- Operating voltage: 1.5 V
- Operating temperature: -40 °C
What it is for
This infrared emitter is perfect for remote control projects, infrared sensors, and other applications that require a reliable infrared signal transmission. You can use it to create remote control systems for devices such as lamps or robots. Its compatibility with Arduino and other microcontrollers makes it a versatile choice for electronics projects.
Tutorial: How to Use 3 Pieces SFH4350 Infrared Emitter
This high-power infrared emitter is ideal for projects requiring a robust infrared signal transmission, such as remote control systems or long-range sensors.
What you need
- Arduino or compatible microcontroller
- 1 kΩ resistor (for protection)
- Connection cable
- Multimeter (for voltage verification)
Steps
- 1. Connect the SFH4350 emitter to the output pin of your microcontroller using a 1 kΩ resistor for protection.
- 2. Connect the GND pin of the microcontroller to the GND pin of the emitter.
- 3. Connect the VCC pin of the emitter to the 5V pin of the microcontroller.
- 4. Check the datasheet for proper power supply.
- 5. Load the following code onto your Arduino.
- 6. Check that the emitter is functioning correctly using a multimeter to verify the current.
- 7. Try sending an infrared signal.
- 8. Verify that the signal is received correctly.
Example code
```
#include <IRremote.h>

IRsend irsend;

void setup() {
  irsend.begin();
}

void loop() {
  irsend.sendUniversal(0x123456789ABCDEF0, 32, 38000);
  delay(1000);
}
```
Mini project
Create a remote control system for a lamp using the SFH4350 transmitter and an infrared receiver.
Common mistakes
- Do not use a resistor that is too low, as it could damage the transmitter.
- Ensure that the power supply is correct and does not exceed the maximum value indicated in the datasheet.
- Verify that the signal is received correctly using an infrared receiver.
- Use a multimeter to check the current before connecting the transmitter.
Recommended accessories
- Arduino Uno
- Infrared receiver module
- Lamp with a 5V connector
- Connection cable
Frequently asked questions
How can I verify if the transmitter is working correctly?
Use a multimeter to check the current and ensure that the power supply is correct.
What are the minimum requirements for the power supply?
Check the datasheet for the minimum and maximum power supply values.
Can I use this transmitter with a microcontroller other than Arduino?
Yes, but check the compatibility in the datasheet.
Reviews
There are no reviews yet.