 EN
 IT Italiano
 ES Español
 FR Français
 DE Deutsch
Description
Tutorial: How to Use 3 Ohm Resistor Kit
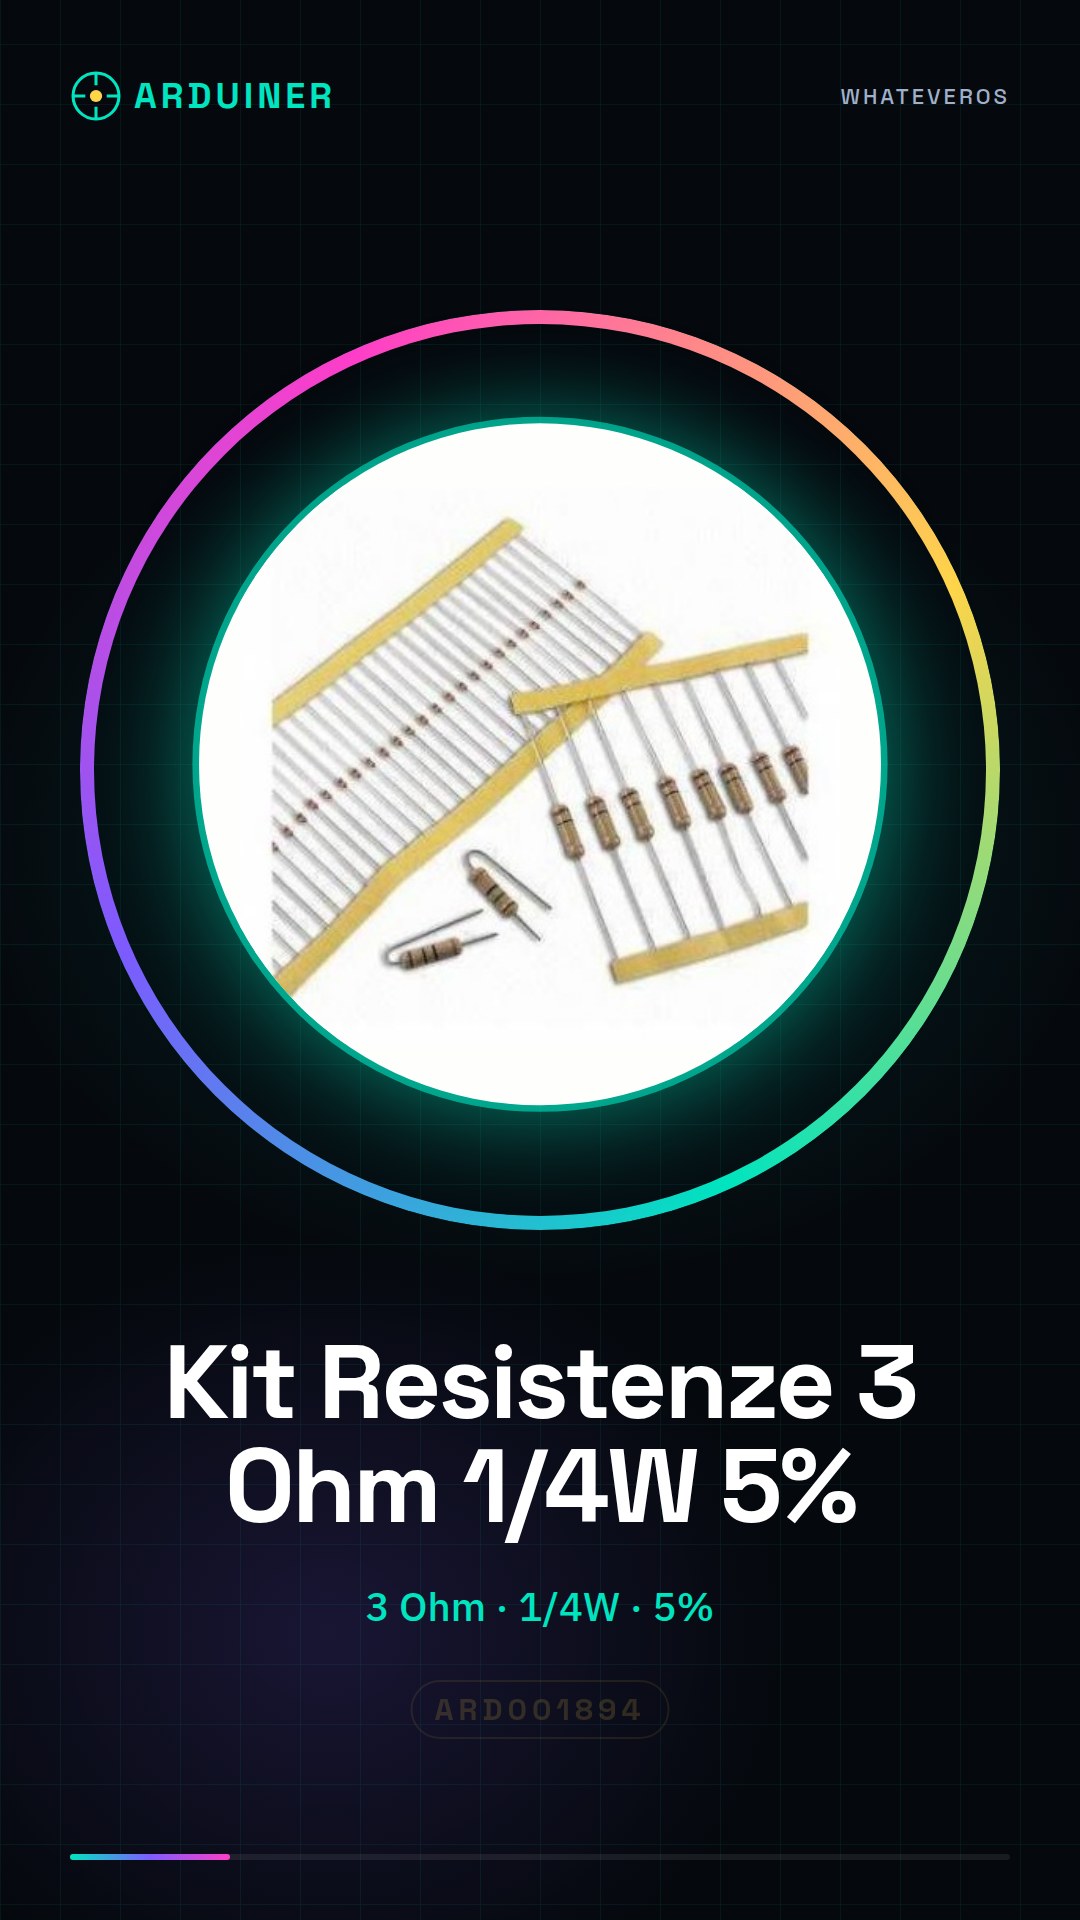
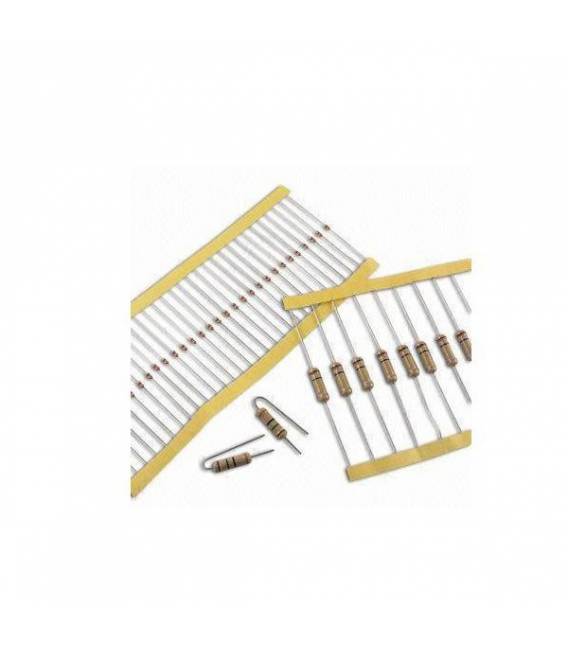
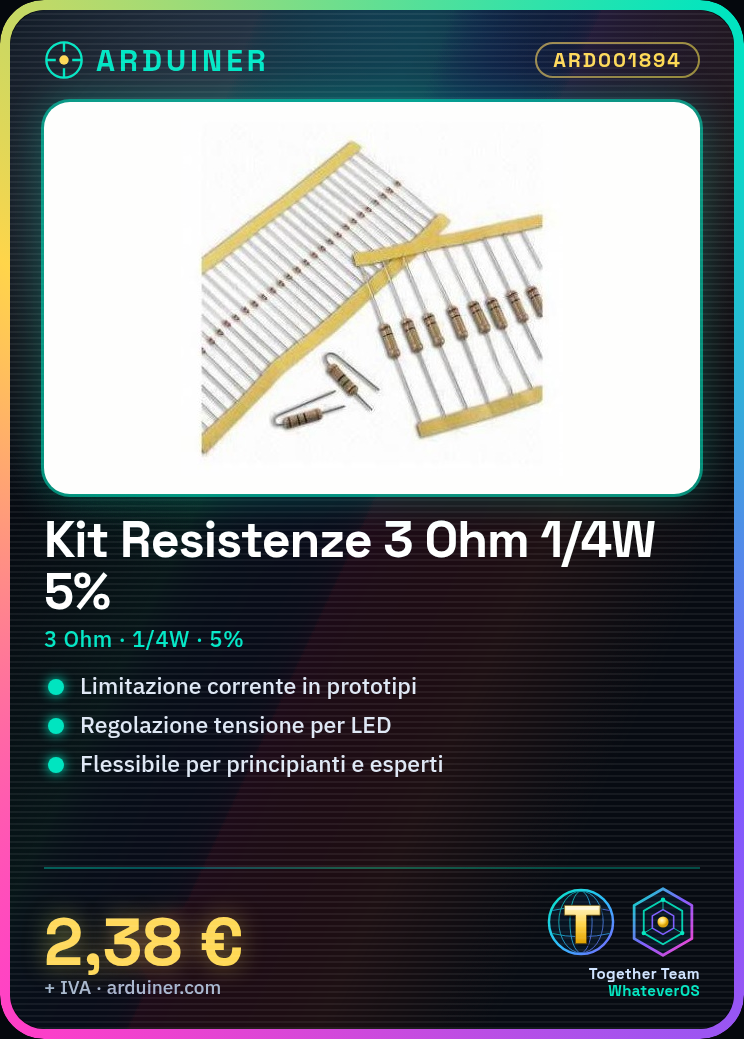
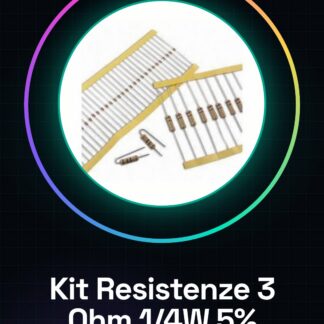
The 3 ohm resistor kit is a fundamental component for electronic projects that require current limiting. Ideal for both beginners and experts, these resistors are useful in many applications.
What you need
- Arduino Projects
- Prototype Circuits
- Limit Current
- Adjust Voltage Level
Steps
- Check your resistor specifications on a datasheet. The maximum power is 1/4W and the tolerance is 5%.
- Select an Arduino board or another prototype for your project.
- Connect the resistor between two points of the circuit, ensuring that the polarities are correct (not applicable to this resistor).
- Verify with a multimeter if the resistor is connected correctly and functions as expected.
- If you are working on a more complex project, repeat steps 2-4 for additional resistors as needed.
Mini project
Create a simple light control interface using the resistor as part of the current limiting circuit for an LED.
Common mistakes
- Use a resistor that does not meet the project specifications
- Connect the resistor incorrectly in the circuit
- Do not verify the value of the resistor before installation
Recommended accessories
- Arduino prototype kit
- Multimeter
- Set of electronic connectors
- Various LEDs
Frequently asked questions
Q: Why does the resistor have a 5% tolerance?
The tolerance indicates how much the actual value of the resistor can vary from the nominal value. In this case, it can be up to 5% more or less.
Can I use these resistors in high-power projects?
No, these are designed for a maximum power consumption of 1/4W. For higher power projects, use high-power resistors.
Reviews
There are no reviews yet.