 EN
 IT Italiano
 ES Español
 FR Français
 DE Deutsch
Description
Tutorial: How to Use 180 Ohm Resistor Kit
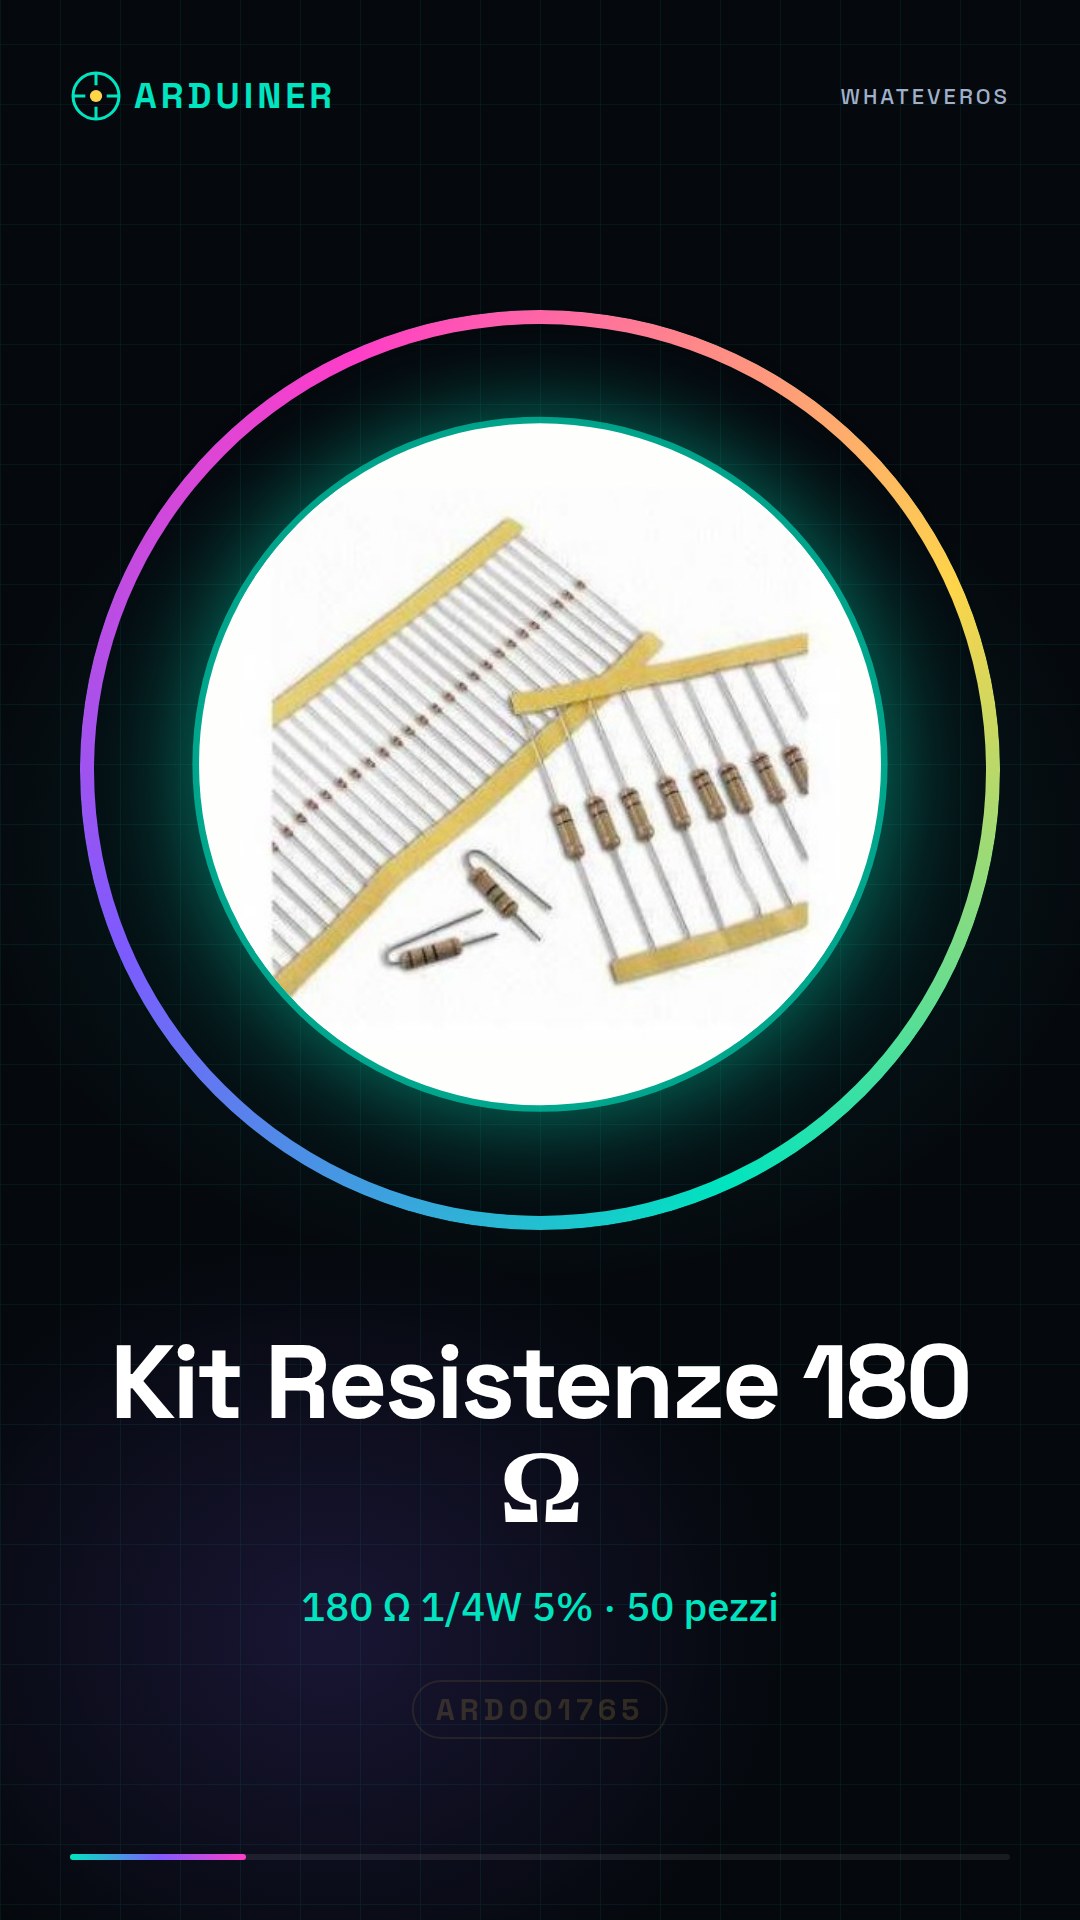
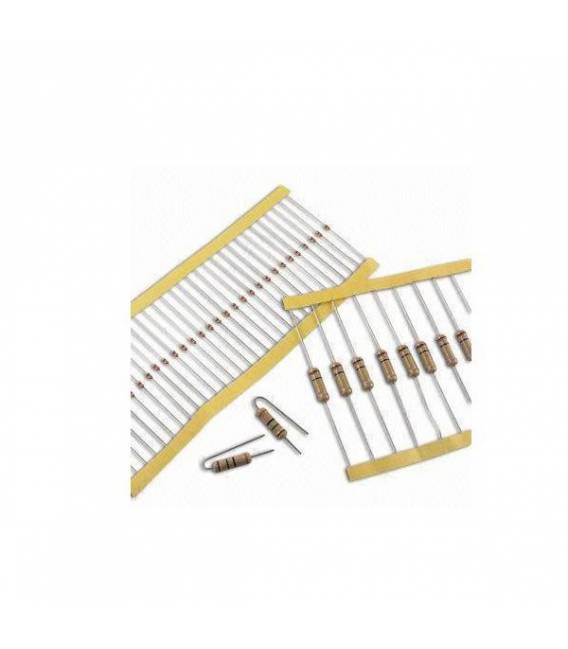
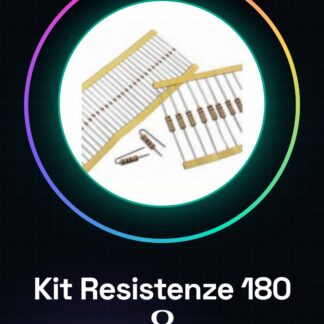
The 180 ohm resistor kit is a fundamental component for Arduino projects and general electronics. It is used to limit the flow of current through circuits such as those used in lighting, sensing, or protecting components.
What you need
- Arduino Uno
- multimeter
Steps
- Check the resistance with a multimeter.
- Connect a resistor to a digital pin of the Arduino to limit the flow of current.
- Use the resistor in series with an LED to protect it from overloads.
- Add more resistors to your project following the specifications in the datasheet.
Mini project
Create an Arduino-controlled LED lamp: connect an LED to a digital pin of the Arduino through the 180 ohm resistor to limit the flow of current and protect the LED.
Common mistakes
- Using a resistor that is too small or too large.
- Do not check the resistance with a multimeter before using it.
- Connect an LED directly without a resistor.
- Ignore the power rating of the resistor (1/4W) in the datasheet.
Recommended accessories
- Arduino Uno
- LEDs in various colors
- Connector kit
- Digital multimeter
Frequently asked questions
How much does it cost?
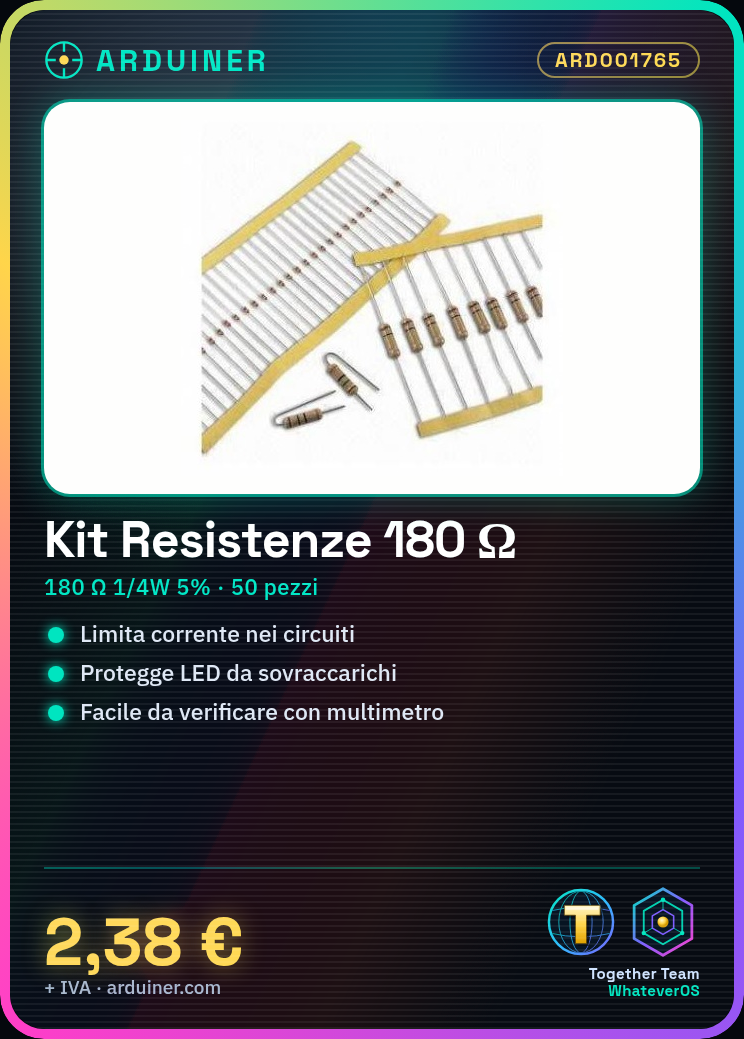
The kit will cost 2.38 €.
What is the tolerance of the resistor?
The tolerance is 5%, check the datasheet for precise specifications.
Reviews
There are no reviews yet.