 EN
 IT Italiano
 ES Español
 FR Français
 DE Deutsch
Description
What it is
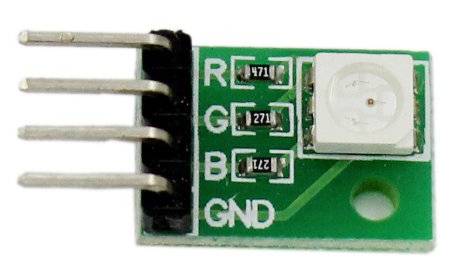
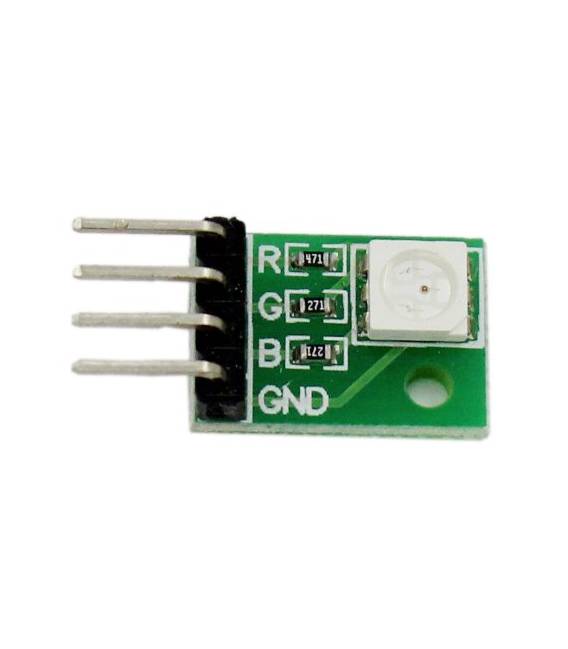
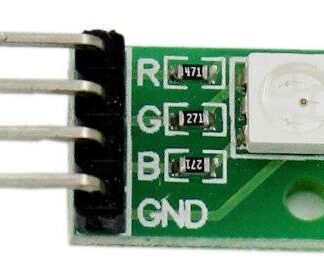
The 3-color RGB SMD module with 3 pins and 4 pins is an electronic component that allows controlling RGB (red, green, blue) lighting in an electronic project. It can be used to create custom lights, colored displays, and other visual effects.
Features
- SMD format
- 3 RGB colors
- 3 pins for color control
- 4 pins total
- Compatible with Arduino
What it is for
This module is ideal for lighting projects, displaying information on custom displays, and creating dynamic visual effects. It can be used with Arduino to control the color and brightness of RGB lights.
Tutorial: How to use the 3-color RGB module
This 3-color RGB module is ideal for lighting projects and displaying information on custom displays. Useful for beginners and intermediate makers.
What you need
- Arduino
- 220Ω resistor
- SMD connector for Arduino
Steps
- 1. Prepare the Arduino and the RGB module.
- 2. Connect the RGB module to pin 3 of the Arduino with the VCC pin.
- 3. Connect the GND pin of the RGB module to the GND pin of the Arduino.
- 4. Connect pin 2 of the RGB module to a pin of the Arduino with a 220Ω resistor.
- 5. Load the following code onto the Arduino.
- 6. Check that the RGB module lights up and changes color.
- 7. Modify the code to change the colors.
- 8. Test the RGB module with different colors.
Example code
```
#include <Adafruit_NeoPixel.h>

#define PIN 3
#define NUMPIXELS 3

Adafruit_NeoPixel pixels = Adafruit_NeoPixel(NUMPIXELS, PIN, NEO_GRB + NEO_KHZ800);

void setup() {
  pixels.begin();
}

void loop() {
  pixels.setPixelColor(0, pixels.Color(255, 0, 0)); // Red
  pixels.show();
  delay(1000);
  pixels.setPixelColor(0, pixels.Color(0, 255, 0)); // Green
  pixels.show();
  delay(1000);
  pixels.setPixelColor(0, pixels.Color(0, 0, 255)); // Blue
  pixels.show();
  delay(1000);
}
```
Mini project
Create a color cycle that changes every second. Start with red, then green, blue, and return to red.
Common mistakes
- Connect the RGB pin of the module to a pin other than 3.
- Omit the 220Ω resistor.
- Do not load the correct Arduino code.
- Forget to update the code to change the colors.
Recommended accessories
- Arduino Uno
- USB cable for Arduino
- 16×2 LCD display
- Buttons for interaction
Frequently asked questions
How can I control multiple RGB modules?
Connect each module to a different pin and modify the code to manage them separately.
Does the RGB module work with Arduino Mega?
Yes, but check the datasheet for pin compatibility.
Can I use a different power supply?
Check the datasheet for the recommended maximum power supply.
Reviews
There are no reviews yet.