 EN
 IT Italiano
 ES Español
 FR Français
 DE Deutsch
Description
Tutorial: How to Use 270 Ohm Resistor Kit
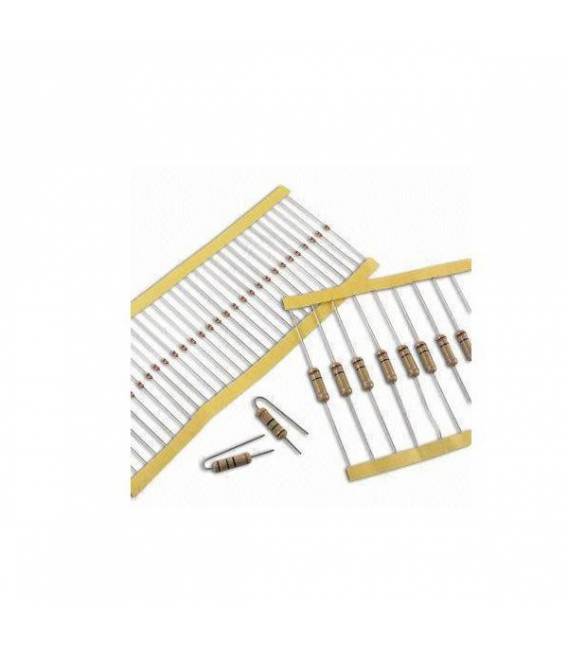
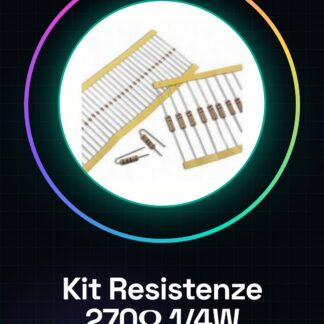
The 270 Ohm resistor kit is essential for Arduino and general electronics projects. These resistors are suitable for both beginners and more experienced makers, providing a solid foundation for managing electrical current flow.
What you need
- Lighting Projects
- Prototype Circuit
- Testing and Measurements
Steps
- Verify the resistance value (270 Ohm) using a multimeter or by reading the color bands.
- Select the position in the circuit where you want to insert the resistor, considering the current and voltage requirements.
- Connect one end of the resistor to a digital pin on the Arduino (for example, pin 3) using a jumper wire.
- Connect the other end of the conductor to the ground or another electrical reference point in the circuit.
- Check the connection with a measuring tool like a multimeter to ensure there are no shorts.
- If necessary, use a protoboard to test the resistance in a controlled environment before permanent installation.
Mini project
Create a controllable LED lamp with Arduino using the 270 Ohm resistor kit. Connect the resistors between the Arduino and the various LEDs to limit the current.
Common mistakes
- Incorrect connection of the resistor which can cause a short circuit or damage the component.
- Choosing a resistor with an inappropriate value, risking overheating the electronic element.
- Lack of verification of the resistor value before use.
Recommended accessories
- Various LED Kit
- Protoboard
- Arduino Uno
Frequently asked questions
How much heat can a 270 Ohm resistor generate?
Check the datasheet for maximum power and calculate the heat sink.
Can I use these resistors in a low voltage circuit?
Yes, but check that the current requirements are compatible with the nominal power rating of the resistor (1/4W).
Reviews
There are no reviews yet.