 EN
 IT Italiano
 ES Español
 FR Français
 DE Deutsch
Description
Technical Specification
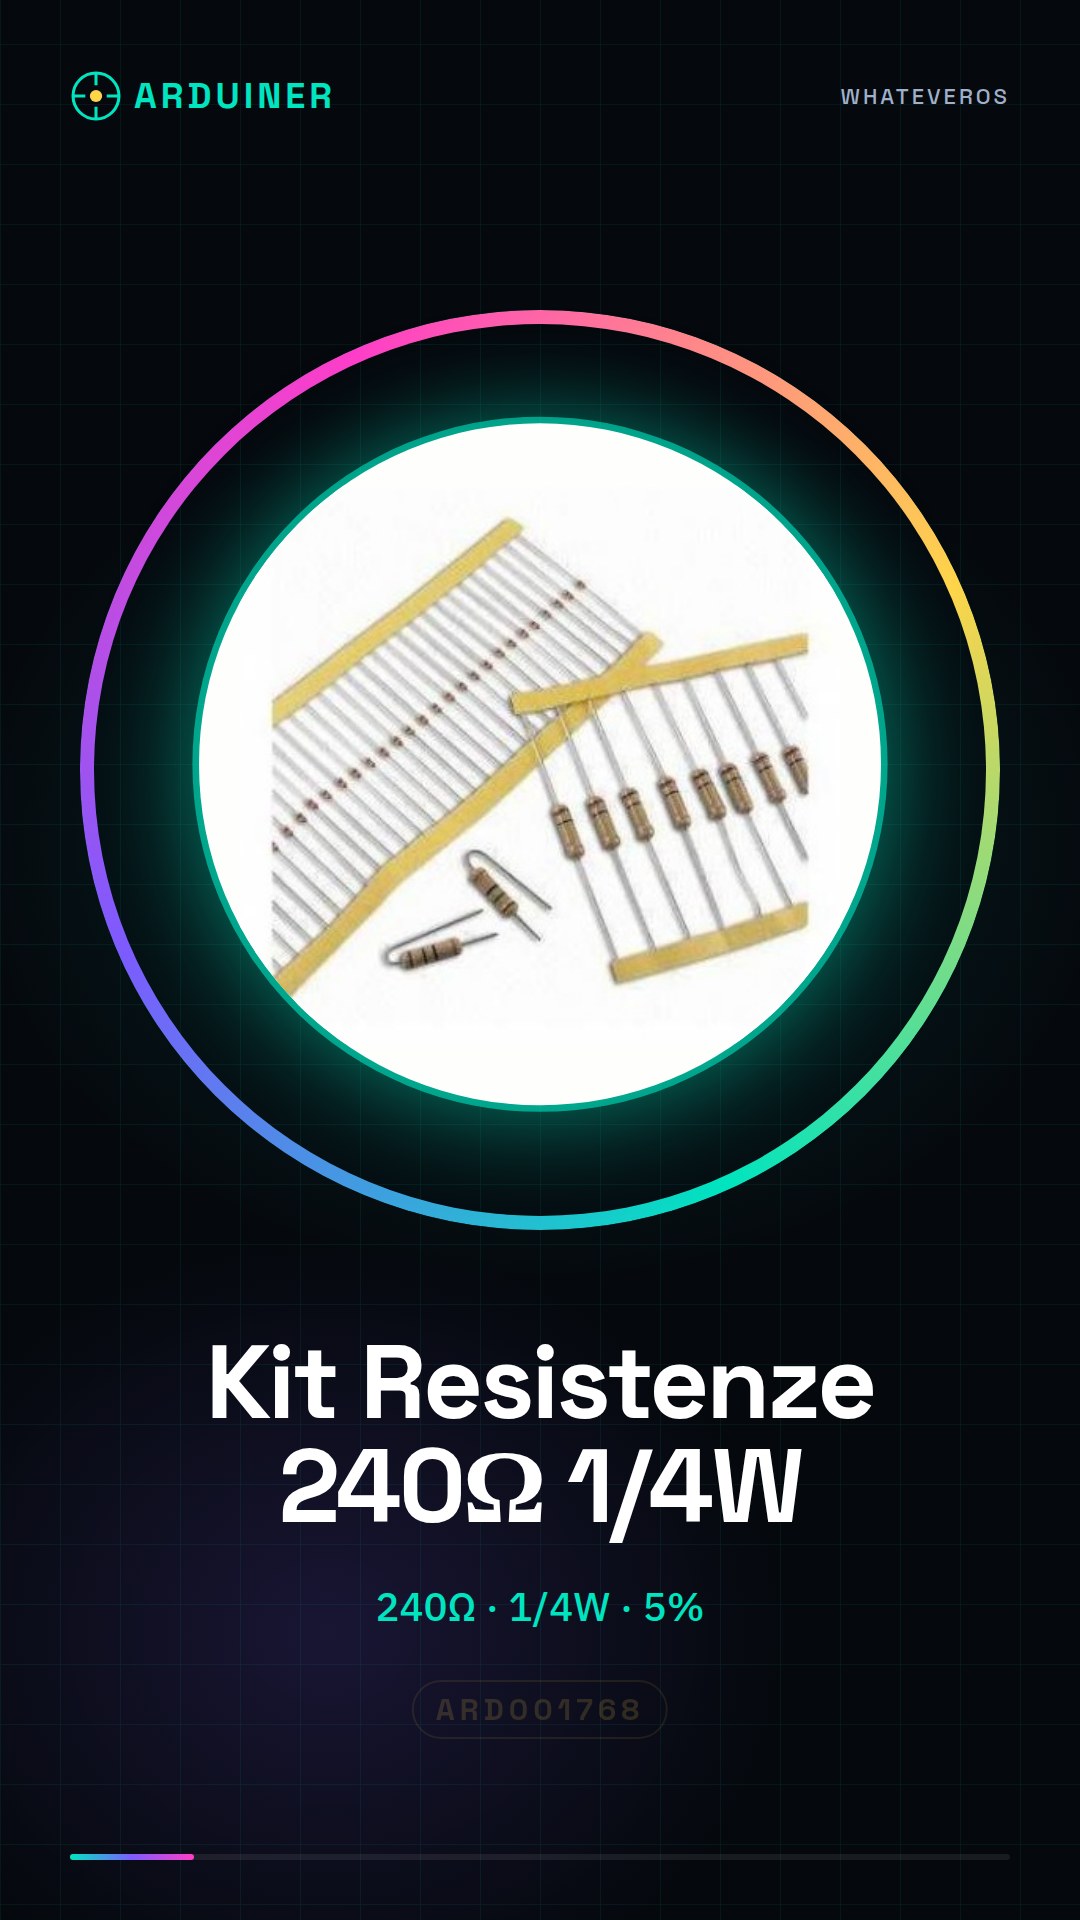
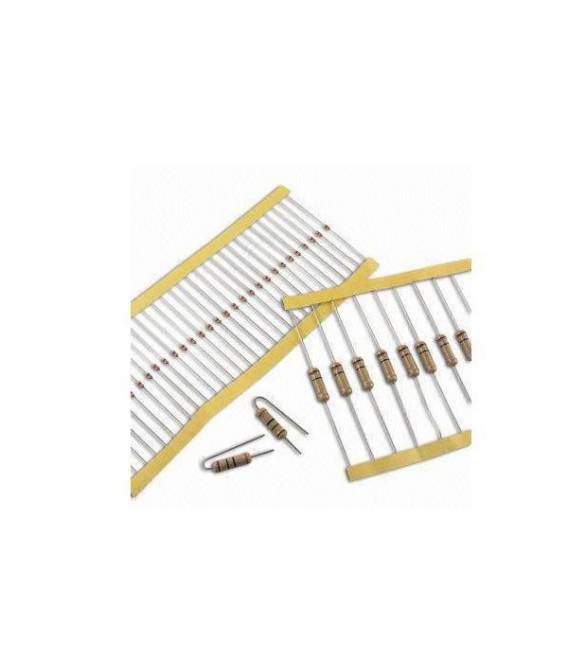
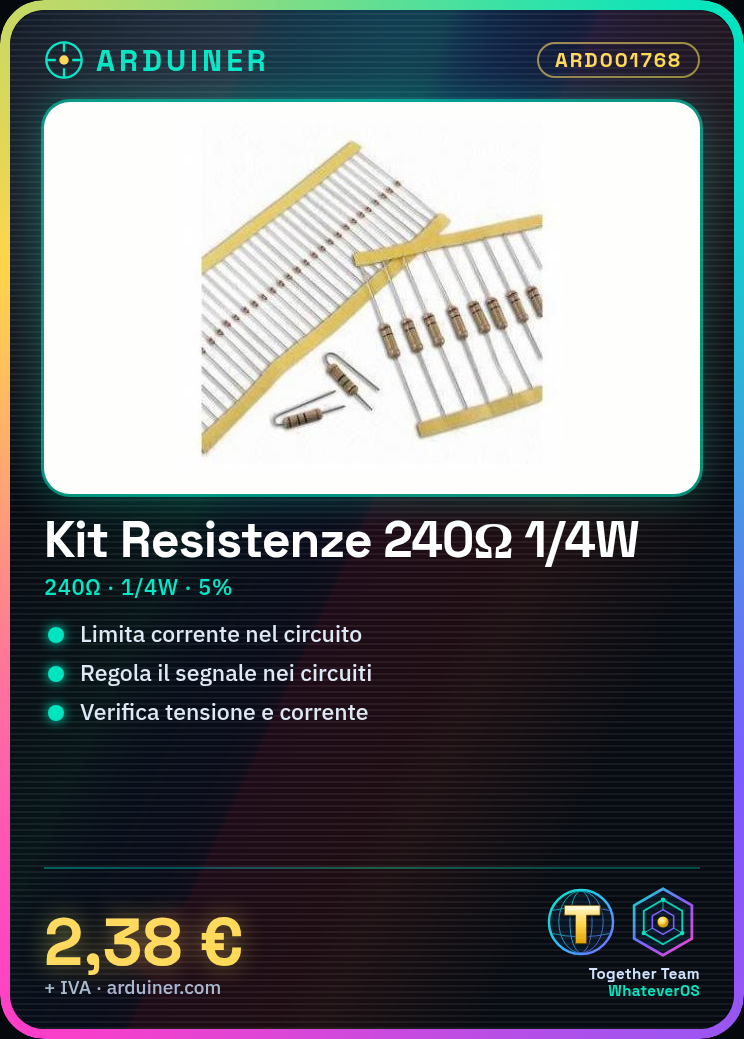
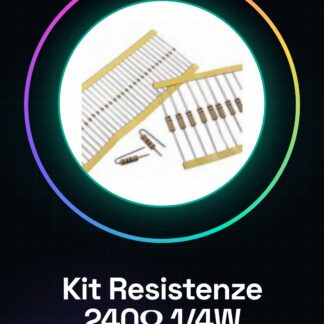
The 240 Ohm 1/4W 5% Resistor Kit – 50 Pieces is an essential component for electronic projects, particularly useful for limiting current and regulating signals in circuits. These resistors are used to protect electronic components from current overloads, ensuring the proper functioning of the circuit. Resistors are available in large quantities to facilitate prototyping and large-scale project production.
Each resistor in the kit is characterized by a resistance value of 240 Ohm and a maximum power dissipation of 1/4 Watt. The resistance value tolerance is 5%, meaning the actual value can vary up to 5% from the nominal value. These characteristics make the resistors suitable for projects that require precision and reliability.
To use resistors correctly, it is necessary to consider Ohm’s law (R = V/I) to determine the appropriate resistance value for the circuit. It is important to verify that the resistance does not exceed its maximum power dissipation to avoid damage or overload.
Key Specifications
| Parameter | Value |
| Model | 240 Ohm 1/4W 5% Resistor Kit |
| Quantity | 50 pieces |
| Resistance Value | 240 Ohm |
| Tolerance | 5% |
| Maximum Power Dissipation | 1/4 Watt |
| Dimensions | N/D (see manufacturer’s datasheet) |
| Container | Pack of 50 pieces |
| Interface | Connection Terminals |
Installation and Usage
- Check the specifications on the datasheet for the 240 Ohm resistor.
- Select the required resistance value for your circuit, considering the calculation R = V/I (Ohm’s Law).
- Connect one end of the resistor to the desired circuit.
- Ensure it is connected properly.
- Verify the voltage and current in the circuit to ensure that the resistor specifications are not exceeded (1/4W).
Compatibility and Requirements
- This resistor kit is compatible with Arduino projects and other electronic systems.
- An Arduino kit or another electronic system is required to use the resistors.
- A multimeter is needed to measure the resistance and verify the correct value.
Limits and Important Notes
- This kit does not include components for completing full projects.
- It is important to check that the resistor does not exceed its maximum power dissipation.
- The resistor can degrade with heat and prolonged use.
- Do not use the resistor incorrectly in the circuit, as this can alter the device’s operation.
Troubleshooting
The resistor overheats.
Probable cause: The resistor is exceeding its maximum power dissipation.
Solution: Choose a resistor with a higher power rating or reduce the current in the circuit.
The resistor does not properly limit the current.
Probable cause: The selected resistance value is not appropriate for the circuit.
Solution: Verify the calculation R = V/I and select a resistor with an appropriate value.
The resistor is not connected correctly.
Probable cause: The terminals of the resistor have not been connected correctly.
Solution: Check the connection and ensure that the terminals are properly soldered or connected.
The resistor is not functioning correctly.
Probable cause: The resistor may be damaged or out of specifications.
Solution: Verify the value of the resistor with a multimeter and replace the resistor if necessary.
Use cases
Prototype Lab.
Objective: Test and verify the operation of a circuit.
What’s needed: 240 Ohm 1/4W 5% Resistor Kit – 50 Pieces
Steps: 1) Calculate the required resistance value for the circuit. 2) Connect the resistor to the circuit. 3) Verify the operation of the circuit.
Expected result: The circuit functions correctly with the resistor.
Automation Project.
Objective: Adjust the signal of a sensor.
What’s needed: 240 Ohm 1/4W 5% Resistor Kit – 50 Pieces
Steps: 1) Select the appropriate resistance value for the sensor. 2) Connect the resistance to the circuit. 3) Check the sensor signal.
Expected result: The sensor signal is correctly regulated.
Test project.
Objective: Test the circuit resistance.
Required: 240 Ohm 1/4W 5% Resistance Kit – 50 Pieces
Steps: 1) Select a resistance with an appropriate value. 2) Connect the resistance to the circuit. 3) Measure the resistance with a multimeter.
Expected result: The circuit resistance conforms to specifications.
Maintenance project.
Objective: Replace a damaged resistance.
Required: 240 Ohm 1/4W 5% Resistance Kit – 50 Pieces
Steps: 1) Identify the damaged resistance. 2) Select a resistance with an appropriate value. 3) Replace the damaged resistance.
Expected result: The resistance is replaced correctly.
Repair Project.
Objective: Repair a damaged circuit.
What’s needed: 240 Ohm 1/4W 5% Resistor Kit – 50 Pieces
Steps: 1) Identify the damaged resistor. 2) Select a resistor with an appropriate value. 3) Replace the damaged resistor.
Expected Result: The circuit is repaired correctly.
Prototype Project.
Objective: Test the circuit’s resistance.
What’s needed: 240 Ohm 1/4W 5% Resistor Kit – 50 Pieces
Steps: 1) Select a resistor with an appropriate value. 2) Connect the resistor to the circuit. 3) Measure the resistance with a multimeter.
Expected Result: The circuit’s resistance meets specifications.
School Project.
Objective: Illustrate the concept of resistance.
What’s needed: 240 Ohm 1/4W 5% Resistor Kit – 50 Pieces
Steps: 1) Connect the resistor to the circuit. 2) Measure the resistance with a multimeter. 3) Illustrate the concept of resistance.
Expected outcome: The concepts of resistance are illustrated correctly.
Hobby project.
Objective: Create a light dimmer.
What you need: 240 Ohm 1/4W 5% Resistor Kit – 50 Pieces
Steps: 1) Select a resistor with an appropriate value. 2) Connect the resistor to the circuit. 3) Adjust the signal to control the light intensity.
Expected outcome: The light dimmer works correctly.
In the package
- 50 pieces
Complete the project
- 50 Pieces Resistor, 10000 ohm, 10k, ohm 1/4w 1/4 w 5%, Arduino compatible resistors: Needed to complete the kit of components required for Arduino projects.
- 470 Ohm 1/4W 5% Resistor Kit – 50 Pieces: Needed to have a complete range of resistors for various types of projects.
- 330 Ohm 1/4W 5% Resistor Kit – 50 Pieces: It is used to have a reserve of resistors for replacements or additions to existing projects.
Technical FAQs
How long does a resistor last?
Resistors do not have a specified lifespan, but they can degrade with heat and prolonged use.
How do you read a resistor?
Use a multimeter to measure directly or consult the color code on a color-coded resistor.
The resistor is overheating.
The resistor is exceeding its maximum power dissipation. Choose a resistor with a higher power rating or reduce the current in the circuit.
The resistor is not properly limiting the current.
The selected resistance value is not appropriate for the circuit. Check the calculation R = V/I and select a resistor with an appropriate value.
Tutorial: How to use 240 Ohm Resistor Kit
The 240 ohm resistor kit is a fundamental component for those starting to work with electronic circuits. These resistors are used to limit the current in your Arduino project or any other device.
What you need
- Arduino Projects
- Prototype Circuits
- Current Limitation
- Signal Regulation
Steps
- Check the specifications on the datasheet for the 240 ohm resistor.
- Select the required resistance value for your circuit, considering the calculation R = V/I (Ohm’s Law).
- Connect one end of the resistor to the desired circuit. Make sure it is connected properly.
- Check the voltage and current in the circuit to ensure that the resistor specifications are not exceeded (1/4W).
- If necessary, repeat the process for other components in the kit.
Mini project
Create a simple dimmer light with Arduino and an LED bulb. Use the 240 ohm resistor as part of the current limiting network.
Common mistakes
- Using a resistor that does not meet the circuit specifications (e.g., it may burn out if the wattage is exceeded).
- Connecting the resistor incorrectly in the circuit, altering the device’s operation.
- Failing to properly verify voltage and current values during use.
Recommended accessories
- Arduino Starter Kit
- Various Sensor Kit
- 3D Printing for Project Cases
- Voltage Regulator Kit
Frequently asked questions
How long does a resistor last?
Resistors do not have a specified lifespan, but they can degrade with heat and prolonged use.
How do you read a resistor?
Use a multimeter to measure directly or consult the color code on a color-coded resistor.
Reviews
There are no reviews yet.