 EN
 IT Italiano
 ES Español
 FR Français
 DE Deutsch
Description
What it is
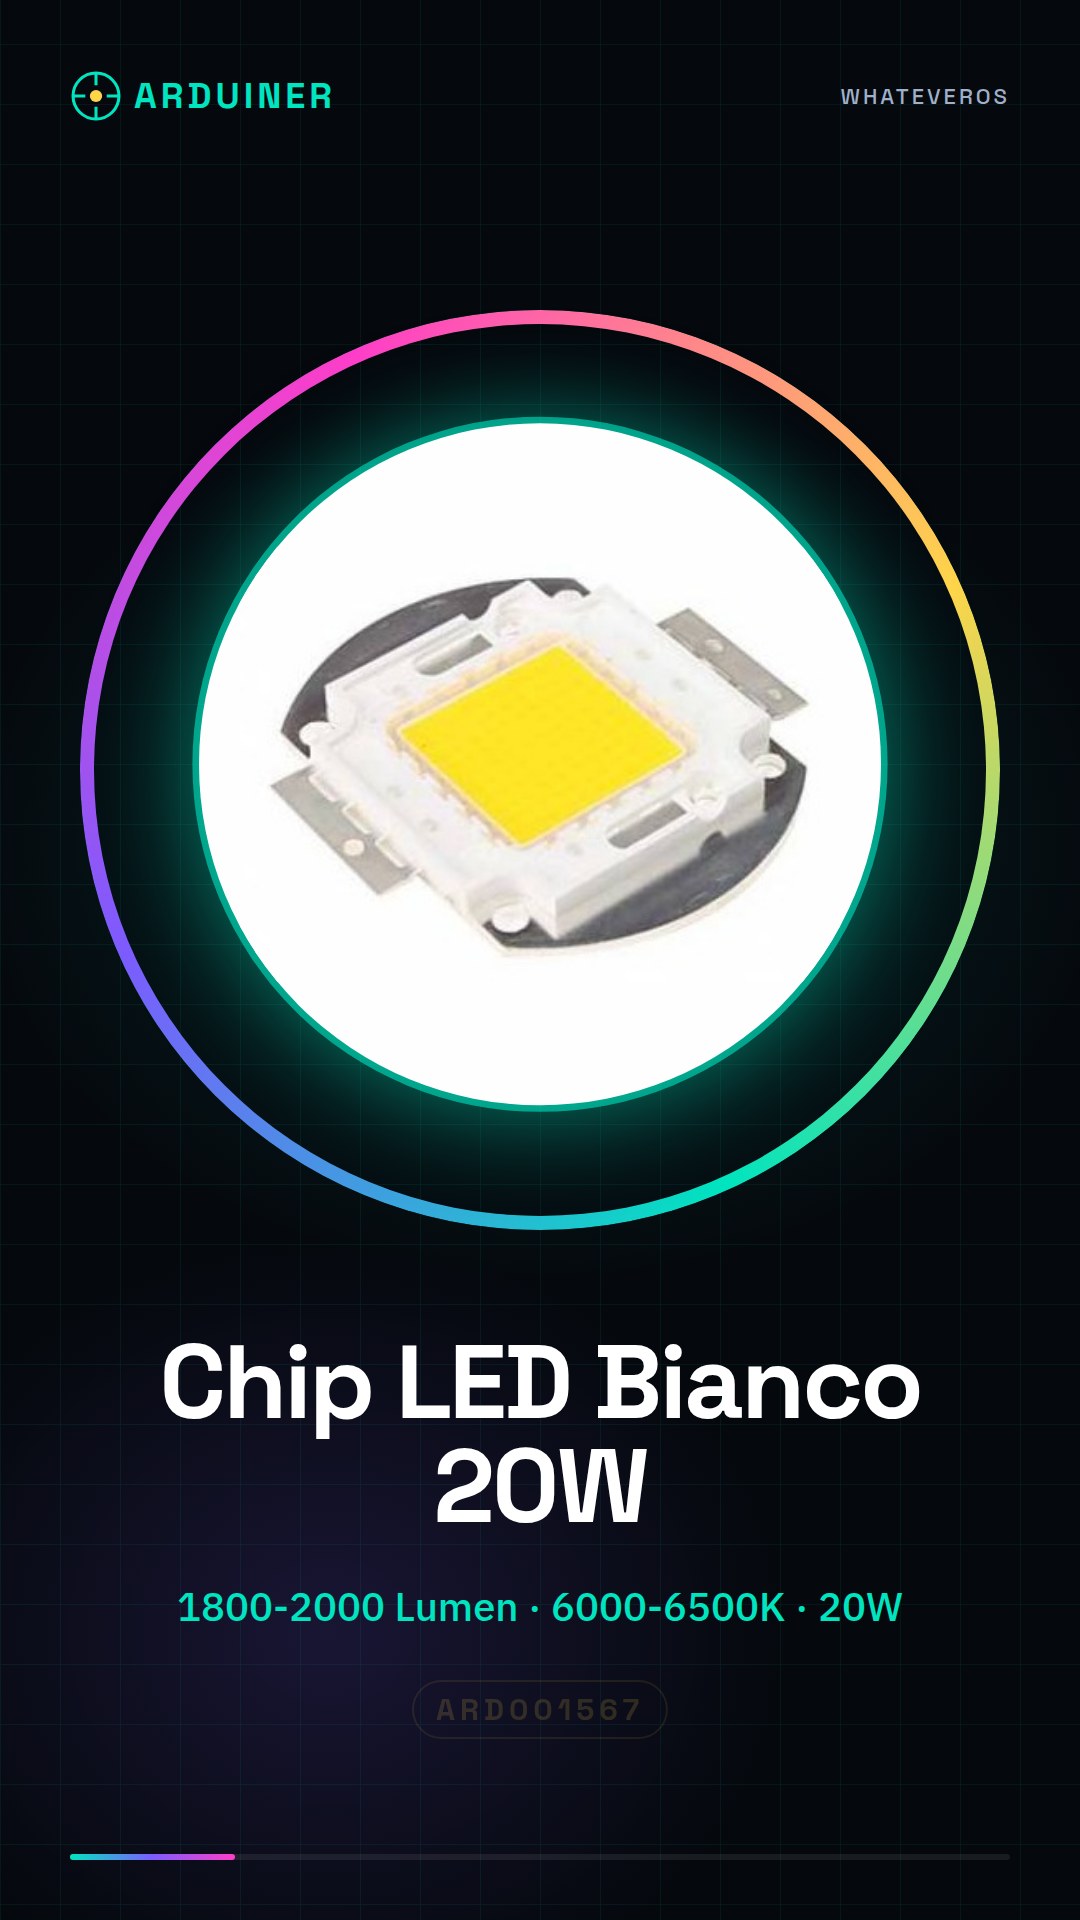
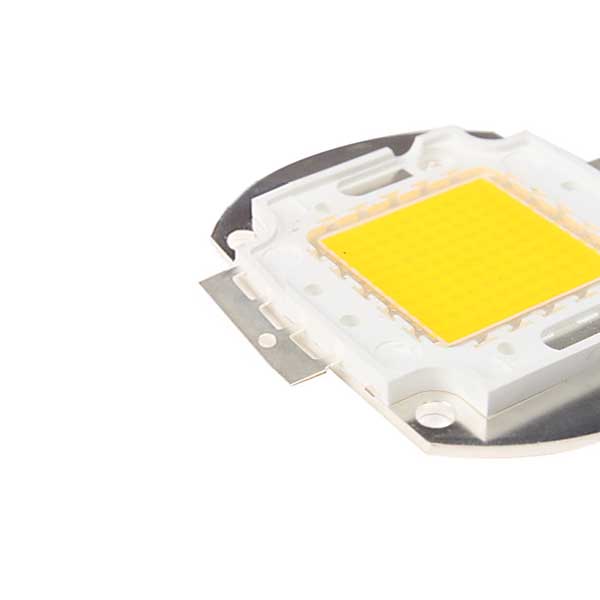
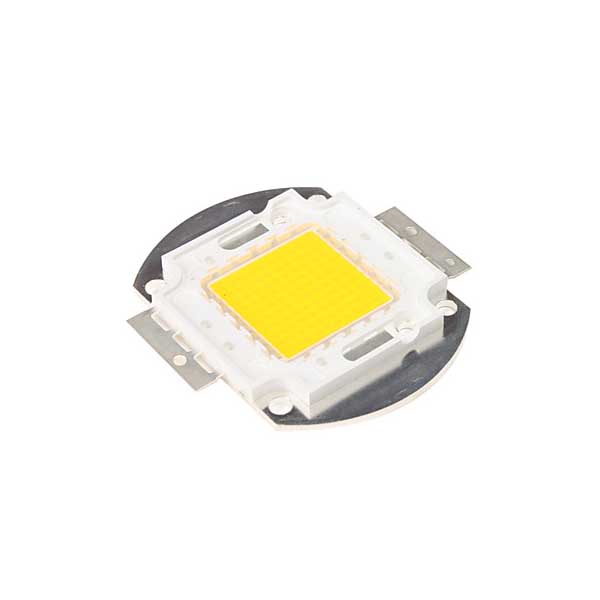
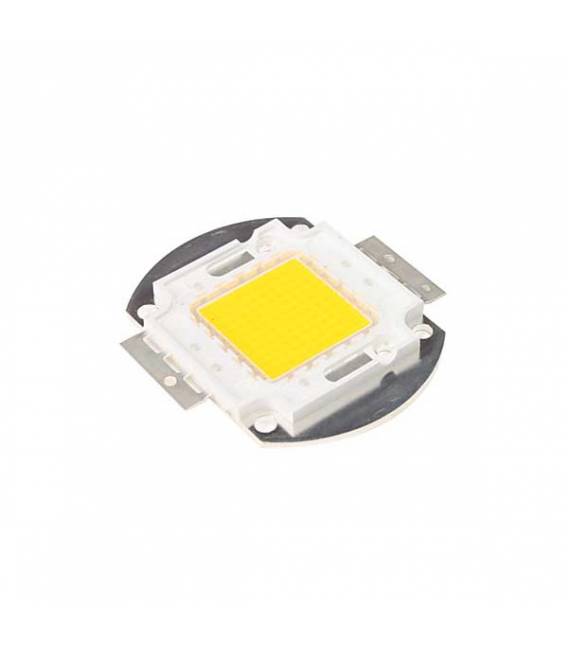
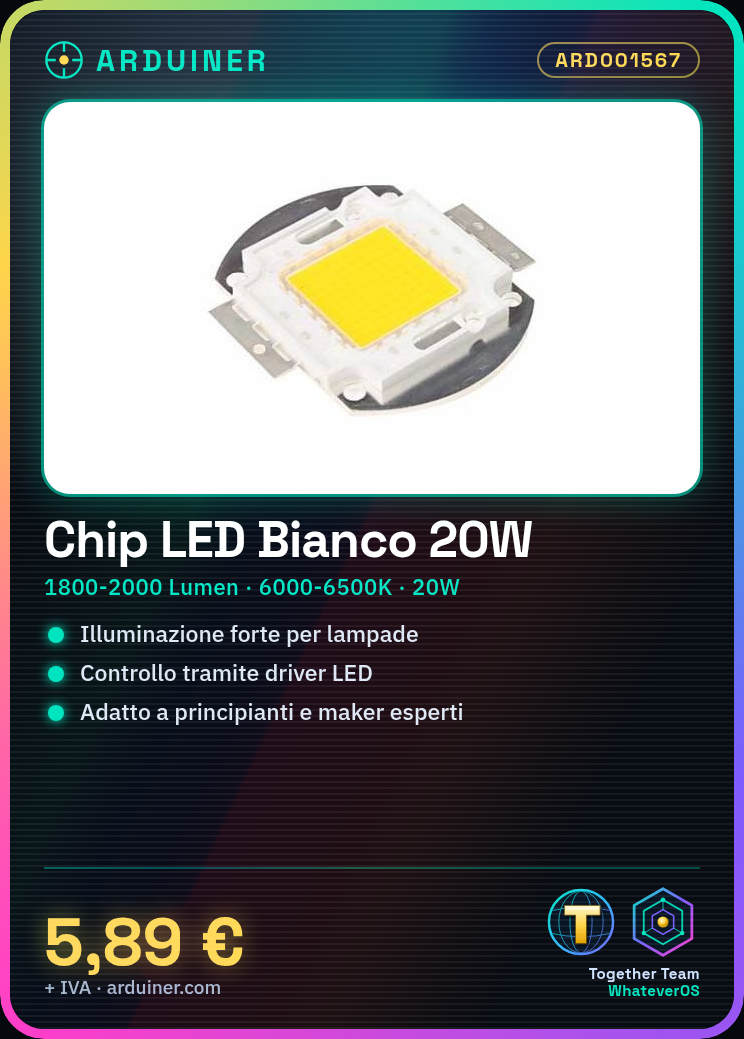
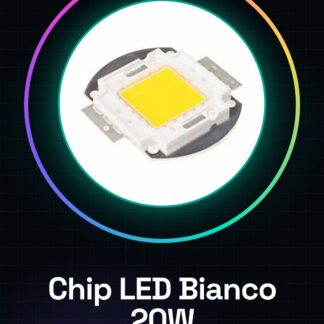
The 20W White LED Chip is an electronic component designed for intense lighting applications. With a nominal power of 20W, this LED chip provides bright illumination with a lumen range of 1800 to 2000 and a color temperature of 6000K to 6500K.
Features
- Nominal Power: 20W
- Brightness (lumen): 1800-2000
- Color Temperature (K): 6000-6500
- Supply Voltage Range: 32-34V
- Maximum Current: 500-600mA
What it is for
This LED chip is ideal for projects requiring strong illumination, such as lamps or headlamps. It is suitable for both beginners and experienced makers and can be integrated into Arduino-controlled systems to achieve advanced lighting control features.
Tutorial: How to Use 20W White LED Chip
The 20W white LED chip is ideal for intense lighting projects such as lamps or high-beam lights. This component is suitable for both beginners and experienced makers.
What you need
- Arduino Uno
- Appropriate LED driver
- Resistor
- Connectors
- Insulated cable
- Multimeter
Steps
- Check the voltage and current of the LED chip according to its specification (check the datasheet). Install a compatible LED driver.
- Connect the LED driver to the LED chip, ensuring that the S+, S- signals are correctly connected.
- Connect the power supply to the driver LED power interface (DC+ and DC-).
- If necessary, add a resistor between the LED chip and the power supply to limit the current.
- Connect the LED driver signals to the Arduino. Usually, GND to GND, VCC to 5V or 3.3V, and data to the desired Arduino pin.
- Write an Arduino sketch that controls the brightness of the LED chip through the LED driver.
- Test the system functionality by creating a simple on/off LED blinking cycle.
- End. The LED chip should now be controlled by Arduino through the LED driver.
Example code
void setup() {
pinMode(9, OUTPUT);
}

void loop() {
digitalWrite(9, HIGH); // Accende il led
 delay(1000);
digitalWrite(9, LOW); // Spegne il led
delay(1000);
}
Mini project
Create an Arduino-controlled LED lamp that changes brightness based on the time of day.
Common mistakes
- Connect the reverse polarity of the LED chip.
- Fail to verify voltage and current correctly on the datasheet.
- Use an incompatible LED driver.
- Ignore the importance of limiting current with a resistor.
Recommended accessories
- 5V LED Driver
- Arduino Uno R3
- LED Connector Kit
- Variable Resistors
Frequently asked questions
How can I control the temperature of the LED chip?
Use a temperature sensor like the LM35 connected to Arduino and monitor the heat.
What are the advantages of using this LED chip compared to other types of lamps?
Provides high brightness in a small space, it is controllable and can be easily integrated with Arduino projects.
Reviews
There are no reviews yet.