 EN
 IT Italiano
 ES Español
 FR Français
 DE Deutsch
Description
Technical Specifications
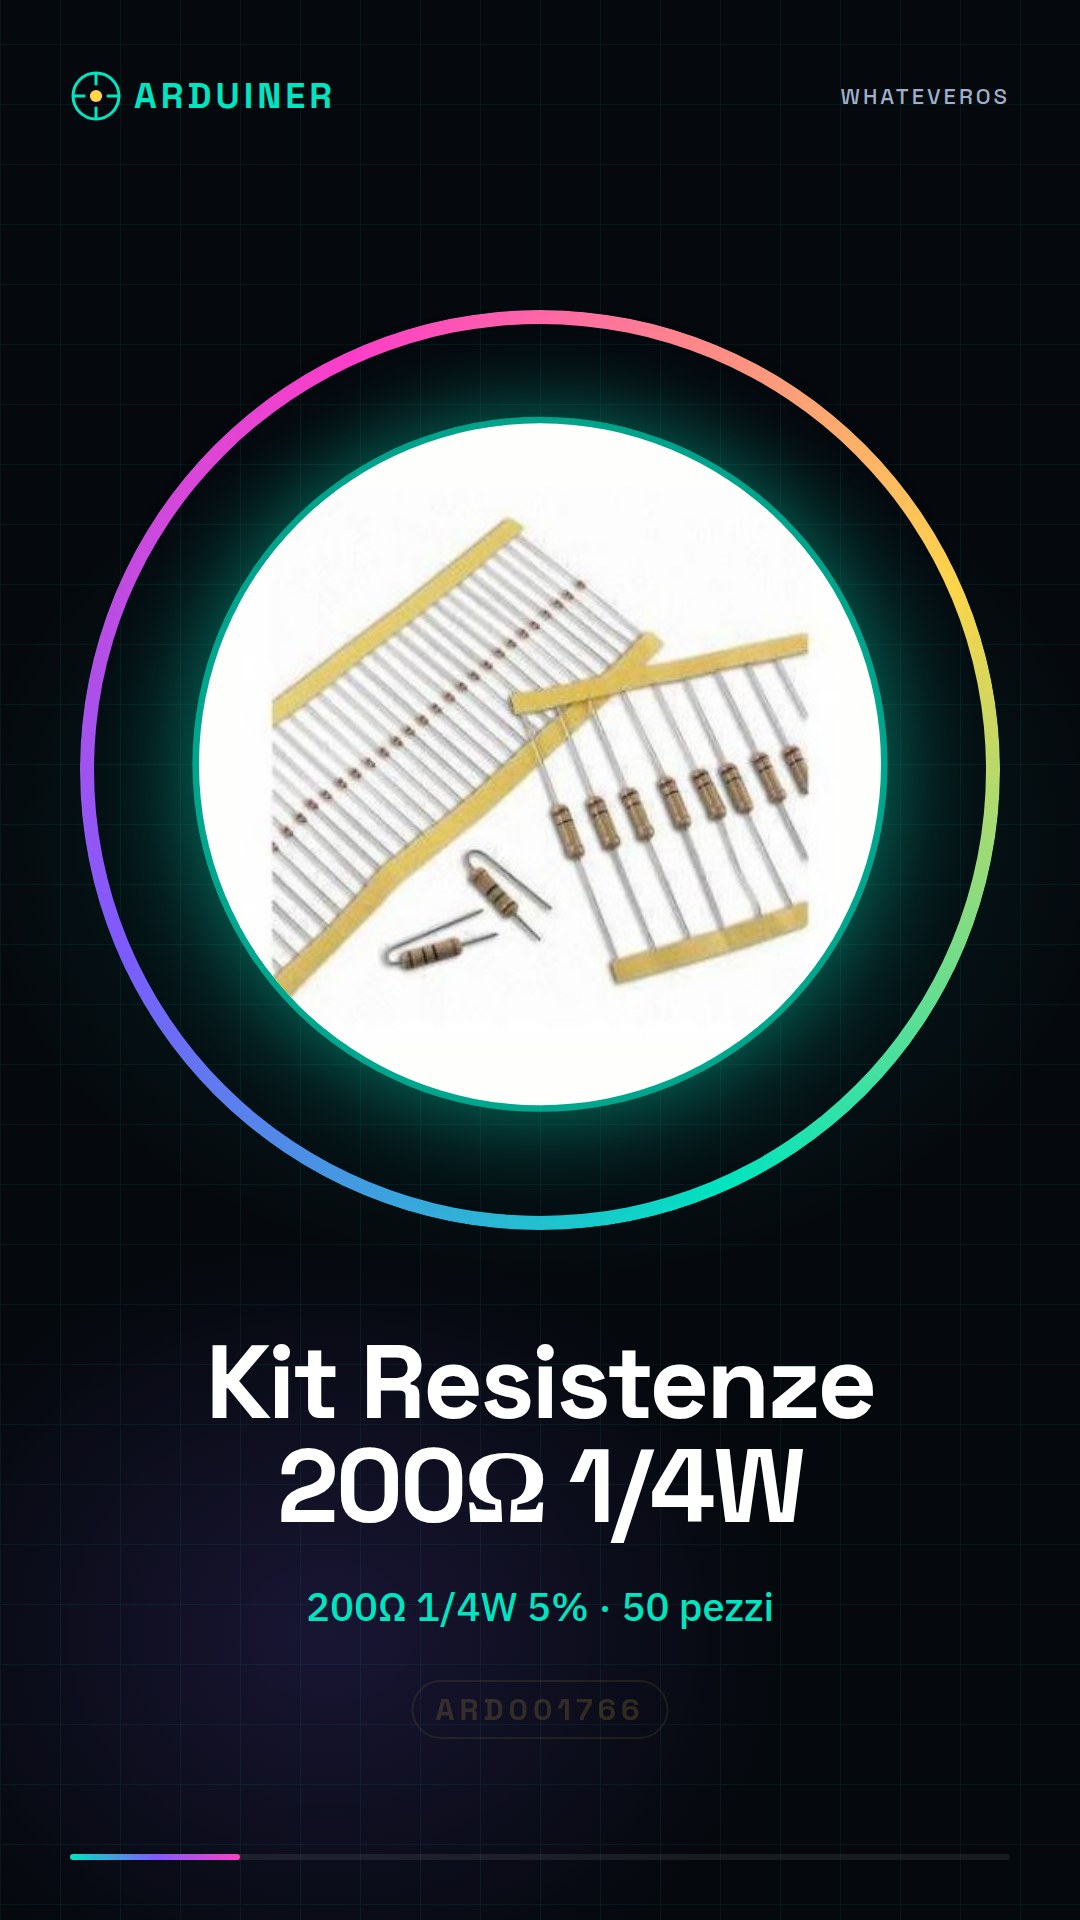
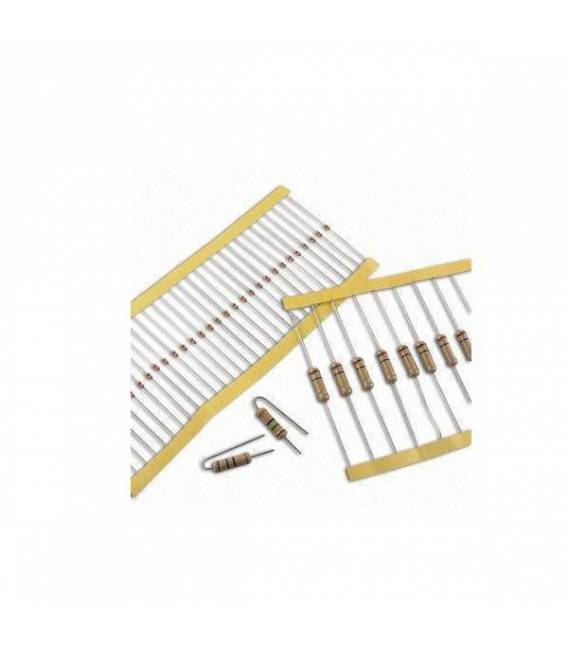
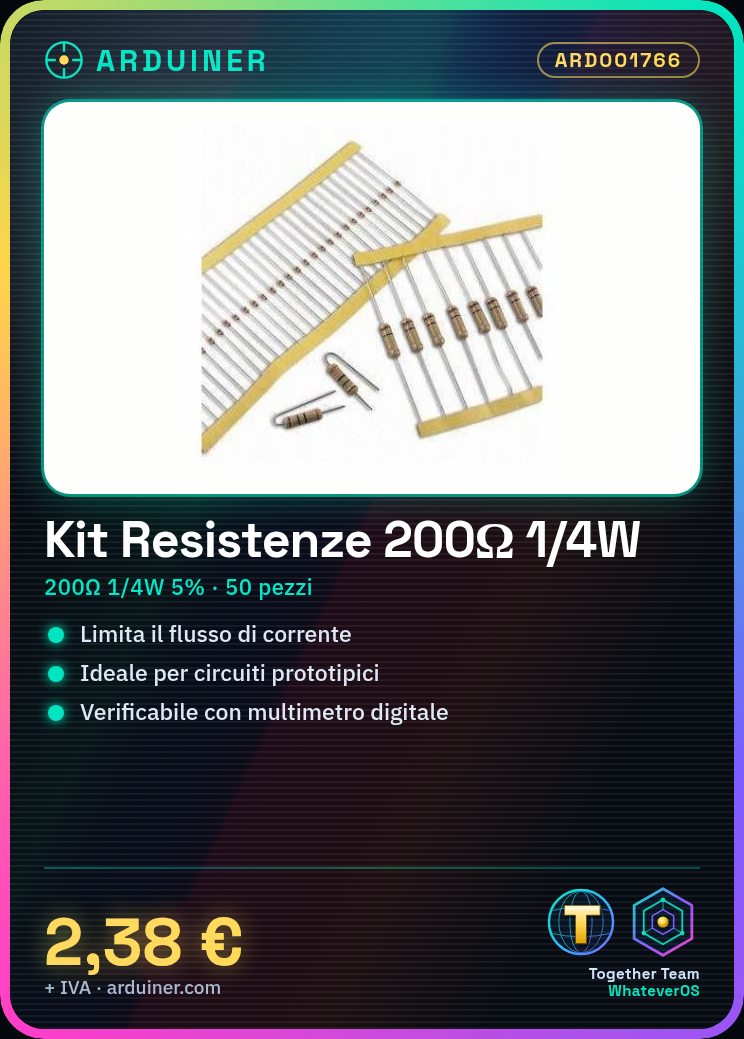
The 200 Ohm 1/4W 5% Resistor Kit includes 50 pieces of 200 ohm resistors, used to limit current flow in electronic circuits. These resistors are essential for prototyping and implementing Arduino and other electronic systems projects. Each resistor has a 5% tolerance and a maximum power dissipation of 1/4 watt.
To use these resistors correctly, it is necessary to verify the value with a digital multimeter before connecting them to the circuit. The resistor should be inserted between the points in the circuit where it is needed to limit the current flow or to add a certain impedance.
It is important to ensure that the power dissipation does not exceed the resistor’s limits (1/4W) to guarantee the proper functioning and longevity of the component.
Key Specifications
| Parameter | Value |
| Model | 200 Ohm 1/4W 5% Resistor |
| Quantity | 50 pieces |
| Resistive Value | 200 Ohm |
| Tolerance | 5% |
| Maximum Power Dissipation | 1/4W |
| Dimensions | N/D (see manufacturer’s datasheet) |
| Container | N/D (see manufacturer’s datasheet) |
Installation and Usage
- Verify the resistance value with a digital multimeter.
- Insert the resistor into the prototyping circuit.
- Connect the resistor’s terminals to the points in the circuit where it is needed to limit the current flow or add a certain impedance.
- Check with a digital multimeter that there are no short circuits.
- Recalculate the power dissipation to ensure that the resistor operates within its capacity limits.
Compatibility and Requirements
- This resistor kit is compatible with prototyping circuits and Arduino projects.
- A digital multimeter is needed to verify the value of the resistors.
- A prototyping kit is required to build the circuits.
- For the maintenance and repair of electronic circuits, these resistors can be used to replace damaged components.
Limitations and Important Notes
- These resistors are not designed to dissipate more than 1/4W of power.
- It is important to check the value of the resistor before connecting it to the circuit.
- Do not use a resistor that is too large or too small for the circuit.
- Make sure not to connect the circuit without first testing it with a digital multimeter.
Troubleshooting
The resistor is not working properly.
Probable cause: Incorrect value of the resistor.
Solution: Check the value of the resistor with a digital multimeter and replace the resistor if necessary.
The circuit has a short circuit.
Probable cause: Incorrect connection of the resistor.
Solution: Check connections and recalculate power dissipation.
The resistor overheats.
Probable cause: Power dissipation exceeds the resistor’s tolerance.
Solution: Replace the resistor with a higher power one.
The circuit does not work as expected.
Probable cause: Incorrect value of the resistor.
Solution: Check the resistor value and recalculate circuit characteristics.
Use cases
Home/hobby
Objective: To create an electronic circuit prototype.
What’s needed: 200 Ohm 1/4W 5% Resistor Kit
Steps: 1) Check the resistor value. 2) Insert the resistor into the prototype circuit. 3) Connect the resistor leads to the circuit points. 4) Check the circuit with a digital multimeter.
Expected result: The circuit works correctly.
Laboratory
Objective: Test the resistance in a circuit.
What you need: 200 Ohm 1/4W 5% Resistor Kit
Steps: 1) Check the value of the resistor. 2) Insert the resistor into the circuit. 3) Check the circuit with a digital multimeter.
Expected result: The resistor works correctly in the circuit.
Prototyping
Objective: Create an electronic circuit prototype.
What you need: 200 Ohm 1/4W 5% Resistor Kit
Steps: 1) Check the value of the resistor. 2) Insert the resistor into the prototype circuit. 3) Connect the ends of the resistor to the points of the circuit. 4) Check the circuit with a digital multimeter.
Expected result: The prototype works correctly.
School
Objective: Perform an electronic circuits experiment.
What you need: 200 Ohm 1/4W 5% Resistor Kit
Steps: 1) Check the value of the resistor. 2) Insert the resistor into the circuit. 3) Verify the circuit with a digital multimeter.
Expected result: The experiment was performed correctly.
Maintenance
Objective: Replace a damaged resistor.
What you need: 200 Ohm 1/4W 5% Resistor Kit
Steps: 1) Check the value of the resistor. 2) Replace the damaged resistor. 3) Verify the circuit with a digital multimeter.
Expected result: The circuit works correctly after replacement.
Repair
Objective: Repair a damaged circuit.
What you need: 200 Ohm 1/4W 5% Resistor Kit
Steps: 1) Check the value of the resistor. 2) Replace the damaged resistor. 3) Verify the circuit with a digital multimeter.
Expected result: The circuit works correctly after repair.
Automation
Objective: Create a control circuit.
What’s needed: 200 Ohm 1/4W 5% Resistor Kit
Steps: 1) Check the value of the resistor. 2) Insert the resistor into the circuit. 3) Check the circuit with a digital multimeter.
Expected result: The control circuit works correctly.
Test
Objective: Test the resistor in a circuit.
What’s needed: 200 Ohm 1/4W 5% Resistor Kit
Steps: 1) Check the value of the resistor. 2) Insert the resistor into the circuit. 3) Check the circuit with a digital multimeter.
Expected result: The resistor works correctly in the circuit.
In the package
- 50 pieces
Complete the project
- 50 Pieces Resistor, 10000 ohm, 10k, ohm 1/4w 1/4 w 5%, Arduino compatible resistors: To verify the value of the resistors.
Technical FAQs
What is the precise value of the resistor?
Check the product datasheet to obtain the exact accuracy.
Can I use these resistors in both DC and AC projects?
Yes, but make sure to check the power dissipation specifications for both types of current.
How do I verify the value of the resistor?
Use a digital multimeter to verify the value of the resistor before connecting it to the circuit.
What are the power dissipation limits of the resistor?
The resistor can dissipate a maximum power of 1/4W. Make sure not to exceed this limit to avoid damaging the component.
Tutorial: How to use 200 Ohm Resistor Kit
Resistors are essential for limiting the flow of current in electronic circuits. This kit contains 50 pieces of 200 ohm resistors, ideal for Arduino projects and prototypes.
What you need
- Prototype Circuit Board
- Digital Multimeter
- Wire Cutters
Steps
- Verify the resistor with a digital multimeter.
- Insert the resistor into the prototyping circuit.
- Connect the leads of the resistor to the points in the circuit where it is needed to limit the flow of current or to add a certain impedance.
- Check with a digital multimeter that there are no short circuits.
- Recalculate the power dissipation to ensure that the resistor operates within its capacity limits (1/4W in this case).
- Test the complete circuit.
- If necessary, adjust the connections or modify the values of the resistors.
- Repeat the tests with a digital multimeter to confirm that everything works correctly.
Mini project
Create a simple light interface with Arduino and LED, using 200 ohm resistors as current limiters to protect the LEDs.
Common mistakes
- Using a resistor that is too large or too small.
- Not checking the power dissipation of the resistor.
- Connecting the circuit without first testing it with a digital multimeter.
- Insert the resistor into the circuit without correctly calculating its characteristics.
Recommended accessories
- Insulating sleeves
- Connecting wire
- Resistors of various values
- Prototype kit
Frequently asked questions
What is the precise value of the resistor?
Check the product datasheet to obtain the exact accuracy.
Can I use these resistors in both DC and AC projects?
Yes, but make sure to check the power dissipation specifications for both types of current.
Reviews
There are no reviews yet.