 EN
 IT Italiano
 ES Español
 FR Français
 DE Deutsch
Description
What it is
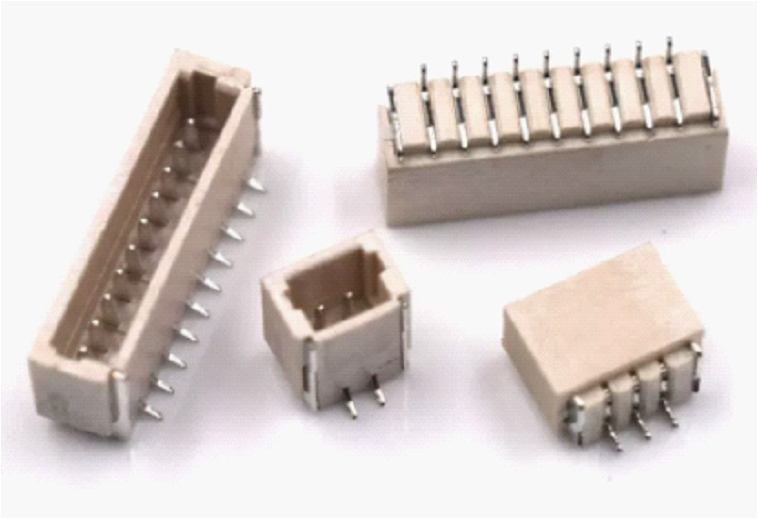
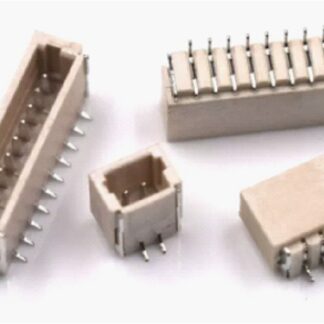
The SH1.0 vertical 8P PCB connector is an electronic component designed to facilitate connections between PCB boards. This type of connector is essential for projects that require stable and secure connections between various electronic components.
Features
- Type: vertical
- Number of positions: 8
- Pitch: SH1.0
- Quantity: 20 pieces
What it is for
This connector is ideal for makers working on Arduino, 3d printer, and general electronics projects. It is useful for creating custom connectors, connecting electronic components, and building protective enclosures with 3d printing. Its compatibility with Arduino and other microcontrollers makes it a key element for projects requiring flexible and robust connections.
Tutorial: How to use SH1.0 vertical 8P PCB connector
The vertical 8P SH1.0 PCB connector is essential for connections between PCB boards and for creating custom connectors in your electronic creations. It is ideal for makers working on projects that require stable and secure connections.
What you need
- PCB board
- connection between two or more components
- establishment of electronic connections
- 3D printing projects for housing
Steps
- Check the datasheet for the connector’s dimensions and specifications to ensure compatibility with your project.
- Prepare the PCB board with holes corresponding to the connector’s dimensions.
- Insert the connector into the PCB and ensure it is properly positioned.
- Solder the connector to the PCB board to secure it in place.
- Verify the installation by checking for any short circuits or broken connections.
- If necessary, protect the soldered area with a protective coating.
- Test the connectivity between the connector and the PCB board.
- If the connector is part of a larger system, repeat the process for each required connector.
Mini project
Create a 3D print of a protective case for your 8P SH1.0 vertical PCB connector, ensuring the case keeps the connector safe and protected during use.
Common mistakes
- Do not verify the connector specifications on the datasheet before installation.
- Do not ensure that the PCB holes are correctly aligned with the connector.
- Do not solder the connector properly, causing weak or broken connections.
- Do not test the connectivity after the connector installation.
Recommended accessories
- Soldering iron and copper wire coils
- Solder flux and protective coating
- Electronic testing kit
- 3d printer to create protective housing
Frequently asked questions
Is the connector compatible with other PCB boards?
Check the datasheet to ensure that the connector dimensions and specifications are compatible with the target PCB.
How can I protect the connector once it is installed?
You can use solder flux or create a protective enclosure with a 3d printer.
What tools are needed to install the connector?
A soldering iron, copper wire, and an electronic testing kit are needed for installing and testing the connector.
Reviews
There are no reviews yet.