 EN
 IT Italiano
 ES Español
 FR Français
 DE Deutsch
Description
Connectors and cables for LED strip
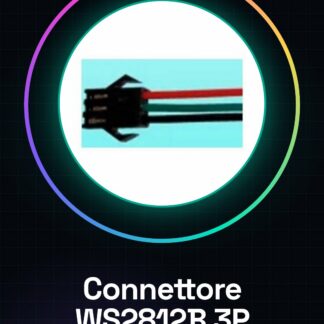
Tutorial: How to use Male WS2812B Connector
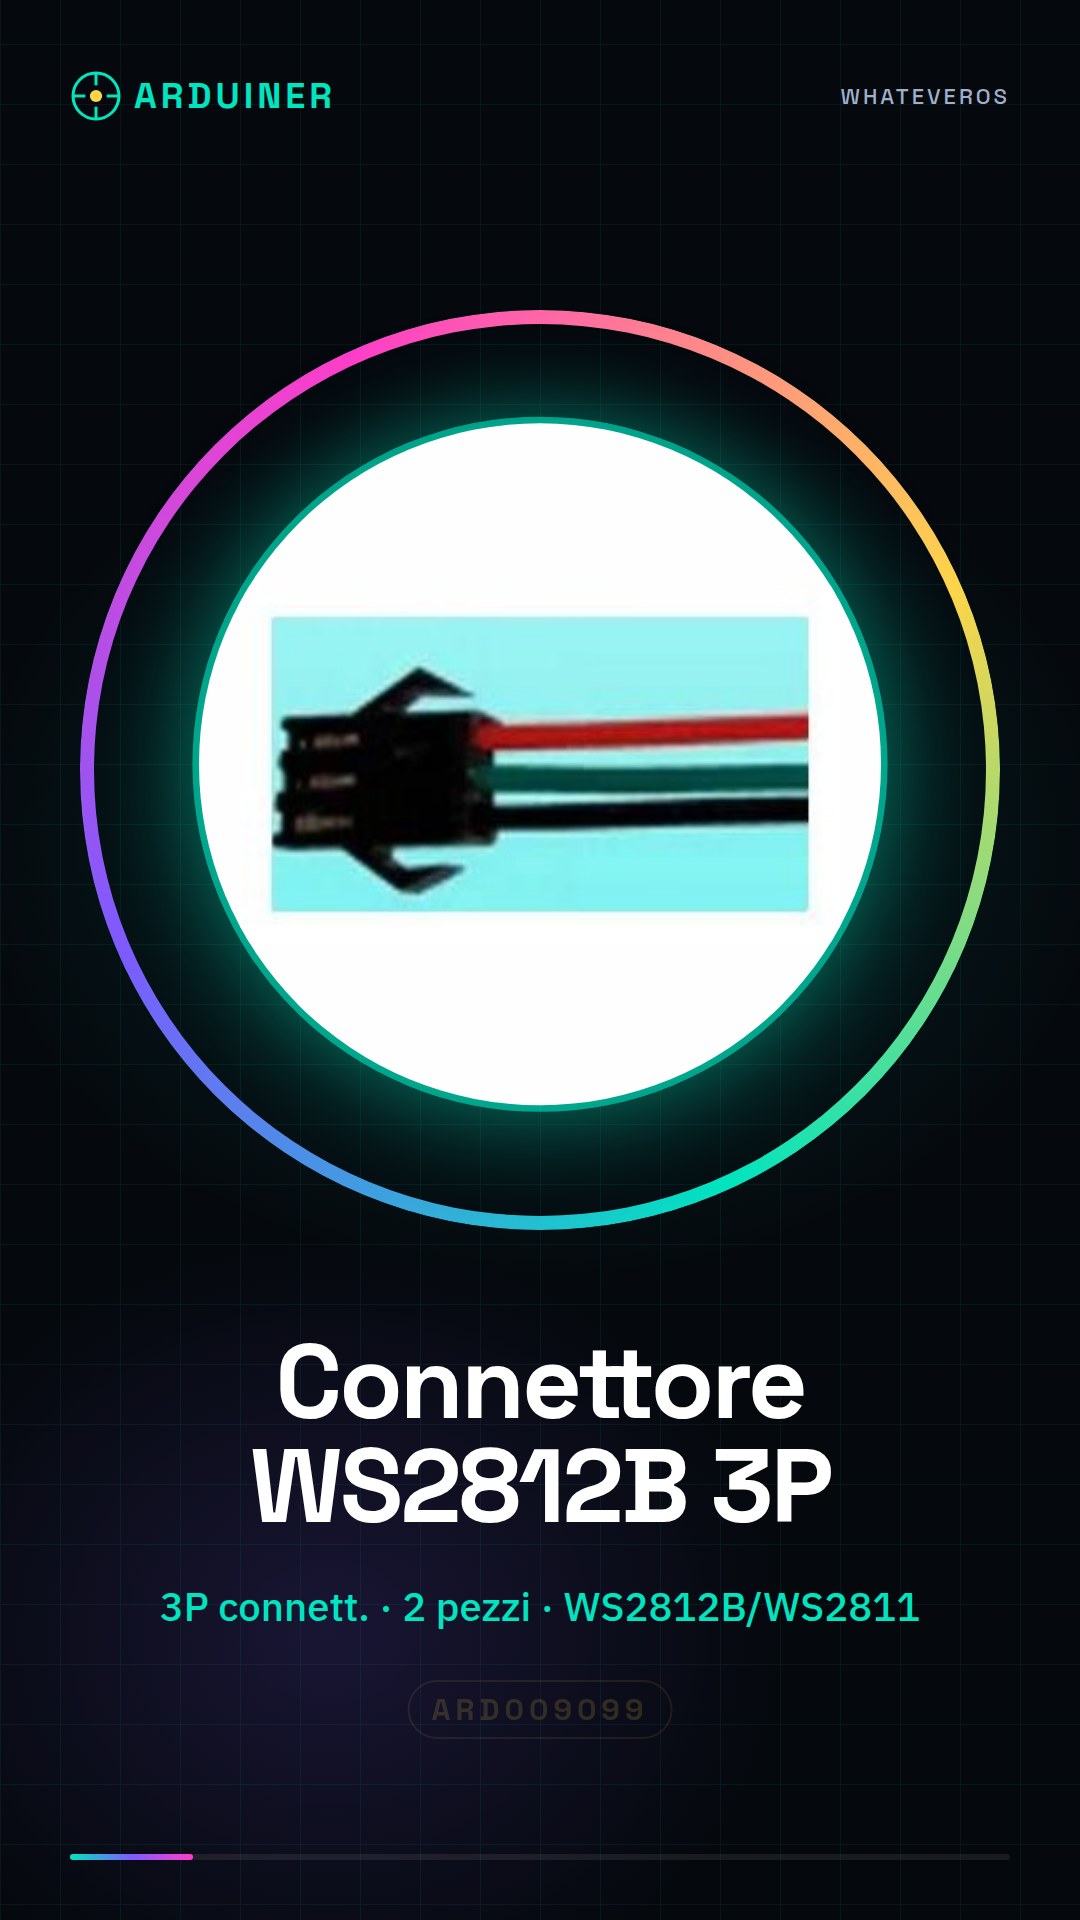
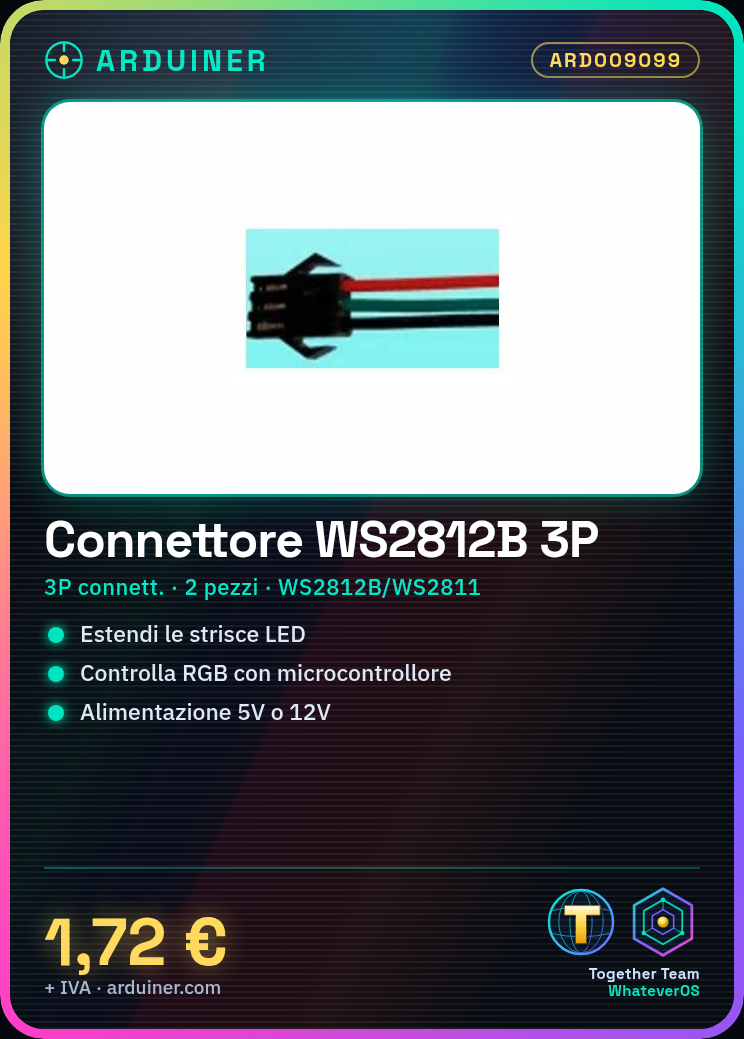
This connector is ideal for connecting and extending WS2812B LED strips. It is perfect for custom RGB lighting projects, such as lamps or visual effects.
What you need
- WS2812B LED Strip
- Arduino or compatible microcontroller
- Power supply cable
Steps
- Connect the connector to the free end of the LED strip.
- Connect the LED strip to the data port of your microcontroller (check the datasheet for specific pins).
- Power the LED strip with a sufficient power supply, generally 5V or 12V depending on the configuration.
- Write and upload an Arduino sketch that controls the WS2812B LEDs (check the datasheet for specific commands).
- Test the project by connecting a simple sequence of colors to the LEDs.
Example code
void setup() {
  pinMode(dataPin, OUTPUT); // Imposta la porta dati come uscita
}

void loop() {
  setColor(255,0,0); // Rosso
  delay(1000);
  setColor(0,255,0); // Verde
  delay(1000);
  setColor(0,0,255); // Blu
  delay(1000);
}

void setColor(int red, int green, int blue) {
  // Codice per inviare i valori RGB ai LED (verifica sul datasheet)
}
Mini project
Create a custom RGB lighting for your room with a WS2812B LED strip and connector. Try to create effects such as gradual color changes or light sequences.
Common mistakes
- Connect the LED strip to the microcontroller without verifying the correct pins.
- Insufficient power supply causing intermittent operation of the LEDs.
- Using non-optimized code for the specific type of WS2812B LED.
- Do not use an appropriate pull-up resistor on the data pin.
Recommended accessories
- WS2812B LED Strip
- Arduino Uno R3
- 5V or 12V Power Supply
Frequently asked questions
How can I extend the LED strip?
Use other connectors to connect multiple strips together.
What is the power consumption of the LED strip?
Check the product datasheet for specific power supply details.
Reviews
There are no reviews yet.