 EN
 IT Italiano
 ES Español
 FR Français
 DE Deutsch
Description
What it is
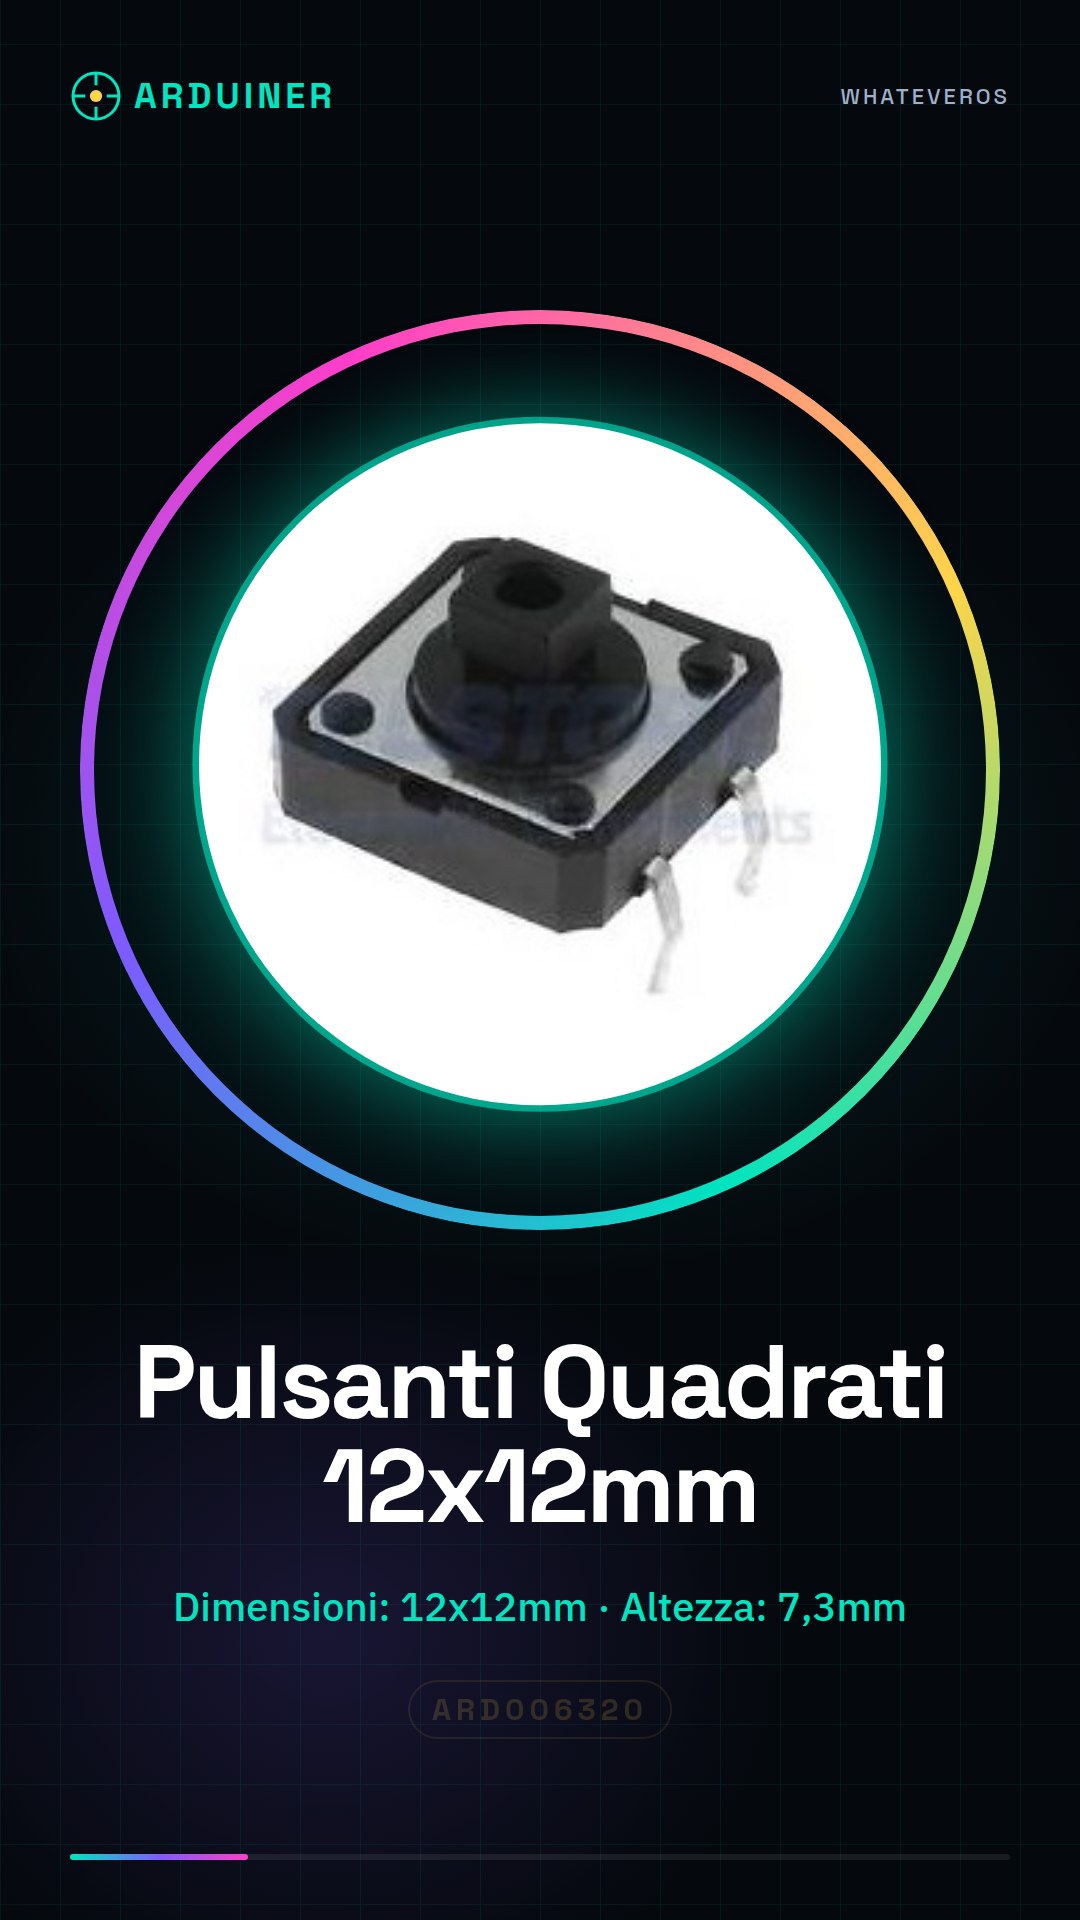
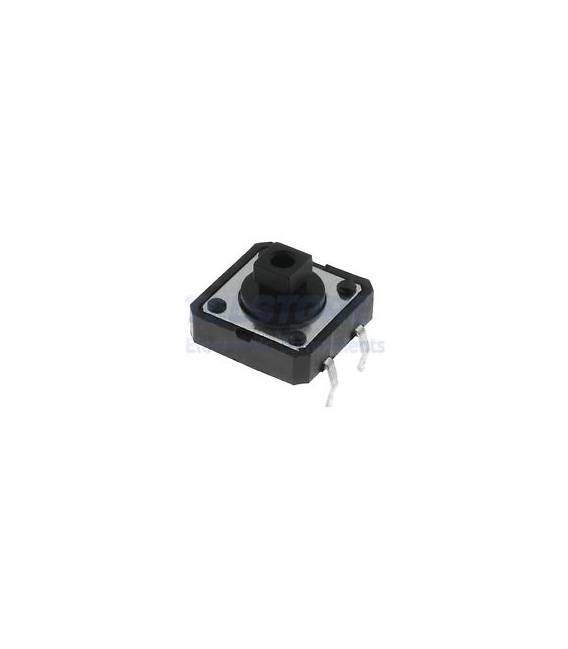
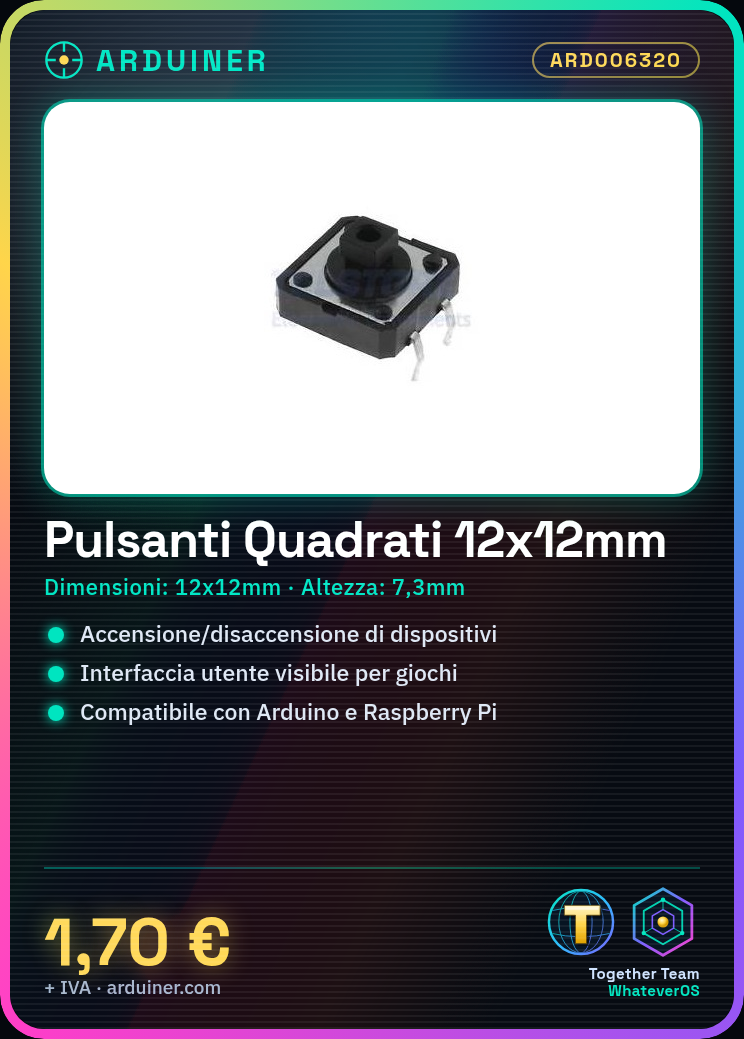
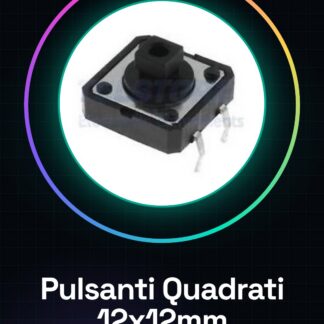
The two square buttons with dimensions 12x12mm are a simple but essential component for Arduino and Raspberry Pi projects. This type of switch is ideal for implementing features such as turning devices on or off.
Features
- Dimensions: 12x12mm
- Height: 7.3mm
- Quantity: 2 pieces
What it is for
Square buttons are useful for projects that require a simple and visible user interface, such as creating interactive games or turning devices on and off. They are compatible with Arduino and Raspberry Pi.
Tutorial: How to Use Square Button 12*12mm
This square button with dimensions 12x12mm is ideal for Arduino and Raspberry Pi projects that require a simple but visible switch. Ideal for both beginners and experienced makers.
What you need
- Arduino Uno
- Connection to GPIO pin
- Jumper wire
Steps
- Connect the button to the microcontroller pins using jumper wires.
- Check the polarity of the button contacts: usually one is common (NC or NO) and the other is the command.
- Write an Arduino sketch to read the state of the button. Use pinMode() to set the pin as INPUT.
- Set a boolean variable to store the current state of the button.
- In the loop(), use digitalRead() to check if the button is pressed or released.
- Add a command depending on the state of the button (e.g. turn on an LED).
- Compile and upload the sketch to the microcontroller.
- Test the functionality by pressing the button.
Example code
const int buttonPin = 2; // Pin collegato al pulsante
int lastButtonState = HIGH;
void setup() {
pinMode(buttonPin, INPUT);
}
void loop() {
int reading = digitalRead(buttonPin);
if (reading != lastButtonState) {
lastButtonState = reading;
delay(50); // Attende per evitare il bounce
if (reading == LOW) {
// Il pulsante è premuto
Serial.println("Pulsante premuto");
}
}
Mini project
Create a game projectile that turns on an LED when the player presses the button. Use a second button to release it.
Common mistakes
- Do not check the polarity of the button contacts.
- Ignore the button bouncing effect.
- Use a pull-up resistor without necessity.
- Connect the button incorrectly to the GPIO pins.
Recommended accessories
- Arduino Uno
- 3D Print Case for Arduino
- Set of RGB LEDs
- Jumper Wire
Frequently asked questions
How can I avoid the button bounce effect?
Add a delay of about 50ms in your loop() cycle or use a library like Debounce.
Can I connect multiple buttons to a single pin?
Yes, but you will need to manage the logic to distinguish between the different buttons. Consider using a multiplexer if you have many interfaces.
What is the power consumption of the button when it is not pressed?
Check the product datasheet.
Reviews
There are no reviews yet.