 EN
 IT Italiano
 ES Español
 FR Français
 DE Deutsch
Description
Technical Specifications
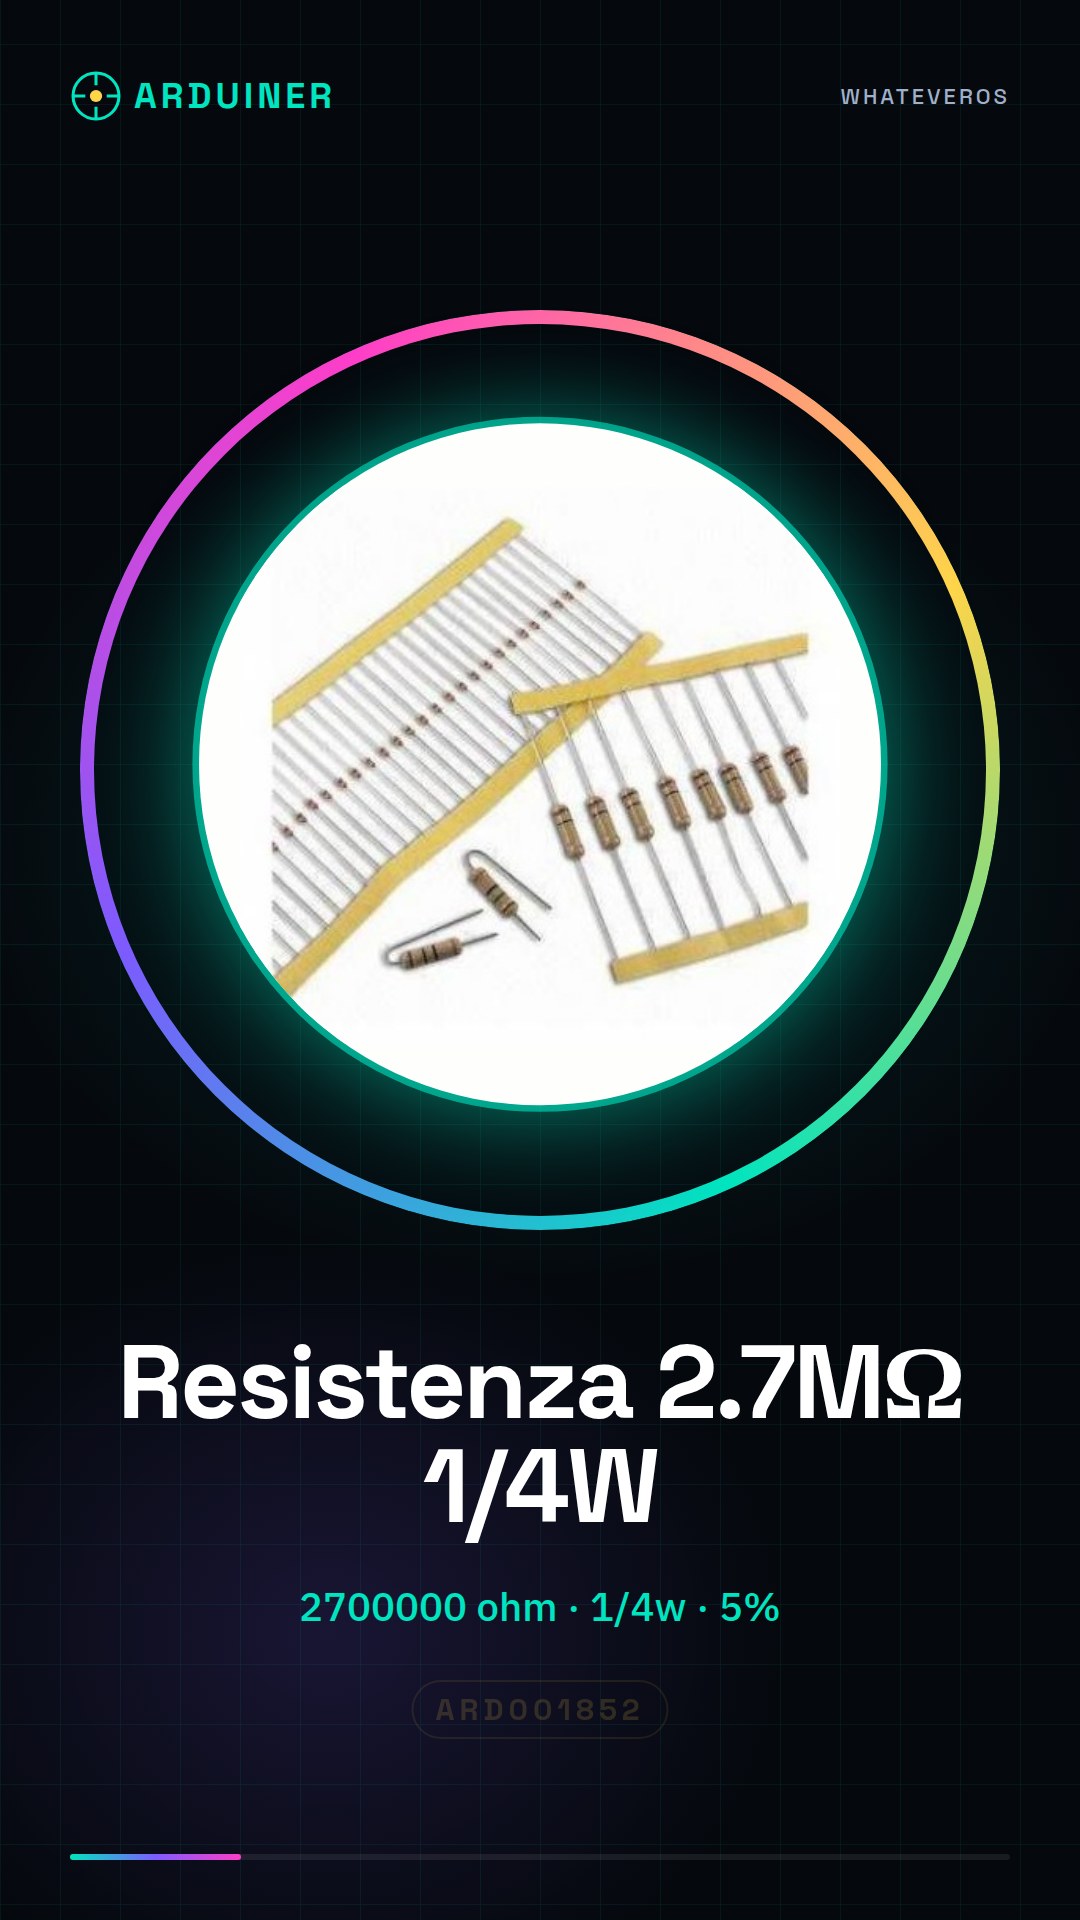
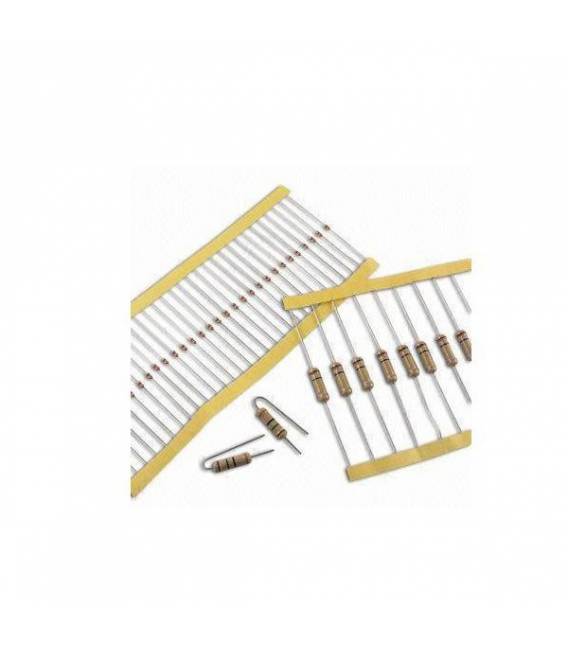
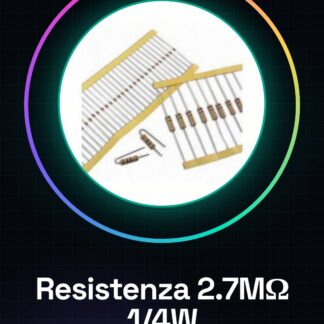
The 2.7M ohm resistor is a fundamental component for limiting current flow and dividing voltage in electronic circuits. This type of resistor is used in projects that require a high-value resistance for specific applications such as current limiters or voltage dividers.
The 2.7M ohm resistor has a 5% tolerance and a maximum power rating of 1/4 watt. It is important to verify the precise value of the resistor based on the datasheet before using it in a circuit.
The 2.7M ohm resistor can be used in various electronic projects, such as circuit prototypes, voltage testing, and voltage division. It is important to consider the maximum power allowed by the resistor to avoid damage to the component.
Key Specifications
| Parameter | Value |
| Model | 2.7M ohm Resistor |
| Value | 2700000 ohm |
| Tolerance | 5% |
| Maximum Power | 1/4w |
| Quantity | 50 pieces |
| Container | Pack of 50 pieces |
Installation and Usage
- Check the resistor specifications based on the datasheet.
- Connect the Arduino Uno to the computer via the USB cable.
- Prepare a simple circuit with an LED and a 2.7M ohm resistor as a current limiter.
- Connect the anode of the LED to one of the digital pins of the Arduino, for example, pin 13.
- Connect the cathode of the LED to the 2.7M ohm resistor and the free end of the resistor to the GND of the Arduino circuit.
Compatibility and Requirements
- The 2.7M ohm resistor is compatible with Arduino Uno and other microcontrollers.
- A USB A-MicroB cable is required for connecting the Arduino to the computer.
- To use the resistor, a basic circuit with an LED and a microcontroller is required.
Limits and Important Notes
- The 2.7M ohm resistor is not designed for high power applications.
- It is important to check the exact value of the resistor before use.
- Do not use the resistor with a voltage higher than the maximum power rating.
- Avoid connecting the cathode of the LED directly to the Arduino digital pin.
Troubleshooting
The LED does not light up.
Probable cause: The resistor may have a different value than expected.
Solution: Check the value of the resistor with a multimeter.
The resistor overheats.
Probable cause: The resistor may be subjected to a current flow higher than the maximum power rating.
Solution: Reduce the current flow or use a resistor with a higher power rating.
The resistor burns out.
Probable cause: Using a voltage higher than the maximum power rating.
Solution: Check and reduce the voltage applied to the resistor.
The circuit does not work.
Probable cause: Incorrect connection of the resistor or LED.
Solution: Check connections and verify the value of the resistor.
Use cases
Home alarm sensor
Objective: Disable an alarm when a person approaches.
What’s needed: 2.7M ohm resistor, Arduino Uno, motion sensors.
Steps: 1) Connect the motion sensor to the resistor. 2) Connect the resistor to the Arduino Uno. 3) Write a sketch to disable the alarm when motion is detected.
Expected result: The system disables the alarm when motion is detected.
Power supply protection circuit
Objective: Limit current in case of short circuit.
What’s needed: 2.7M ohm resistor, Arduino Uno, relay.
Steps: 1) Connect the resistor between the relay and the power supply. 2) Write a sketch to control the relay in case of short circuit.
Expected result: The relay deactivates in case of short circuit, protecting the power supply.
Voltage Divider Circuit
Objective: Divide the voltage between two components.
What you need: 2.7M ohm resistor, Arduino Uno, 1k ohm resistor.
Steps: 1) Connect the 2.7M ohm resistor in series with the 1k ohm resistor. 2) Connect the circuit to the analog pin of the Arduino Uno.
Expected result: The voltage is correctly divided between the two components.
LED Protection Circuit
Objective: Limit the current to protect the LED.
What you need: 2.7M ohm resistor, Arduino Uno, LED.
Steps: 1) Connect the resistor between the LED and the digital pin of the Arduino Uno. 2) Write a sketch to control the LED.
Expected result: The current is correctly limited to protect the LED.
Power Supply Protection Circuit with Temperature Sensor
Objective: Deactivate the power supply in case of overheating.
What you need: 2.7M ohm resistor, Arduino Uno, temperature sensor.
Steps: 1) Connect the resistor between the temperature sensor and the power supply. 2) Write a sketch to deactivate the power supply in case of overheating.
Expected result: The power supply is deactivated in case of overheating.
Light sensor protection circuit for power supplies
Objective: Deactivate the power supply in case of lack of light.
What you need: 2.7M ohm resistor, Arduino Uno, light sensor.
Steps: 1) Connect the resistor between the light sensor and the power supply. 2) Write a sketch to deactivate the power supply in case of lack of light.
Expected result: The power supply is deactivated in case of lack of light.
Motion sensor protection circuit for power supplies
Needed: 2.7M ohm resistor, Arduino Uno, motion detector.
Steps: 1) Connect the resistor between the motion detector and the power supply. 2) Write a sketch to disable the power supply in case of motion.
Expected result: The power supply is disabled in case of motion.
Protection circuit for power supplies with humidity sensor
Needed: 2.7M ohm resistor, Arduino Uno, humidity sensor.
Steps: 1) Connect the resistor between the humidity sensor and the power supply. 2) Write a sketch to disable the power supply in case of high humidity.
Expected result: The power supply is disabled in case of high humidity.
In the package
- 50 pieces of 2.7M ohm resistance
Complete the project
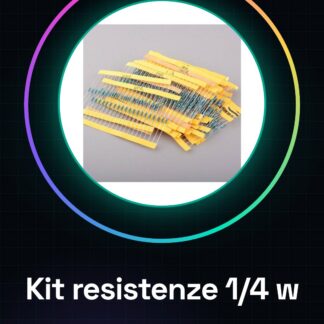
- 50 Pieces Resistance 1000 ohm 1k ohm 1/4w 1/4 w 5%: For voltage division in circuits with high value resistors.
- 50 Pieces Resistance, 10000 ohm, 10k, ohm 1/4w 1/4 w 5%, Compatible with Arduino: For LED protection in circuits with high value resistors.
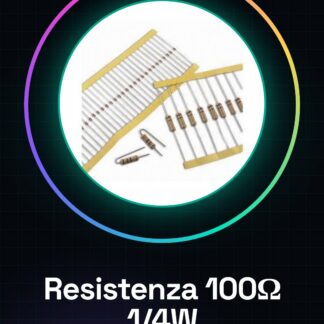
- 50 Pieces Resistance 100 ohm 1/4w 5%: For power supply protection in circuits with high value resistors.
Technical FAQs
Can this resistance be used with other microcontrollers?
Yes, the 2.7M ohm resistance is compatible with other microcontrollers such as Arduino Mega, Arduino Nano, etc.
How to check the value of the resistance?
Use a multimeter to measure the value of the resistance.
What are the usage limits of the 2.7M ohm resistance?
The 2.7M ohm resistance is not designed for high power applications and should not be used with voltages higher than the maximum allowed power.
What are the steps to connect the 2.7M ohm resistance to a circuit?
Check the specifications of the 2.7M ohm resistor, connect the Arduino Uno to the computer, prepare a simple circuit with an LED and the 2.7M ohm resistor, connect the anode of the LED to one of the digital pins of the Arduino, connect the cathode of the LED to the 2.7M ohm resistor and the free end of the resistor to the GND of the Arduino circuit.
Tutorial: How to Use 2.7M ohm Resistor
The 2.7 MΩ resistor is a fundamental component for electronic projects that require current limiting or voltage division. This tutorial will guide you through the practical use of this resistor, ideal for beginners and intermediate makers.
What you need
- Arduino Uno
- USB A-MicroB Cable
- LED Pin
Steps
- Check the datasheet specifications of the 2.7M ohm resistor to understand its precise value.
- Connect the Arduino Uno to the computer via the USB cable.
- Prepare a simple circuit with an LED and a 2.7MΩ resistor as a current limiter.
- Connect the anode (long leg) of the LED to one of the digital pins of the Arduino, for example pin 13.
- Connect the cathode (short leg) of the LED to the 2.7MΩ resistor.
- The free end of the resistor must be connected to the GND of the Arduino circuit.
- Open the Arduino IDE and load a test sketch to turn on the LED.
- Check that the LED turns on correctly.
Example code
void setup() {
  pinMode(13, OUTPUT);
}

void loop() {
  digitalWrite(13, HIGH);
  delay(1000);
  digitalWrite(13, LOW);
  delay(1000);
}
Mini project
Create a simple LED timer that turns on and off every second using the current limiting resistor.
Common mistakes
- Connect the cathode of the LED to the digital pin instead of the resistor.
- Do not check the specifications of the resistor before use.
- Use a resistance that is too low, which can burn out the LED or damage the Arduino.
- Ignore the maximum power allowed by the resistor.
Recommended accessories
- Variable resistors
- Digital multimeter
- 3D Printing for Custom Circuit Board Cases
Frequently asked questions
Can this resistor be used with other microcontrollers?
Yes, the resistor is compatible with any other electronic platform that requires a 2.7M ohm resistor.
What are the risks of using a resistor that is too low?
Using a resistor that is too low could burn out the LED or damage the microcontroller due to excessive current.
Reviews
There are no reviews yet.