 EN
 IT Italiano
 ES Español
 FR Français
 DE Deutsch
Description
Technical Description
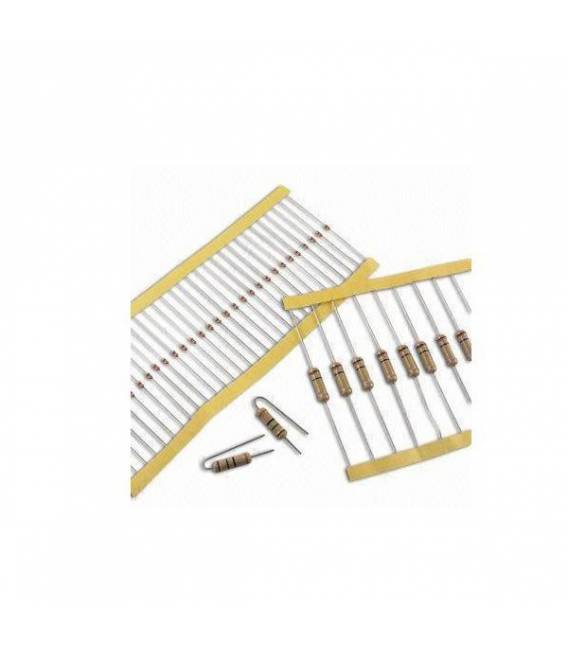
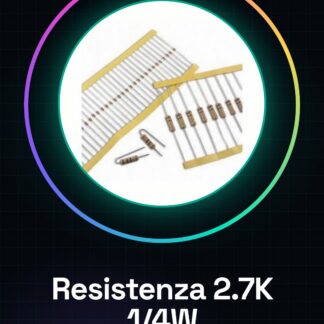
The 2.7K ohm resistor is a passive component used to regulate the flow of current in various electronic circuits. This resistor, with a 5% tolerance, is suitable for applications requiring precise current and voltage management. Its maximum power rating of 1/4 watt makes it appropriate for circuits that do not require significant heat dissipation.
The resistor can be used as a voltage divider, current limiter, or as part of more complex circuits such as RC filters. It is important to ensure that the resistor does not exceed its power dissipation capability to avoid overheating or damage to the component.
The 2.7K ohm resistor is a fundamental component for electronic prototyping projects, suitable for both beginners and experts. Its 5% tolerance allows for a variation of the nominal value of 2.7K ohm up to 5%, ensuring good precision for most applications.
Key Specifications
| Parameter | Value |
| Model | Resistor 2.7K ohm 2700 ohm 1/4w 1/4 w 5% |
| Quantity | 50 |
| Resistance Value | 2700 ohm |
| Tolerance | 5% |
| Maximum Power | 1/4 watt |
| Dimensions | N/D (see manufacturer’s datasheet) |
| Container | N/D (see manufacturer’s datasheet) |
Installation and Usage
- Check the datasheet for the maximum power (1/4W) and the resistance value (2700 ohm).
- Select a circuit in which to insert the resistor.
- Connect one end of the resistor to an input or output pin of the Arduino.
- Connect the other end of the resistor to ground (GND) or another component in the circuit.
- Check with a multimeter that the resistor is properly connected and is not overheating.
Compatibility and Requirements
- The resistor is compatible with Arduino and other microcontroller systems.
- A multimeter is required for electrical verification.
- A basic Arduino kit is required for installation.
- The resistor can be used in electronic prototyping projects.
Limitations and Important Notes
- The resistor is not suitable for applications requiring power dissipation above 1/4 watt.
- The 5% tolerance can cause a variation in the nominal value up to 5%.
- The resistor is not suitable for high-frequency applications.
- The resistor is not suitable for high-temperature applications.
Troubleshooting
The resistor does not work properly.
Probable cause: Incorrect connection or overloading of the resistor.
Solution: Check the connection and the applied power. If necessary, redesign the circuit.
The resistor overheats.
Probable cause: Overloading of the resistor.
Solution: Check the applied power and redesign the circuit if necessary.
The value of the resistor does not conform to the data.
Probable cause: 5% tolerance.
Solution: Verify the value with a multimeter and consider the 5% tolerance.
The circuit does not respond as expected.
Probable cause: Insufficient power rating.
Solution: Check the power dissipated by the resistor and redesign the circuit if necessary.
Use cases
Home lighting project
Objective: Adjust the brightness of a lamp.
What is needed: 2.7K ohm resistor.
Steps: 1) Check the power dissipated by the resistor. 2) Connect the resistor between the Arduino PWM pin and the lamp. 3) Use the Arduino software to adjust the brightness. 4) Verify the correct functioning of the resistor.
Expected result: The resistor correctly adjusts the brightness of the lamp.
Audio volume control project
Objective: Adjust the volume of a speaker.
What is needed: 2.7K ohm resistor.
Steps: 1) Check the power dissipated by the resistor. 2) Connect the resistor between the Arduino PWM pin and the speaker. 3) Use the Arduino software to adjust the volume. 4) Verify the correct functioning of the resistor.
Expected result: The resistor correctly adjusts the volume of the speaker.
Temperature control project
Objective: Adjust the temperature of a system.
Needed: 2.7K ohm resistor.
Steps: 1) Check the power dissipated by the resistor. 2) Connect the resistor between a temperature sensor and a microcontroller. 3) Use Arduino software to regulate the temperature. 4) Verify the correct functioning of the resistor.
Expected result: The resistor correctly regulates the system’s temperature.
Humidity control project
Objective: Regulate the humidity of a system.
Needed: 2.7K ohm resistor.
Steps: 1) Check the power dissipated by the resistor. 2) Connect the resistor between a humidity sensor and a microcontroller. 3) Use Arduino software to regulate the humidity. 4) Verify the correct functioning of the resistor.
Expected result: The resistor correctly regulates the system’s humidity.
Pressure control project
Objective: Regulate the pressure of a system.
Needed: 2.7K ohm resistor.
Steps: 1) Check the power dissipated by the resistor. 2) Connect the resistor between a pressure sensor and a microcontroller. 3) Use Arduino software to regulate the pressure. 4) Verify the correct functioning of the resistor.
Expected result: The resistor correctly regulates the system pressure.
Speed control motor project
What is needed: 2.7K ohm resistor.
Steps: 1) Check the power dissipated by the resistor. 2) Connect the resistor between the Arduino PWM port and the motor. 3) Use Arduino software to regulate the motor speed. 4) Verify the correct functioning of the resistor.
Expected result: The resistor correctly regulates the motor speed.
Oven temperature control project
Objective: Regulate the temperature of an oven.
What is needed: 2.7K ohm resistor.
Steps: 1) Verify the power dissipated by the resistor. 2) Connect the resistor between a temperature sensor and a microcontroller. 3) Use Arduino software to regulate the oven temperature. 4) Verify the correct functioning of the resistor.
Expected result: The resistor correctly regulates the oven temperature.
Humidity control project for a reservoir
Objective: Regulate the humidity of a reservoir.
What is needed: 2.7K ohm resistor.
Steps: 1) Verify the power dissipated by the resistor. 2) Connect the resistor between a humidity sensor and a microcontroller. 3) Use Arduino software to regulate the reservoir humidity. 4) Verify the correct functioning of the resistor.
Expected result: The resistor correctly regulates the reservoir humidity.
In the package
- 50 pieces 2.7K ohm resistor 2700 ohm 1/4w 1/4 w 5%
Complete the project
- 50 Pieces Resistance 1000 ohm 1k ohm 1/4w 1/4 w 5%: For the realization of a voltage divider.
Technical FAQ
What is the difference between a 5% value and a 10% value?
The 5% indicates that the resistance value can vary up to 5% from the nominal value, while the 10% allows for a greater variation.
How is the power dissipated by a resistance calculated?
The power is given by the formula P = V^2/R where V is the applied voltage and R is the resistance value.
Why does the resistance overheat?
The resistance overheats when the applied power exceeds its power dissipation capacity.
How to check the resistance value?
The resistance value can be verified using a multimeter.
Tutorial: How to use Resistance 2.7K ohm
The 2.7K ohm resistor is a fundamental component to regulate the electrical current in various circuits. This tutorial will guide you through the practical use of this resistor, ideal for both beginners and intermediate makers.
What you need
- Current flow regulation
- Voltage divider
- Current limiter
Steps
- Check the datasheet for the maximum power (1/4W) and the resistance value (2700 ohm).
- Select a circuit in which to insert the resistor.
- Connect one end of the resistor to an input or output pin of the Arduino.
- Connect the other end to ground (GND) or another component in the circuit.
- Verify with a multimeter that the resistor is correctly connected and is not overheating.
- If necessary, use the Arduino software to test the effect of the resistor on the current flow.
Mini project
Create a simple voltage divider with a 2.7K ohm resistor and another resistor to measure the output voltage.
Common mistakes
- Incorrect ground connection
- Resistor overload
- Insufficient power rating
Recommended accessories
- Digital multimeter
- Basic Arduino kit
- 3D printing for custom projects
- Analog sensors
Frequently asked questions
What is the difference between a 5% and a 10% value?
The 5% indicates that the resistance value can vary up to 5% from the nominal value, while the 10% allows for a greater variation.
How is the power dissipated by a resistor calculated?
Power is given by the formula P = V^2/R where V is the applied voltage and R is the resistance value.


Reviews
There are no reviews yet.