 EN
 IT Italiano
 ES Español
 FR Français
 DE Deutsch

Description
Technical Specifications
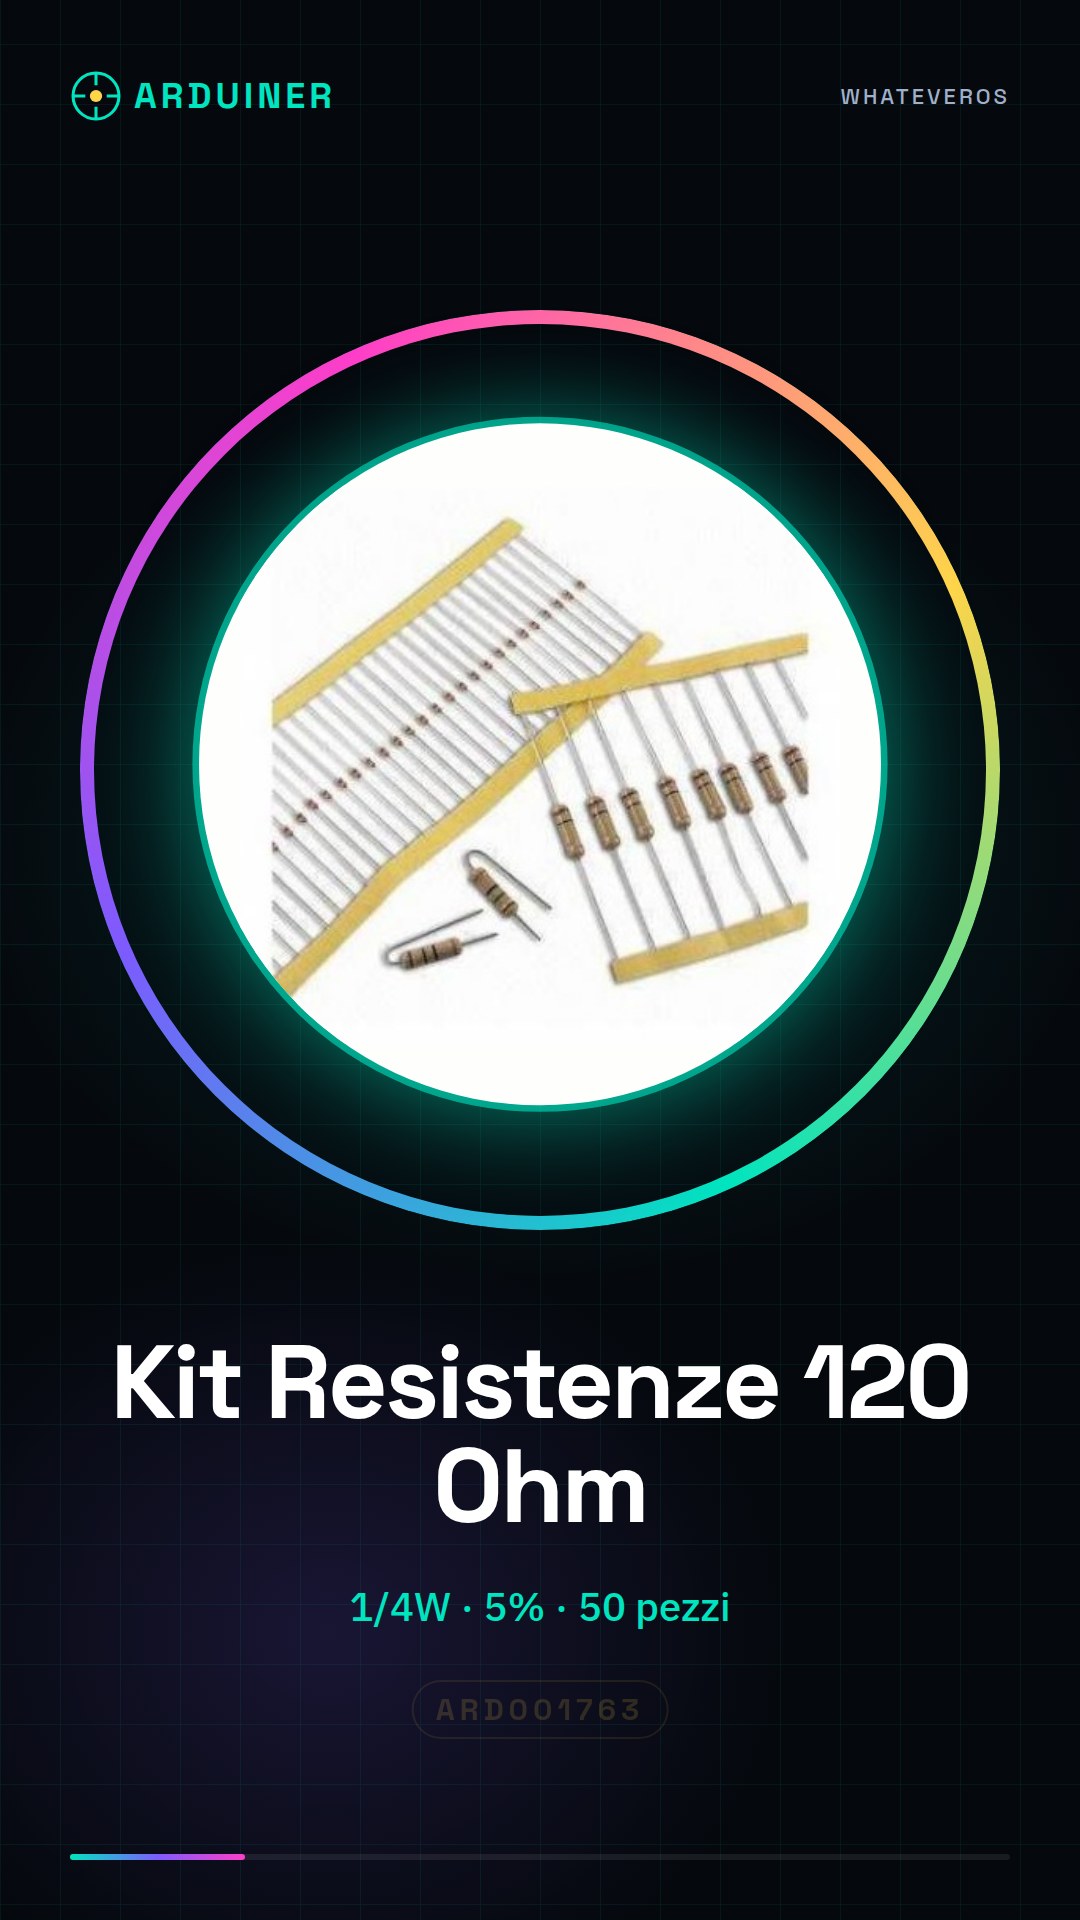
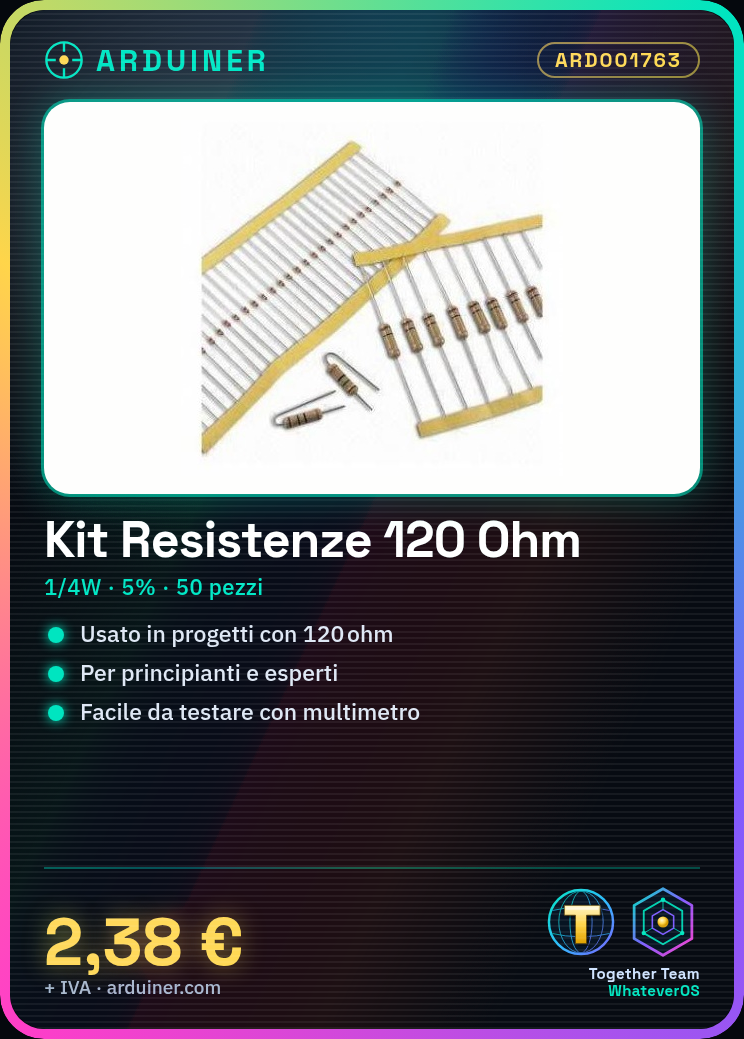
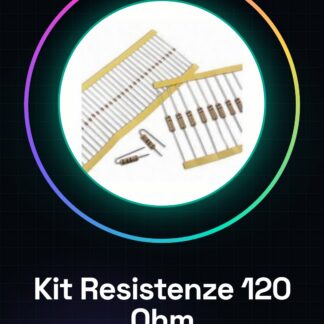
The 120 Ohm 1/4W 5% Resistor Kit contains 50 pieces of 120 ohm resistors, suitable for applications requiring a specific resistance value. These resistors are used to limit the flow of current in electronic circuits, ensuring that components do not exceed their power limits. The 120 ohm resistor is particularly useful in projects that require a certain amount of resistance to regulate the flow of current or to create voltage dividers.
Resistors are manufactured with a 5% tolerance, meaning the actual value can vary by up to 5% from the nominal value. They can handle a maximum power of 1/4 Watt, making them suitable for applications that do not require a high current flow. Their application is widely used in Arduino and other microcontroller projects to regulate electrical current or to create voltage dividers.
It is important to verify the resistance value before using it, using a measuring tool such as a multimeter. Additionally, it is essential to correctly connect the resistor to the circuit to avoid damage to components or the microcontroller.
Key Specifications
| Parameter | Value |
| Model | 120 Ohm 1/4W 5% Resistor Kit |
| Quantity | 50 pieces |
| Resistance Value | 120 ohm |
| Tolerance | 5% |
| Power | 1/4 Watt |
| Container | Pack of 50 pieces |
| Dimensions | N/A (see manufacturer’s technical sheet) |
| Interface | N/A (see manufacturer’s technical sheet) |
Installation and Usage
- Verify the resistance value using a multimeter.
- Connect the resistor between a digital pin of the Arduino and ground.
- Write a simple sketch to test the resistor.
- Check that connected lights or sensors react appropriately to the inserted resistance.
- If necessary, perform additional tests to verify the proper functioning of the circuit.
Compatibility and Requirements
- This resistor kit is compatible with Arduino and other microcontrollers.
- An Arduino or another microcontroller is required to test and use the resistors.
- A multimeter is necessary to verify the resistance value.
- For more advanced projects, it may be useful to have a kit of LEDs and sensors.
Limitations and Important Notes
- It is not recommended to use the resistor for electrical current values above 1/4 Watt.
- The resistor cannot be used in circuits that require very precise resistance values.
- It is important to check the value of the resistor before use to avoid connection errors.
- The resistor is not designed for applications that require a high flow of current.
Troubleshooting
The resistor does not work as expected.
Probable cause: The value of the resistor was not verified before use.
Solution: Check the value of the resistor using a multimeter and ensure it is correct.
The circuit does not respond correctly to the resistor.
Probable cause: The resistor is incorrectly connected.
Solution: Recheck the resistor connection and ensure it is correct.
The resistor overheats during use.
Probable cause: The circuit requires a current higher than what the resistor allows.
Solution: Check the current flow in the circuit and reduce the resistance if necessary.
The value of the resistance is incorrect.
Probable cause: The value of the resistance was not verified before use.
Solution: Verify the value of the resistance using a multimeter and replace the resistance if necessary.
Use cases
Beginner’s Arduino Project
Objective: Learn to use resistors in a simple circuit.
What’s needed: 120 Ohm 1/4W 5% Resistor Kit
Steps: 1) Verify the value of the resistor. 2) Connect the resistor between a digital pin of the Arduino and ground. 3) Write a simple sketch to test the resistor.
Expected result: The circuit works correctly and the value of the resistor is correct.
Expert’s Arduino Project
Objective: To regulate the current flow in a complex circuit.
What’s needed: 120 Ohm 1/4W 5% Resistor Kit
Steps: 1) Check the value of the resistor. 2) Calculate the required resistance for the circuit. 3) Connect the resistor to the circuit and test its functionality.
Expected result: The circuit works correctly and the current flow is regulated.
Arduino Project for School
Objective: To illustrate the concept of resistance in a circuit.
What’s needed: 120 Ohm 1/4W 5% Resistor Kit
Steps: 1) Check the value of the resistor. 2) Connect the resistor between a digital pin of the Arduino and ground. 3) Write a simple sketch to test the resistor.
Expected result: Students understand the concept of resistance and its role in a circuit.
Arduino Project for Home
Objective: To create a light dimmer.
What’s needed: 120 Ohm 1/4W 5% Resistor Kit
Steps: 1) Check the value of the resistor. 2) Connect the resistor between a digital pin of the Arduino and ground. 3) Write a sketch to control the current flow.
Expected result: The light dimmer works correctly and adjusts the brightness of the lamp.
Arduino Project for the Lab
Objective: Test the resistor in a complex circuit.
Required: 120 Ohm Resistors Kit 1/4W 5%
Steps: 1) Check the value of the resistor. 2) Calculate the required resistance for the circuit. 3) Connect the resistor to the circuit and test its functionality.
Expected result: The circuit works correctly and the resistor regulates the current flow.
Arduino Project for Prototyping
Objective: Regulate the current flow in a prototype.
Required: 120 Ohm Resistors Kit 1/4W 5%
Steps: 1) Check the value of the resistance. 2) Calculate the required resistance for the prototype. 3) Connect the resistance to the prototype and test its functionality.
Expected result: The prototype works correctly and the current flow is regulated.
Arduino Maintenance Project
Objective: Replace a damaged resistance.
What is needed: 120 Ohm 1/4W 5% Resistance Kit
Steps: 1) Check the value of the resistance. 2) Replace the damaged resistance. 3) Test the circuit to verify its functionality.
Expected result: The circuit works correctly and the replaced resistance functions as expected.
Arduino Repair Project
Objective: Repair a damaged circuit.
What is needed: 120 Ohm 1/4W 5% Resistance Kit
Steps: 1) Check the value of the resistance. 2) Replace the damaged resistance. 3) Test the circuit to verify its functionality.
Expected result: The circuit works correctly and the replaced resistance functions as intended.
In the package
- 50 pieces
Complete the project
- 50 Pieces Resistance, 10000 ohm, 10k, ohm 1/4w 1/4 w 5%, Resistors arduino compatible: To test and verify the value of the resistance.
- Kit Resistors 470 Ohm 1/4W 5% – 50 Pieces: To create complex circuits with different resistors.
- Kit Resistors 330 Ohm 1/4W 5% – 50 Pieces
Technical FAQs
What is the maximum power of the resistor?
The maximum power that the resistor can handle is 1/4 Watt.
How can I check the value of the resistor?
You can use a multimeter in continuity mode to verify the value of the resistor.
What are the usage limits of the resistor?
It is not recommended to use the resistor for electrical current values above 1/4 Watt and for applications requiring a very precise resistance value.
What are the common problems with the resistor?
Common problems include incorrect verification of the resistor value, incorrect connection of the resistor, and overheating of the resistor during use.
Tutorial: How to Use 120 Ohm Resistor Kit
This resistor kit is ideal for electronic projects that require a 120 ohm resistance. They are useful for both beginners and experts, especially when working with Arduino or other microcontrollers.
What you need
- Arduino
- Measurement tool (multimeter)
- Check the desired resistance using a multimeter.
Steps
- Connect the resistor between the Arduino’s digital pin and ground.
- Write a simple sketch to test the resistor.
- Write a simple sketch to test the resistance.
- Check that the connected lights or sensors react correctly to the inserted resistance.
Mini project
Create a dimmer light by controlling the current flow through an LED bulb with your 120 ohm resistance.
Common mistakes
- Do not check the resistance before use.
- Connect the resistance incorrectly between the Arduino pins.
- Use it for electrical current values higher than the recommended ones (1/4W).
Recommended accessories
- Various LED kits
- Arduino sensor kit
- Professional soldering station
- Accurate measurement tool (multimeter)
Frequently asked questions
What is the maximum power of the resistance?
Check the datasheet.
How can I check the value of the resistance?
Use a multimeter in continuity mode.
Reviews
There are no reviews yet.