 EN
 IT Italiano
 ES Español
 FR Français
 DE Deutsch
Description
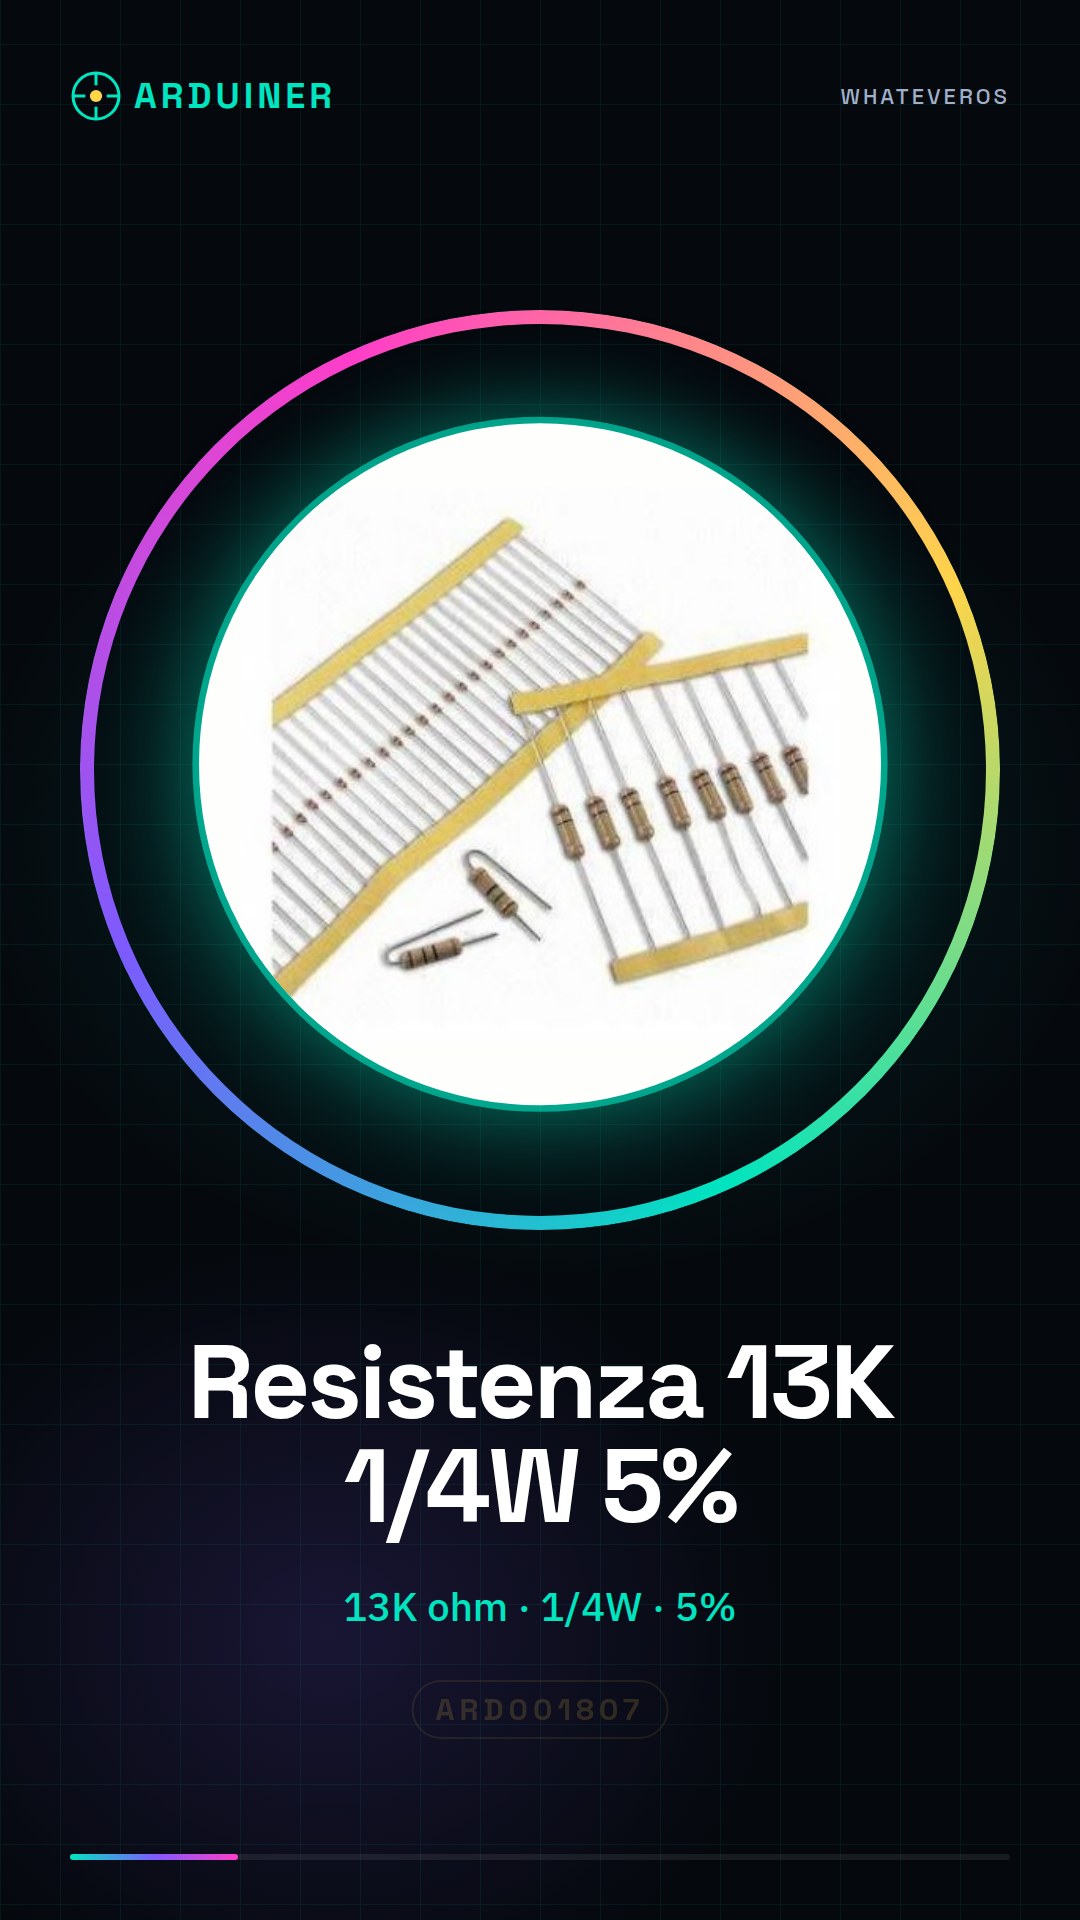
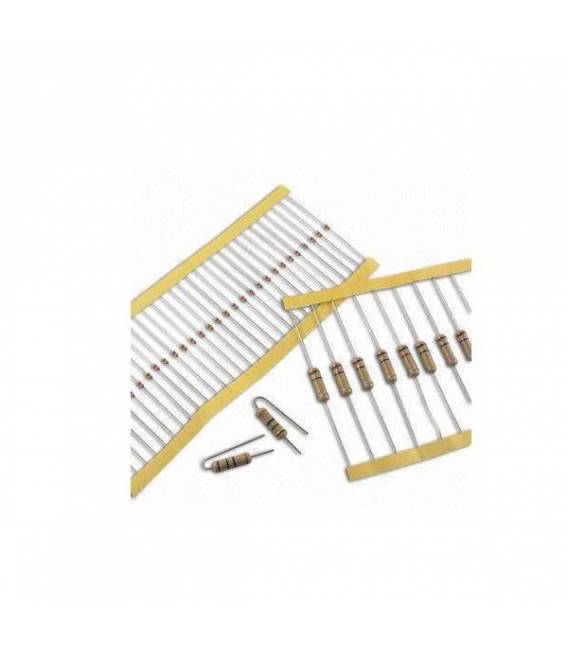
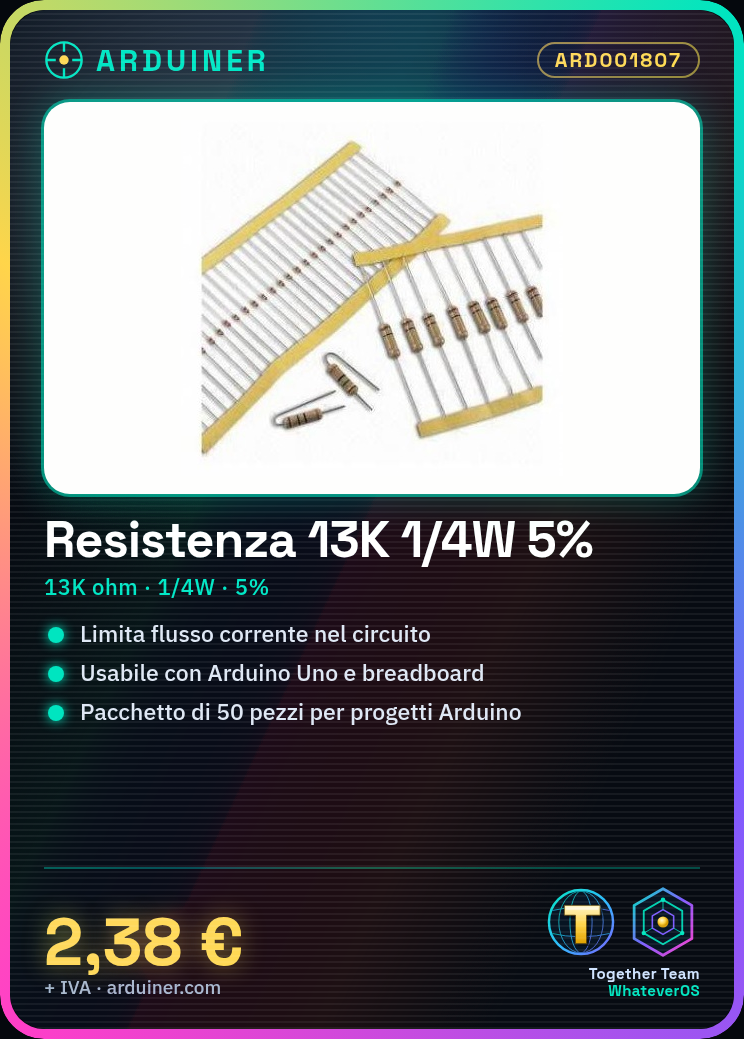
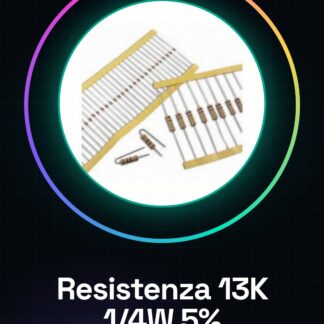
50PCS Resistor 13K ohm 13000 ohm 1/4w 1/4 w 5%
Tutorial: How to use Resistor 13K ohm
Resistors are fundamental for limiting the flow of current in an electronic circuit. This 13K ohm resistor is ideal for Arduino projects where a medium resistance is needed.
What you need
- Arduino Uno
- Breadboard
- Led
Steps
- Check the resistance of the component using a multimeter.
- Connect the led to the breadboard with the correct legs (anode (+) and cathode (-)).
- Connect one end of the 13K ohm resistor to the anode of the led, the other end to the output pin of the Arduino.
- Connect the negative leg of the led to GND (ground) through a connection on the breadboard.
- Check the datasheet of the resistor for power limits to avoid overloads.
- Write and upload the Arduino sketch that turns on the led, varying the brightness with PWM.
- Test the circuit to ensure the led lights up correctly.
- Optimize project settings to improve power supply efficiency.
Example code
void setup() {
  pinMode(9, OUTPUT);
}

void loop() {
  analogWrite(9, 128); // Imposta la luminosità del led
}
Mini project
Create a dimmer for your LED using PWM and varying the current through the resistor.
Common mistakes
- Using an insufficient power resistor that may overheat or damage the circuit.
- Connecting the ends of the resistor incorrectly.
- Failing to check the power limits of the resistor before use.
- Omitting the ground of the LED, causing a short circuit.
Recommended accessories
- Arduino Uno
- Breadboard
- Kit of LEDs in various colors
- Digital multimeter
Frequently asked questions
What is the maximum power of this resistor?
Check the resistor datasheet.
How can I calculate the correct value of the resistor for an LED?
Use an electronic formula or a specific online tool for this purpose.
Reviews
There are no reviews yet.