 EN
 IT Italiano
 ES Español
 FR Français
 DE Deutsch
Description
What it is
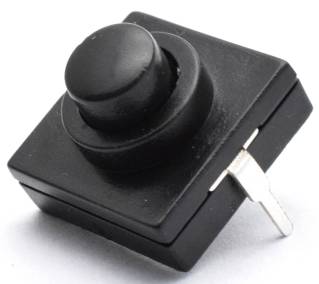
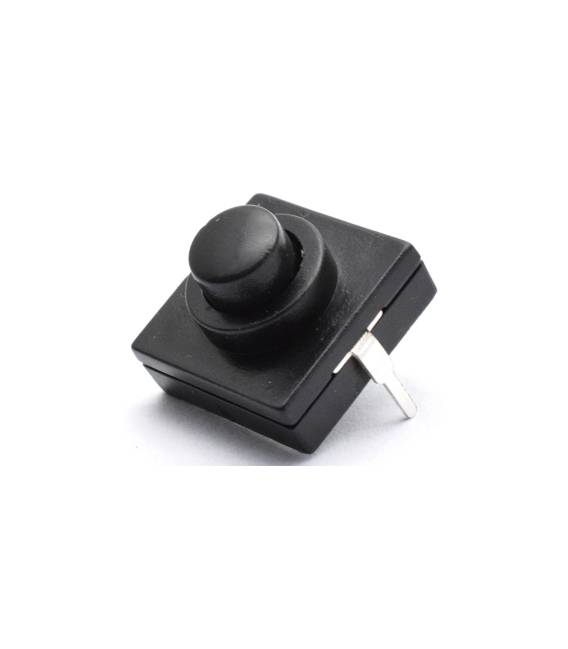
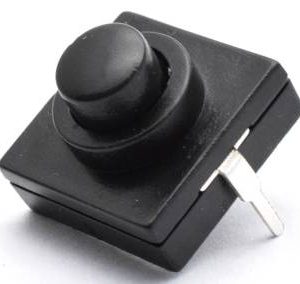
This kit contains 4 momentary waterproof buttons with dimensions 12x12x9.4mm. They have 2 pins and are waterproof, making them suitable for projects in wet environments.
Features
- 4 momentary waterproof buttons
- Dimensions: 12x12x9.4mm
- 2 pins
- Waterproof
What it is for
These buttons are ideal for Arduino projects that require secure and waterproof user interfaces. They can be used to create alarm systems, safety switches, or any application that needs a moisture-resistant button.
Tutorial: How to Use Momentary Waterproof Button Kit
These buttons are ideal for projects that require secure and waterproof user interfaces. Useful for beginners and intermediates.
What you need
- Arduino or compatible
- Test lead
- Multimeter
- Pliers
Steps
- 1. Check that the buttons are waterproof.
- 2. Prepare the Arduino and connect the buttons to pins 2 and 3.
- 3. Check the datasheet for the maximum current.
- 4. Load the example code.
- 5. Test the buttons to make sure they work.
- 6. Connect the buttons to the final circuit.
- 7. Verify the stability of the contacts.
- 8. Install the buttons in the final project.
Example code
```
int buttonPin = 2;
int ledPin = 13;

void setup() {
  pinMode(buttonPin, INPUT);
  pinMode(ledPin, OUTPUT);
}

void loop() {
  if (digitalRead(buttonPin) == HIGH) {
    digitalWrite(ledPin, HIGH);
  } else {
    digitalWrite(ledPin, LOW);
  }
}
```
Mini project
Create a simple alarm system with a button and an LED.
Common mistakes
- Connect the buttons to the wrong pins.
- Omit the contact test.
- Do not check the maximum current.
- Ignore the self-waterproofing of the buttons.
Recommended accessories
- Button protection cases
- Connection cables
- Button mounts
Frequently asked questions
How can I verify the maximum current?
Check the datasheet.
Are the buttons really waterproof?
Check the datasheet.
Which Arduino pins to use?
Use pins 2 and 3.
Reviews
There are no reviews yet.