 EN
 IT Italiano
 ES Español
 FR Français
 DE Deutsch
Description
What it is
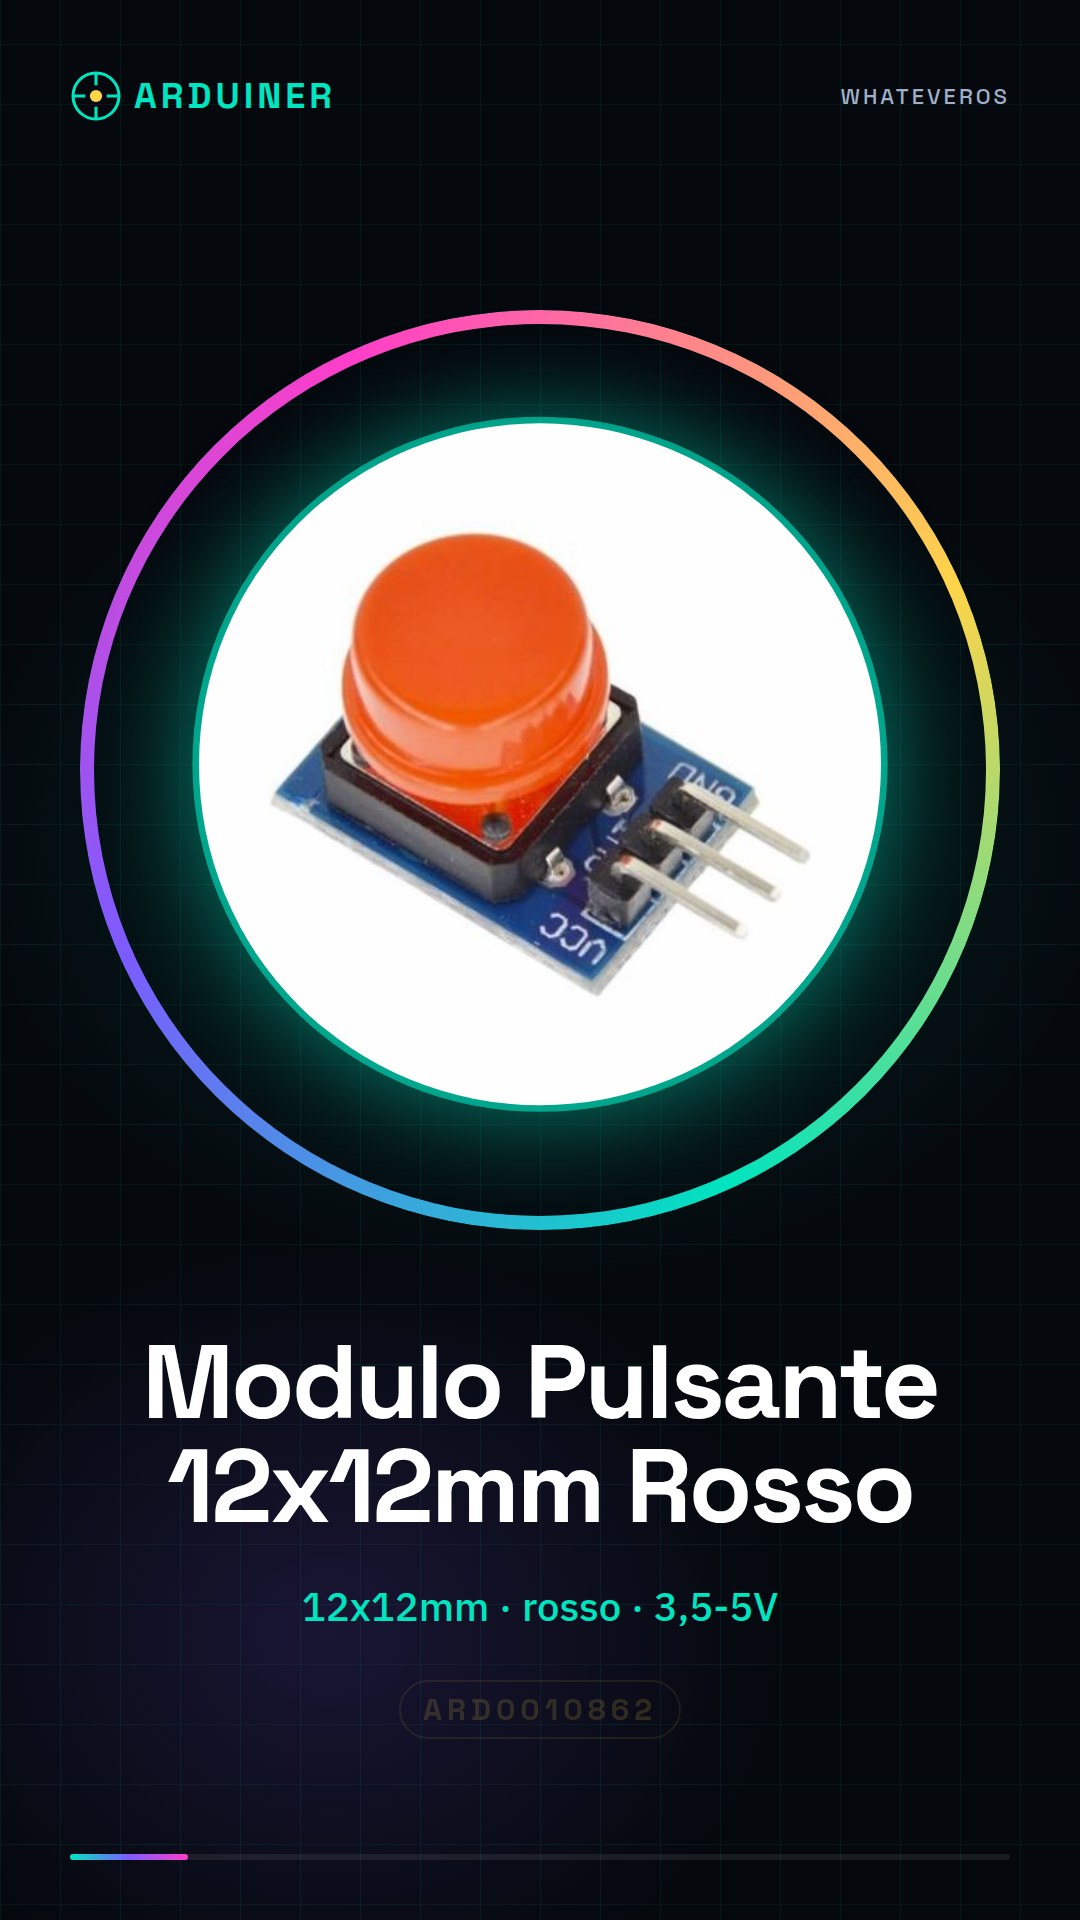
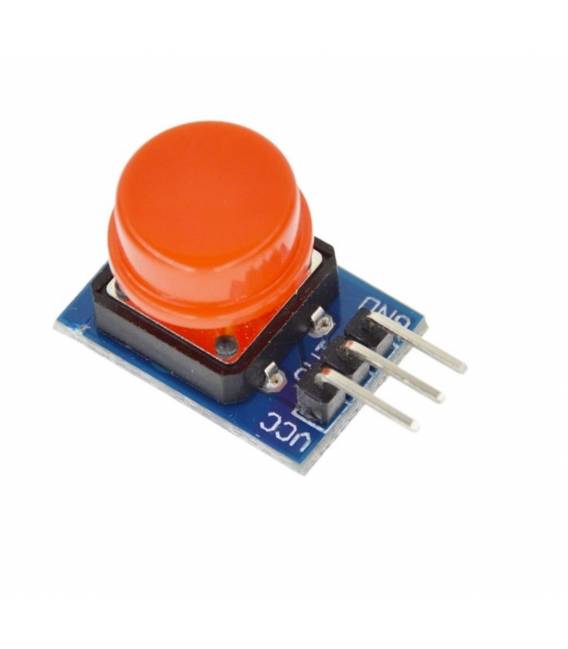
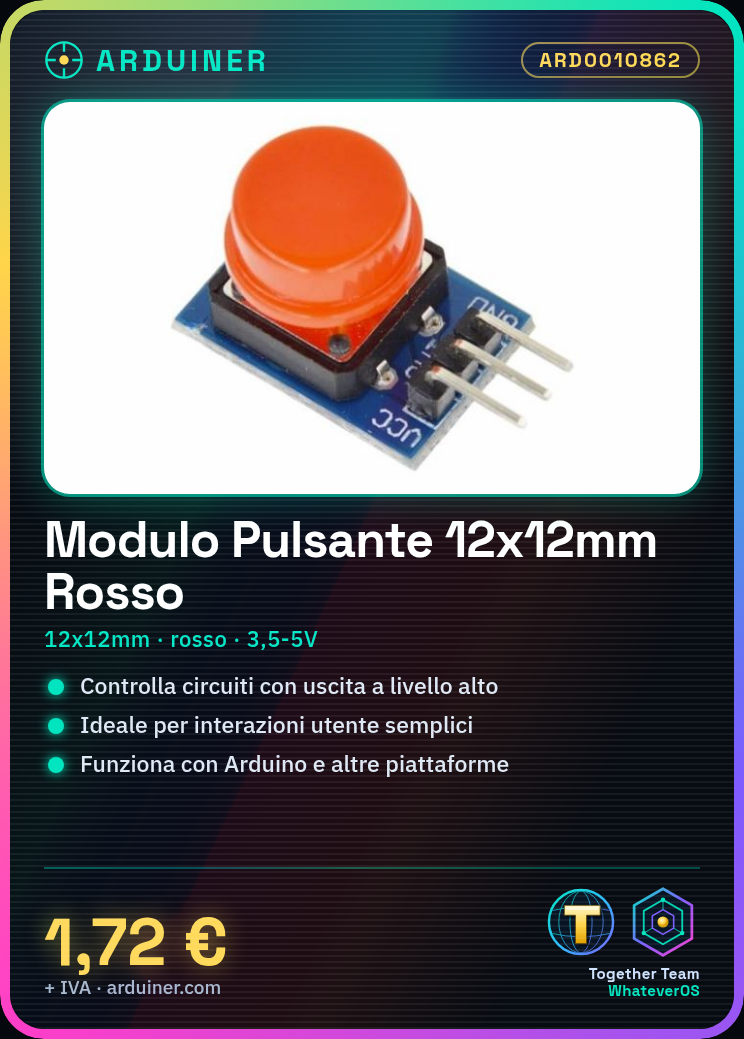
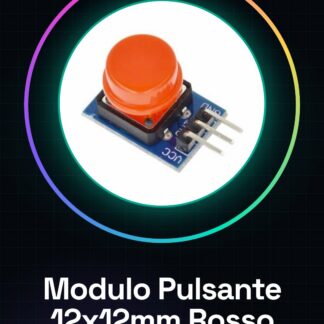
12x12mm push button module compatible with Arduino. Provides a high-level output to control circuits and devices. This push button module is ideal for projects requiring simple user interactions.
Features
- Dimensions: 12x12mm
- Color: red
- Voltage: 3, 5, 5 V
- Output: digital level (press low level, release high level)
- Interface: for 3P SVG interface
What it is for
This push button module is useful for projects requiring simple user interaction, such as creating a simple pulse counter with a 7-segment display. It is compatible with Arduino and other platforms like MCU, ARM, and PI.
Tutorial: How to Use the 12x12mm Push Button Module
This push button module is ideal for projects requiring simple user interactions. Useful for beginners and intermediates.
What you need
- 12x12mm Push Button Module
- Arduino
- DuPont Connectors Cable
- Pull-up Resistor (10kΩ)
Steps
- 1. Connect the push button module to pin D2 of Arduino with a Dupont cable.
- 2. Connect the pull-up resistor (10kΩ) between the VCC pin and the input pin of the button.
- 3. Connect the GND pin of the button to the GND of Arduino.
- 4. Use the following code to control the state of the button.
- 5. Check the datasheet for further details.
- 6. Upload the code to Arduino.
- 7. The on-board LED should light up when the button is pressed.
- 8. Verify the functionality of the button.
Example code
```cpp
int pulsante = 2;
void setup() {
  pinMode(pulsante, INPUT);
  Serial.begin(9600);
}

void loop() {
  if (digitalRead(pulsante) == HIGH) {
    Serial.println("Pulsante premuto");
  }
}
```
Mini project
Create a simple pulse counter with a 7-segment display.
Common mistakes
- Omitting the pull-up resistor can cause stability issues.
- Connecting the output pin of the button directly to VCC without a resistor can damage the Arduino.
- The output pin of the button must be configured as INPUT.
- Always verify the correct polarity of the connections.
Recommended accessories
- 7-segment display
- Dupont cable
- Arduino UNO
- LED
Frequently asked questions
The button does not respond correctly.
Check the connections and the pull-up resistance. Ensure that the pin is correctly configured as INPUT.
How can I integrate this button into a project?
Connect the button to a digital pin of Arduino and use the provided code to control the state of the button.
Which pins of Arduino can I use for this module?
You can use any digital pin of Arduino, but make sure it is configured as INPUT.
Reviews
There are no reviews yet.