 EN
 IT Italiano
 ES Español
 FR Français
 DE Deutsch
Description
What it is
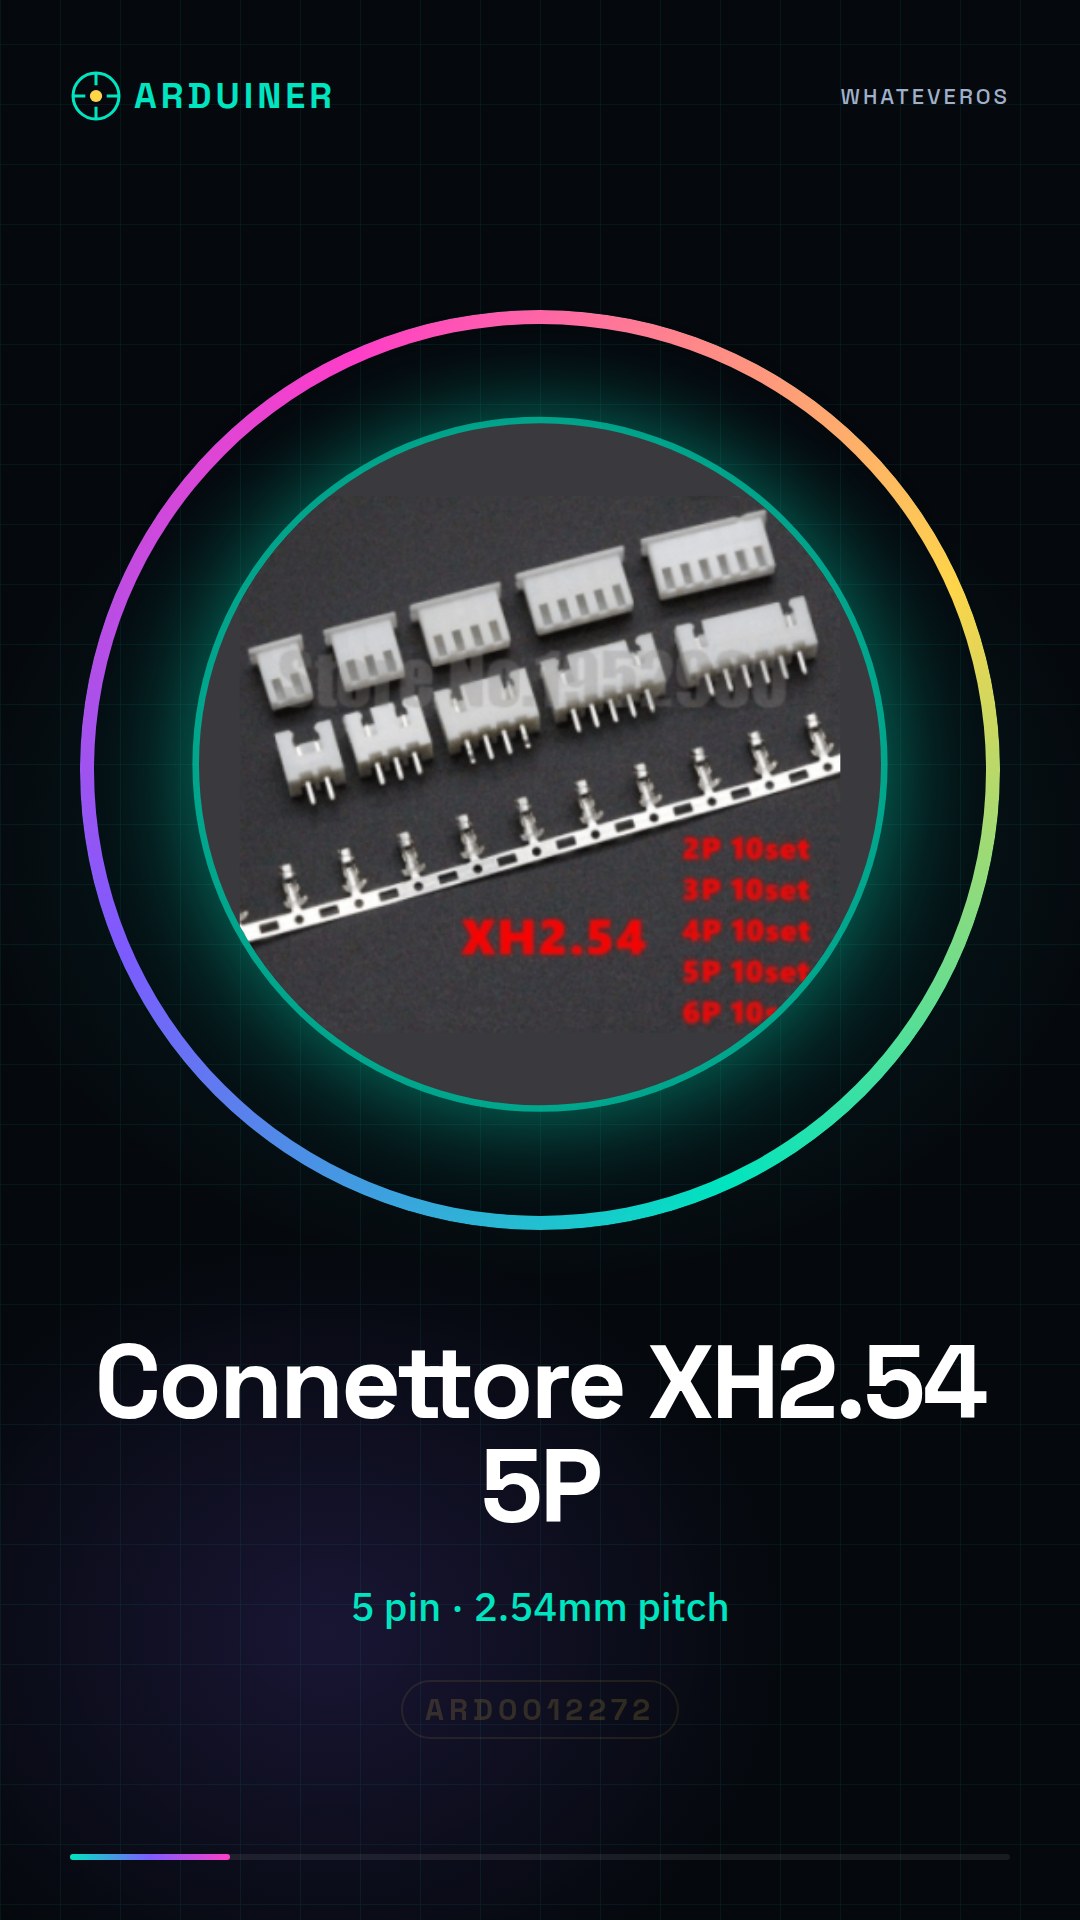
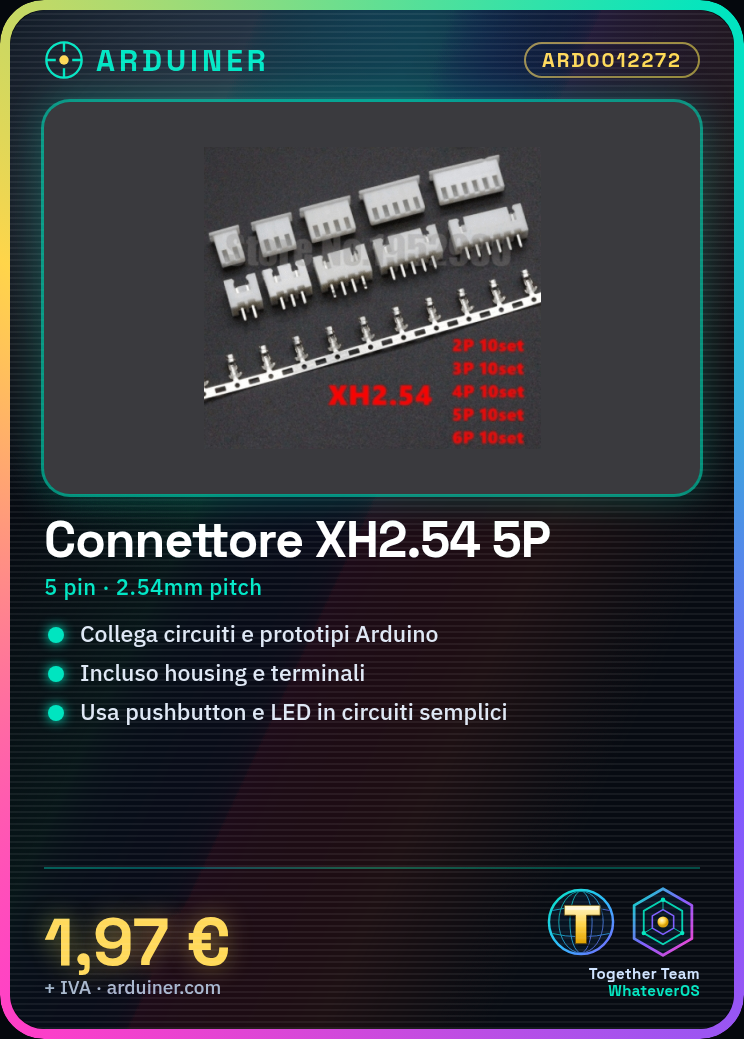
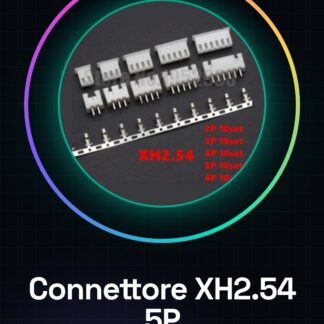
The XH2.54 connector from Arduiner is an electronic component used for circuit and prototype connections, ideal for Arduino and DIY projects.
Features
- Pins: 5
- Pin diameter: 2.54mm (0.1″)
- Connector type: XH2.54
- Connector style: Straight Pin Header
- Includes housing and terminals
What it is for
Ideally used to connect electronic components in Arduino or ESP projects, this connector is suitable for both beginners and intermediates. It can be used to create simple circuits such as a button counter with a pushbutton and an LED.
Tutorial: How to use 5P Pin 2.54mm Connector
This connector is ideal for connecting electronic circuits, especially for prototypes and Arduino projects. Useful for beginners and intermediates.
What you need
- Arduino circuit or compatible
- Pins
- Solder
- Electrician’s pliers
Steps
- 1. Check that the connector has 5 pins.
- 2. Assign pins to your circuit (check the datasheet).
- 3. Prepare the leads for the pins.
- 4. Connect the connector pins to the circuit pins.
- 5. Check the connection with an electrical tester.
- 6. Solder the connection points for a more secure connection.
- 7. Test the connector with a sample program.
- 8. Install the connector in your final project.
Mini project
Create a simple button counter with a pushbutton and an LED.
Common mistakes
- Do not check the connection before soldering.
- Connecting the wrong pins.
- Soldering with too much or too little heat.
- Omitting the preliminary test.
Recommended accessories
- Arduino Uno Circuit
- Pushbutton
- LED
- Resistor
Frequently asked questions
Can I use this connector with a Raspberry Pi?
Yes, but check pin compatibility.
How many pins does the connector have?
5 pins.
How can I check the contact?
Use an electrical tape or a multimeter.
Reviews
There are no reviews yet.