 EN
 IT Italiano
 ES Español
 FR Français
 DE Deutsch
Description
What it is
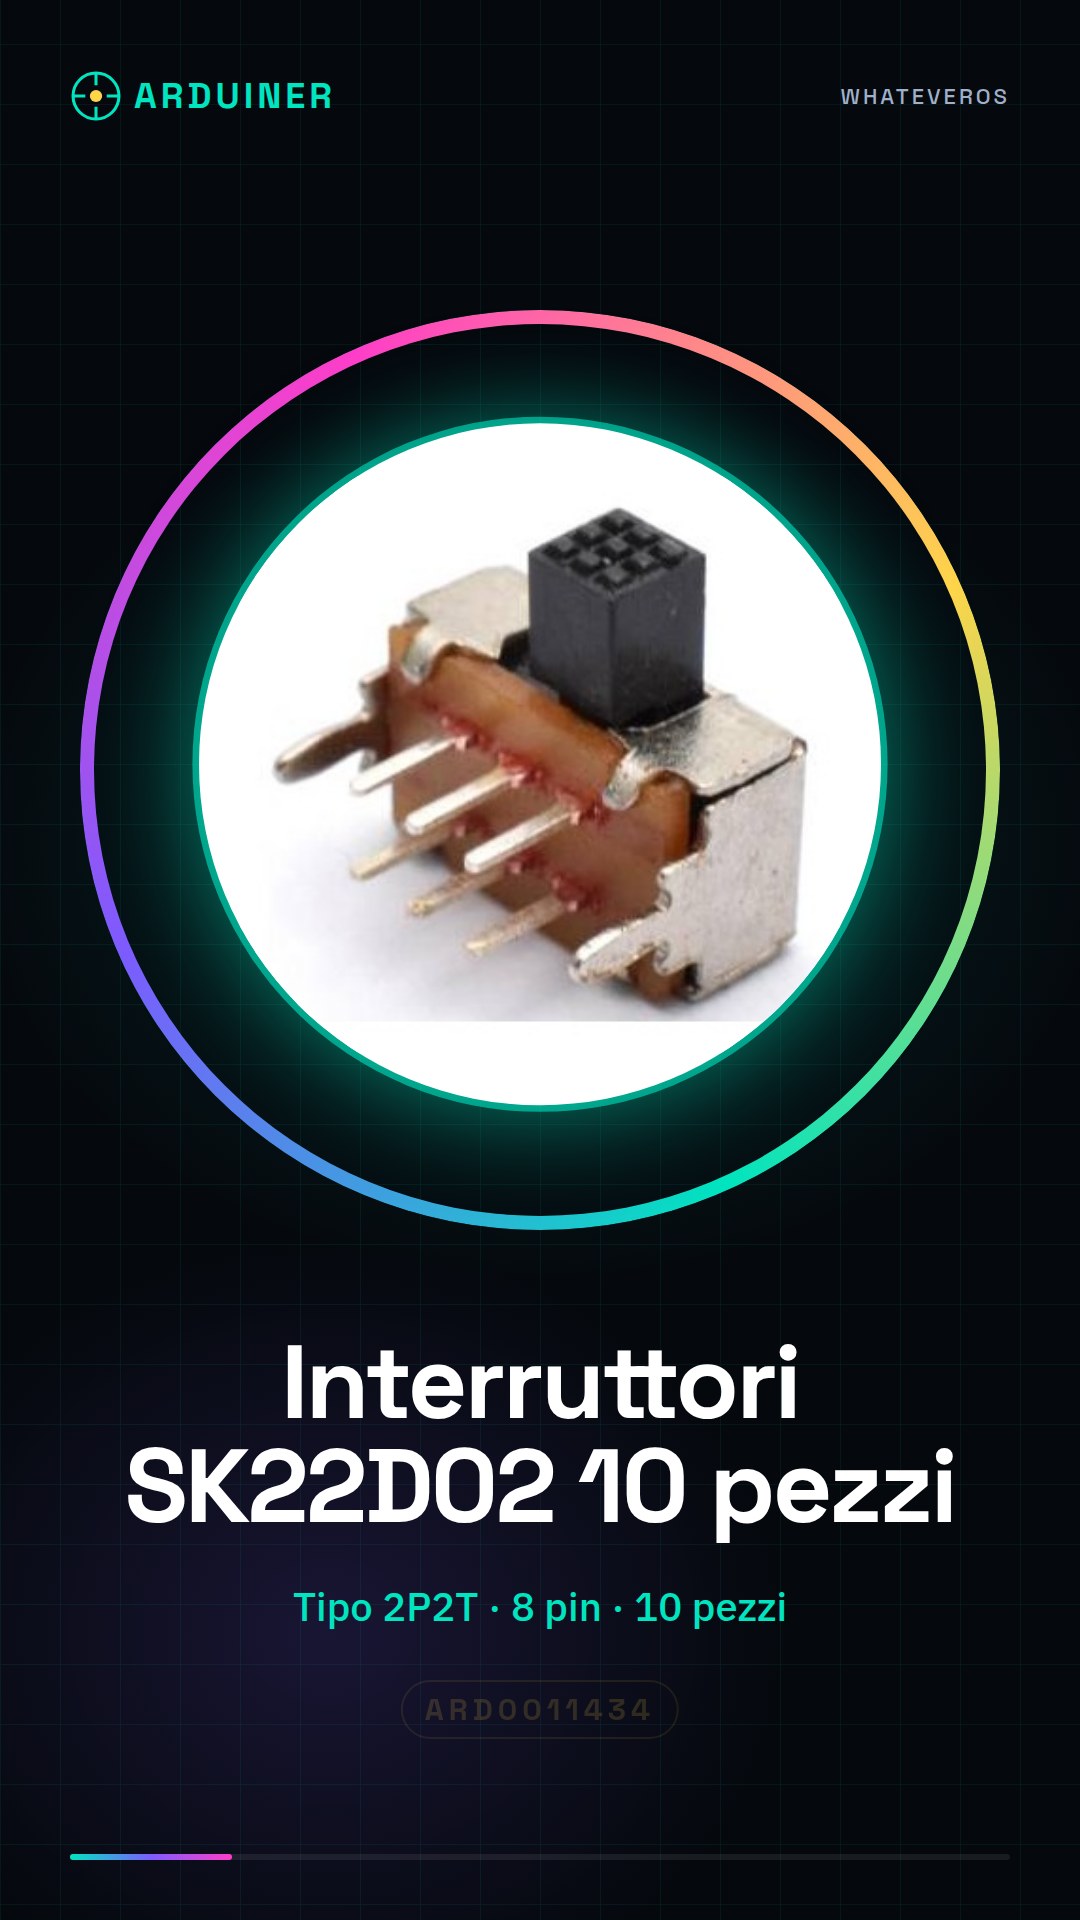
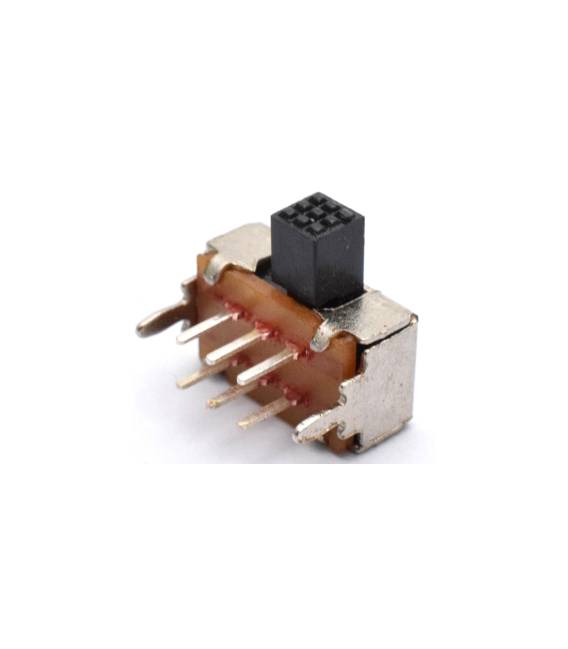
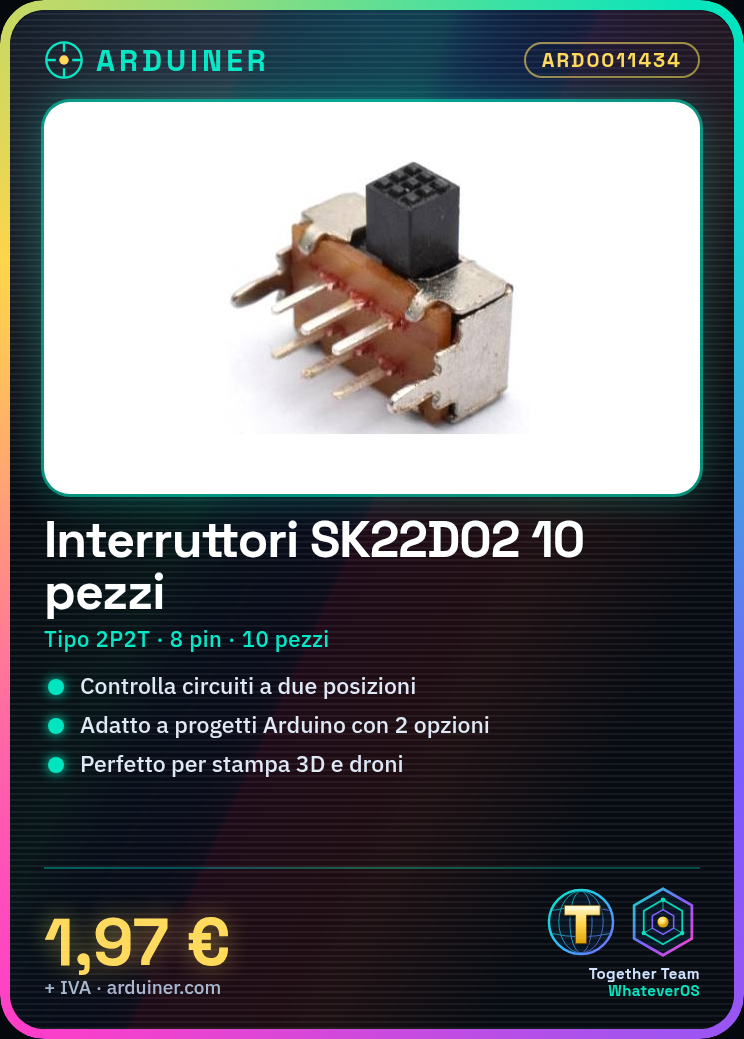
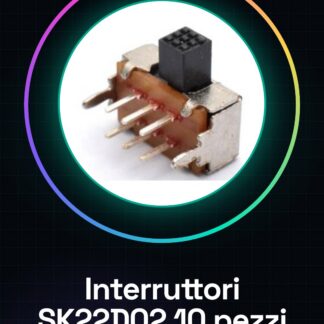
This product includes 10 SK22D02 switches, a type of 2-position and 2-contact (2P2T) switch with 8 pins.
Features
- Type: SK22D02
- Type: 2P2T (2 positions, 2 contacts)
- Pins: 8
- Quantity: 10 pieces
What it is for
The SK22D02 switch is ideal for controlling an electronic circuit with two positions. It is particularly useful for Arduino projects where a simple choice between two options is needed. It can be used in 3D printing and drone projects for managing various functions.
Tutorial: How to use SK22D02 / 2P2T Switch
The SK22D02 switch is ideal for anyone who wants to control an electronic circuit with two positions. It is particularly useful for Arduino projects where a simple choice between two options is needed.
What you need
- Arduino Uno
- USB A-MicroB cable
- 3D print connectors or PCB base
Steps
- Check the contact positions on the SK22D02 switch datasheet.
- Connect the VCC pin to the positive power supply of the circuit (5V or 3.3V).
- Connect the GND pin to the ground of the circuit.
- Connect the control contacts to the digital pins of the Arduino.
- Write and upload the Arduino sketch to read the state of the switch.
- Test the functionality of the switch by pressing it.
- If necessary, adjust the connections or the code until it works correctly.
Example code
// Esempio sketch Arduino
int interruttorePin = 2; // Imposta il pin digitale dell'interruttore
void setup() {
  pinMode(interruttorePin, INPUT); // Configura il pin come input
}
void loop() {
  int statoInterruttore = digitalRead(interruttorePin); // Legge lo stato dell'interruttore
  if (statoInterruttore == HIGH) {
    Serial.println("Interruttore ON");
  } else {
    Serial.println("Interruttore OFF");
  }
}
Mini project
Build a night light projector for your garden using the SK22D02 switch and RGB LEDs.
Common mistakes
- Connect the VCC or GND pin to the digital pin of the Arduino.
- Failing to verify the position of the contacts correctly on the datasheet.
- Using an incompatible voltage with the switch (check the datasheet for specifications).
- Failing to test the state of the switch before proceeding.
Recommended accessories
- Arduino Uno R3
- Variable RGB LEDs
- Current limiting resistors
- 3D printing for encapsulation
Frequently asked questions
How can I control multiple switches?
Use a multiplexer or connect the switch’s digital pins to different digital pins on the Arduino.
Can it be used with Raspberry Pi?
Yes, but make sure to use the correct voltage level and connect the contacts correctly.

Reviews
There are no reviews yet.