 EN
 IT Italiano
 ES Español
 FR Français
 DE Deutsch
Description
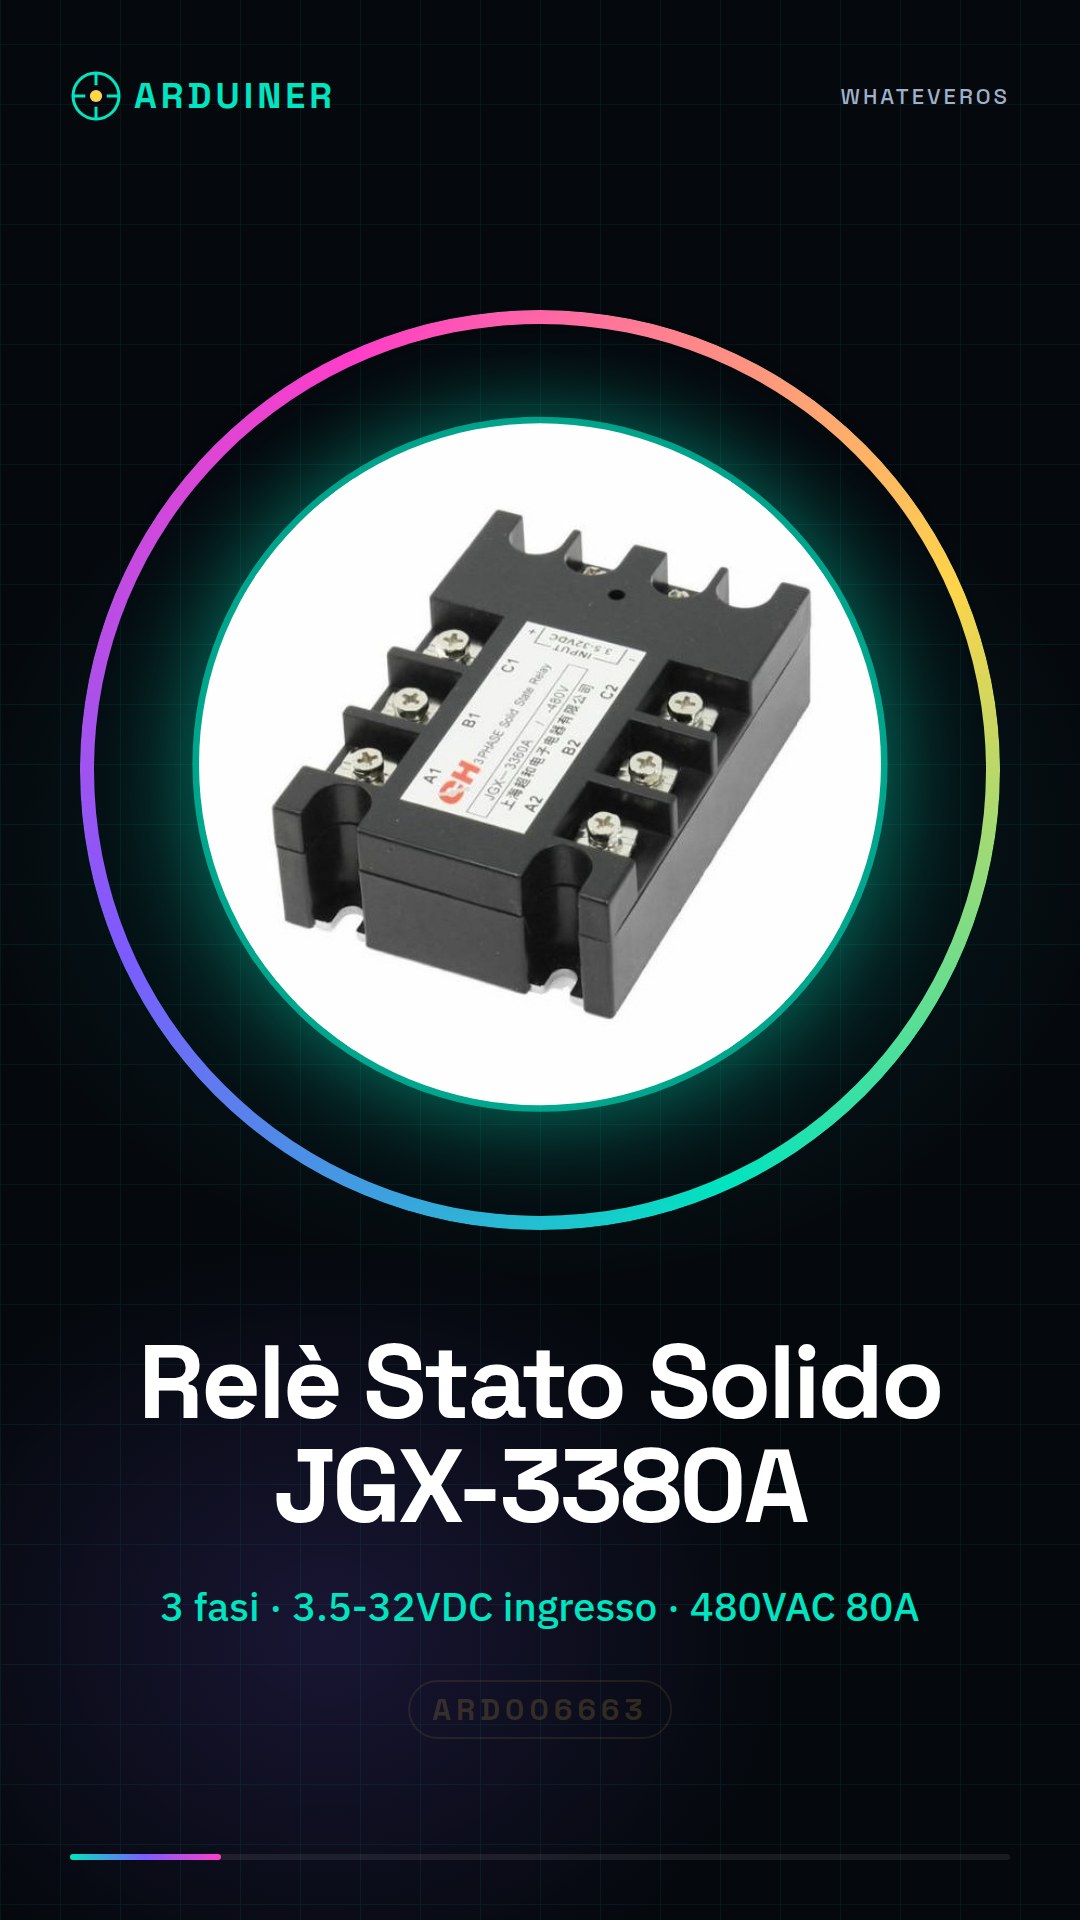
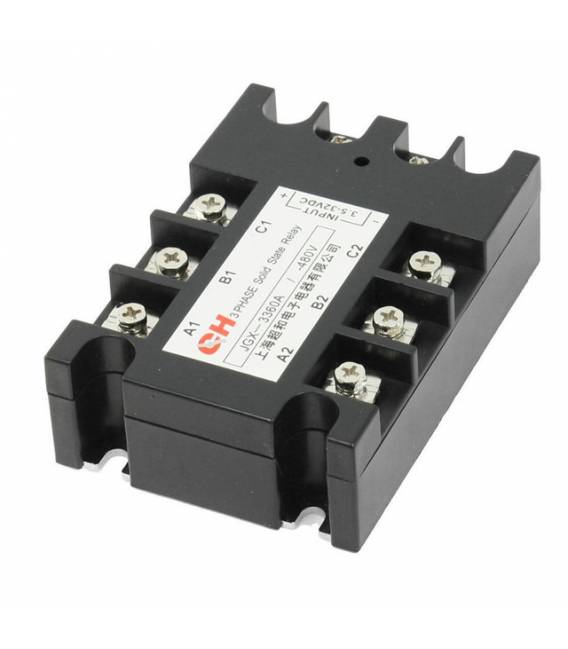
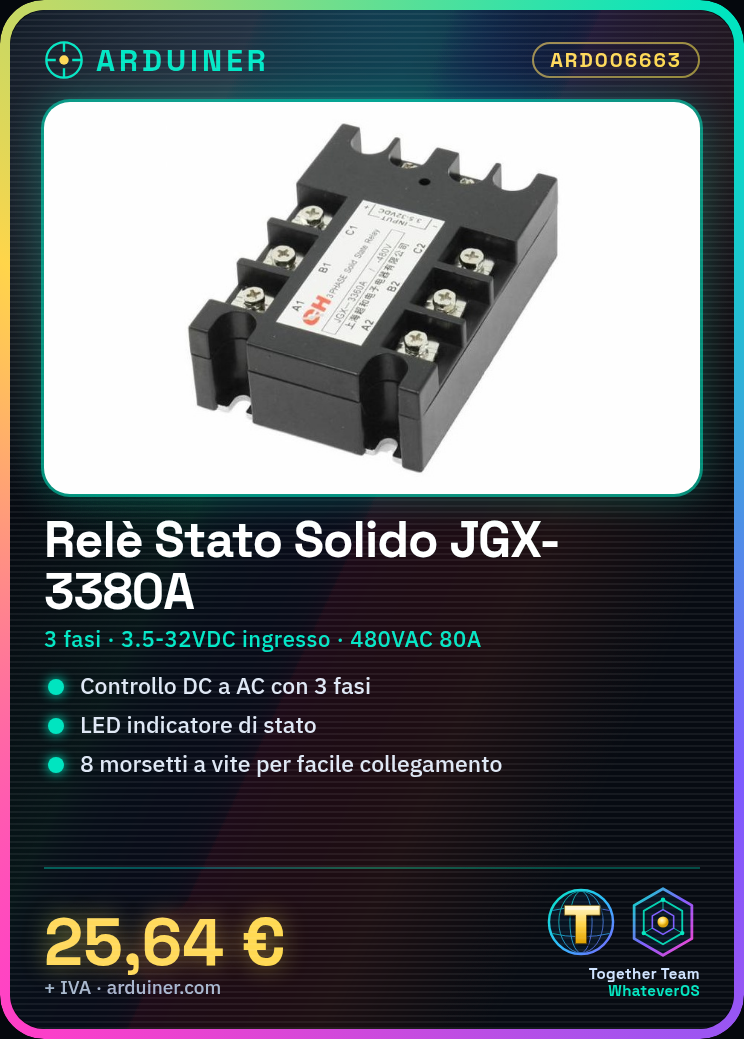
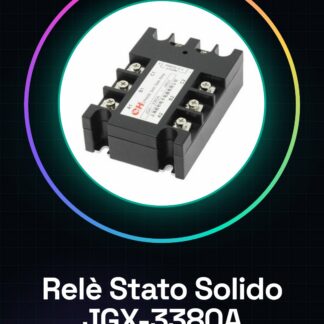
Solid State Relay JGX-3380A 3.5-32VDC/480VAC 80A DC to AC 3 Phase with Indicator Light
Features :
- JGX-3380A 3 phase solid state relay, DC to AC, 3.5-32VDC input, 480VAC 80A output.
- Designed with 8 screw terminals and an indicator lamp, easy to install and use.
- Long lasting and high reliability. Can be used in computer peripheral interface devices, oven thermostat electric heating system, CNC machines, remote control systems, industrial automation devices.
- Ideal for thermostats, stoves, ovens and other electrical products.
Specifications:
- Product Name : 3 Phase Solid State Relay
- Model No. : JGX-3380A
- Control Method : DC to AC
- Input Voltage : 3.5-32VDC
- Output Current : 80A
- Output Voltage : 480VAC
- Mounting Hole Dimensions : 6 x 5 mm / 0.248 ” x 0.2 ” (L * W)
- total dimensions (approx.): 10.5 x 7.3 x 3.3 cm / 4.1″ x 2.9″ x 1.3″ (l * w * h)
- material: metal, plastic
- color: black, silver tone
- net weight: 397 g
Tutorial: How to Use Solid State Relay SSR JGX-3380A
The solid state relay SSR JGX-3380A is ideal for controlling AC electrical circuits from a safe distance using a DC control signal. It fits well for both home and industrial projects, allowing the control of devices such as motors, lights, or high-power electrical appliances.
What you need
- Arduino Uno
- Molex Connectors
- AC Power Cables
Steps
- Check the datasheet for the relay connection type (e.g., Molex) and prepare the cables.
- Connect the DC power to the relay, verifying voltage and polarity.
- Connect the Arduino output to the relay control signal.
- Check the datasheet for the maximum power allowed for the AC circuit.
- Connect the AC circuit cables to the relay, respecting the polarity and phase indications.
- Write an Arduino sketch that sends a HIGH/LOW signal to the relay to test it.
- Check the correct illumination of the LED indicator on the relay.
- Test the AC circuit operation by connecting a test device.
Example code
const int relayPin = 7; // Pin Arduino collegato al segnale di controllo
void setup() {
pinMode(relayPin, OUTPUT);
digitalWrite(relayPin, LOW); // Inizializza il relè disattivato
}
void loop() {}
// Usa Serial Monitor per inviare HIGH/LOW a relayPin
Mini project
Create a home alarm system that activates a siren (AC) via a signal from a motion sensor (DC). Test the operation with Arduino.
Common mistakes
- Do not respect polarity and phase during AC installation.
- Connect DC voltage higher than the relay limit.
- Ignore safety precautions for AC circuits.
- Omit preliminary Arduino tests with the relay control signal.
Recommended accessories
- Solid State Relay SSR JGX-3380A
- Electricity Protection Kit
- PIR Motion Sensors
- Cables and Molex Connectors
Frequently asked questions
Can the relay be used for low voltage AC circuits?
Yes, but check the datasheet to verify compatibility with the specific voltage of your project.
What is the standby current consumption of the relay?
Check the datasheet for the detailed specifications for this data.
Reviews
There are no reviews yet.