 EN
 IT Italiano
 ES Español
 FR Français
 DE Deutsch
Description
Technical Description
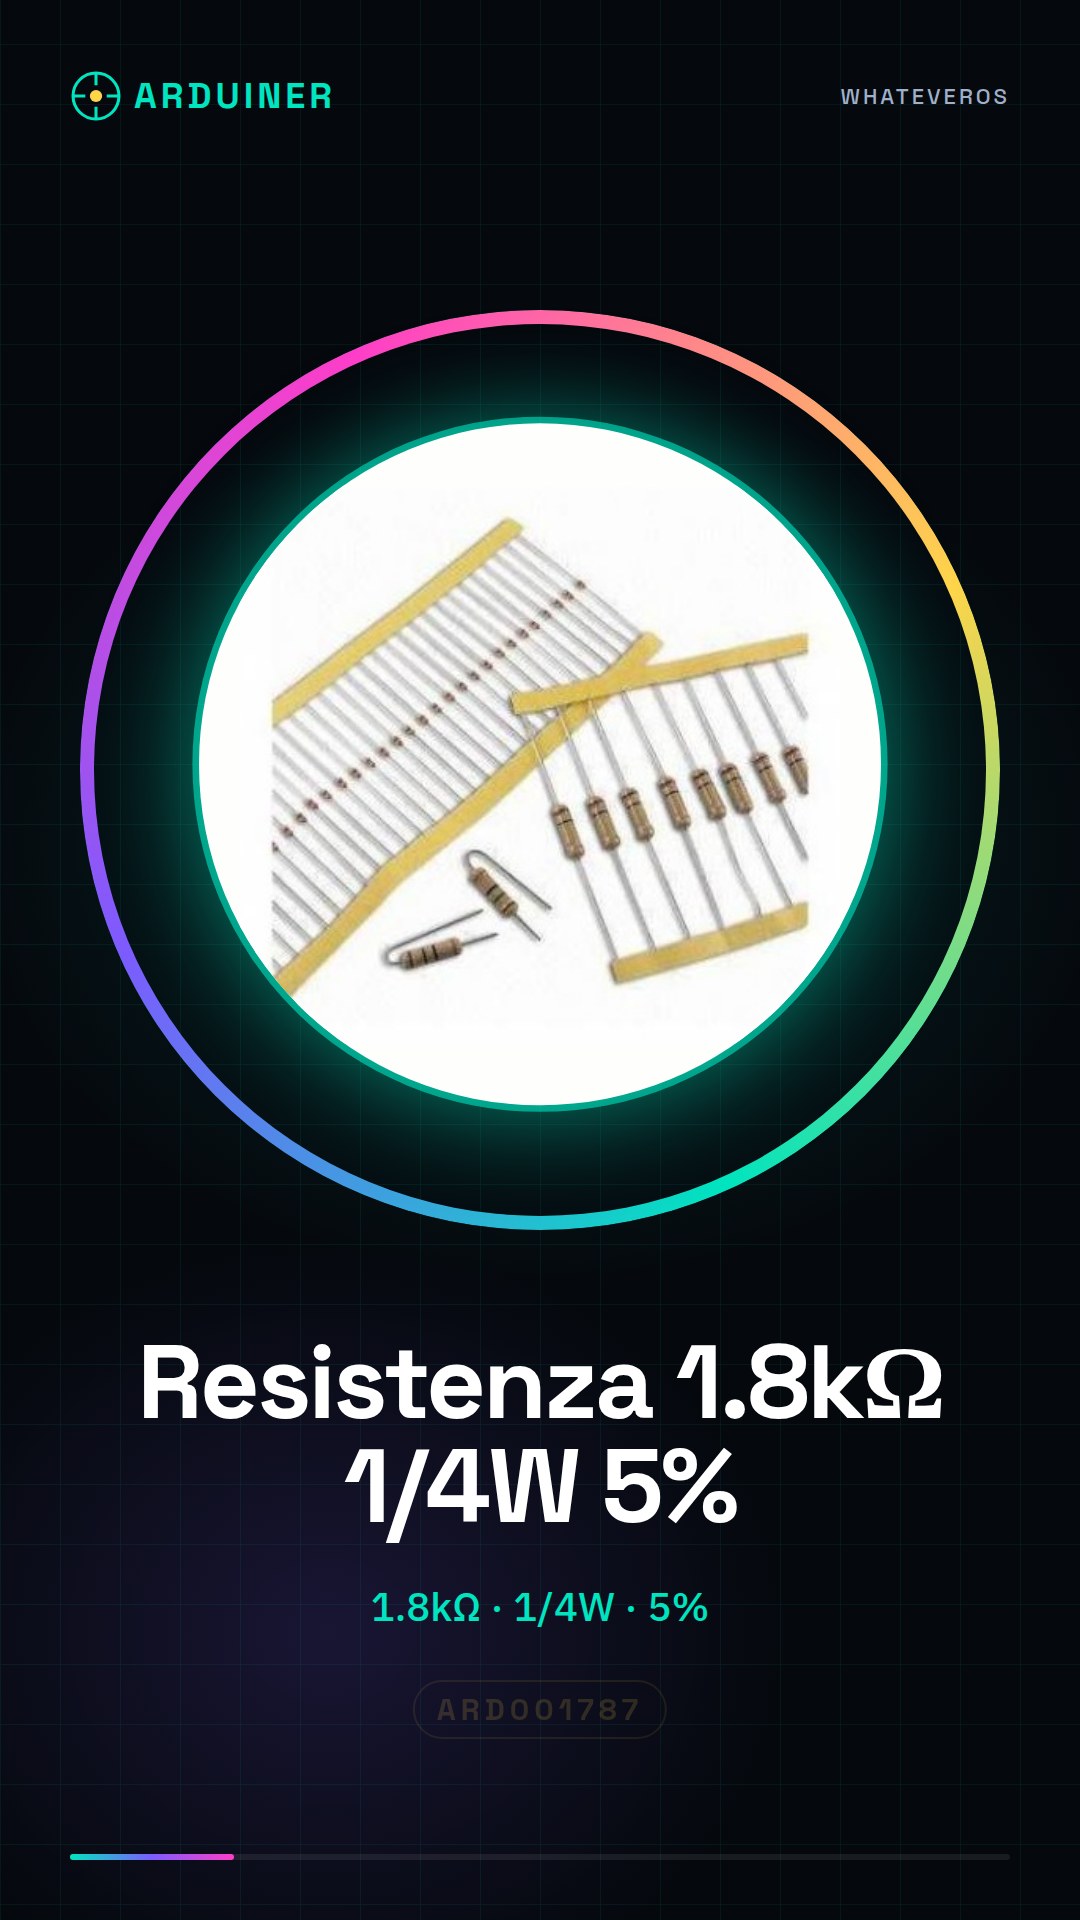
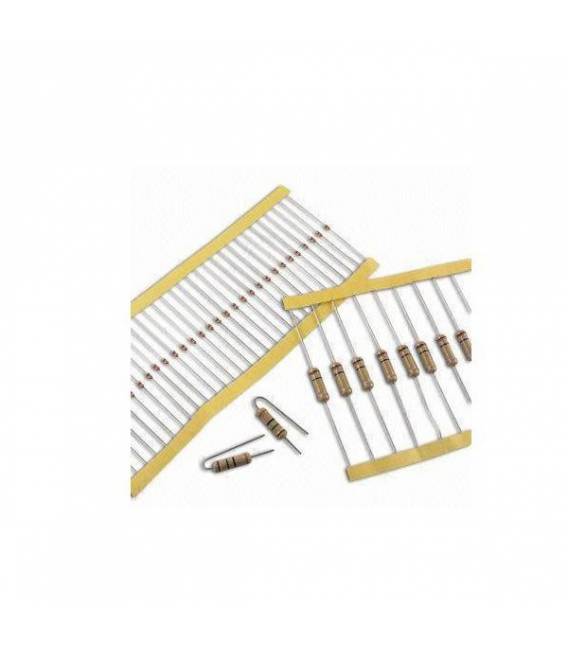
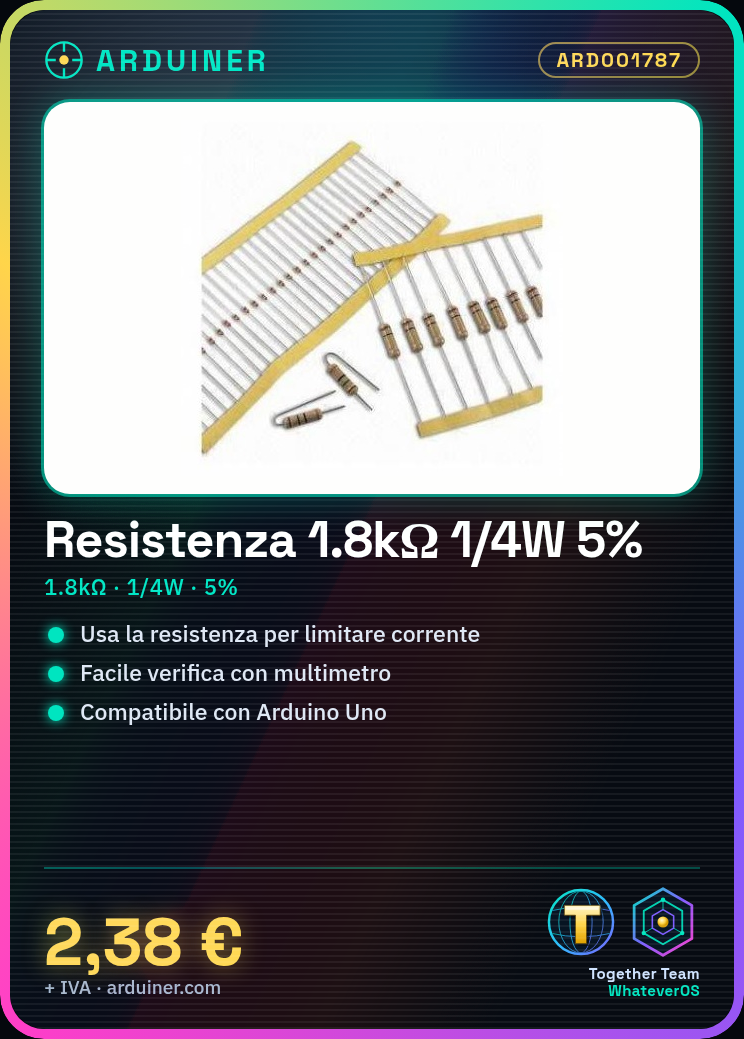
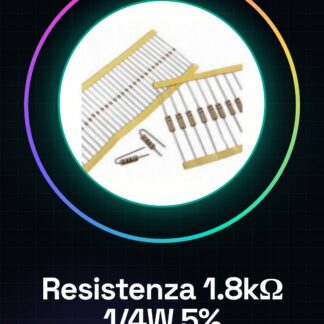
The 1.8K ohm resistor, with a maximum power rating of 1/4 watt and a tolerance of 5%, is a fundamental component for limiting the flow of current in an electronic circuit. This resistor can be used in various electronic projects, as part of protection circuits, voltage dividers, or as part of a feedback circuit.
The resistor is used in combination with other electronic components, such as Arduino microcontrollers, to achieve specific functionalities in electronic projects. Its impedance of 1.8K ohm contributes to defining the electrical behavior of the circuit in which it is inserted.
To ensure the proper functioning of the resistor, it is important to check the specifications on the manufacturer’s datasheet and follow the installation and usage instructions.
Key Specifications
| Parameter | Value |
| Model | 1.8K ohm Resistor |
| Quantity | 50 pieces |
| Impedance | 1800 ohm |
| Maximum Power | 1/4 watt |
| Tolerance | 5% |
| Dimensions | N/D (see manufacturer’s datasheet) |
| Container | N/D (see manufacturer’s datasheet) |
Installation and Usage
- Check the resistor specifications on the datasheet.
- Connect the connector to the resistor.
- Connect the resistor between an Arduino input/output pin and ground (GND).
- Use a multimeter to verify the impedance of the resistor.
- Write a simple sketch in Arduino to measure the value of the resistor.
Compatibility and Requirements
- The resistor is compatible with Arduino Uno and other microcontrollers.
- A test connector and a digital multimeter are needed for testing.
- For more complex projects, a set of test connectors may be required.
Limitations and Important Notes
- The resistor is not designed for high-power applications.
- Be careful with the correct identification of impedance and tolerance.
- Ensure that the resistor does not exceed its maximum power rating.
- Use a multimeter to verify the value of the resistor.
Troubleshooting
The resistor does not work correctly.
Probable cause: Incorrect connection or impedance different from the specified one.
Solution: Check the connection and the correct impedance of the resistor.
The measured value of the resistor is different from the specified one.
Probable cause: Impedance different from the one specified in the datasheet.
Solution: Check the resistance impedance with a multimeter.
The circuit does not respond as expected.
Probable cause: Error in reading the resistance value.
Solution: Verify the resistance value with a multimeter.
The circuit consumes too much current.
Probable cause: Exceeding the maximum power of the resistance.
Solution: Verify that the resistance does not exceed its maximum power.
Use cases
Temperature Sensor
Objective: Measure ambient temperature.
What’s needed: 1.8K ohm resistor, Arduino Uno, thermistor.
Steps: 1) Connect the thermistor to the resistor. 2) Connect the resistor to an analog pin of the Arduino. 3) Write a sketch to read the thermistor resistance. 4) Calculate the temperature based on the thermistor resistance.
Expected result: The circuit correctly measures ambient temperature.
Voltage Divider
Objective: To divide the supply voltage.
What you need: 1.8K ohm resistor, Arduino Uno, 1K ohm resistor.
Steps: 1) Connect the 1.8K ohm resistor in series with the 1K ohm resistor. 2) Connect the junction between the two resistors to an analog pin on the Arduino. 3) Write a sketch to read the divided voltage.
Expected result: The circuit correctly divides the supply voltage.
Protection Circuit
Objective: To limit current in case of overload.
What you need: 1.8K ohm resistor, Arduino Uno, diode.
Steps: 1) Connect the resistor between the supply voltage and the diode. 2) Connect the diode to the input pin of the Arduino. 3) Write a sketch to monitor the current.
Expected result: The circuit properly protects the system in case of overload.
Feedback Circuit
Objective: To respond to a signal.
Required: 1.8K ohm resistor, Arduino Uno, 1K ohm resistor.
Steps: 1) Connect the 1.8K ohm resistor in parallel with the 1K ohm resistor. 2) Connect the intersection point between the two resistors to an input pin of the Arduino. 3) Write a sketch to respond to the signal.
Expected result: The circuit correctly responds to the signal.
Voltage Divider Circuit
Objective: To divide a supply voltage.
Required: 1.8K ohm resistor, Arduino Uno, 100 ohm resistor.
Steps: 1) Connect the 1.8K ohm resistor in series with the 100 ohm resistor. 2) Connect the intersection point between the two resistors to an analog pin of the Arduino. 3) Write a sketch to read the divided voltage.
Expected result: The circuit correctly divides the supply voltage.
Overload Protection Circuit
Objective: Limit current in case of overload.
What you need: 1.8K ohm resistor, Arduino Uno, fuse.
Steps: 1) Connect the resistor between the power supply and the fuse. 2) Connect the fuse to an input pin of the Arduino. 3) Write a sketch to monitor the current.
Expected result: The circuit properly protects the system in case of overload.
Feedback circuit with LED
Objective: Turn on an LED when the resistance in the circuit reaches a certain value.
What you need: 1.8K ohm resistor, Arduino Uno, LED.
Steps: 1) Connect the resistor between an input/output pin of the Arduino and ground (GND). 2) Connect the LED to an input/output pin of the Arduino. 3) Write a sketch to turn on the LED when the resistance reaches a certain value.
Expected result: The circuit properly turns on the LED when the resistance reaches a certain value.
Voltage Divider Circuit with LED
Objective: Divide a power supply voltage and turn on an LED.
What you need: 1.8K ohm resistor, Arduino Uno, 100 ohm resistor, LED.
Steps: 1) Connect the 1.8K ohm resistor in series with the 100 ohm resistor. 2) Connect the junction between the two resistors to an analog pin on the Arduino. 3) Connect the LED to an input/output pin on the Arduino. 4) Write a sketch to turn on the LED when the divided voltage reaches a certain value.
Expected result: The circuit correctly divides the power supply voltage and turns on the LED correctly.
In the package
- 50 pieces 1.8K ohm resistor
Complete the project
- 50 Pieces 1000 ohm 1k ohm 1/4w 1/4 w 5%: To create protection and voltage divider circuits.
- 50 Pieces 10000 ohm, 10k, ohm 1/4w 1/4 w 5% , Arduino compatible resistors: For creating feedback circuits and voltage divider circuits.
- 50 Pieces Resistance 100 ohm 1/4w 5%
- 50 Pieces Resistance 220 ohm 1/4w 1/4 w 5%
- 50 Pieces Resistance 4.7K ohm 4700 ohm 1/4w 1/4 w 5%
Technical FAQs
Can this resistance be used with Arduino?
Yes, it is designed to be used in combination with Arduino and other microcontrollers.
What is the tolerance of the resistance?
The tolerance is 5%, check the datasheet for detailed information.
How do I verify the value of the resistance?
Use a multimeter to verify the impedance of the resistance.
What are the usage limits of the resistance?
The resistance is not designed for high-power applications and its maximum power is 1/4 watt.
Tutorial: How to use Resistance 1.8K ohm
Resistors are fundamental components for limiting the flow of current in an electronic circuit. This guide will help you understand how to use the 1.8k ohm resistor in your next creation.
What you need
- Arduino Uno
- Test Connectors
Steps
- Check the specifications of the resistor on the datasheet.
- Connect the connector to the resistor.
- Connect the resistor between an input/output pin of the Arduino and ground (GND).
- Use a multimeter to verify the impedance of the resistor.
- Write a simple sketch in Arduino to measure the value of the resistor.
Example code
const int ledPin = 13; // definisci la pin dell'LED
int sensorValue = analogRead(A0); // leggi il valore dal sensore collegato a A0
digitalWrite(ledPin, HIGH); // accendi l'LED se il valore è superiore al valore della resistenza
Mini project
Create a simple circuit that turns on an LED when the resistance in the circuit reaches a certain value.
Common mistakes
- Incorrect connection of the resistor
- Impedance different from that specified on the datasheet
- Error in reading the value of the resistor
Recommended accessories
- Arduino Uno
- Set of test connectors
- Digital multimeter
- LEDs of various colors
Frequently asked questions
Can this resistor be used with Arduino?
Yes, it is designed to be used in combination with Arduino and other microcontrollers.
What is the tolerance of the resistor?
The tolerance is 5%, check the datasheet for detailed information.
Reviews
There are no reviews yet.