 EN
 IT Italiano
 ES Español
 FR Français
 DE Deutsch
Description
Technical Description
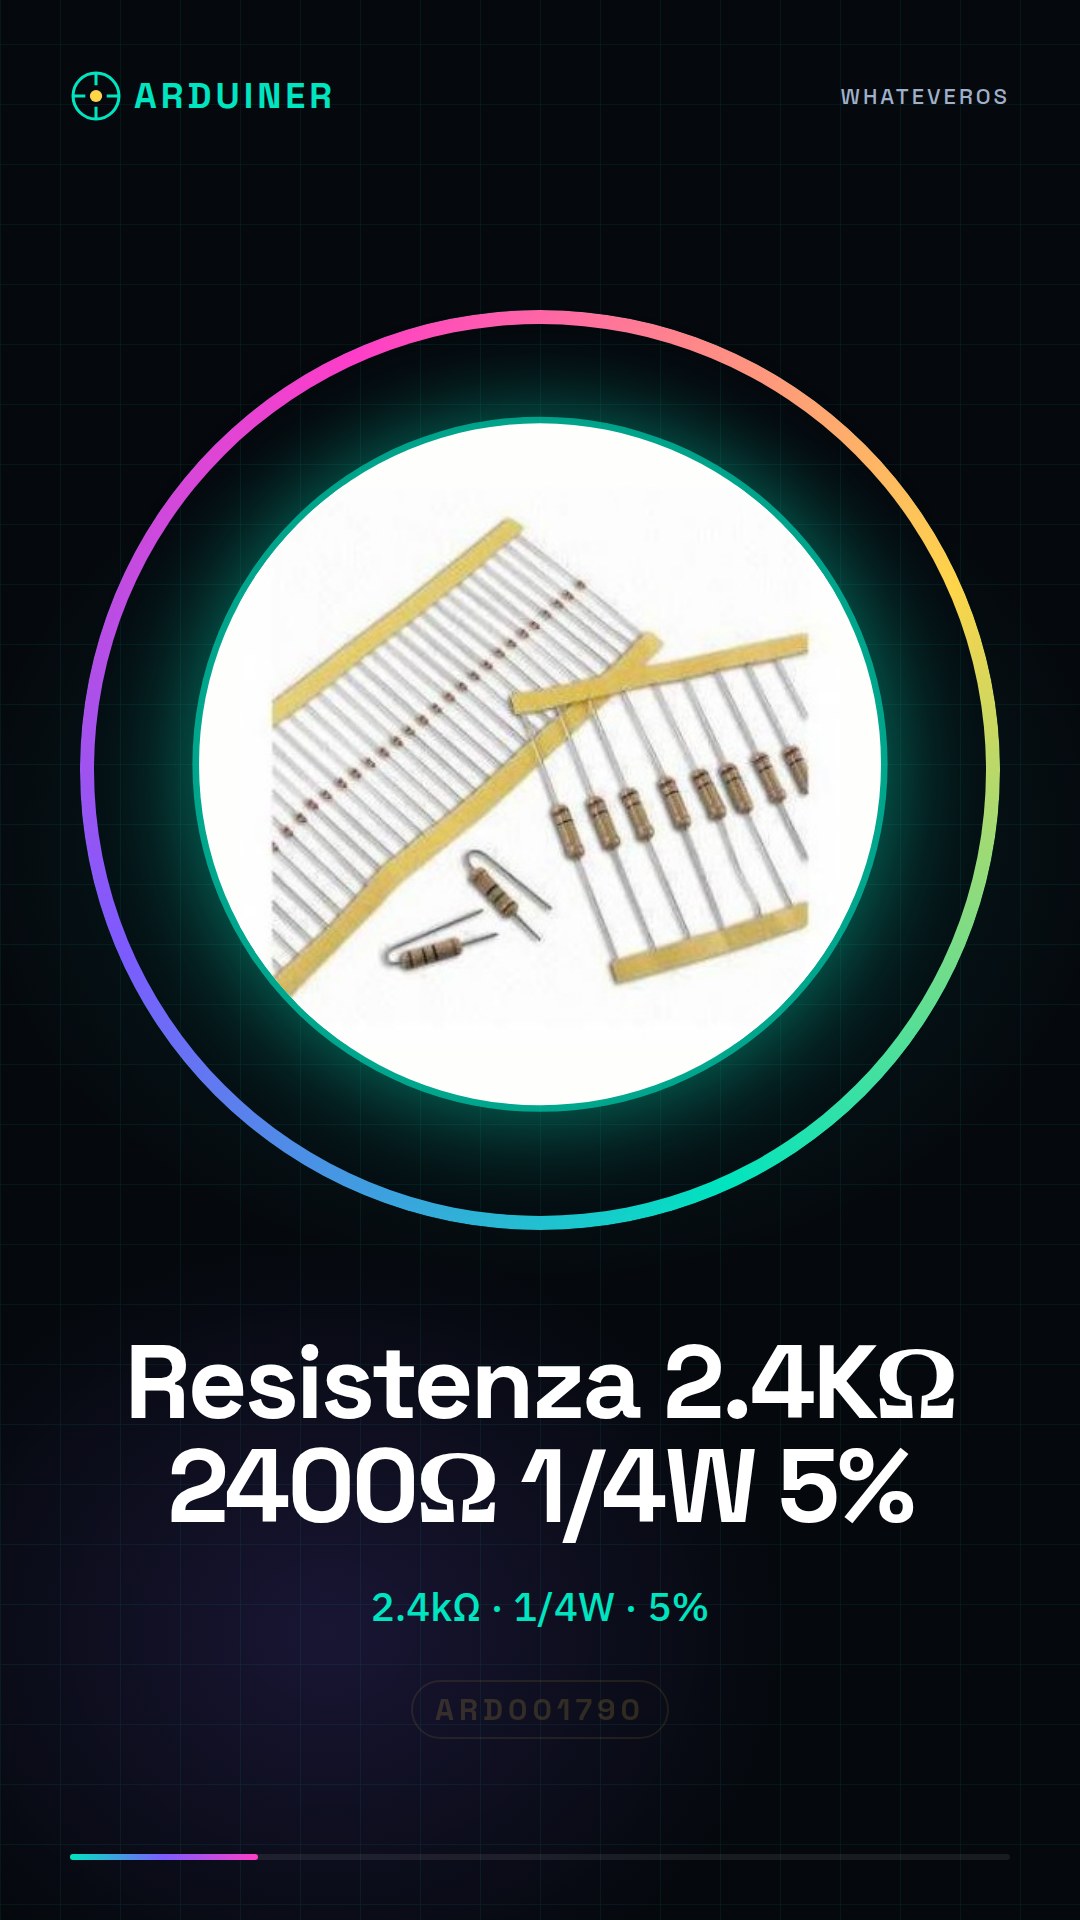
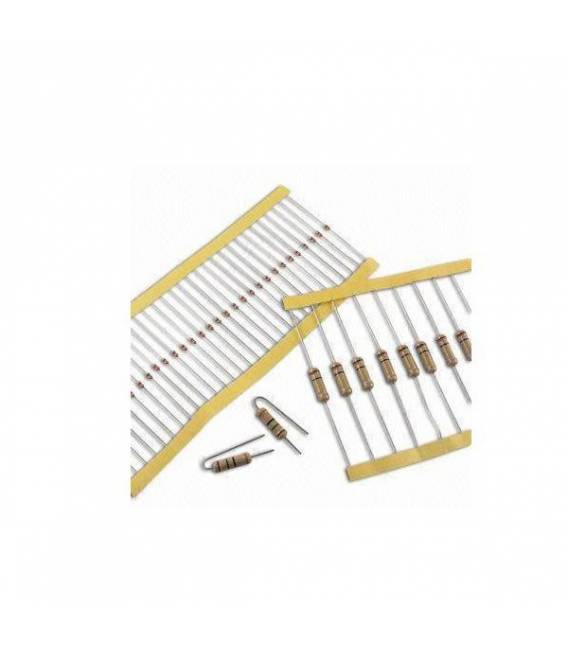
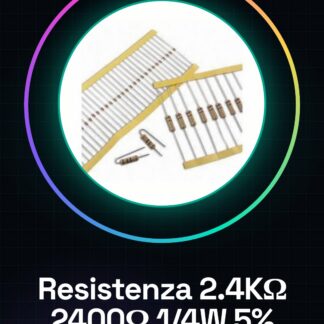
The 2.4K ohm 1/4 watt resistor with a 5% tolerance is a fundamental component for limiting current flow and dividing voltage levels in electronic circuits. This resistor is commonly used in Arduino projects and various other circuits where it is necessary to control electrical current.
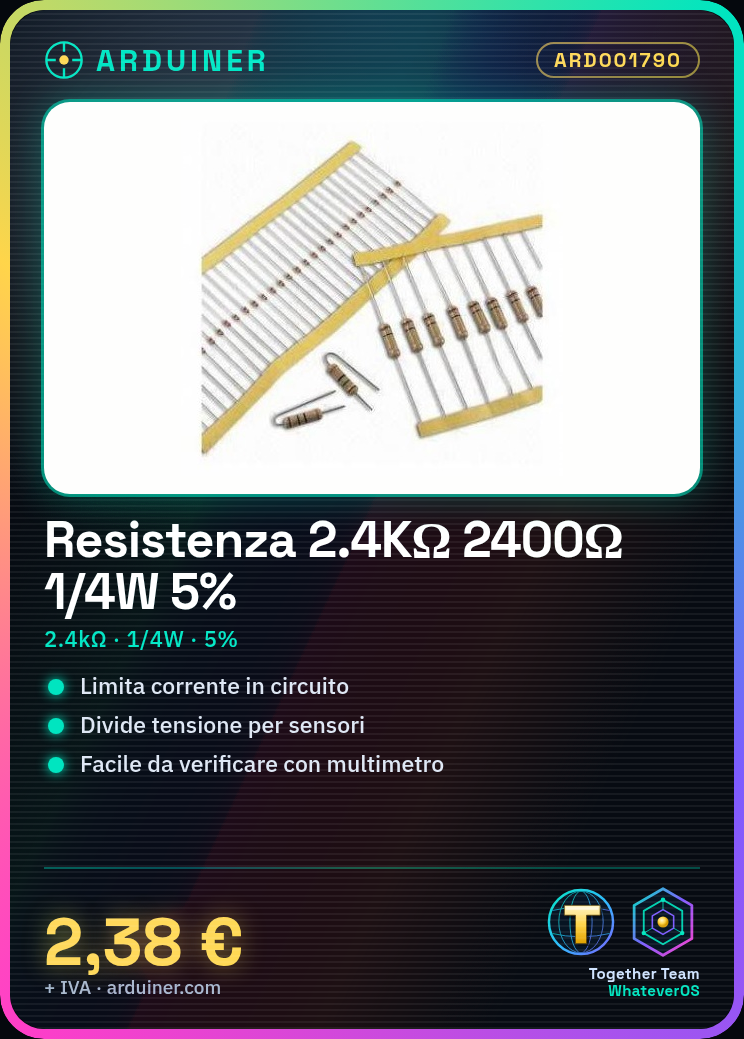
The nominal value of the resistor is 2400 ohm, with a 5% tolerance, meaning the actual value can vary by up to 5% from the nominal value. The maximum dissipation power is 1/4 watt, which means the resistor can handle a certain level of heat without damage.
The 2.4K ohm resistor is available in a pack of 50 pieces, suitable for projects that require multiple resistors of the same value.
Key Specifications
| Parameter | Value |
| Model | 2.4K ohm Resistor |
| Nominal Value | 2400 ohm |
| Tolerance | 5% |
| Dissipation Power | 1/4 watt |
| Quantity | 50 pieces |
| Container | Pack of 50 pieces |
Installation and Usage
- Check the nominal value and tolerance of the resistor on the datasheet.
- Connect one end of the resistor to an input/output pin of the Arduino.
- Connect the other end of the resistor to the circuit or component that requires current limiting.
- Verify the installation with a multimeter to ensure the resistor is properly connected.
- Perform an initial circuit test to verify that the resistor is functioning correctly.
Compatibility and Requirements
- The 2.4K ohm resistor is compatible with Arduino Uno and other microcontroller-based systems.
- A connector kit is required to connect the resistor to the Arduino.
- The resistor can be used in various electronic circuits where current limiting is necessary.
Limitations and Important Notes
- The resistor cannot handle power levels above 1/4 watt without the risk of overheating.
- A 5% tolerance means that the actual value of the resistor can vary by up to 5% from the nominal value.
- The resistor is not designed for high-power applications.
Troubleshooting
The resistor does not properly limit the current flow.
Possible cause: The nominal value of the resistor might not be correct for the circuit.
Solution: Verify the nominal value of the resistor and ensure it conforms to the circuit specifications.
The resistor overheats during use.
Possible cause: The power dissipation rating of the resistor might be insufficient for the application.
Solution: Choose a resistor with a higher power dissipation rating.
The circuit does not function correctly.
Probable cause: The resistor might be incorrectly connected in the circuit.
Solution: Check the resistor connection and ensure it matches the circuit diagram.
The measured value of the resistor does not match the nominal value.
Probable cause: The nominal value might not conform to the circuit specifications.
Solution: Verify the nominal value of the resistor and ensure it conforms to the circuit specifications.
Use cases
Temperature sensor
Objective: Measure the ambient temperature with an LM35 sensor.
What you need: 2.4K ohm resistor, Arduino Uno, LM35 sensor, connector kit.
Steps: 1) Connect the LM35 sensor to an analog pin on the Arduino. 2) Connect a 2.4K ohm resistor between the LM35 sensor and the analog pin on the Arduino. 3) Write Arduino code to read values from the LM35 sensor. 4) Run the code and verify the temperature reading.
Expected result: The circuit correctly measures the ambient temperature.
Voltage divider
Objective: To divide the voltage level between two components.
Required: 2.4K ohm resistor, Arduino Uno, connector kit.
Steps: 1) Connect a 2.4K ohm resistor between the power supply and the input pin on the Arduino. 2) Connect another 2.4K ohm resistor between the input pin on the Arduino and ground. 3) Write Arduino code to read the voltage level on the input pin. 4) Run the code and verify the voltage level reading.
Expected result: The circuit correctly divides the voltage level between the two resistors.
Current Limiter
Objective: To limit the flow of current through a component.
What you need: 2.4K ohm resistor, Arduino Uno, connector kit.
Steps: 1) Connect the 2.4K ohm resistor between the power supply and the component. 2) Connect the component between the resistor and ground. 3) Write the Arduino code to measure the current through the component. 4) Run the code and verify that the current is limited.
Expected result: The circuit correctly limits the flow of current through the component.
Protection Circuit
Objective: To protect a sensitive component from current overloads.
What you need: 2.4K ohm resistor, Arduino Uno, connector kit.
Steps: 1) Connect the 2.4K ohm resistor between the power supply and the sensitive component. 2) Connect the sensitive component between the resistor and ground. 3) Write the Arduino code to monitor the current through the component. 4) Run the code and verify that the resistor protects the component.
Expected result: The circuit effectively protects the sensitive component from current overloads.
Voltage Divider Circuit
Objective: To divide a voltage level between two components.
Required: 2.4K ohm resistor, Arduino Uno, connector kit.
Steps: 1) Connect a 2.4K ohm resistor between the power supply and the Arduino input pin. 2) Connect another 2.4K ohm resistor between the Arduino input pin and ground. 3) Write the Arduino code to read the voltage level on the input pin. 4) Run the code and verify the voltage level reading.
Expected result: The circuit correctly divides the voltage level between the two resistors.
Current Limiting Circuit
Objective: Limit the flow of current through a component.
What you need: 2.4K ohm resistor, Arduino Uno, connector kit.
Steps: 1) Connect the 2.4K ohm resistor between the power supply and the component. 2) Connect the component between the resistor and ground. 3) Write the Arduino code to measure the current through the component. 4) Run the code and verify that the current is limited.
Expected Result: The circuit correctly limits the flow of current through the component.
Protection Circuit
Objective: To protect a sensitive component from current overloads.
What’s needed: 2.4K ohm resistor, Arduino Uno, connector kit.
Steps: 1) Connect the 2.4K ohm resistor between the power supply and the sensitive component. 2) Connect the sensitive component between the resistor and ground. 3) Write the Arduino code to monitor the current through the component. 4) Run the code and verify that the resistor protects the component.
Expected Result: The circuit effectively protects the sensitive component from current overloads.
Voltage Divider Circuit
Objective: To divide a voltage level between two components.
What’s needed: 2.4K ohm resistor, Arduino Uno, connector kit.
Steps: 1) Connect a 2.4K ohm resistor between the power supply and the Arduino input pin. 2) Connect another 2.4K ohm resistor between the Arduino input pin and ground. 3) Write the Arduino code to read the voltage level on the input pin. 4) Run the code and verify the voltage level reading.
Expected result: The circuit correctly divides the voltage level between the two resistors.
In the package
- 50 pieces 2.4K ohm resistors
Complete the project
- 50 Pieces 1000 ohm 1k ohm 1/4w 1/4 w 5%: For projects requiring resistors of different values.
- 50 Pieces 10000 ohm 10k ohm 1/4w 1/4 w 5%, Arduino compatible resistors: For projects requiring resistors of different values.
- 50 Pieces 100 ohm 1/4w 5%: For projects requiring resistors of different values.
- 50 Pieces 220 ohm Resistor 1/4w 1/4 w 5%: Suitable for projects requiring resistors of various values.
- 50 Pieces 4.7K ohm Resistor 4700 ohm 1/4w 1/4 w 5%: Suitable for projects requiring resistors of various values.
Technical FAQ
How hot can a 2.4kΩ resistor get?
The maximum temperature depends on the power dissipated; check the datasheet for your specific resistor.
How can I verify that my resistor is correct?
Use a multimeter in resistance measurement mode (Ω) and compare the value with the one printed on the resistor.
What are the power limits of the 2.4kΩ resistor?
The resistor can dissipate up to 1/4 watt of power.
What are the possible issues with the 2.4kΩ resistor?
Issues may include overheating if the dissipation capability is insufficient or incorrect circuit connection.
Tutorial: How to Use 2.4KΩ Resistor
Resistors are fundamental components for limiting the flow of electrical current in a circuit. This 2.4kΩ resistor is ideal for Arduino projects where controlling the current or dividing voltage levels is required.
What you need
- Arduino Uno
- Connector Kit
Steps
- Check the product datasheet for the resistor specifications, such as the nominal value (2.4K ohm) and tolerance (5%).
- Connect one end of the Arduino to which you want to limit the current or divide the voltage levels.
- Connect the other end of the circuit through the resistor.
- Check for short circuits by measuring the current flow with a multimeter.
- If necessary, repeat these steps to add more resistors to your project.
Mini project
Create a simple project that uses a 2.4kΩ resistor as part of the voltage divider circuit to measure temperature with an LM35 sensor.
Common mistakes
- Do not verify the value and specifications of the resistor before installation.
- Connect the resistor incorrectly in the circuit, causing short circuits or overloads.
- Use a power resistor that is insufficient and overheats during use.
Recommended accessories
- Arduino Uno
- Connector Kit
- Digital Multimeter
- LM35 Sensor
Frequently asked questions
How hot can a 2.4kΩ resistor get?
The maximum temperature depends on the power dissipated, check the datasheet for your specific resistor.
How can I verify that my resistor is correct?
Use a multimeter in resistance measurement mode (Ω) and compare the value with the one printed on the resistor.
Reviews
There are no reviews yet.