 EN
 IT Italiano
 ES Español
 FR Français
 DE Deutsch
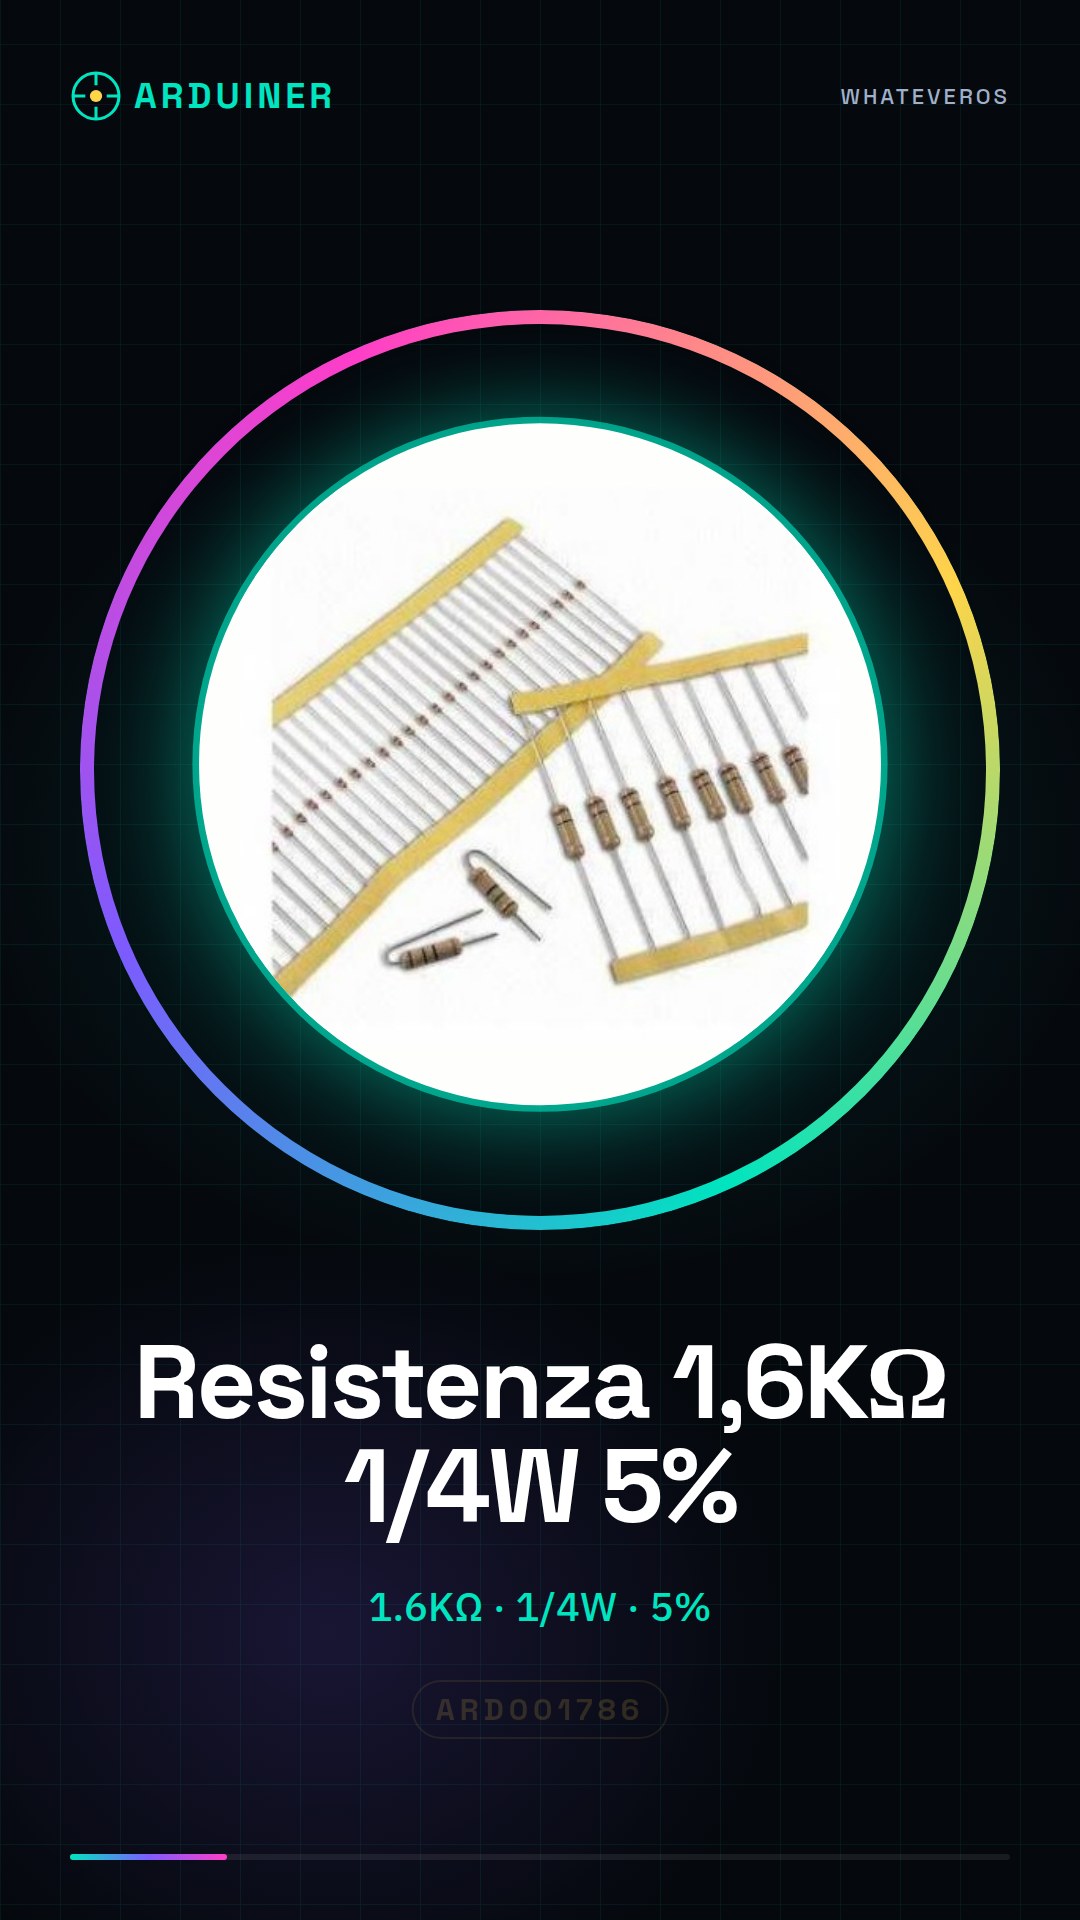

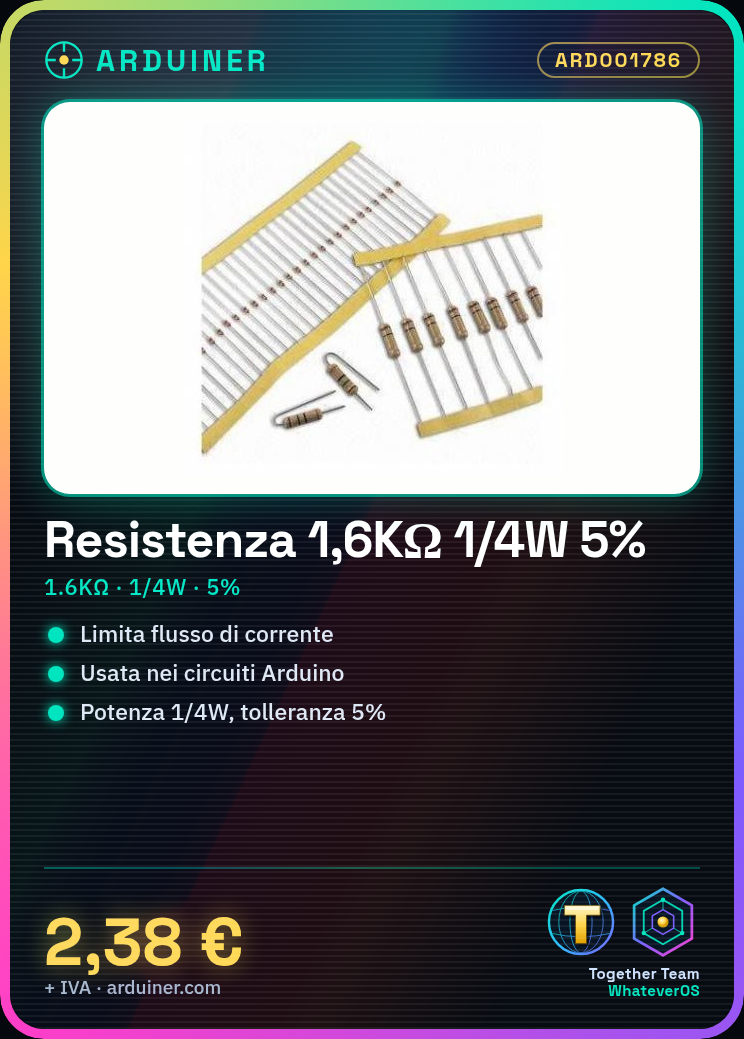
Description
Technical Specifications
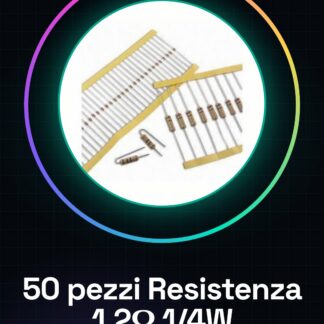
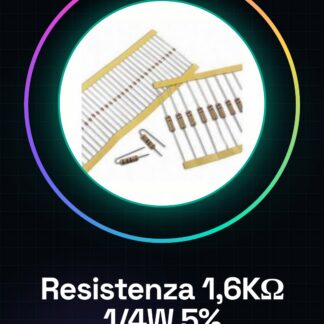
The 1.6K ohm resistor is a fundamental electronic component used to limit the flow of current in a circuit. This resistor has a 5% tolerance and a maximum power rating of 1/4 watt. It is suitable for use in Arduino projects and electronic prototypes.
The resistor is used to protect sensitive components from current overload, regulate voltage levels, and create basic circuits such as voltage dividers. Its nominal resistance of 1.6K ohm allows for effective control of current flow in various electronic design scenarios.
For proper use, it is important to verify the component specifications and ensure that the resistor does not exceed its specified maximum power rating during use.
Key Specifications
| Parameter | Value |
| Model | 1.6K ohm 1/4w 5% |
| Quantity | 50 |
| Nominal Resistance | 1600 ohm |
| Tolerance | 5% |
| Maximum Power | 1/4 watt |
| Container | N/D (see manufacturer’s datasheet) |
Installation and Usage
- Check the datasheet for the nominal resistance and maximum power of the resistor.
- Prepare the circuit on a breadboard.
- Connect the red end of the resistor to a digital pin on the Arduino.
- Check if a protection resistor needs to be added.
- Connect the other black end to ground (GND).
Compatibility and Requirements
- The resistor is compatible with Arduino Uno and other electronic systems.
- To use it, an Arduino Uno or another compatible board is required.
- It is recommended to have a breadboard and an LED available to test the circuit.
Limits and Important Notes
- The resistor must not exceed its specified maximum power.
- It is important to verify the component specifications before use.
- Do not use the resistor without direct voltage protection.
- The resistor is not designed for high power applications.
Troubleshooting
The circuit does not work as expected.
Probable cause: The resistor may be incorrectly connected or exceed its maximum power rating.
Solution: Check connections and the specified maximum power.
The LED does not light up.
Probable cause: The resistor may have a resistance that is too high or too low for the LED.
Solution: Verify the nominal resistance and the correct circuit configuration.
The component overheats.
Probable cause: The resistor may exceed its specified maximum power rating.
Solution: Check the maximum power and redesign the circuit if necessary.
The measured value of the resistor is different from the nominal value.
Probable cause: The component tolerance may have been exceeded.
Solution: Check the component tolerance and the correct circuit configuration.
Use cases
Domestic alarm sensor
Objective: Create a simple domestic alarm system.
What you need: Arduino Uno, 1.6K ohm resistor, breadboard, LED, motion sensors.
Steps: 1) Check the resistor specifications. 2) Connect the resistor to the circuit. 3) Test the alarm system. 4) Verify the correct activation of the alarm. 5) Verify the correct deactivation of the alarm.
Expected result: The domestic alarm system works correctly.
Voltage divider for Arduino
Objective: Create a voltage divider for Arduino.
What you need: Arduino Uno, 1.6K ohm resistor, breadboard, potentiometer.
Steps: 1) Check the specifications of the resistor. 2) Connect the resistor to the circuit. 3) Test the voltage divider. 4) Verify the correct voltage division. 5) Verify the correct voltage reading.
Expected result: The voltage divider works correctly.
Light Control
Objective: Adjust the brightness of an LED.
What you need: Arduino Uno, 1.6K ohm resistor, breadboard, LED.
Steps: 1) Check the specifications of the resistor. 2) Connect the resistor to the circuit. 3) Test the brightness adjustment. 4) Verify the correct brightness adjustment. 5) Verify the correct activation and deactivation of the LED.
Expected result: The brightness of the LED is adjustable.
Temperature Sensor
Objective: Create a temperature sensor.
What you need: Arduino Uno, 1.6K ohm resistor, breadboard, temperature sensors.
Steps: 1) Check the specifications of the resistor. 2) Connect the resistor to the circuit. 3) Test the temperature sensor. 4) Verify the correct temperature reading. 5) Verify the correct activation and deactivation of the sensor.
Expected result: The temperature sensor works correctly.
Computer temperature control
Objective: Create a temperature control system for the computer.
What is needed: Arduino Uno, 1.6K ohm resistor, breadboard, temperature sensors.
Steps: 1) Check the specifications of the resistor. 2) Connect the resistor to the circuit. 3) Test the temperature control system. 4) Verify the correct temperature reading. 5) Verify the correct activation and deactivation of the system.
Expected result: The temperature control system works correctly.
Humidity control system
Objective: Create a humidity control system.
What you need: Arduino Uno, 1.6K ohm resistor, breadboard, humidity sensors.
Steps: 1) Check the specifications of the resistor. 2) Connect the resistor to the circuit. 3) Test the humidity control system. 4) Verify the correct reading of humidity. 5) Verify the correct activation and deactivation of the system.
Expected result: The humidity control system works correctly.
Temperature control system for the garage
What you need: Arduino Uno, 1.6K ohm resistor, breadboard, temperature sensors.
Steps: 1) Check the specifications of the resistor. 2) Connect the resistor to the circuit. 3) Test the temperature control system. 4) Verify the correct reading of temperature. 5) Verify the correct activation and deactivation of the system.
Expected Result: The garage temperature control system works correctly.
Garden Humidity Control System
Objective: To create a garden humidity control system.
What’s needed: Arduino Uno, 1.6K ohm resistor, breadboard, humidity sensors.
Steps: 1) Check the specifications of the resistor. 2) Connect the resistor to the circuit. 3) Test the humidity control system. 4) Verify the correct humidity reading. 5) Verify the correct activation and deactivation of the system.
Expected Result: The garden humidity control system works correctly.
In the package
- 50 pieces
Complete the project
- 50 Pieces Resistor 1000 ohm 1k ohm 1/4w 1/4 w 5%: To create basic circuits and test resistors of different resistance.
- 50 Pieces Resistor, 10000 ohm, 10k, ohm 1/4w 1/4 w 5% , Arduino compatible resistors: To create basic circuits and test resistors of different resistance.
- 50 Pieces 100 ohm 1/4w 5% Resistor: To create basic circuits and test resistors of different resistance.
- 50 Pieces 220 ohm 1/4w 1/4 w 5% Resistor: To create basic circuits and test resistors of different resistance.
- 50 Pieces 4.7K ohm 4700 ohm 1/4w 1/4 w 5% Resistor: To create basic circuits and test resistors of different resistance.
Technical FAQs
What is the tolerance of this resistor?
The tolerance is 5%, check the datasheet for details.
Can I use this resistor in a direct current (DC) circuit?
Yes, but make sure it does not exceed the specified maximum power.
How do I verify the correct configuration of the circuit?
Check the connections and the resistor’s specified maximum power.
What are the usage limits of the resistor?
The resistance cannot exceed its specified maximum power rating and is not designed for high-power applications.
Tutorial: How to use 1.6K ohm Resistor
Resistors are fundamental components for limiting the flow of current in an electronic circuit. This 1.6K ohm resistor is ideal for Arduino projects and prototypes.
What you need
- Arduino Uno
- Solder Paste Cartridge
- Soldering Saddle Pliers
Steps
- Check the datasheet for the maximum power rating of the resistor (1/4w in this case).
- Set up the circuit on a breadboard.
- Connect the red end of the resistor to a digital pin on the Arduino. Check the datasheet to see if a protection resistor needs to be added.
- Connect the other black end to ground (GND).
- Write and upload an Arduino sketch to read the state of the pin connected to the resistor.
Example code
void setup() {
  pinMode(2, INPUT);
}

void loop() {
  int val = digitalRead(2);
  Serial.println(val);
}
Mini project
Create a simple lighting circuit with an LED that turns on and off based on the value of the resistance connected.
Common mistakes
- Use a power resistor that is insufficient.
- Connect the resistor to the direct voltage without protection.
- Do not check the specifications of the component before use.
Recommended accessories
- Arduino Uno
- Breadboard
- LED
Frequently asked questions
What is the tolerance of this resistor?
The tolerance is 5%, check the datasheet for details.
Can I use this resistor in a direct current (DC) circuit?
Yes, but make sure it does not exceed the maximum power specified.
Reviews
There are no reviews yet.