 EN
 IT Italiano
 ES Español
 FR Français
 DE Deutsch
Description
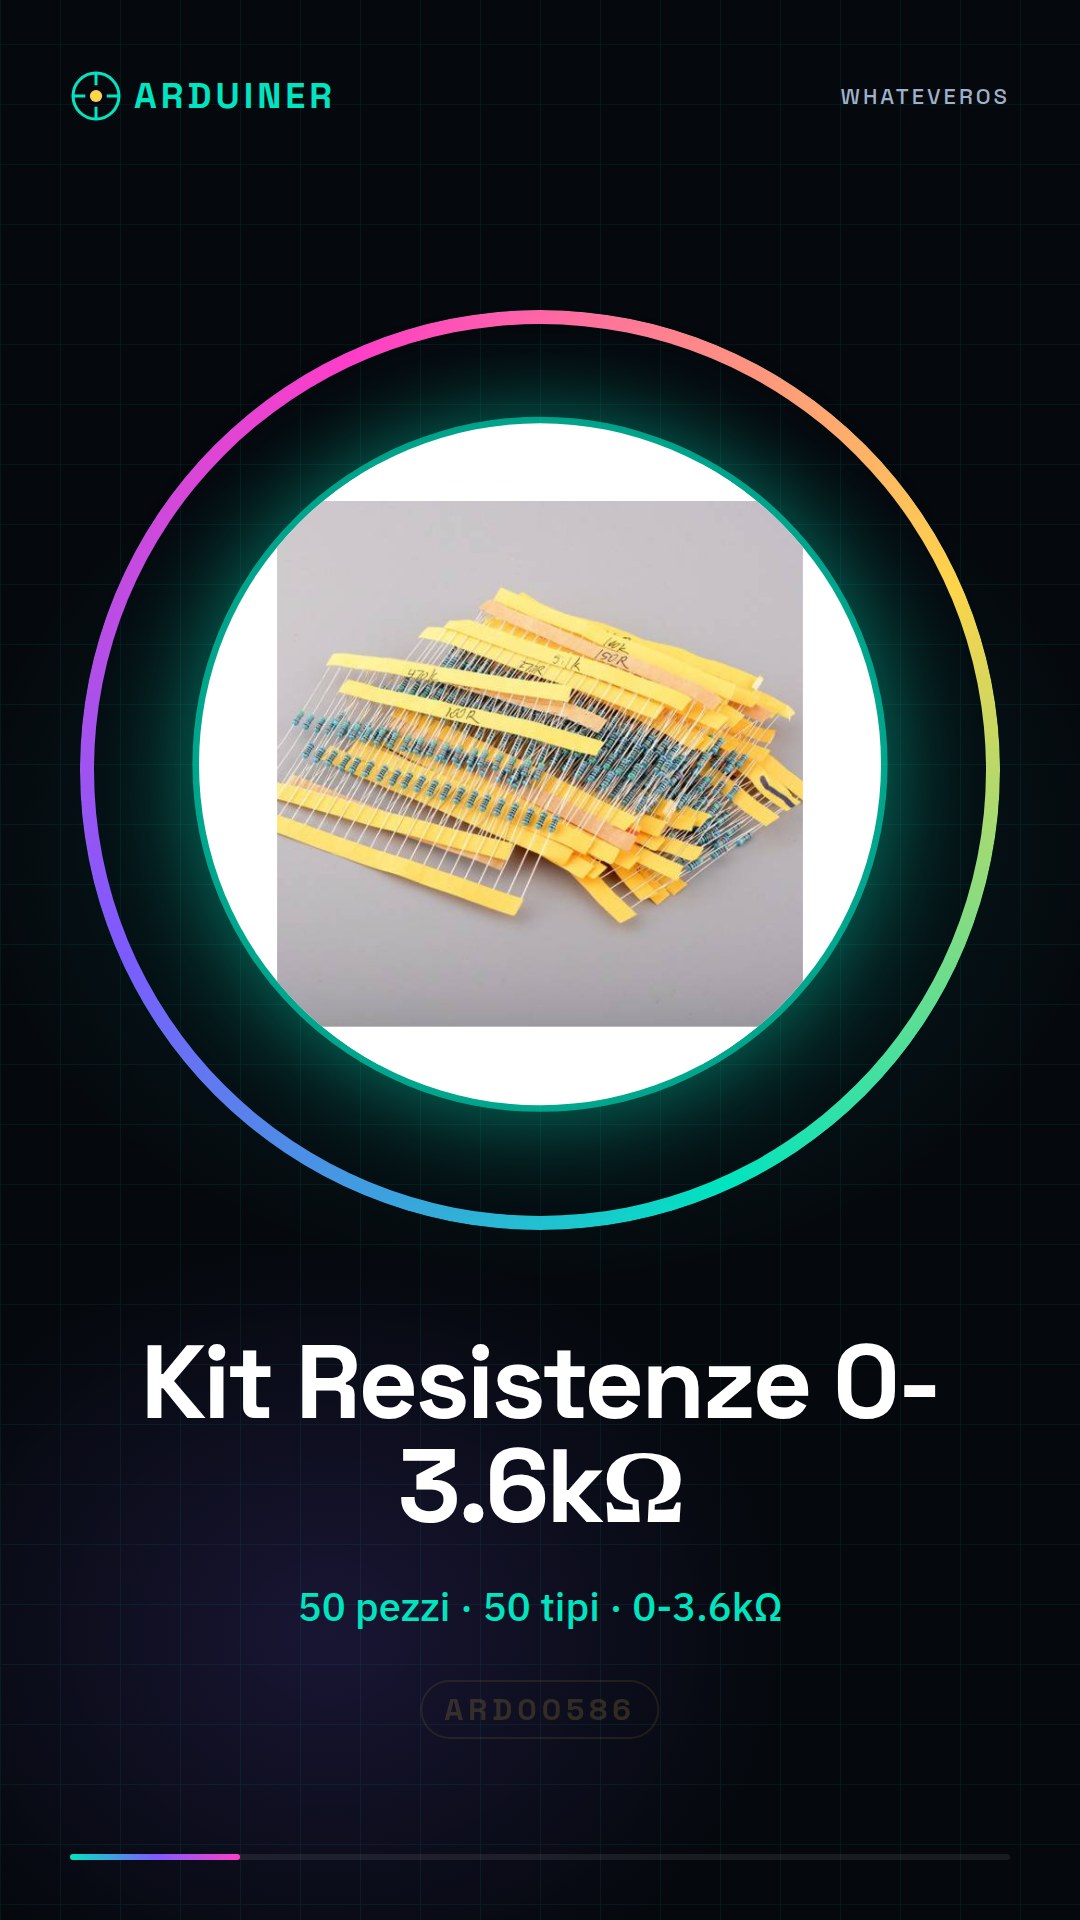
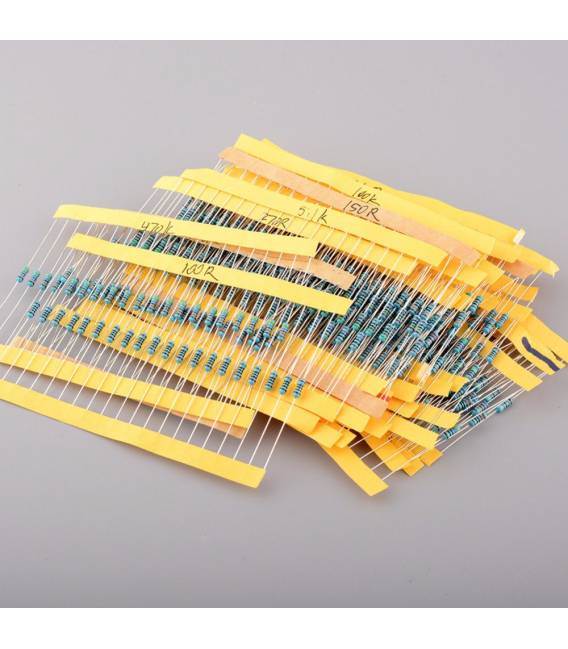
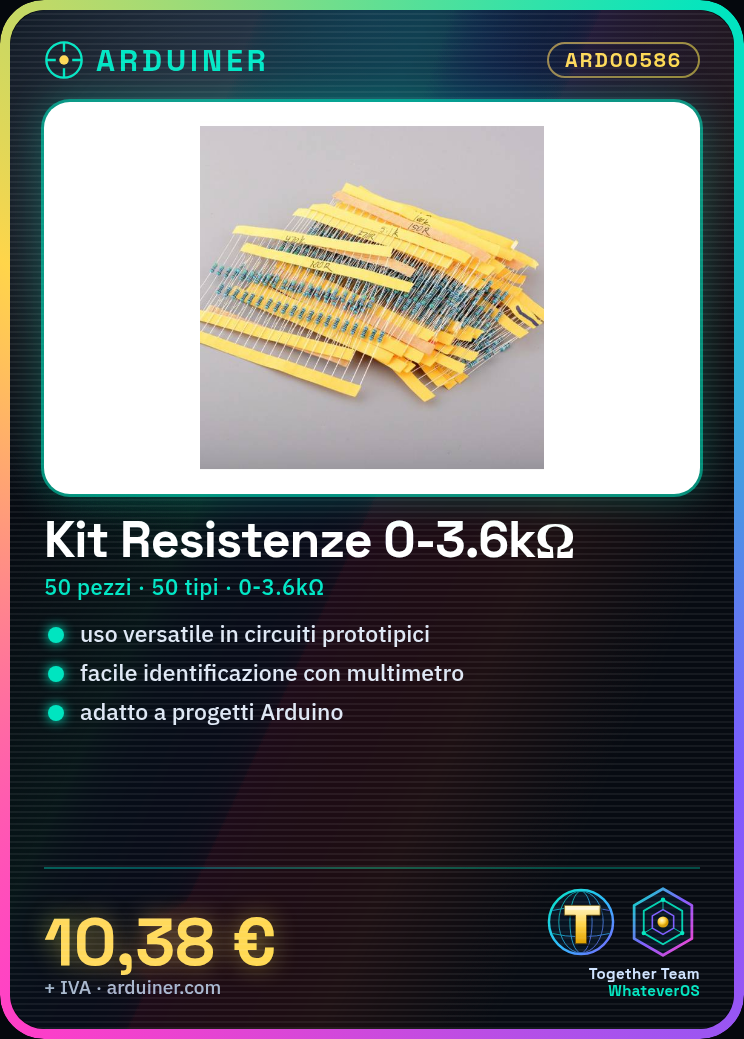
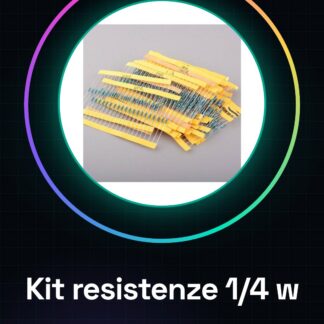
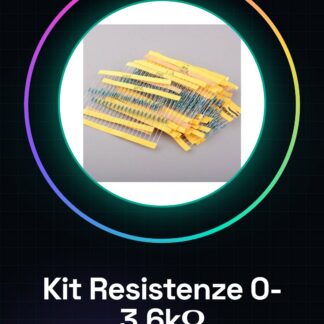
1/4 w resistance kits ,0R-3.6K ,50pcs of 50kinds: 5.1ohm 330ohm 2.7K 10ohm 360ohm 3K 20ohm 390ohm 3.3K 22ohm 430ohm 3.6K 30ohm 470ohm 33ohm 510ohm 22ohm 560ohm 47ohm 620ohm 75ohm 680ohm 82ohm 750ohm 91ohm 820ohm 100ohm 910ohm 120ohm 1K 150ohm 1.2K 180ohm 1.5K 200ohm 1.8K 220ohm 2K 240ohm 2.2K 270ohm 2.4K 300ohm
We have datasheets available for all components, if not present in the product download sheet, send us a message through the contact us form and we will publish it as soon as possible on our website.
Tutorial: How to Use 1/4W Resistance Kit
This resistance kit is essential for any electronic project, whether for beginners or more experienced makers. It contains a wide range of values from 0 ohm to 3.6k ohm.
What you need
- Arduino Projects
- Prototype Circuits
- Testing and Measurement
Steps
- Open the kit and verify that it contains all the resistors listed in the description
- Identify the resistor needed for your project based on its ohm value
- Connect the resistor between two points in the circuit using clips or a breadboard
- Check that the resistor is properly connected and not short-circuited
- If necessary, use a multimeter to measure the value of the resistor
- Enter the values of the resistors in your Arduino project or circuit
Mini project
Create a simple LED dimmer using a variable resistor and a fixed resistor from this kit. Adjust the brightness of the LED by moving the slider of the variable resistor.
Common mistakes
- Use a resistor of the wrong value
- Connect the resistor to the circuit without first checking its value
- Do not use a multimeter to measure the resistors
Recommended accessories
- Multimeter
- Breadboard
- Electronic clips
Frequently asked questions
What are the values of the resistors in the kit?
The values specified in the product description
How do I verify the value of a resistor?
Use a multimeter to measure the exact value of the resistor
Reviews
There are no reviews yet.