 EN
 IT Italiano
 ES Español
 FR Français
 DE Deutsch
Description
What it is
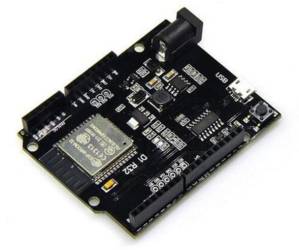
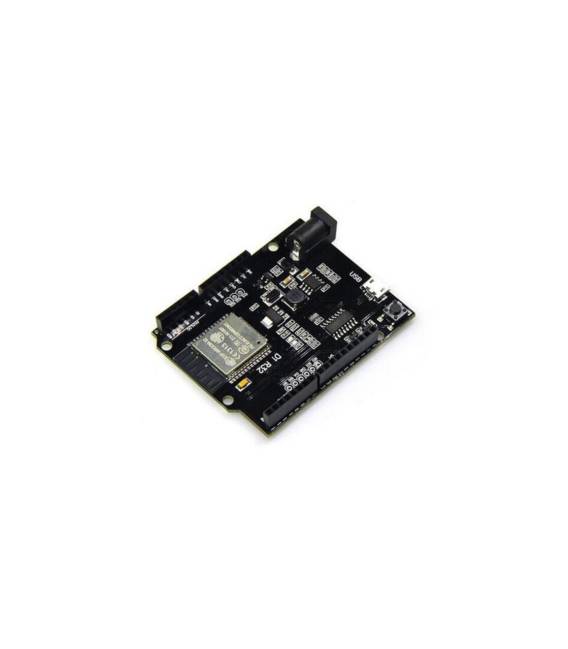
The TTGO ESP32 Wi-Fi + Bluetooth D1 R32 is a development board compatible with Arduino UNO, based on the ESP32 processor. It offers Wi-Fi and Bluetooth connectivity, making it suitable for IoT, smart home, and robotics projects.
Features
- Processor: ESP32
- Flash Memory: 4MB
- Compatibility: Arduino UNO
- Connectivity: Wi-Fi, Bluetooth
What it is for
The board is ideal for IoT and programming projects that require Wi-Fi and Bluetooth connectivity. It can be used to create home alarm systems, sensors, remote control devices, and much more. Compatibility with Arduino UNO simplifies development and programming.
Tutorial: How to use the ESP32 Wi-Fi + Bluetooth TTGO D1 R32 board
The ESP32 Wi-Fi + Bluetooth TTGO D1 R32 board is ideal for IoT and programming projects, providing a powerful platform for developers who want to explore applications that require Wi-Fi and Bluetooth connectivity. This tutorial will guide you through the initial steps to start using this board.
What you need
- USB cable
- Computer with Arduino IDE installed
- ESP32 library installed
- 5V power adapter (if needed)
- LED projector (optional for testing digital outputs)
- Wi-Fi antenna (optional for improving connectivity)
Steps
- Connect the ESP32 board to the computer via the USB cable.
- Open Arduino IDE and install the ESP32 library.
- Check the installation of the ESP32 library.
- Choose the correct USB port and ESP32 D1 R32 board in the Arduino IDE preferences menu.
- Load a sample sketch like ‘Blink’ to test communication.
- Check Wi-Fi and Bluetooth connectivity following the official documentation.
- Try writing a simple sketch that uses both Wi-Fi and Bluetooth.
- Test additional features such as audio and LCD display if present.
Example code
void setup() {
  Serial.begin(115200);
  delay(2000);
  Serial.println("Hello, ESP32!");
}

void loop() {
}
Mini project
Create a home alarm system that sends Wi-Fi notifications when a motion sensor is triggered.
Common mistakes
- Wi-Fi connectivity issues due to incorrect configuration.
- Sketch upload error due to incomplete installation of the ESP32 library.
- Insufficient power supply issues.
- Difficulty in identifying the correct USB port.
Recommended accessories
- Wi-Fi Antenna
- PIR Motion Sensor
- 16×2 LCD Display
- Buzzer
Frequently asked questions
Where can I find the official documentation?
The official documentation is available on the TTGO website.
How can I add an LCD display?
Connect the LCD display to the digital pins of the ESP32 board and install the LiquidCrystal library.
What are the differences between ESP32 and ESP8266?
The ESP32 offers more CPU cores, Bluetooth support, and audio control features.
Reviews
There are no reviews yet.