 EN
 IT Italiano
 ES Español
 FR Français
 DE Deutsch
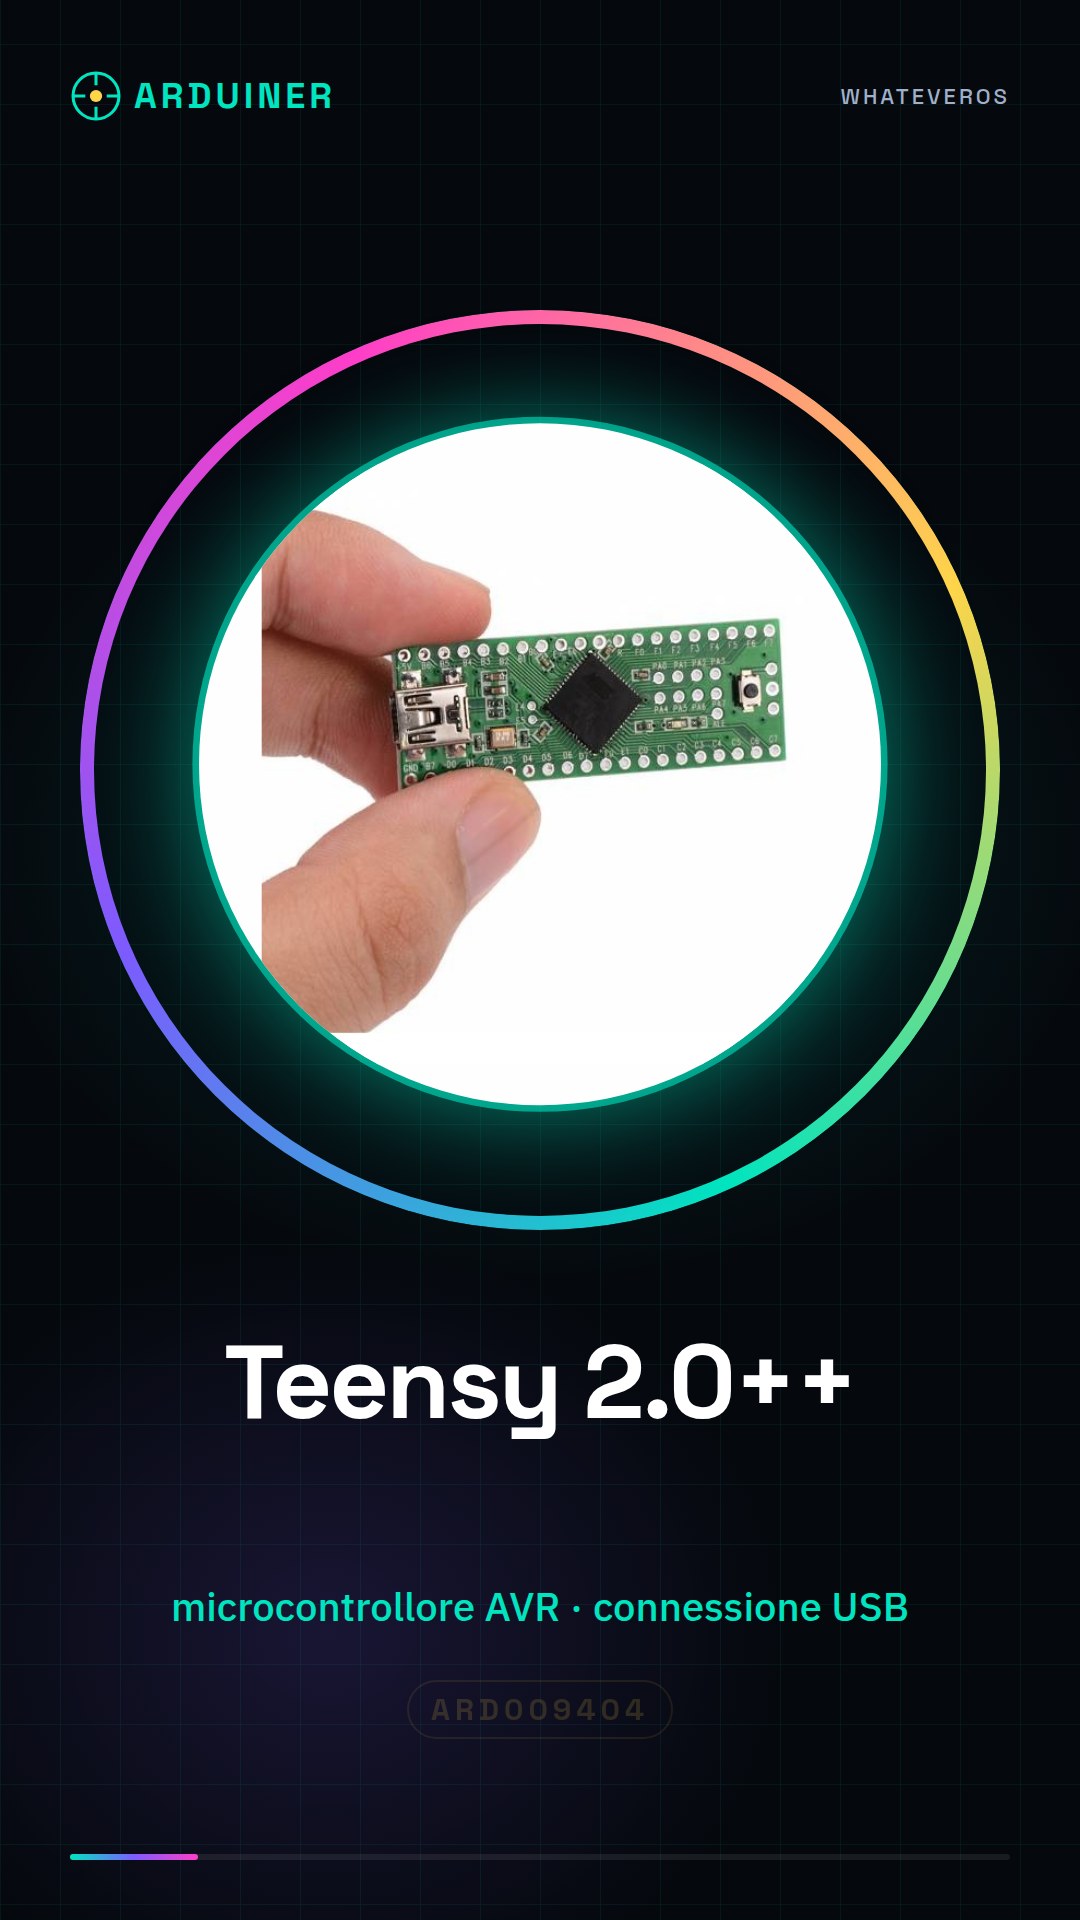
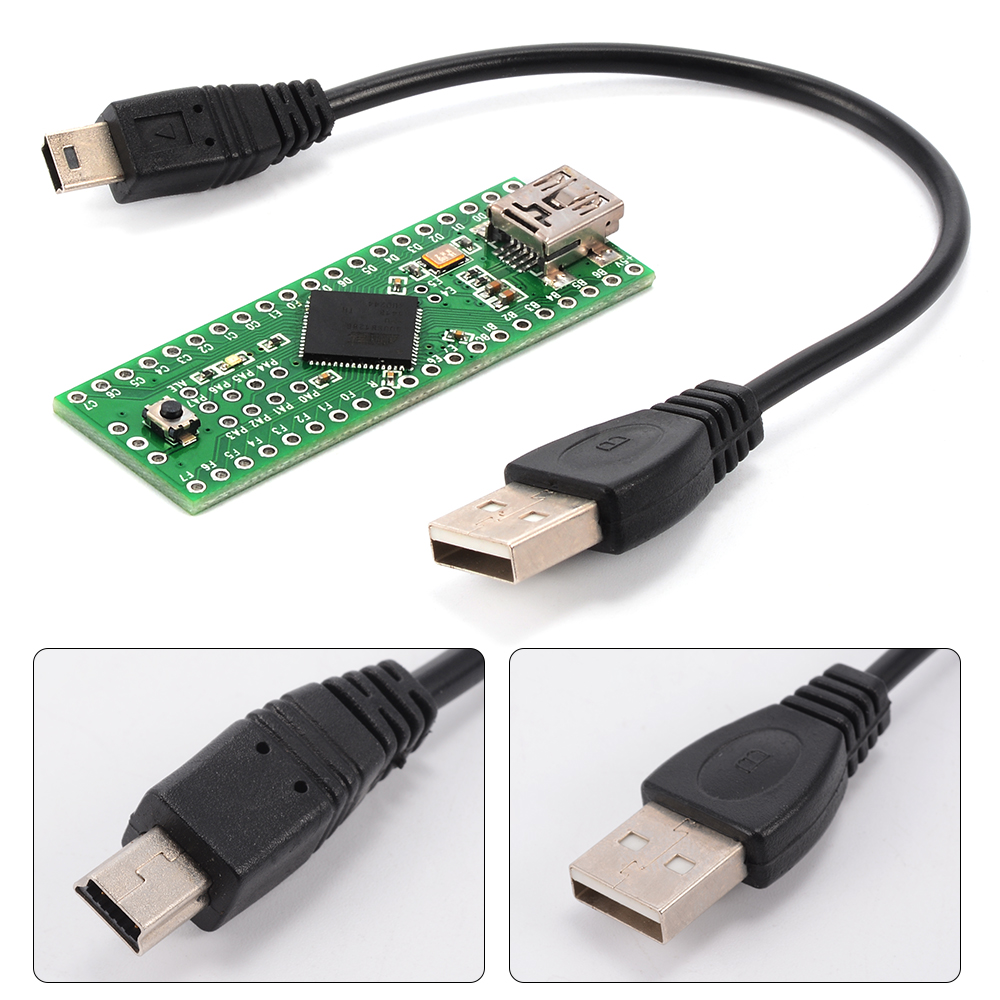
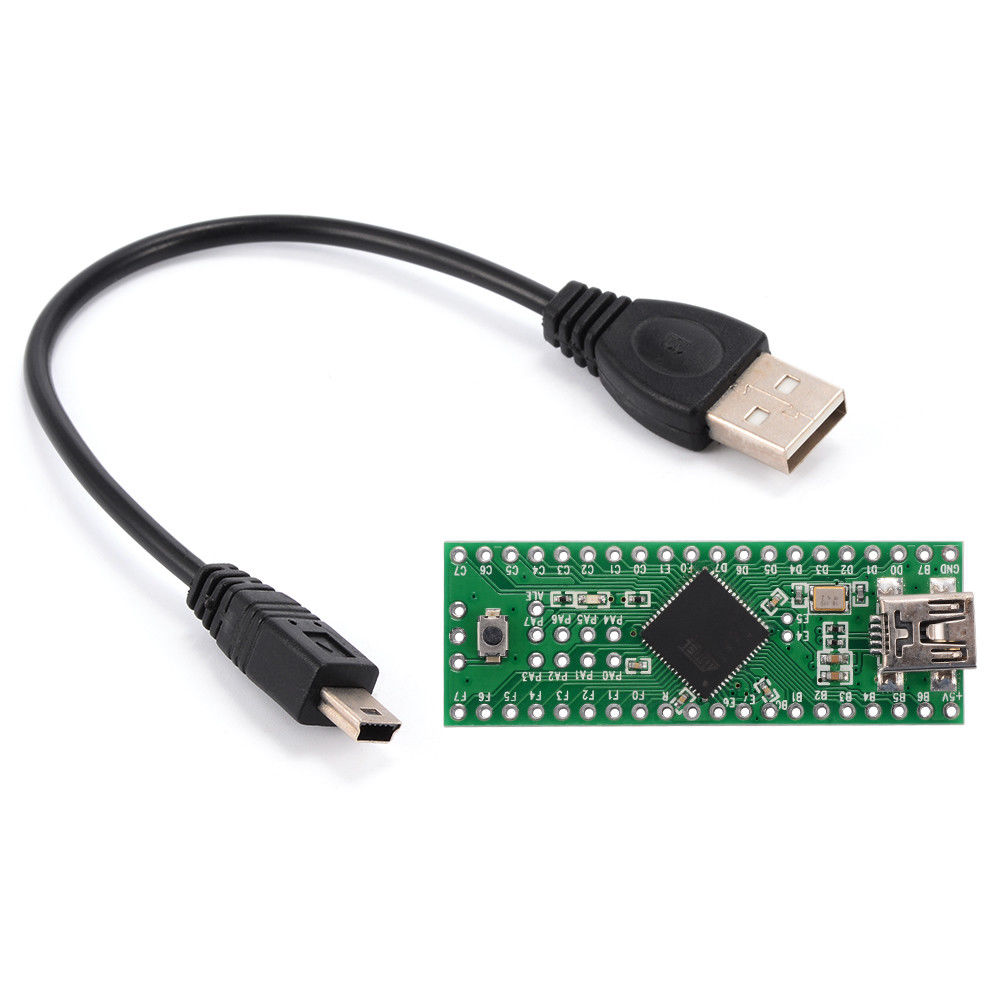
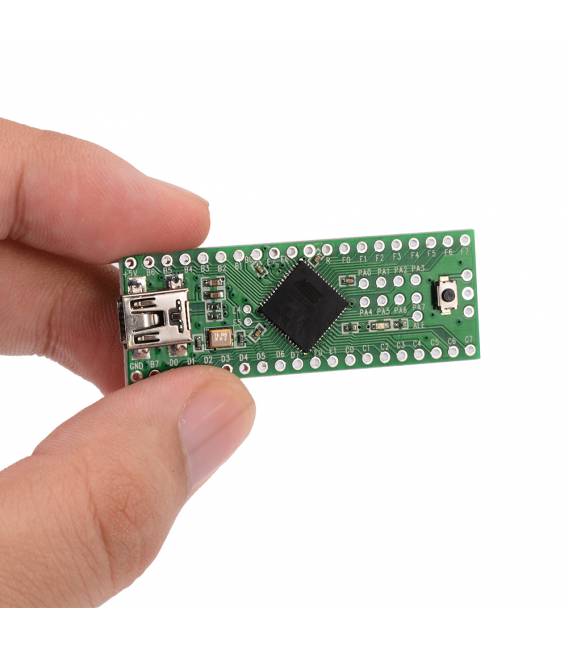
Description
What it is
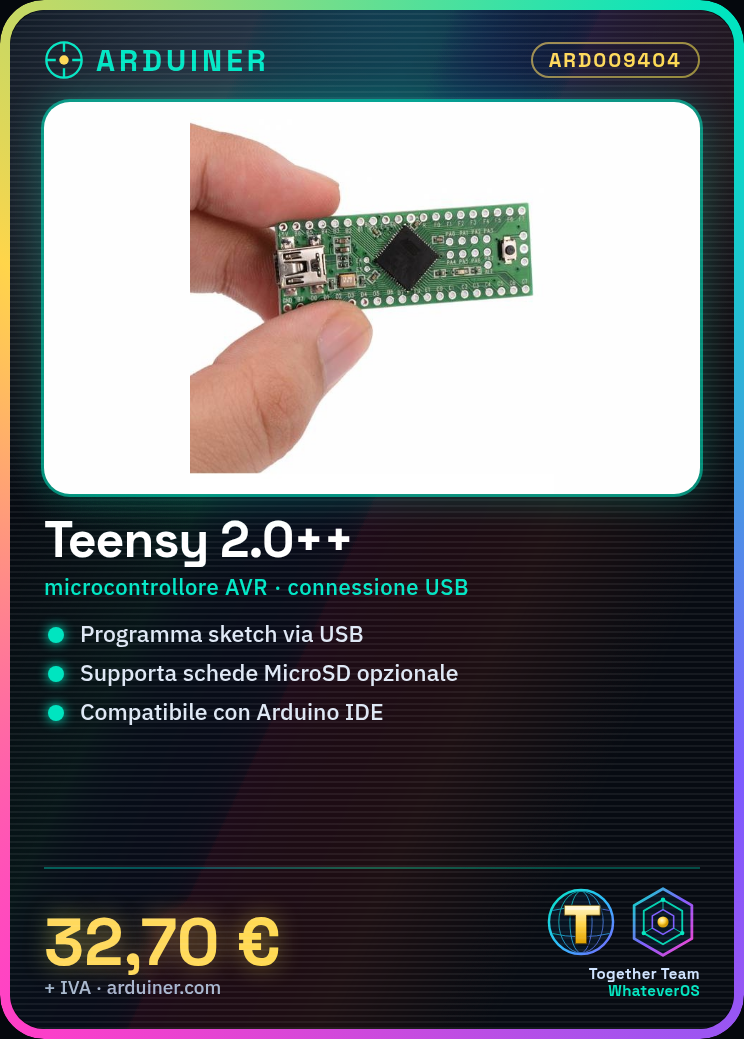
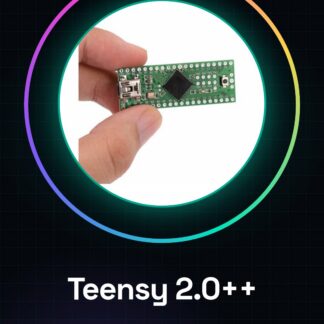
The Teensy 2.0++ is a small microcontroller-based development board that offers advanced features for programming and prototyping. Ideal for makers and developers, it allows creating projects with USB connectivity without having to deal with the complexities of PCB printing.
Features
- Microcontroller-based AVR board
- USB connection for programming and interfacing with computers
What it is for
Ideally used for projects that require USB connectivity, such as small audio recording boxes or embedded devices. The Teensy 2.0++ is compatible with the Arduino development environment and allows writing sketches directly to the board.
Tutorial: How to use Teensy 2.0++ USB AVR Development Board
The Teensy 2.0++ is a small development board based on an AVR microcontroller that allows makers and developers to create projects with USB connectivity. It is ideal for those who want to explore embedded device programming without having to deal with the complexities of PCB printing.
What you need
- MicroSD card (optional)
- MicroUSB cable
- Computer with Windows, macOS, or Linux operating system
Steps
- 1. Connect the Teensy 2.0++ to your computer via the microUSB cable.
- 2. Check that the USB driver is installed correctly on your computer (if not, download and install from https://www.pjrc.com/teensy/td_download.html).
- 3. Open Arduino IDE or Teensyduino on a computer configured with the appropriate development environment.
- 4. Select ‘Teensy++ 2.0’ as the board from the ‘Tools -> Board’ menu
- 5. Load an example sketch from the Arduino library (e.g., File -> Examples -> Teensy -> USBMouse)
- 6. Verify that the device works correctly by connecting it to another machine or using debugging tools.
- 7. Modify the loaded sketch to test the features of the Teensy 2.0++ (e.g., add a routine to read from a sensor).
- 8. Repeat the previous steps until you are satisfied with your modifications and functionality.
Example code
// Esempio base per il Teensy 2.0++
void setup() {
  // Inizializza la comunicazione seriale
  Serial.begin(9600);
}

void loop() {
  // Invia un messaggio alla console seriale
  Serial.println("Hello, World!");
}
Mini project
Create a small audio recording box with the Teensy 2.0++ and a microphone. Connect the microphone to the analog pin of the Teensy, write a sketch that records sound data to a MicroSD card.
Common mistakes
- The USB driver has not been installed correctly.
- The loaded sketch contains syntax errors.
- The device’s power supply is insufficient to handle the required workload.
- The version of the Arduino IDE or Teensyduino used does not support the Teensy 2.0++ board.
Recommended accessories
- microUSB cable
- MicroSD card (check the datasheet)
- Audio amplifier for the microphone
Frequently asked questions
Which libraries are needed to program the Teensy 2.0++?
To fully utilize the features of the Teensy, it is recommended to install the Teensyduino library.
Can I use any microphone with the Teensy 2.0++?
Yes, but make sure the microphone has an appropriate impedance resistance and an audio output compatible with the Teensy’s analog pins.
Reviews
There are no reviews yet.