 EN
 IT Italiano
 ES Español
 FR Français
 DE Deutsch
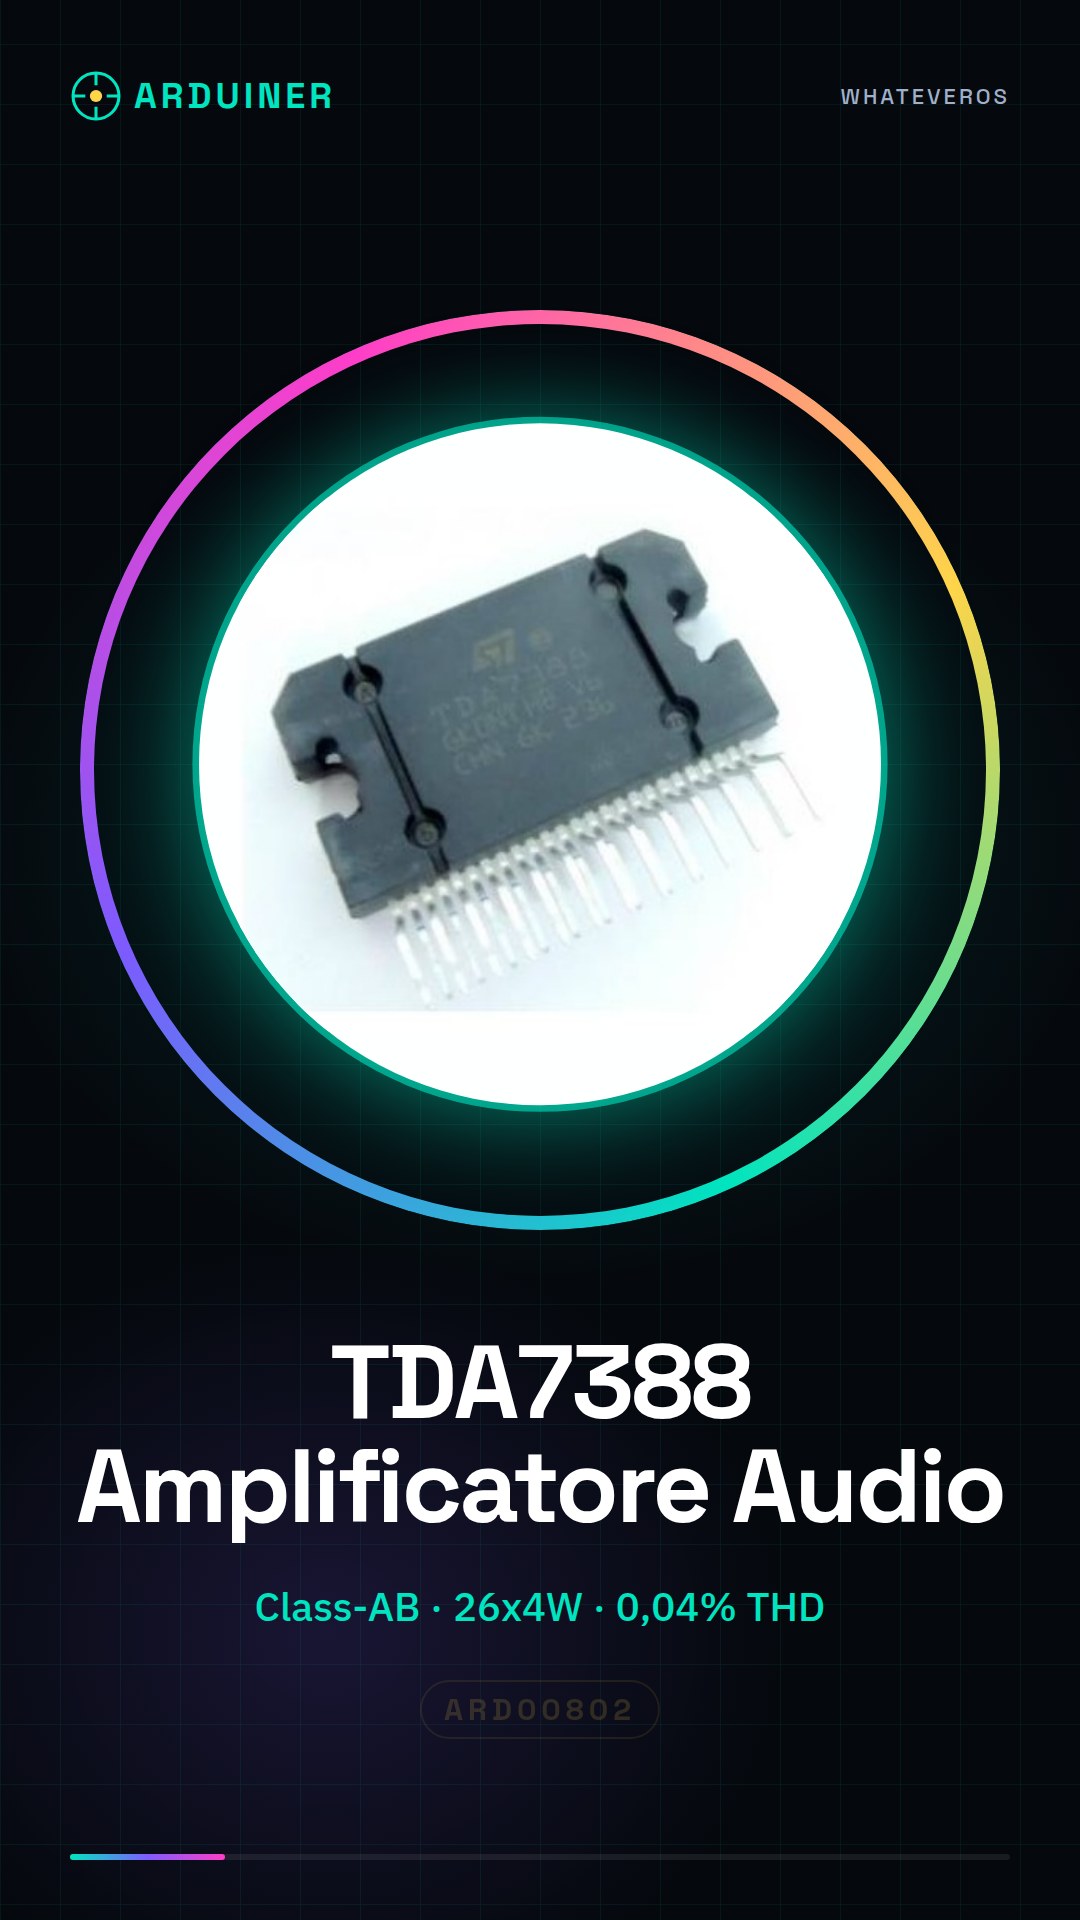
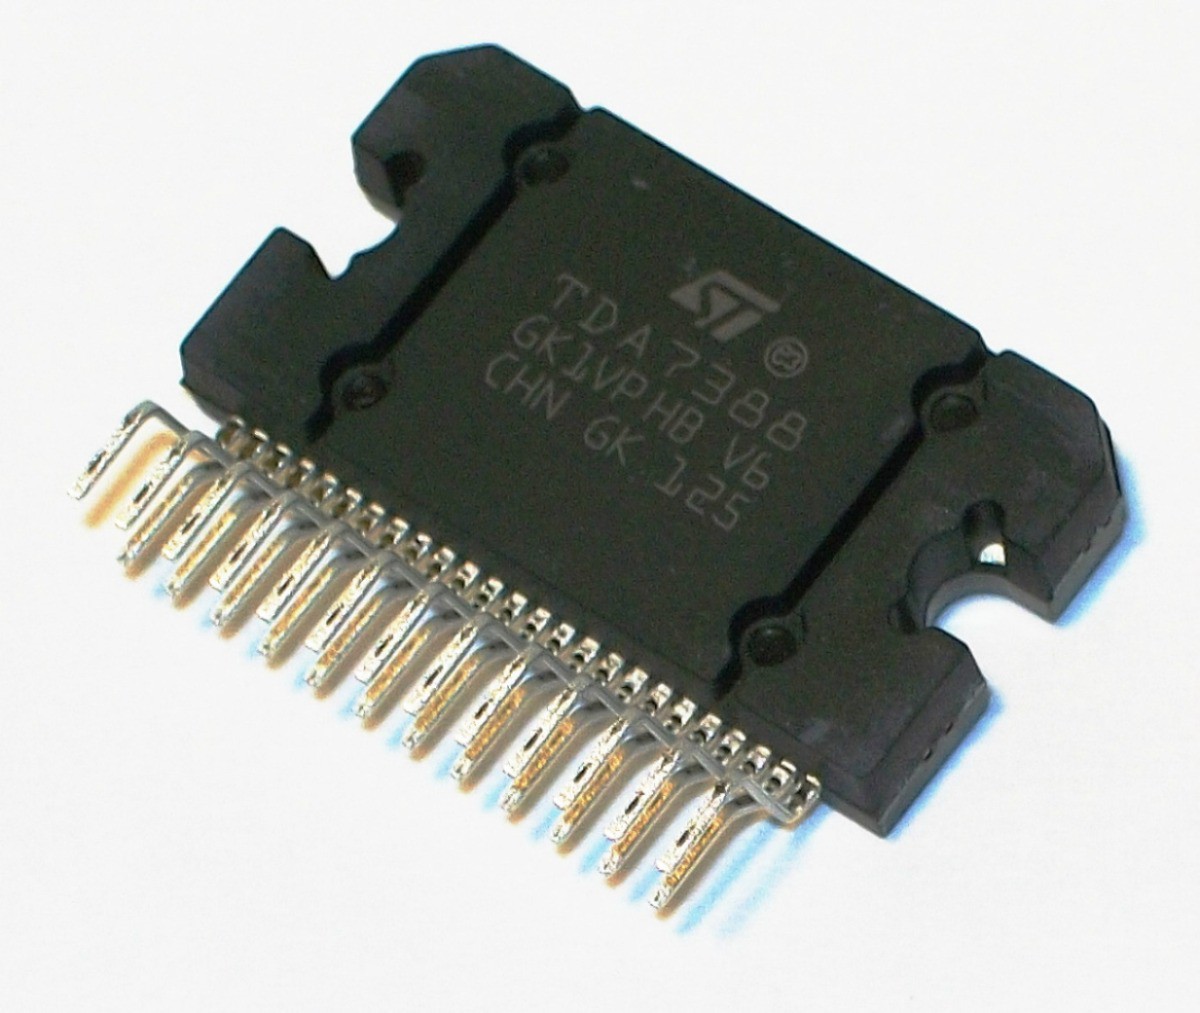
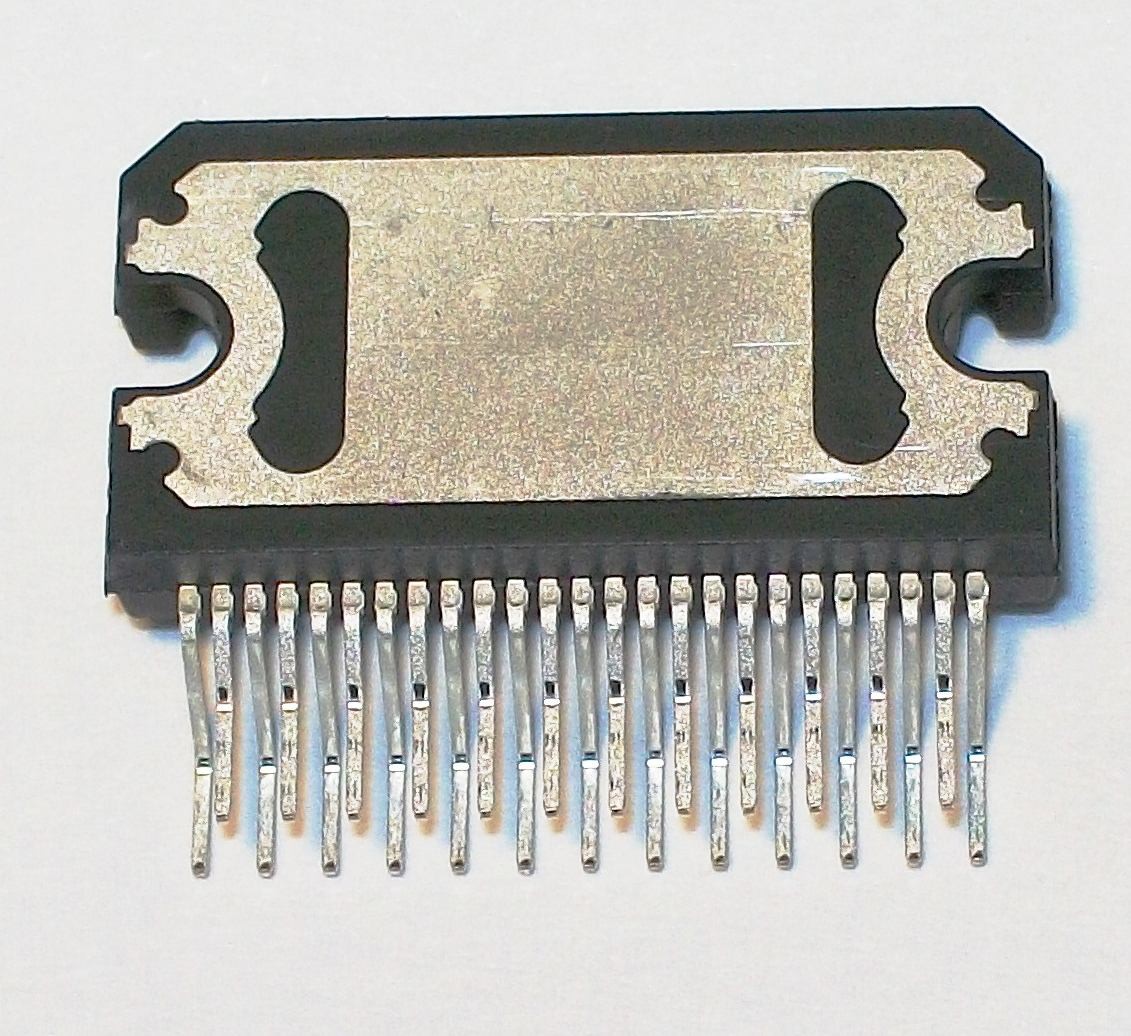
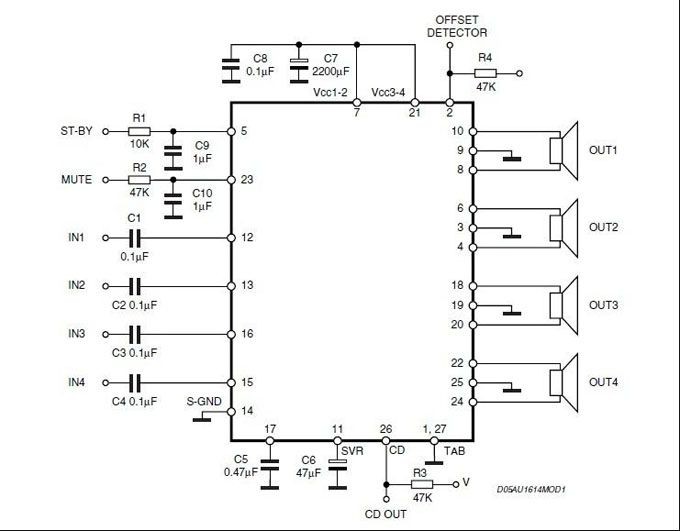
Description
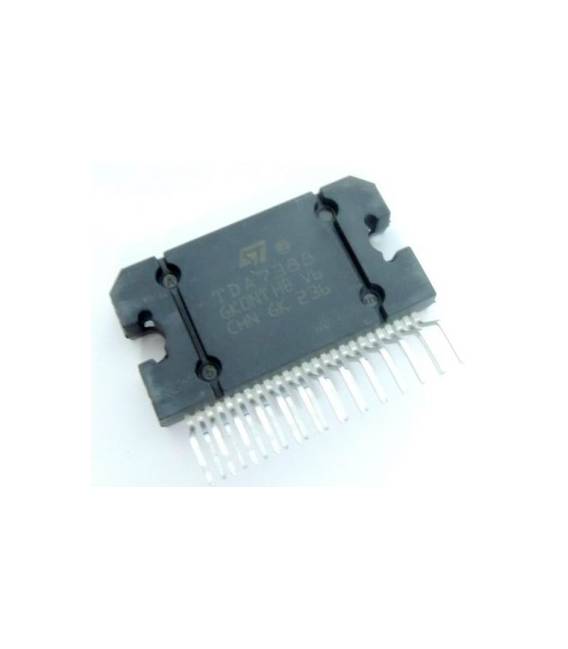
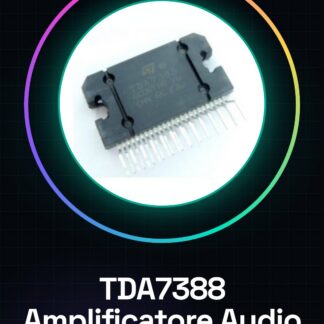
TDA7388 IC Integrated Circuits
Component Specifications:
| Operational Class | Class-AB |
| Audio Amplifier Output Configuration | 4-Channel Stereo |
| Output Power (Typical) | 26x4W |
| Audio Amplifier Function | Speaker |
| Total Harmonic Distortion | 0,04% |
| Dual Supply Voltage (Typical) | Not RequiredV |
| Power Supply Requirements | Single |
| Power Dissipation | 80W |
| Type I / O rail / rail | Output rail to rail |
| Single Supply Voltage (Max) | 18 V |
| Dual Supply Voltage (min) | Not RequiredV |
| Dual Supply Voltage (max) | Not RequiredV |
| Mounting | Through Hole |
| Pin Count | 25 |
| Package Type | FLEXIWATT (vertical) |
| Packaging | Rail / Tube |
We have the technical sheet of all components available, if it is not present in the product download card, send us a message through the contact us form and we will publish it as soon as possible on our website.
Tutorial: How to use TDA7388 IC Amplifier
The TDA7388 is a powerful mono audio amplifier that can provide up to 100W of power. It is ideal for DIY projects such as speakers, home theater, and stereo systems.
What you need
- TDA7388 IC
- Arduino or compatible microcontroller
- flat print
- jumper wires
- resistor (check the datasheet)
- capacitor (check the datasheet)
Steps
- Connect the TDA7388 to the microcontroller according to the product documentation.
- Connect the audio input to the amplifier’s input pin.
- Connect the power supply to the VCC and GND pins as specified in the datasheet.
- Ensure that the decoupling capacitors are correctly connected to the power pins.
- Write the Arduino sketch to control the amplifier (see code).
- Test the system with a digital or analog audio signal.
- Adjust the microcontroller and amplifier parameters to optimize sound quality.
Example code
// Esempio di sketch Arduino
void setup() {
  // Imposta i pin di controllo
}

void loop() {
  // Genera segnale audio o riceve da un'origine esterna
}
Mini project
Create a small stereo enclosure with the TDA7388 and Arduino, integrating a microphone for automatic amplifier power when a signal is detected.
Common mistakes
- Do not correctly connect the decoupling capacitors.
- Ignore the TDA7388 power supply specifications.
- Use an inadequate power supply for the amplifier.
- Omit the PCB design and use only jumper wires, compromising signal stability.
Recommended accessories
- Decoupling capacitors
- Audio resistors
- RCA cable
- Speaker prototype
Frequently asked questions
Can this amplification be used for an external speaker system?
Yes, but make sure the electrical power is adequate.
What is the difference between TDA7388 and similar models?
The TDA7388 offers greater energy efficiency compared to many of its predecessors.
Reviews
There are no reviews yet.