 EN
 IT Italiano
 ES Español
 FR Français
 DE Deutsch
Description
What it is
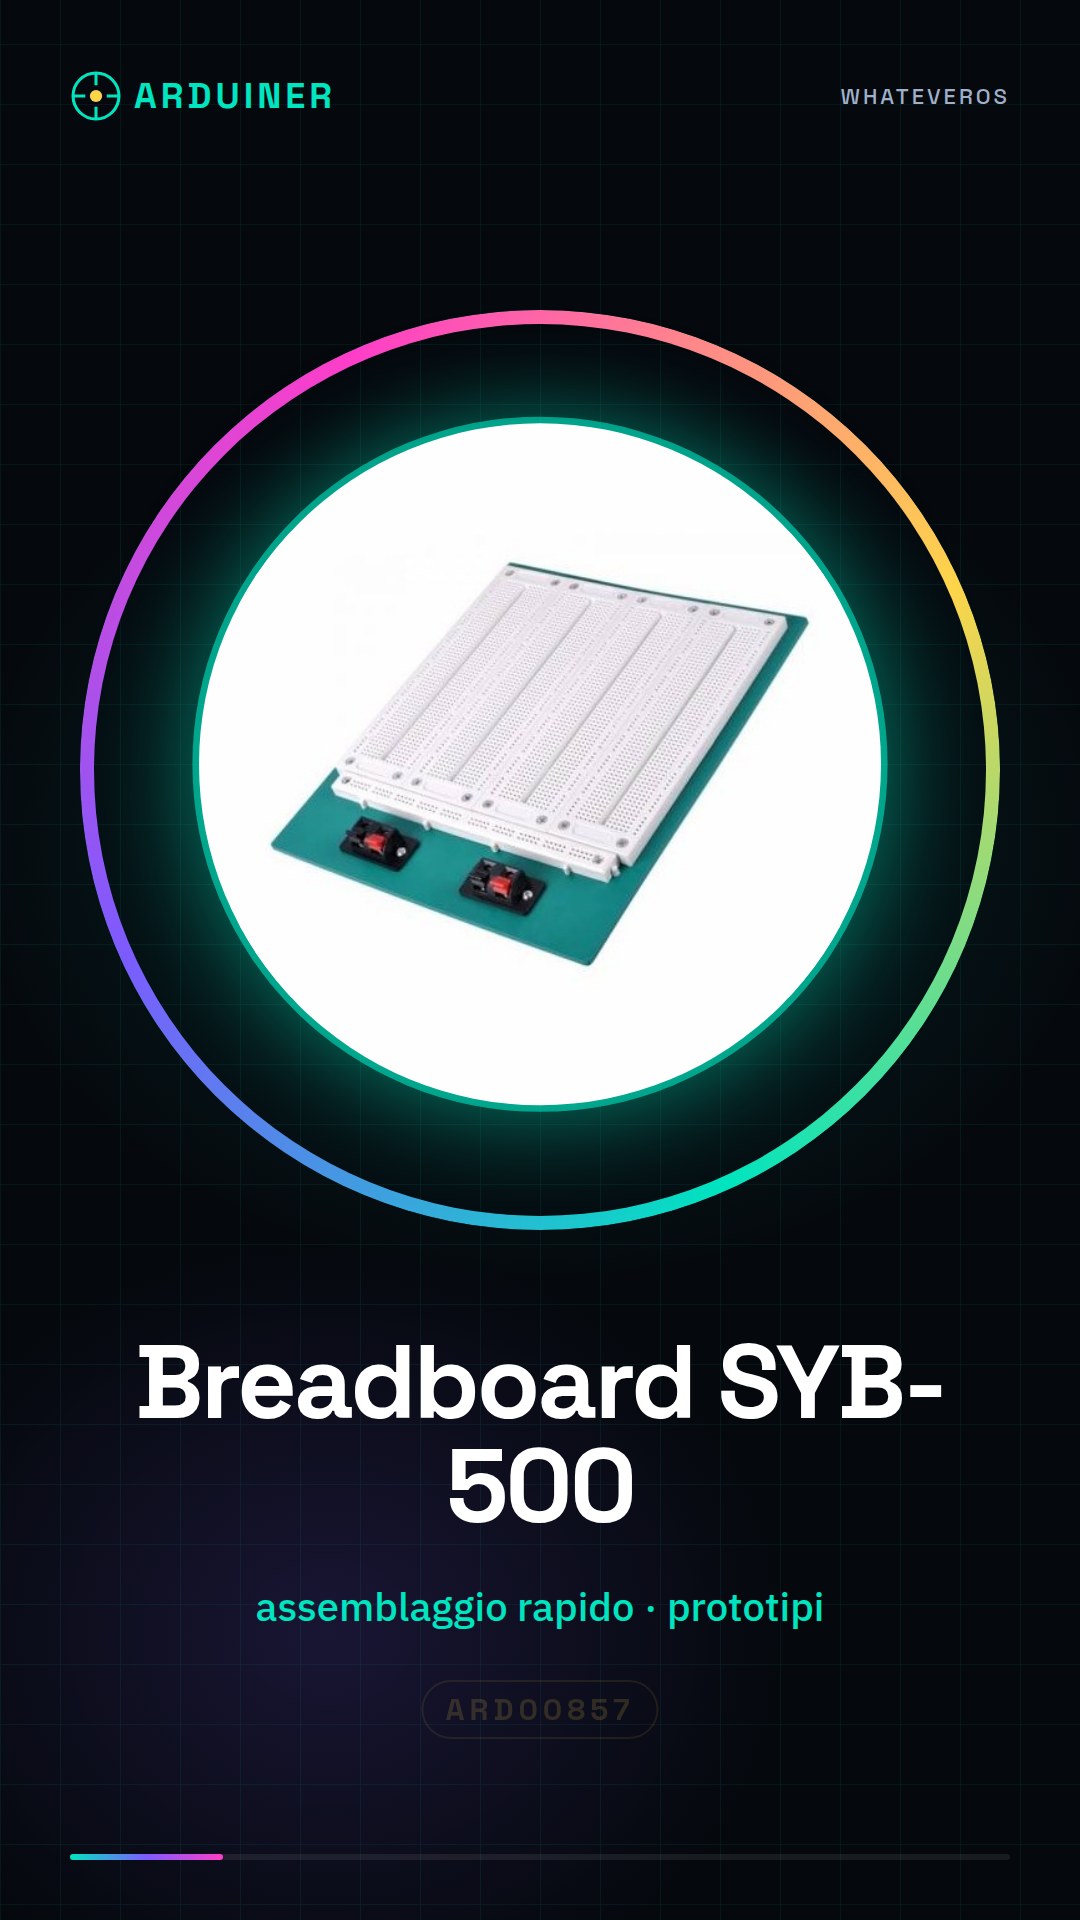
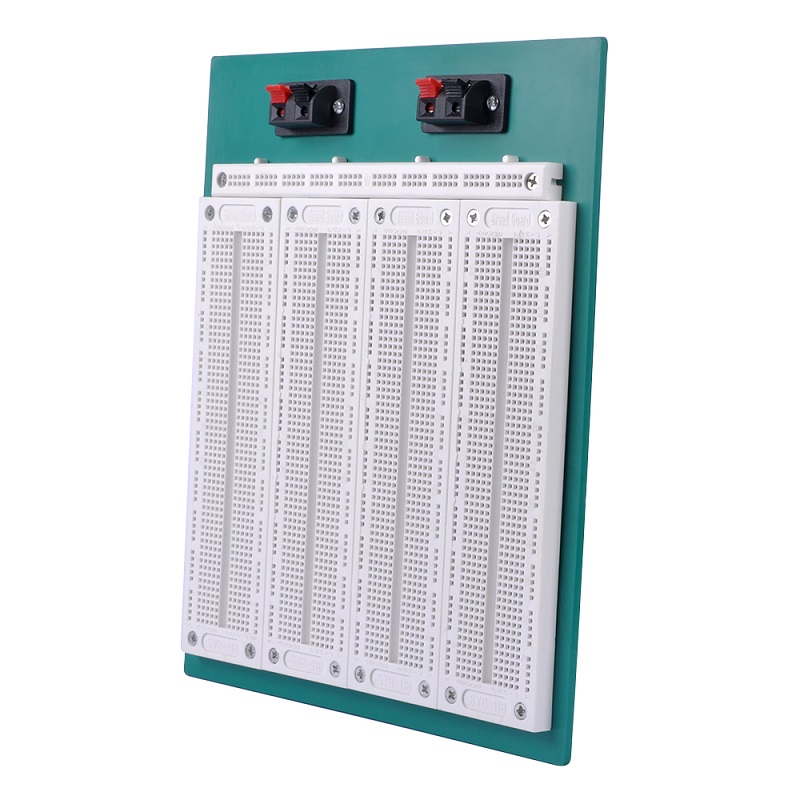
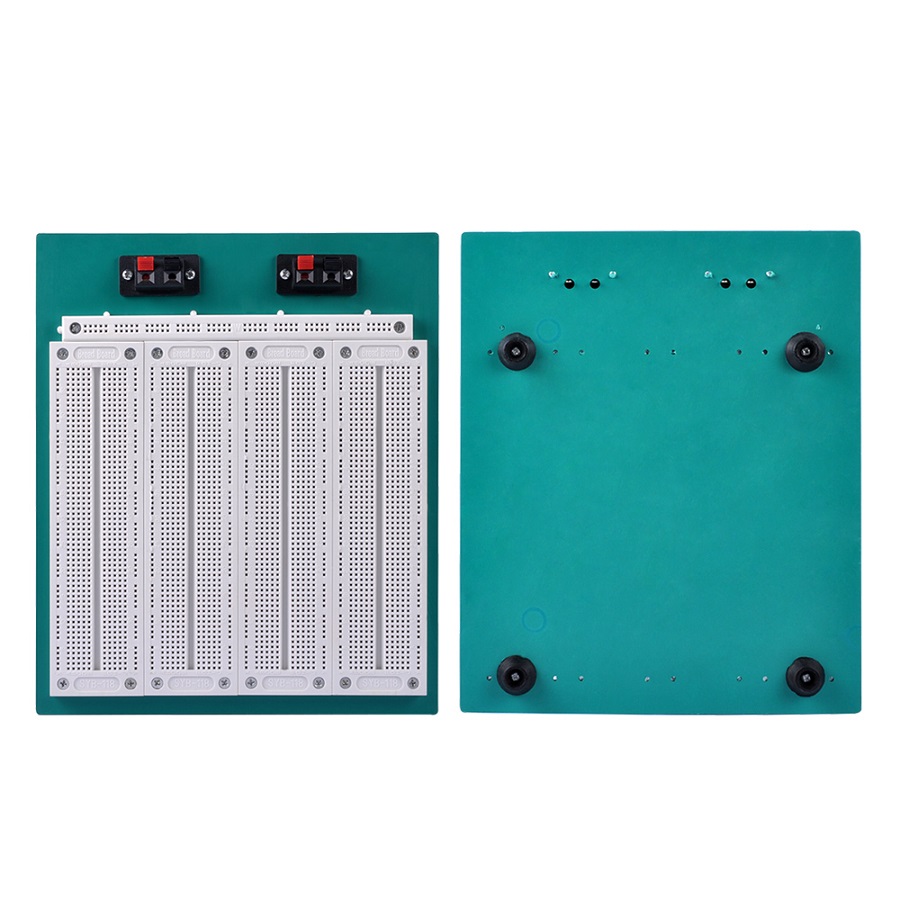
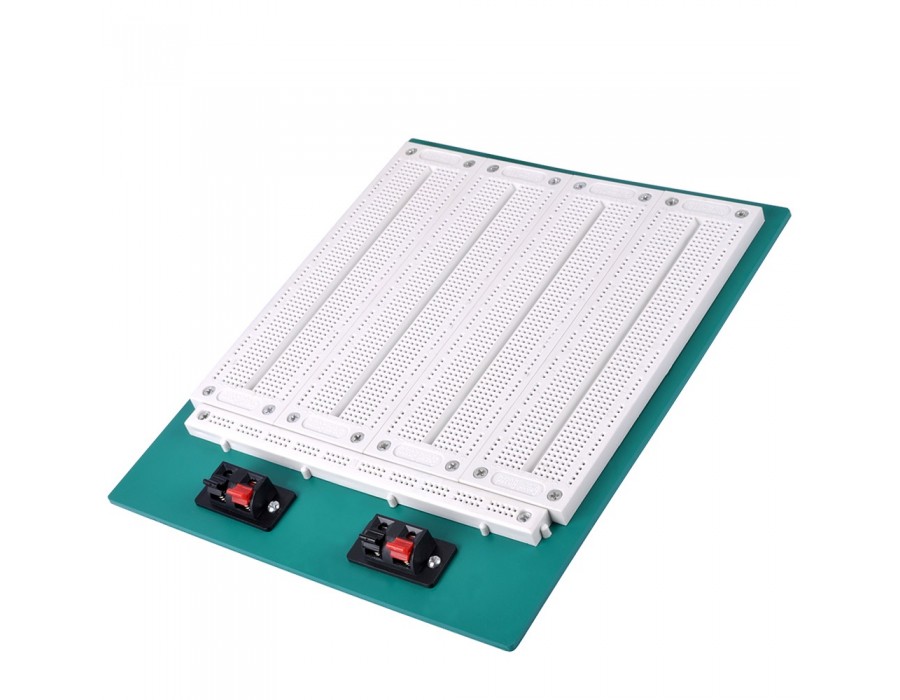
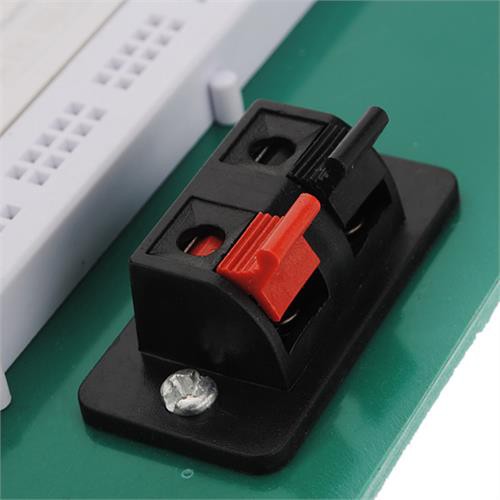
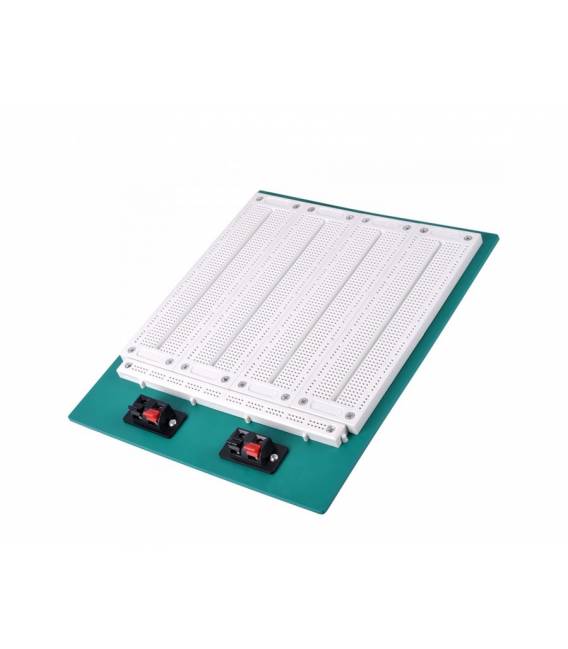
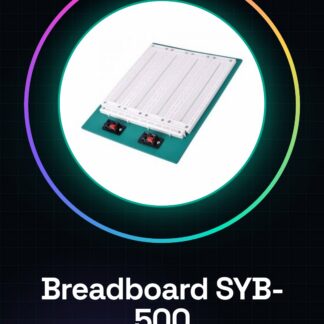
The SYB-500 Experimental Breadboard is a practical support for Arduino projects, facilitating the assembly and testing of electronic circuits. This breadboard is ideal for both beginners and electronics experts who want to build temporary prototypes without soldering.
Features
- Supports the quick assembly of electronic circuits.
- Ideally suited for the creation of prototypes.
What it is for
The SYB-500 is used to create simple LED timers that turn on and off based on a predefined time interval. It can be used with resistors, capacitors, and LEDs.
Tutorial: How to use the SYB-500 Experimental Breadboard combined
The SYB-500 breadboard is a fundamental component for electronics enthusiasts who want to build temporary circuits without soldering. Ideal for both beginners and experts, it allows for the rapid creation of prototypes.
What you need
- Arduino
- jumper wires
- electronic components (resistors, capacitors, LEDs)
- power supply
Steps
- Check the datasheet for the dimensions of the SYB-500 breadboard.
- Place the breadboard on a stable surface. Ensure there are no objects nearby that could interfere with the wires or components.
- Connect the power supply to the breadboard following the electrical voltage instructions in the datasheet.
- Place the microcontroller (e.g., Arduino) on the side of the breadboard reserved for dual power devices.
- Check the datasheet for the contact points between the Arduino pins and the vertical strips of the breadboard.
- Connect the resistors, capacitors, and other components according to the desired project. Ensure each connection is secure.
- Use jumper wires to connect various points of the circuit as required by the project.
- Check all connections before powering on the supply.
Mini project
Create a simple LED timer that turns on and off based on a predefined time interval. Use resistors, capacitors, and an LED.
Common mistakes
- Loose connections
- Incorrect power supply
- Components connected backwards
Recommended accessories
- Jumper cables
- Kit of components for Arduino projects
- Arduino Uno R3
- 9V battery with connector
Frequently asked questions
How can I protect the breadboard?
Use a protective cover or a project box to keep your breadboard clean and safe.
Can I use multiple microcontrollers on this breadboard?
Yes, but make sure there are no conflicts between the pins of different devices.
Reviews
There are no reviews yet.