 EN
 IT Italiano
 ES Español
 FR Français
 DE Deutsch
Description
Technical Description
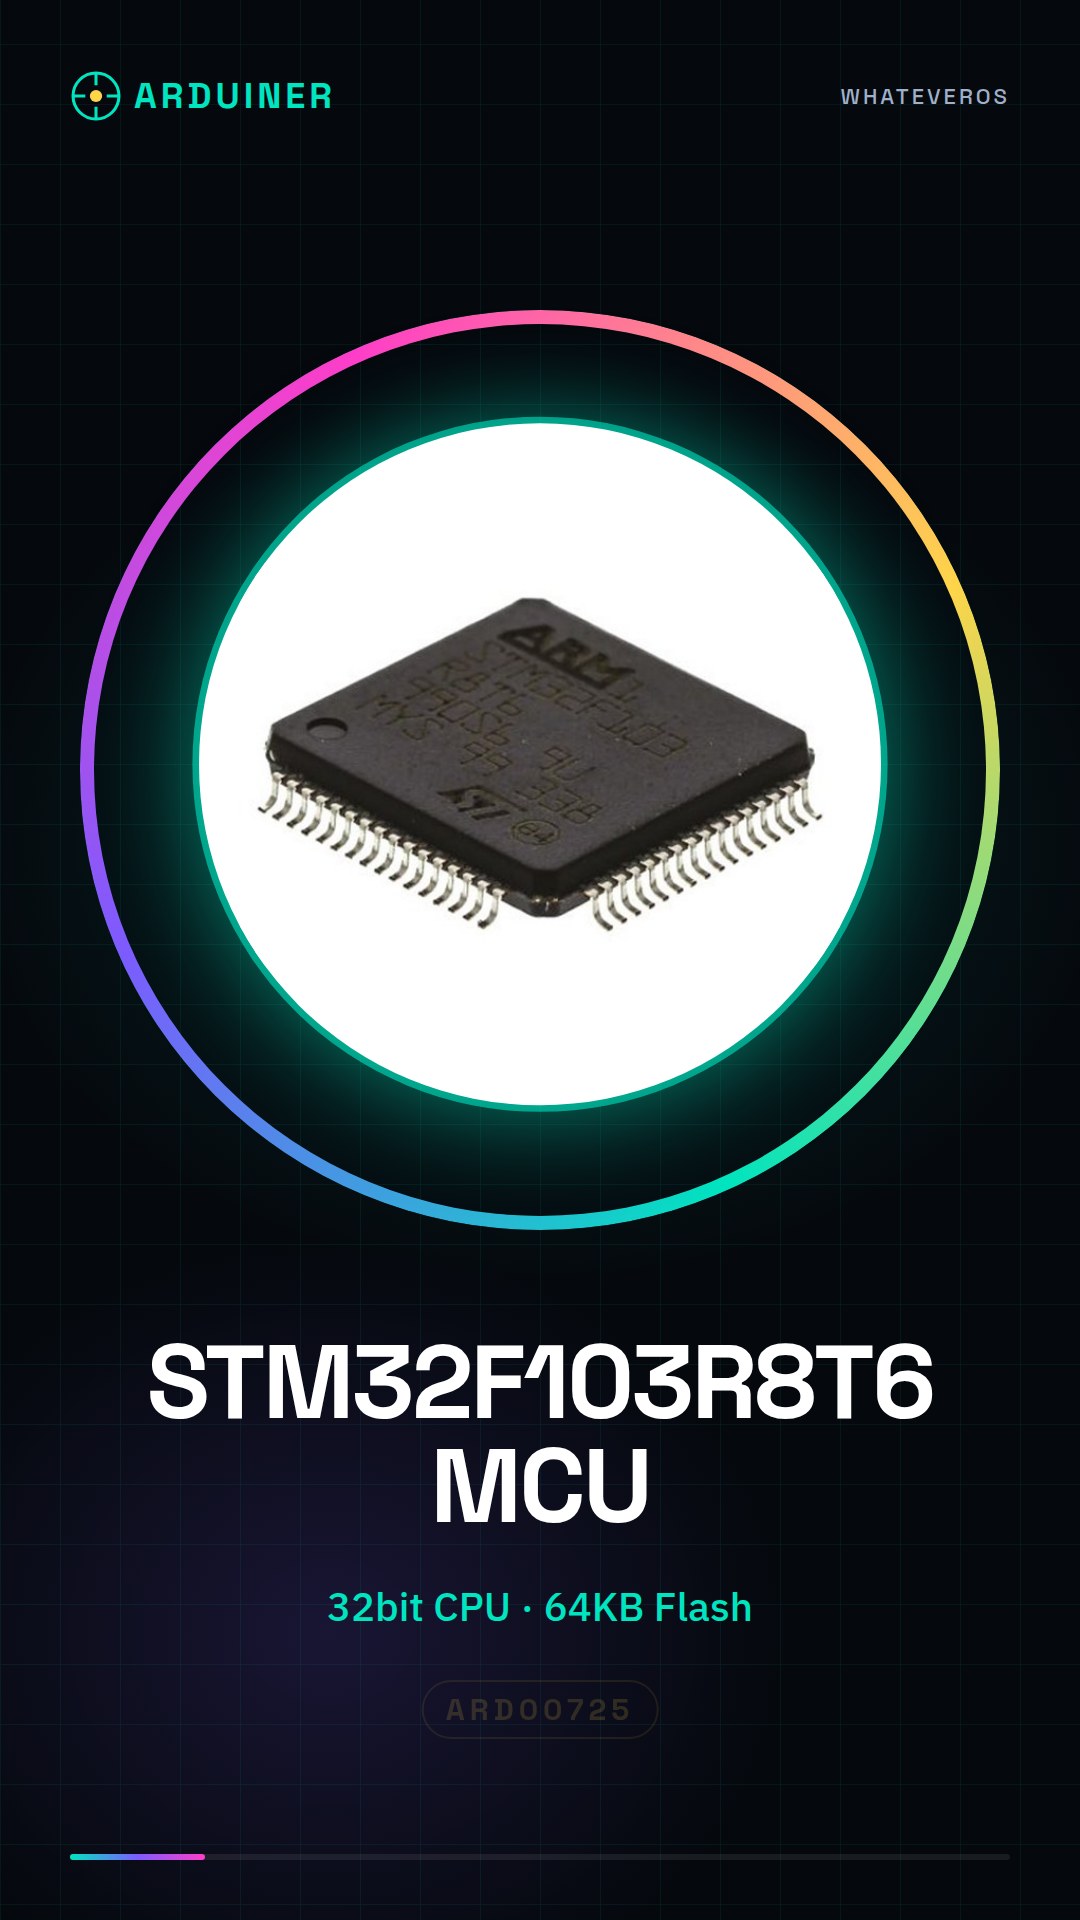
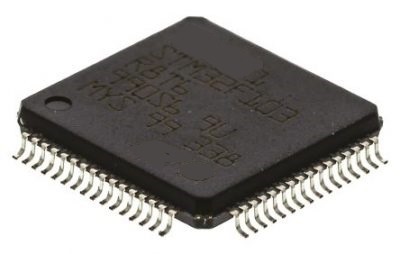
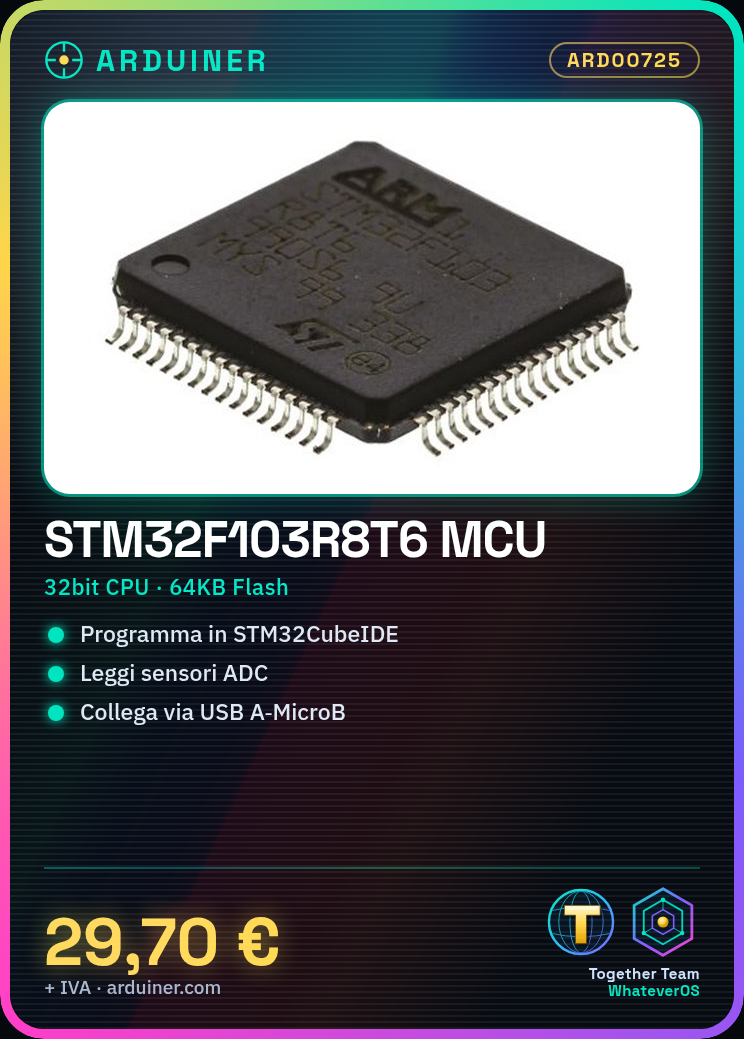
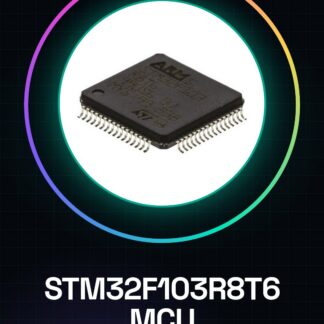
The STM32F103R8T6 is a 32-bit microcontroller based on the ARM Cortex-M3 architecture. It offers 64KB of Flash memory and 20KB of RAM, with two 12-channel ADC (Analog-to-Digital Converter) channels. This component is designed for applications requiring analog and digital signal processing, external device management, and communication through various protocols.
The microcontroller features multiple communication interfaces, including UART, SPI, and I2C, making it versatile for connecting to various devices and sensors. It is suitable for projects that require a good balance between performance and cost, such as prototypes, measurement systems, and controls.
To fully leverage the capabilities of the STM32F103R8T6, it is necessary to properly configure the development software and install the specific libraries for the microcontroller.
Key Specifications
| Parameter | Value |
| Model | STM32F103R8T6 |
| Architecture | ARM Cortex-M3 |
| Flash Memory | 64KB |
| RAM Memory | 20KB |
| ADC | 2 x 12 channels |
| Interfaces | UART, SPI, I2C |
| Power Supply | N/D (see manufacturer’s technical sheet) |
| Dimensions | N/D (see manufacturer’s technical sheet) |
| Package | N/D (see manufacturer’s technical sheet) |
Installation and Usage
- Install development software, such as STM32CubeIDE, on the computer.
- Connect the microcontroller to a computer via a USB A-MicroB cable.
- Configure project settings in STM32CubeIDE according to the specific parameters of the STM32F103R8T6 (check the datasheet).
- Write a simple sketch to test the basic functionality of the microcontroller.
- Compile and upload the sketch to the microcontroller through the software.
Compatibility and Requirements
- The STM32F103R8T6 is compatible with Arduino Uno R3 and other compatible systems.
- A development software like STM32CubeIDE is required to configure and compile projects.
- Requires a USB A-MicroB cable for connection to the computer.
Limitations and Important Notes
- The microcontroller does not have an integrated USB interface.
- Project configuration requires attention to avoid errors.
- Power supply must be stable and within specified limits to avoid damage.
Troubleshooting
Project configuration error in STM32CubeIDE
Probable cause: Incorrect or missing settings
Solution: Verify and correct project settings according to the microcontroller datasheet.
Unstable USB connection
Probable cause: Damaged USB cable or unrecognized microcontroller
Solution: Replace the USB cable and verify the microcontroller connection.
Insufficient or incorrect power supply
Probable cause: External power supply does not meet requirements
Solution: Ensure that the external power supply is within specified limits.
Sketch compilation with errors
Probable cause: Syntax or configuration error
Solution: Verify and correct syntax and configuration errors in the code and project.
Use cases
Temperature Sensor
Objective: Measure ambient temperature
Required Components: STM32F103R8T6, NTC 10K Thermistor, 16×2 LCD
Steps: 1) Configure the project in STM32CubeIDE 2) Connect the thermistor and display 3) Write a sketch to read the temperature and display it
Expected Result: The temperature sensor works correctly and displays the temperature on an LCD display.
Presence Counter
Objective: Count the number of people entering and exiting a room
Required Components: STM32F103R8T6, PIR Motion Sensors
Steps: 1) Configure the project in STM32CubeIDE 2) Connect the motion sensors 3) Write a sketch to count the movements
Expected Result: The presence counter works correctly and records the number of people entering and exiting.
Light Control System
Objective: Manage the turning on and off of lights
Required: STM32F103R8T6, light sensors (LDR)
Steps: 1) Configure the project in STM32CubeIDE 2) Connect the light sensors 3) Write a sketch to manage the lights
Expected result: The light control system works correctly and adjusts the light intensity based on the ambient brightness.
Temperature control system
Objective: Regulate the temperature in an environment
Required: STM32F103R8T6, digital thermostat
Steps: 1) Configure the project in STM32CubeIDE 2) Connect the thermostat 3) Write a sketch to regulate the temperature
Expected result: The temperature control system works correctly and regulates the temperature based on the set parameters.
Energy monitoring system
Objective: Monitor energy consumption
Required: STM32F103R8T6, current sensors
Steps: 1) Configure the project in STM32CubeIDE 2) Connect current sensors 3) Write a sketch to monitor energy consumption
Expected result: The energy monitoring system works correctly and records energy consumption.
Humidity Control System
Objective: Regulate humidity in an environment
What is needed: STM32F103R8T6, humidity sensors
Steps: 1) Configure the project in STM32CubeIDE 2) Connect humidity sensors 3) Write a sketch to regulate humidity
Expected result: The humidity control system works correctly and regulates humidity based on set parameters.
Temperature and Humidity Control System
Objective: Regulate temperature and humidity in an environment
What is needed: STM32F103R8T6, temperature and humidity sensors
Steps: 1) Configure the project in STM32CubeIDE 2) Connect temperature and humidity sensors 3) Write a sketch to regulate temperature and humidity
Expected result: The temperature and humidity control system works correctly and regulates temperature and humidity based on the set parameters.
Light and temperature control system
Objective: Manage the turning on and off of lights and regulate temperature
What is needed: STM32F103R8T6, light sensors LDR and temperature sensors
Steps: 1) Configure the project in STM32CubeIDE 2) Connect light and temperature sensors 3) Write a sketch to manage lights and regulate temperature
Expected result: The light and temperature control system works correctly and regulates light intensity and temperature based on the set parameters.
In the package
- 1 piece
Complete the project
- STM32F103C6T6A MCU 32BIT LD Performance LINE IC Integrated Circuits: Used to configure and compile projects in the microcontroller
Technical FAQs
How to configure the project in STM32CubeIDE?
Configure project settings according to the specific parameters of the STM32F103R8T6 (check the datasheet).
Why is the USB connection unstable?
Check that the USB cable is in good condition and that the microcontroller is correctly recognized by the computer.
Which sensors can be used with the STM32F103R8T6?
Temperature, humidity, motion, light, and current sensors can be used with the STM32F103R8T6.
What are the power supply requirements for the STM32F103R8T6?
The power supply must be stable and within the specified limits (check the datasheet).
Tutorial: How to use STM32F103R8T6
The STM32F103R8T6 microcontroller is a central component for advanced electronics projects requiring computational power. Ideal for beginner and intermediate makers looking to explore the world of 32-bit microcontrollers.
What you need
- Arduino Uno or compatible
- USB A-MicroB cable
- Development software (e.g., STM32CubeIDE)
- External power supply (5V-12V)
Steps
- Install development software for STM32, such as STM32CubeIDE.
- Connect the microcontroller to a computer via USB A-MicroB cable.
- Configure project settings in STM32CubeIDE according to the specific parameters of the STM32F103R8T6 (check the datasheet).
- Write a simple sketch to test the basic functionality of the microcontroller.
- Compile and upload the sketch to the microcontroller via the software.
- Verify that the output meets expectations (e.g., LEDs turning on or variables printed to serial monitor).
- Repeat the configuration and upload steps as necessary until you get the correct result.
- Explore further features of the microcontroller such as ADC (check the datasheet for specifications)
Example code
// Esempio di codice base
#include <stm32f1xx_hal.h>
void setup() {
  // Inizializza i pin GPIO
}
void loop() {
  // Aggiungi il tuo codice qui
}
Mini project
Create a temperature sensor using ADC to read analog values from the thermistor and display the temperature on an LCD screen.
Common mistakes
- Project configuration error in STM32CubeIDE
- Unstable USB connection
- Insufficient or incorrect power supply
- Sketch compilation with errors
Recommended accessories
- Arduino Uno R3 (SKU: ARD01874)
- USB A-MicroB cable (SKU: ARD02956)
- 16×2 LCD (SKU: ARD04567)
- NTC 10K Thermistor (SKU: ARD05321)
Frequently asked questions
What is the difference between STM32 and Arduino?
STM32 offers more computational power and resources, while Arduino has a more friendly development environment for beginners.
Where can I find the product datasheet?
The datasheet is available on the official STMicroelectronics website or in the STM32CubeIDE software.
Reviews
There are no reviews yet.