 EN
 IT Italiano
 ES Español
 FR Français
 DE Deutsch
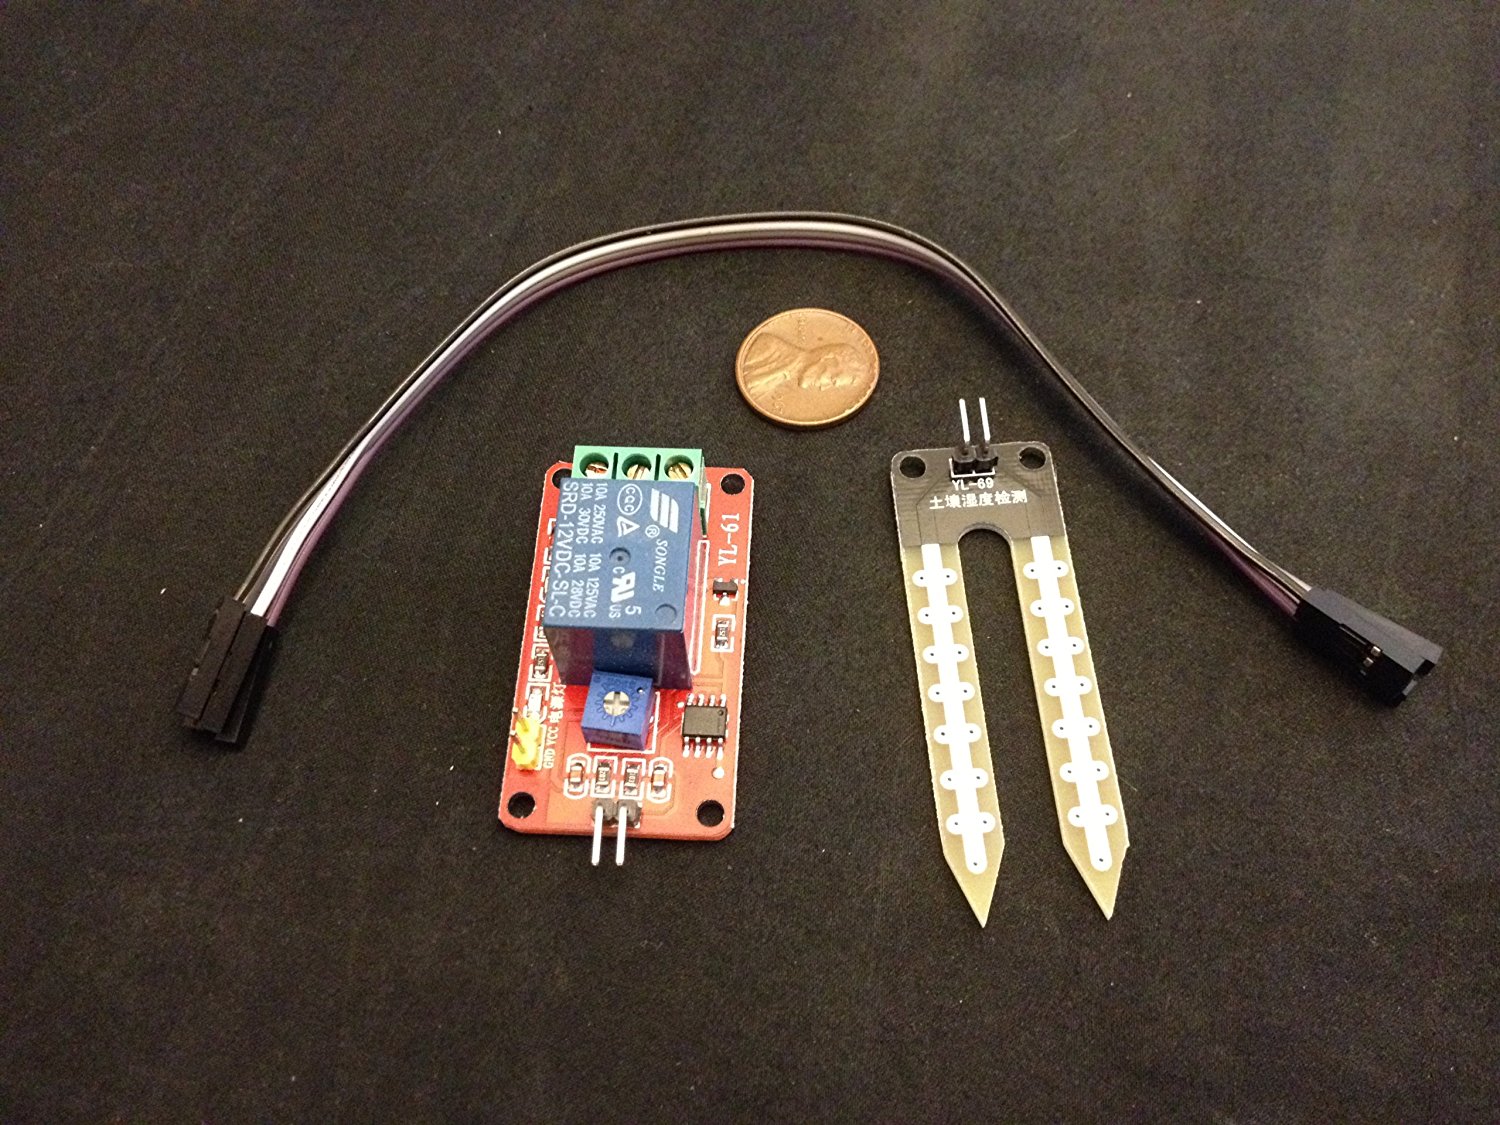
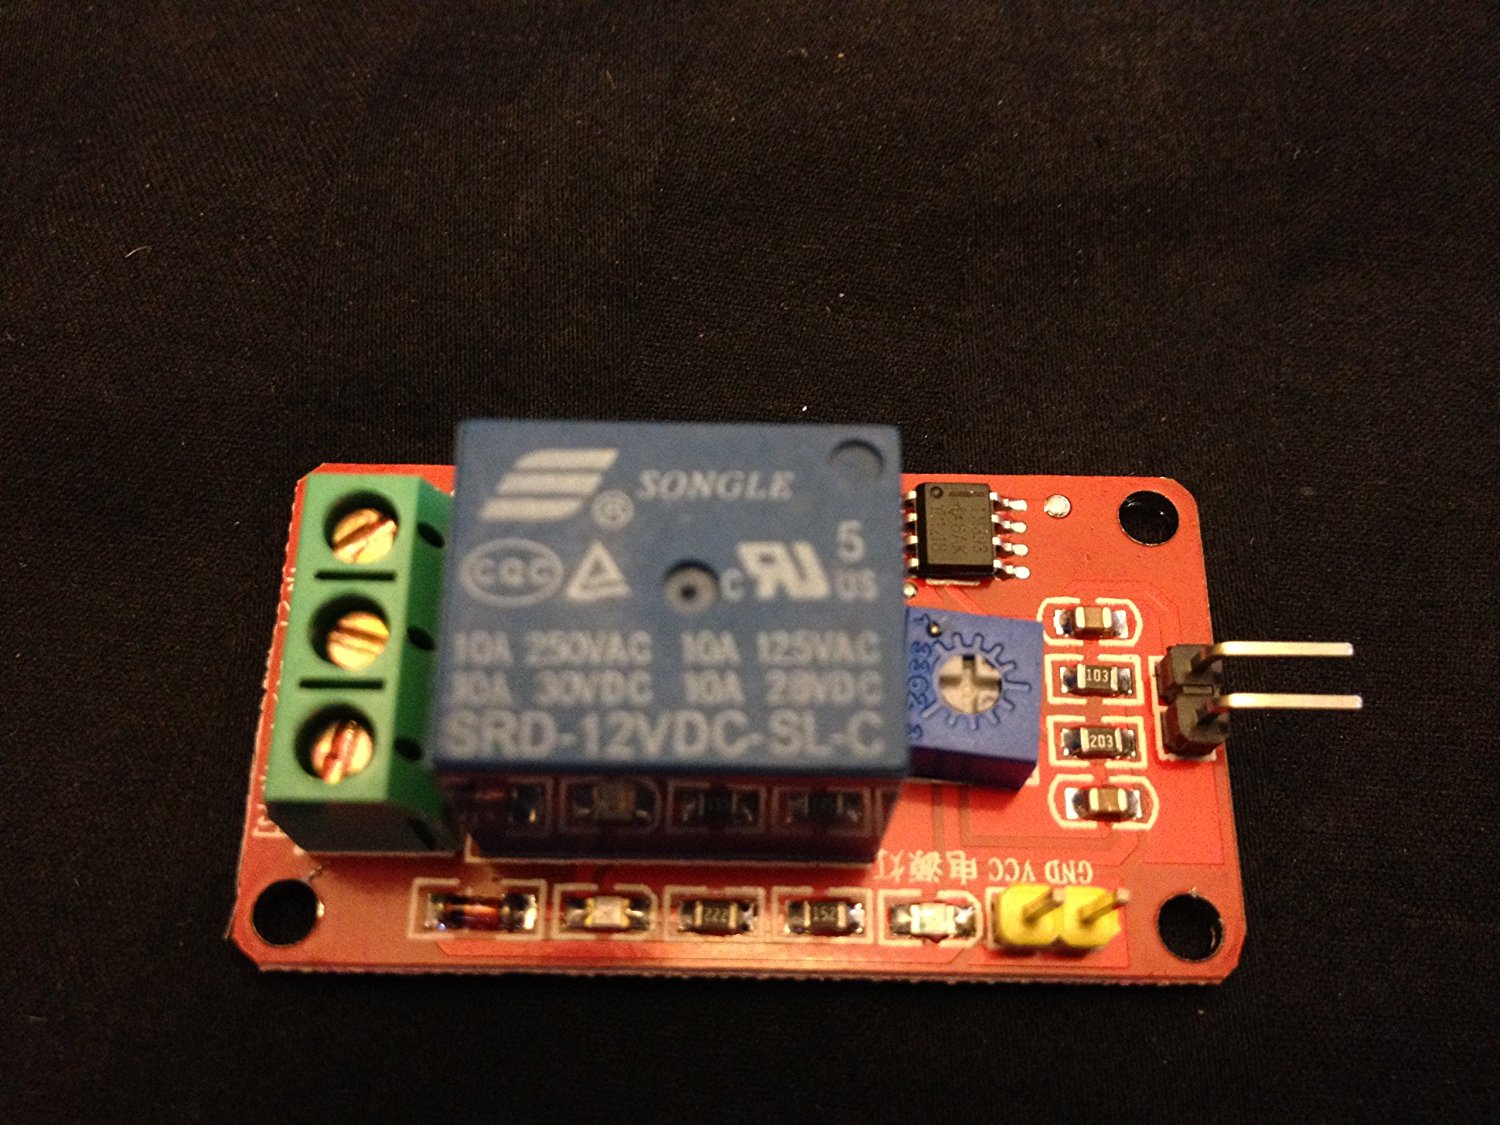
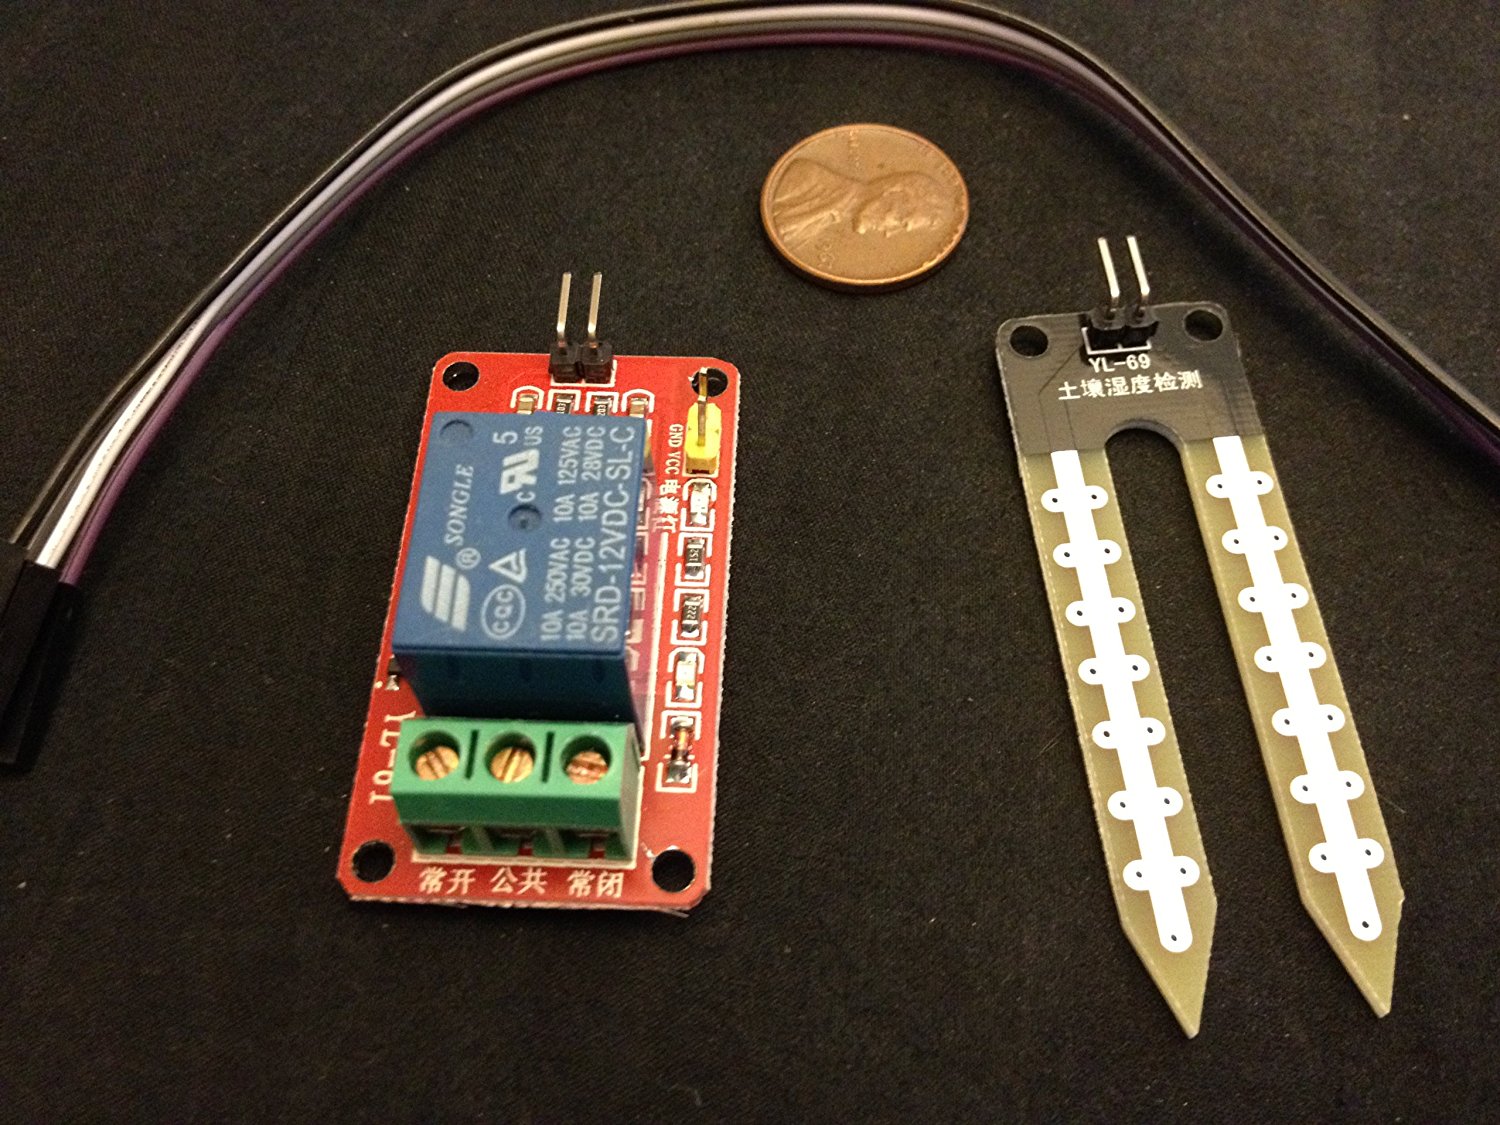
Description
Tutorial: How to Use Soil Moisture Sensor with 12V Relay
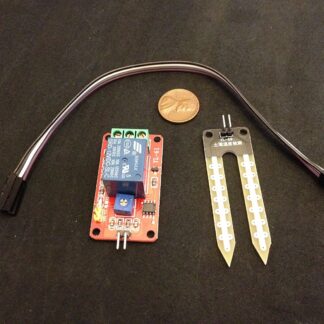
The soil moisture sensor with 12V relay measures soil moisture and activates a relay based on moisture level, useful for automatic irrigation.
What you need
- Soil Moisture Sensor with 12V Relay
- Arduino
- 12V Relay
- Resistor
Steps
- 1. Check the datasheet for the relay specifications.
- 2. Connect the 12V relay to your Arduino using a resistor as a pull-up.
- 3. Connect the soil moisture sensor to the Arduino’s analog pin A0.
- 4. Connect the relay to the digital pin on the Arduino that you wish to use.
- 5. Load the provided Arduino code.
- 6. Verify that the relay activates correctly based on soil moisture level.
- 7. Adapt the code for your irrigation system.
- 8. Test the automatic irrigation system.
Example code
```void loop() {
  int umidita = analogRead(A0);
  if (umidita < 300) {
    digitalWrite(relayPin, HIGH);
  } else {
    digitalWrite(relayPin, LOW);
  }
}
```
Mini project
Build an automatic irrigation system for a small garden in 30 minutes.
Common mistakes
- Connect the relay to the digital pin without a resistor.
- Use an incompatible relay with the Arduino.
- Do not test the system before installation.
- Forget to adapt the Arduino code.
Recommended accessories
- Arduino
- 12V Relay
- Connection Wire
- Resistor
Frequently asked questions
How can I check if the relay is compatible with the Arduino?
Check the relay’s datasheet for current and voltage specifications.
Can I use a 5V relay with this hygrometer?
No, use a 12V relay.
Is the Arduino code customizable?
Yes, you can modify the code to suit your needs.
Can I use an Arduino Uno?
Yes, the Arduino Uno is compatible.


Reviews
There are no reviews yet.