 EN
 IT Italiano
 ES Español
 FR Français
 DE Deutsch
Description
What it is
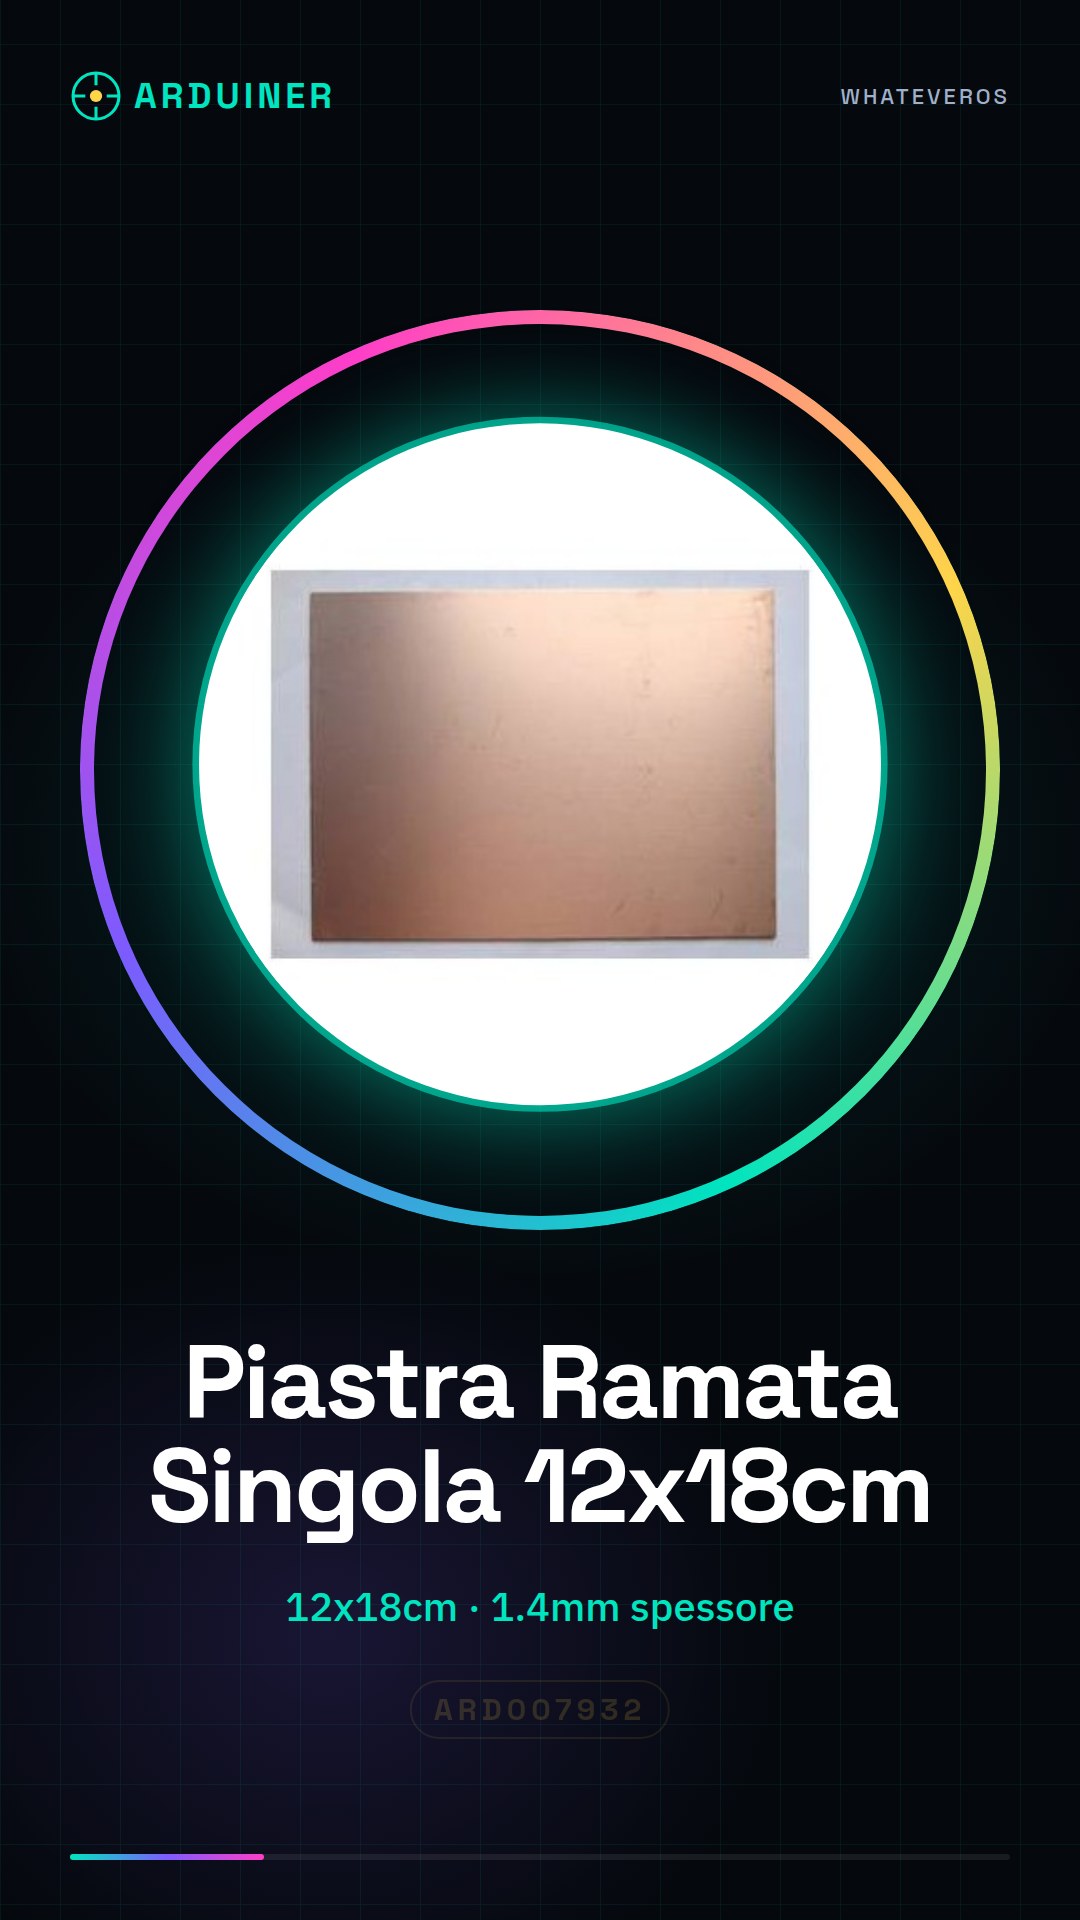
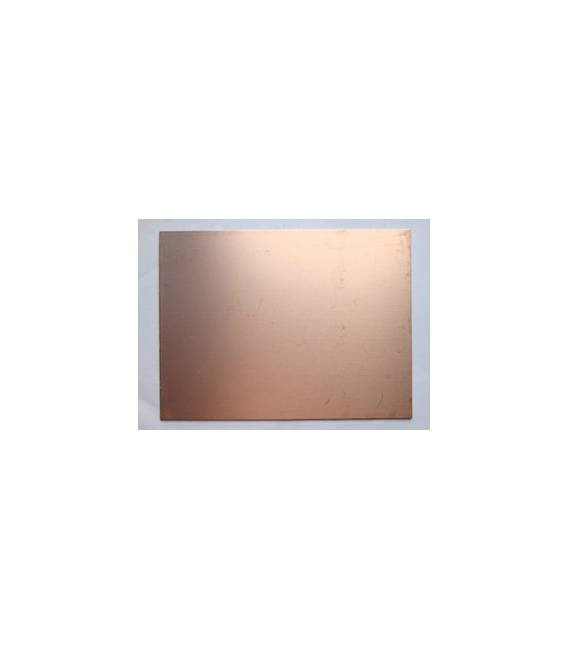
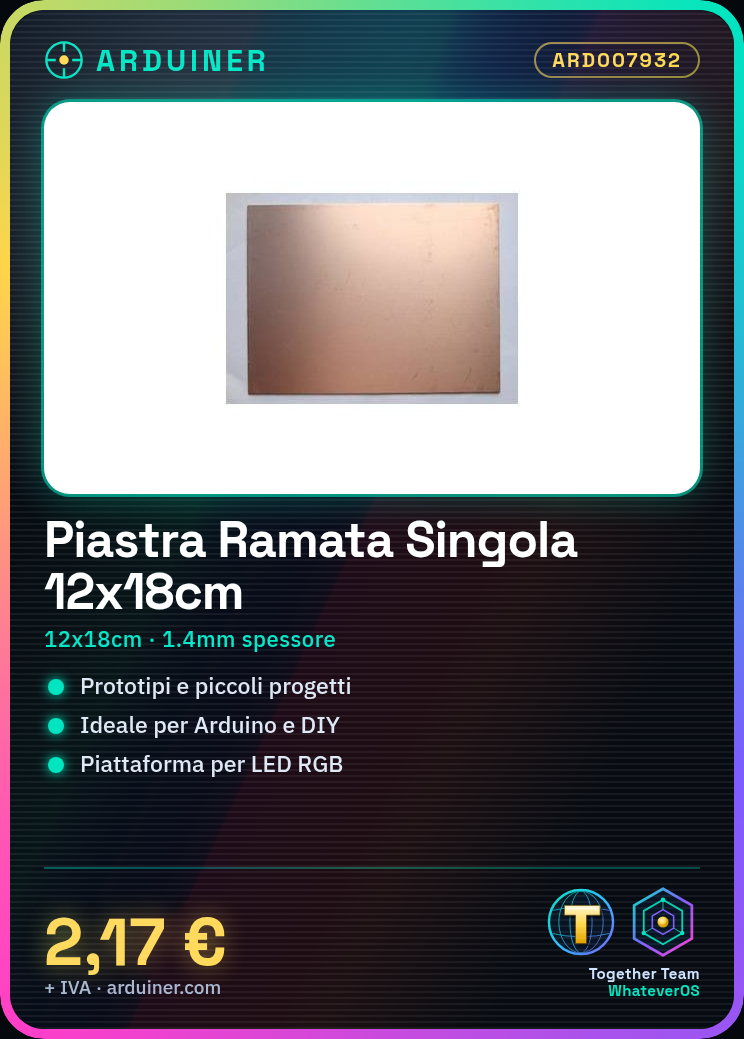
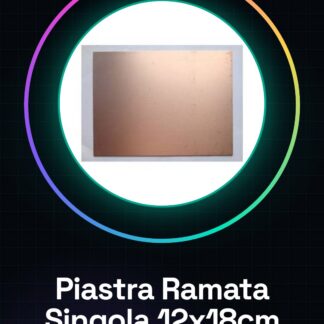
The single-sided copper-clad board with dimensions 12x18cm and thickness 1.4mm is a fundamental component for the realization of printed circuit boards (PCB). This board is mainly used to create prototypes and small electronics projects.
Features
- Size: 12x18cm
- Thickness: 1.4mm
What it is for
Ideal for Arduino and DIY electronics projects, this single-sided copper-clad board can be used to create a simple RGB lighting project controlled by Arduino or other small custom circuits.
Tutorial: How to Use Single-Sided Copper Clad Board
The single-sided copper-clad board is an essential component for makers and electronics enthusiasts who want to create printed circuit boards (PCB). This type of board is mainly used for creating prototypes and small projects.
What you need
- Single-sided copper-clad board
- Drilling kit
- Laser printer or photolithography
- Ferric chloride
- All-purpose tool
Steps
- Check the board dimensions (12 * 18 cm) and its thickness (1.4mm).
- Draw your circuit diagram on a transparent sheet or use PCB design software.
- Use photolithography to transfer the circuit image onto the copper clad board: expose to light and then develop with specific solution.
- Apply the etching process (using ferric chloride) to remove the uncovered copper from the photoresist.
- Wash the board with distilled water to remove acid and photoresist residues.
- Use a drilling kit to create the holes needed for electronic components.
- Connect the various components to the PCB using SMD or THT method, depending on your preference.
- Test the board with a power supply and multimeter to verify the circuit integrity.
Mini project
Create a simple RGB lighting project controlled by Arduino. Use RGB LEDs, resistors, and the copper board to make your custom PCB.
Common mistakes
- Do not apply the photoresist correctly during photolithography.
- Use an acid concentration that is too high or too low.
- Connect components in a way that does not conform to your circuit diagram requirements.
Recommended accessories
- Drilling kit
- Ferric chloride
- Laser printer for PCB
- Photoresist development kit
Frequently asked questions
How can I clean the board after etching?
Wash the board with distilled water and dry it thoroughly.
What is the best method for making holes in PCBs?
Use a specific PCB drilling kit or a CNC drill machine if available.
Reviews
There are no reviews yet.