 EN
 IT Italiano
 ES Español
 FR Français
 DE Deutsch
Description
What it is
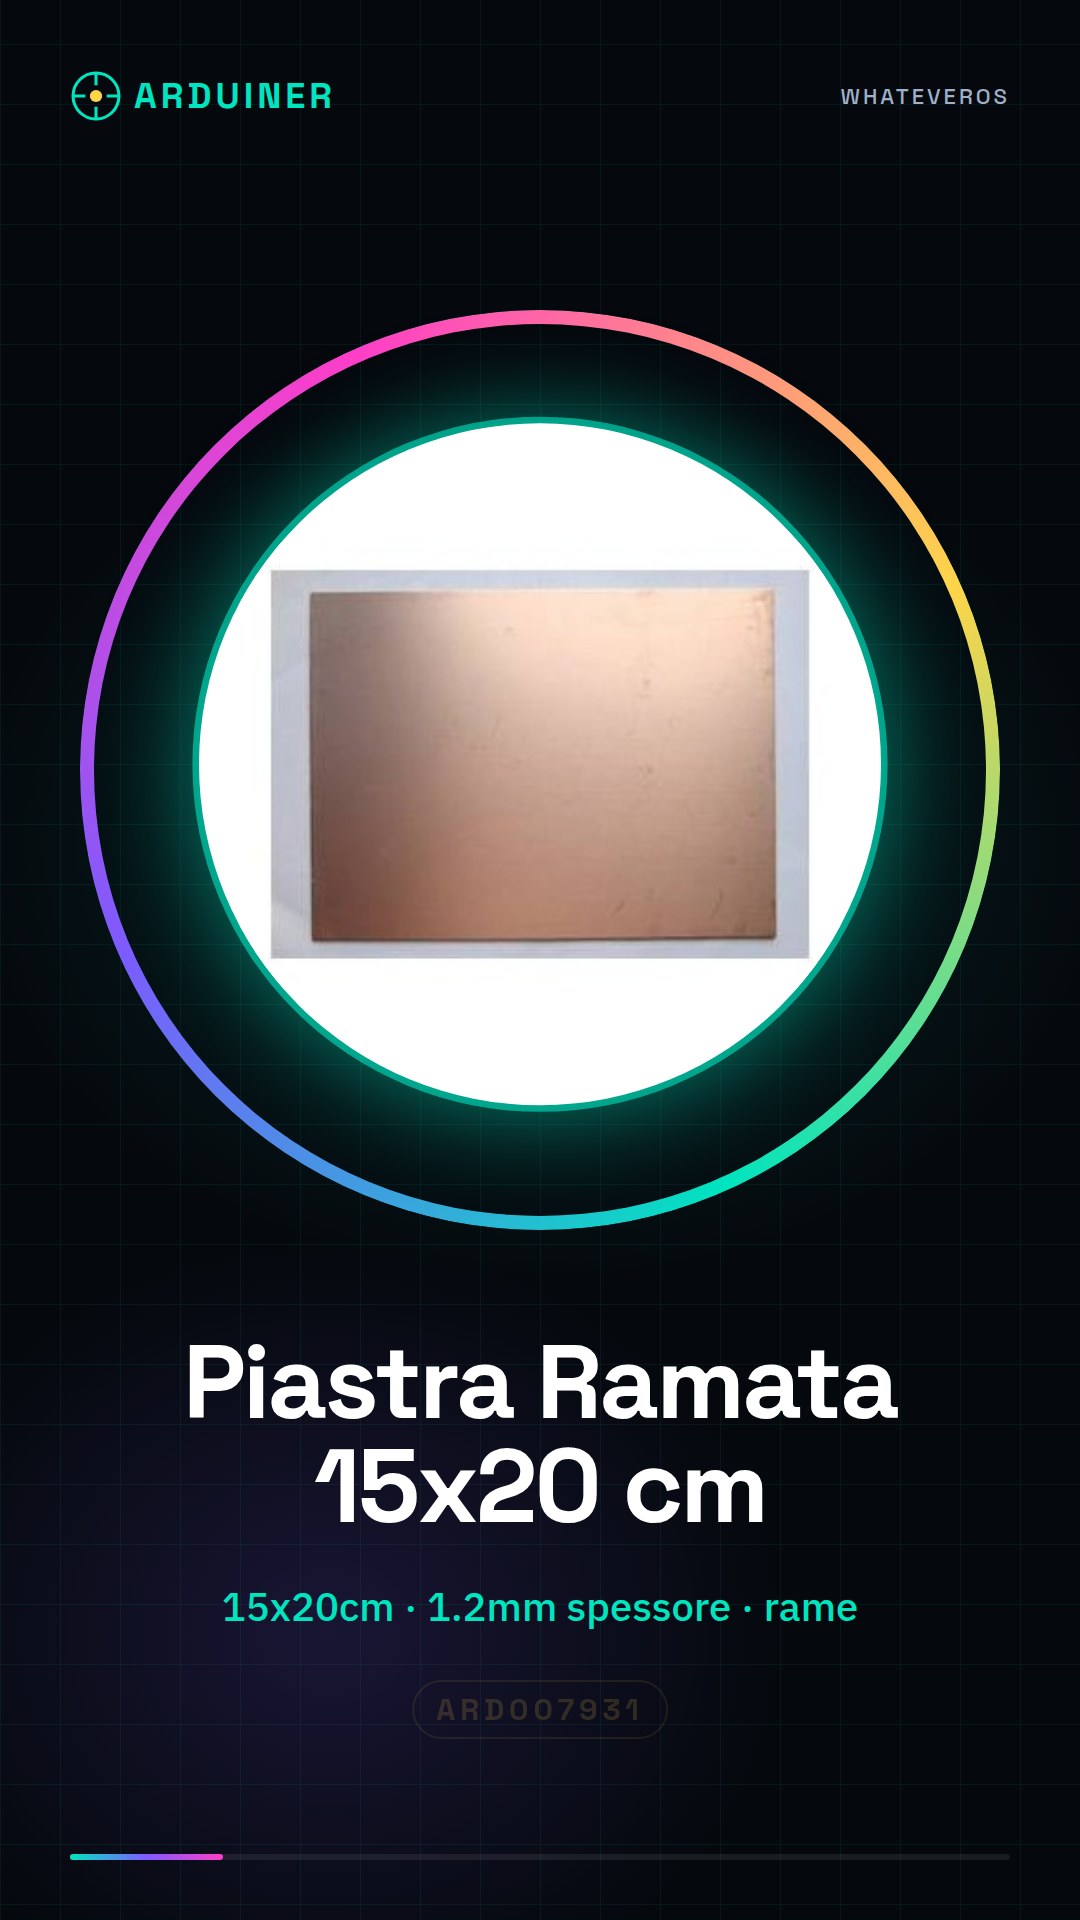
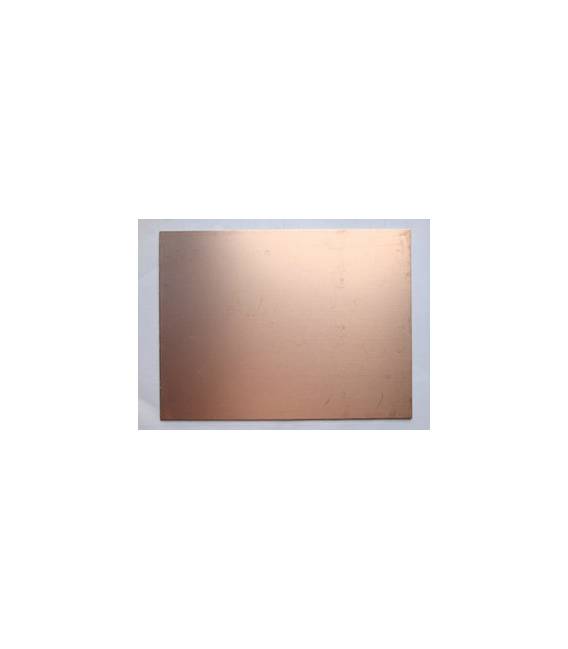
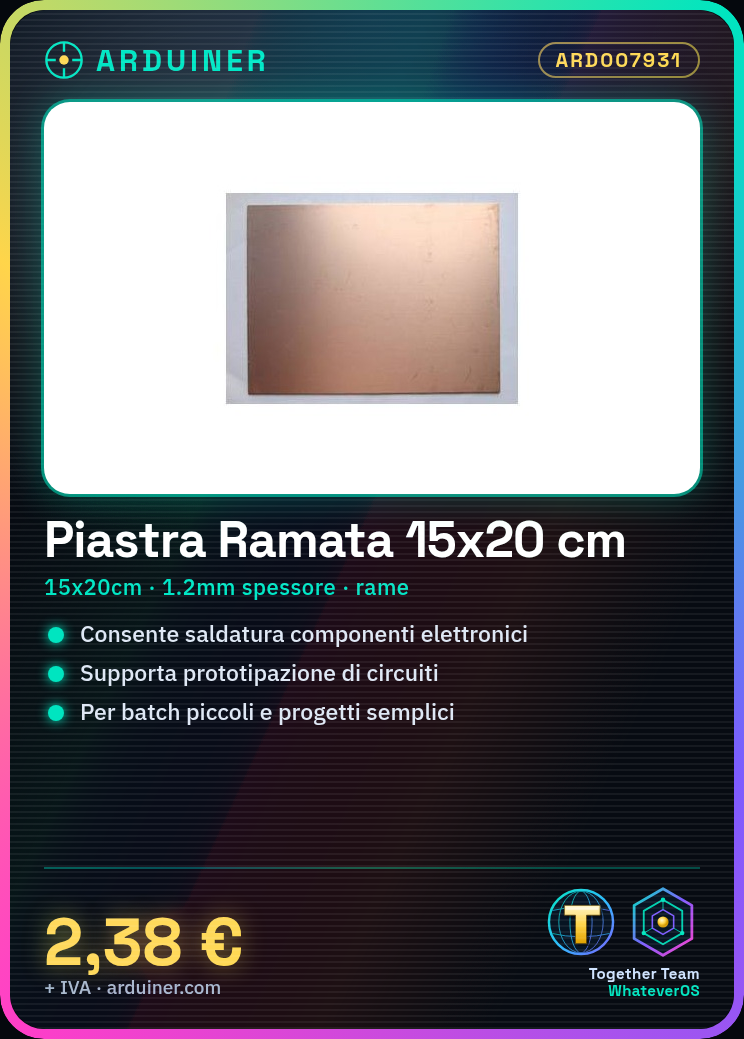
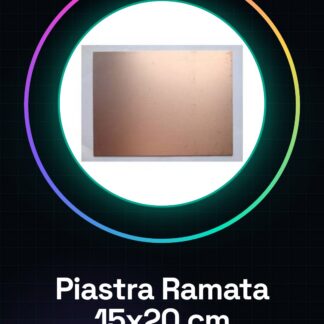
The single-sided copper-clad board measuring 15x20cm is a basic component for the creation of printed circuits. Made of copper, it serves as a support on which electronic components are soldered to create a functional circuit.
Features
- Dimensions: 15 x 20 cm
- Thickness: 1.2 mm
- Number of sides: Single
- Material: Copper
What it is for
The single-sided copper-clad board is ideal for prototyping and developing electronic circuits. It can be used to create printed circuit board prototypes, small batches of products, or simple electronic projects. It is compatible with Arduino and other microcontrollers.
Tutorial: How to Use Single-Sided Copper Clad Board
The single-sided copper-clad board is a fundamental component for creating custom printed circuits. Ideal for both beginners and experts, it allows the design and creation of prototypes or small batches of products.
What you need
- Drilling Kit
- Laser Printing
- PCB Scrap
- Soldering Iron
Steps
- Draw the printed circuit board using software such as Eagle or Fritzing.
- Load the design onto the copper board using a laser printer specific for PCB (check the datasheet).
- Punch the necessary holes with a manual or automatic drilling kit.
- Solder the electronic components onto the board following the layout of the drawn circuit.
- Check the integrity of the circuit using a multimeter tester.
- If necessary, apply a resin or protective paint to isolate the circuit (check the datasheet).
- Test the final functionality with an electrical power supply.
- Optimize the connections and components according to the project requirements.
Mini project
Create a simple RGB lighting circuit controlled by Arduino. Draw the PCB, solder the RGB LEDs and connect the Arduino to manage the brightness.
Common mistakes
- Laser printing not precise
- Drilling in wrong positions
- Weak or uncertain soldering
Recommended accessories
- Manual Drill Kit
- PCB Laser Printer
- Protective Resin for PCB
- PCB Scrap
Frequently asked questions
How can I clean a copper clad board?
Use a specific solvent such as acetone or ethylene dichloride.
What is the ideal temperature for soldering components?
A temperature between 350°C and 400°C is generally sufficient.
Reviews
There are no reviews yet.