 EN
 IT Italiano
 ES Español
 FR Français
 DE Deutsch
Description
Technical Specifications
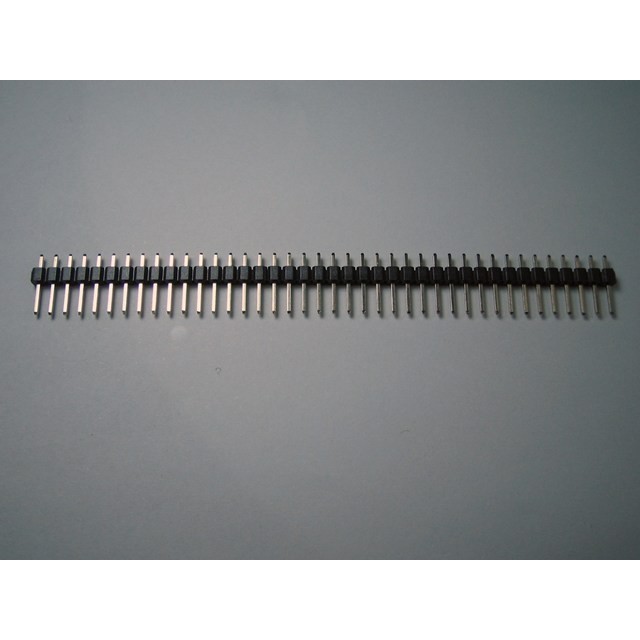
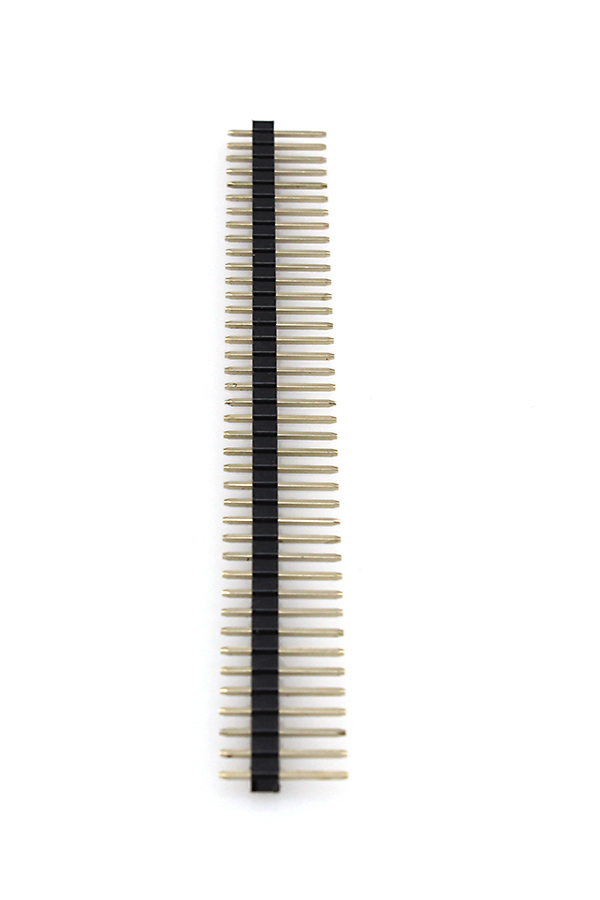
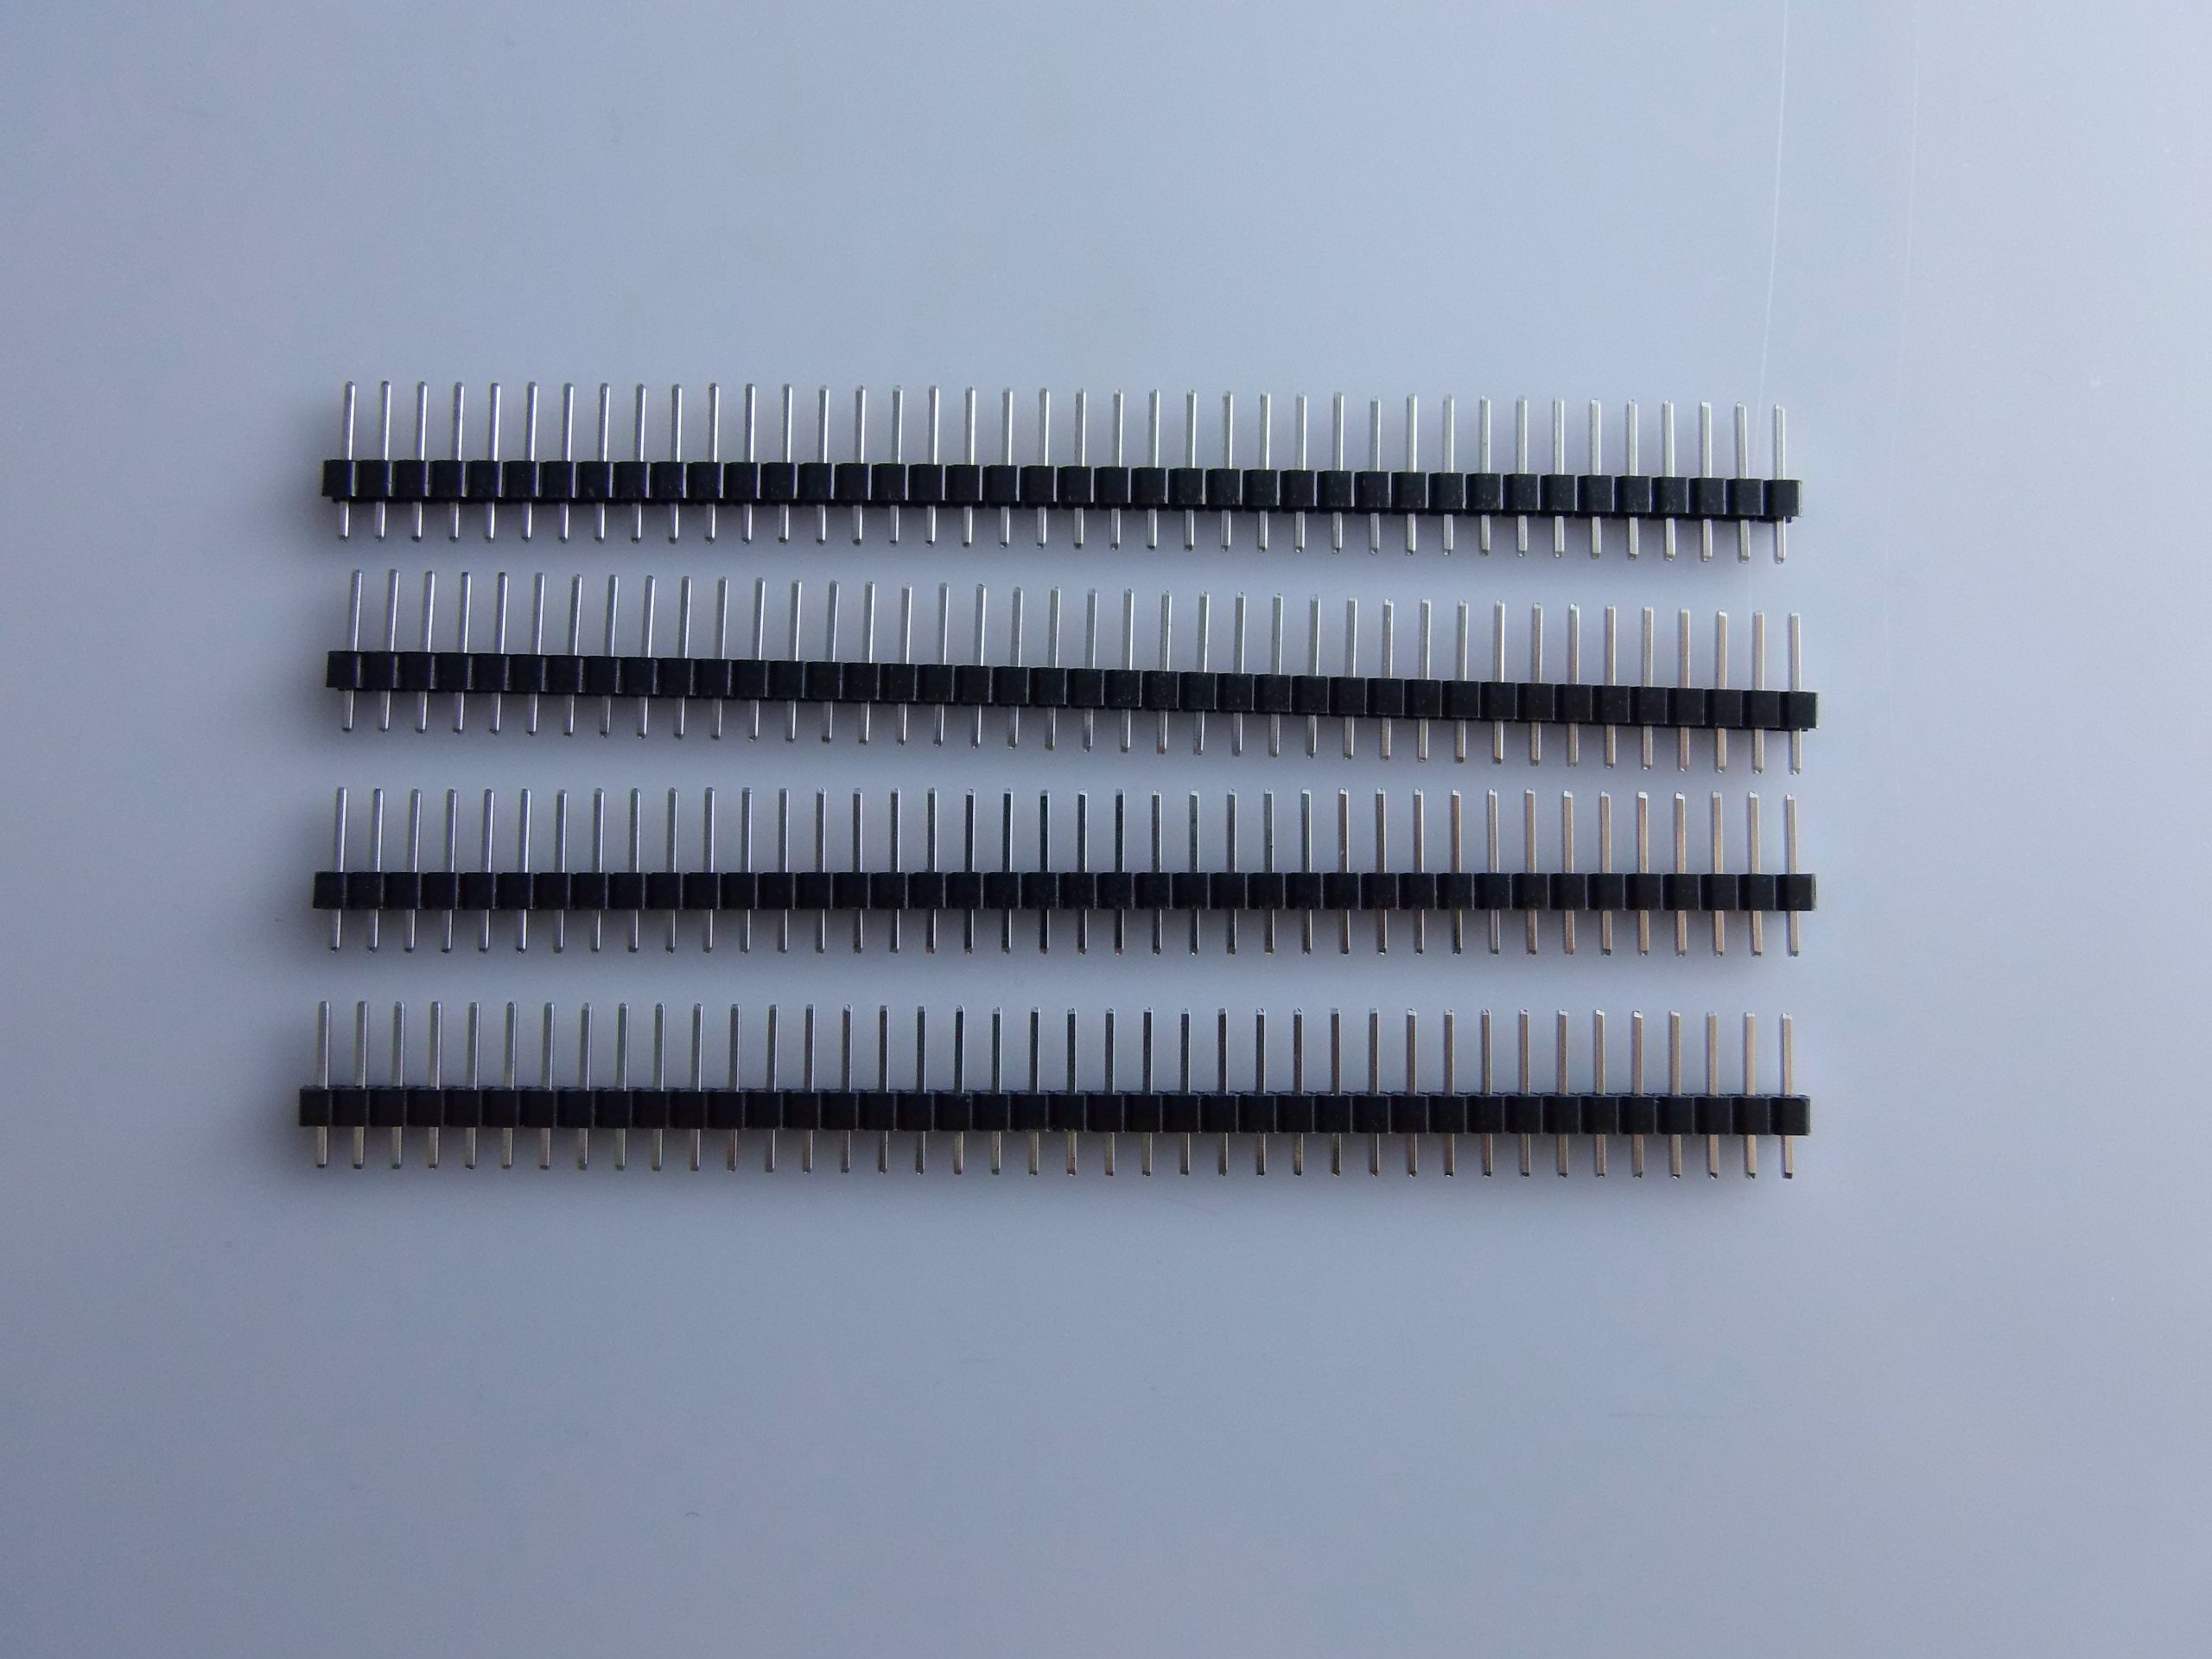
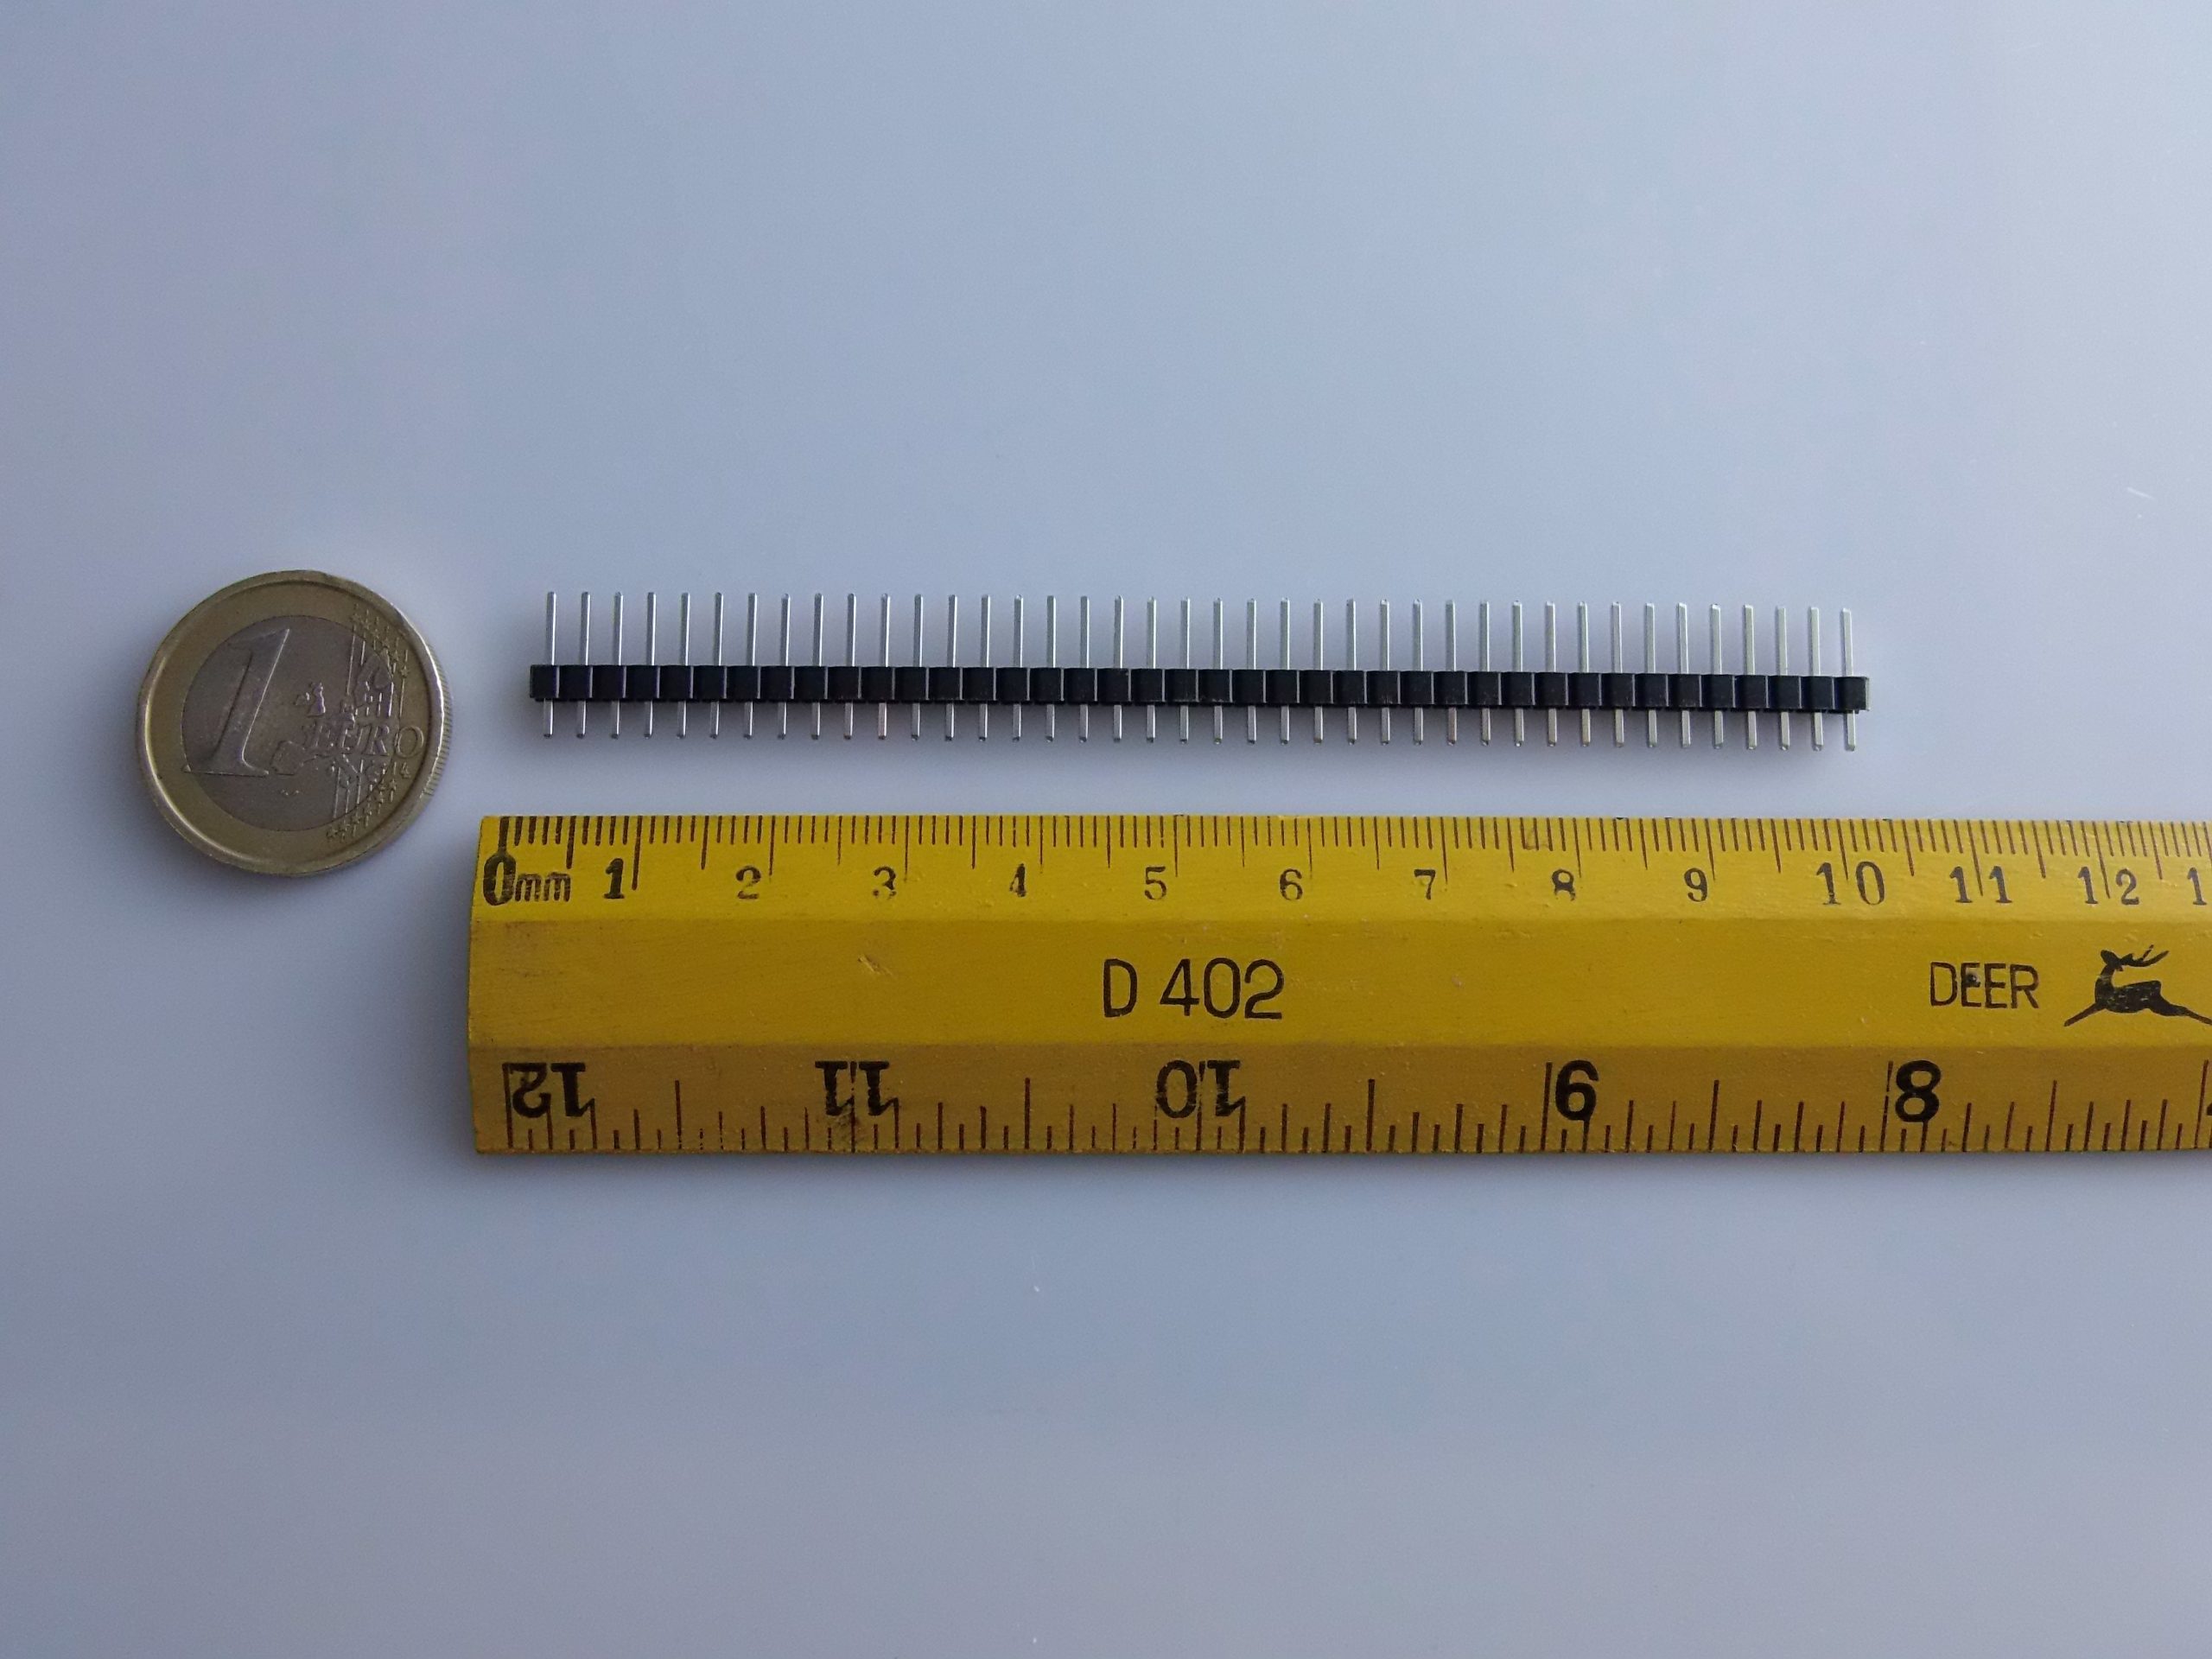
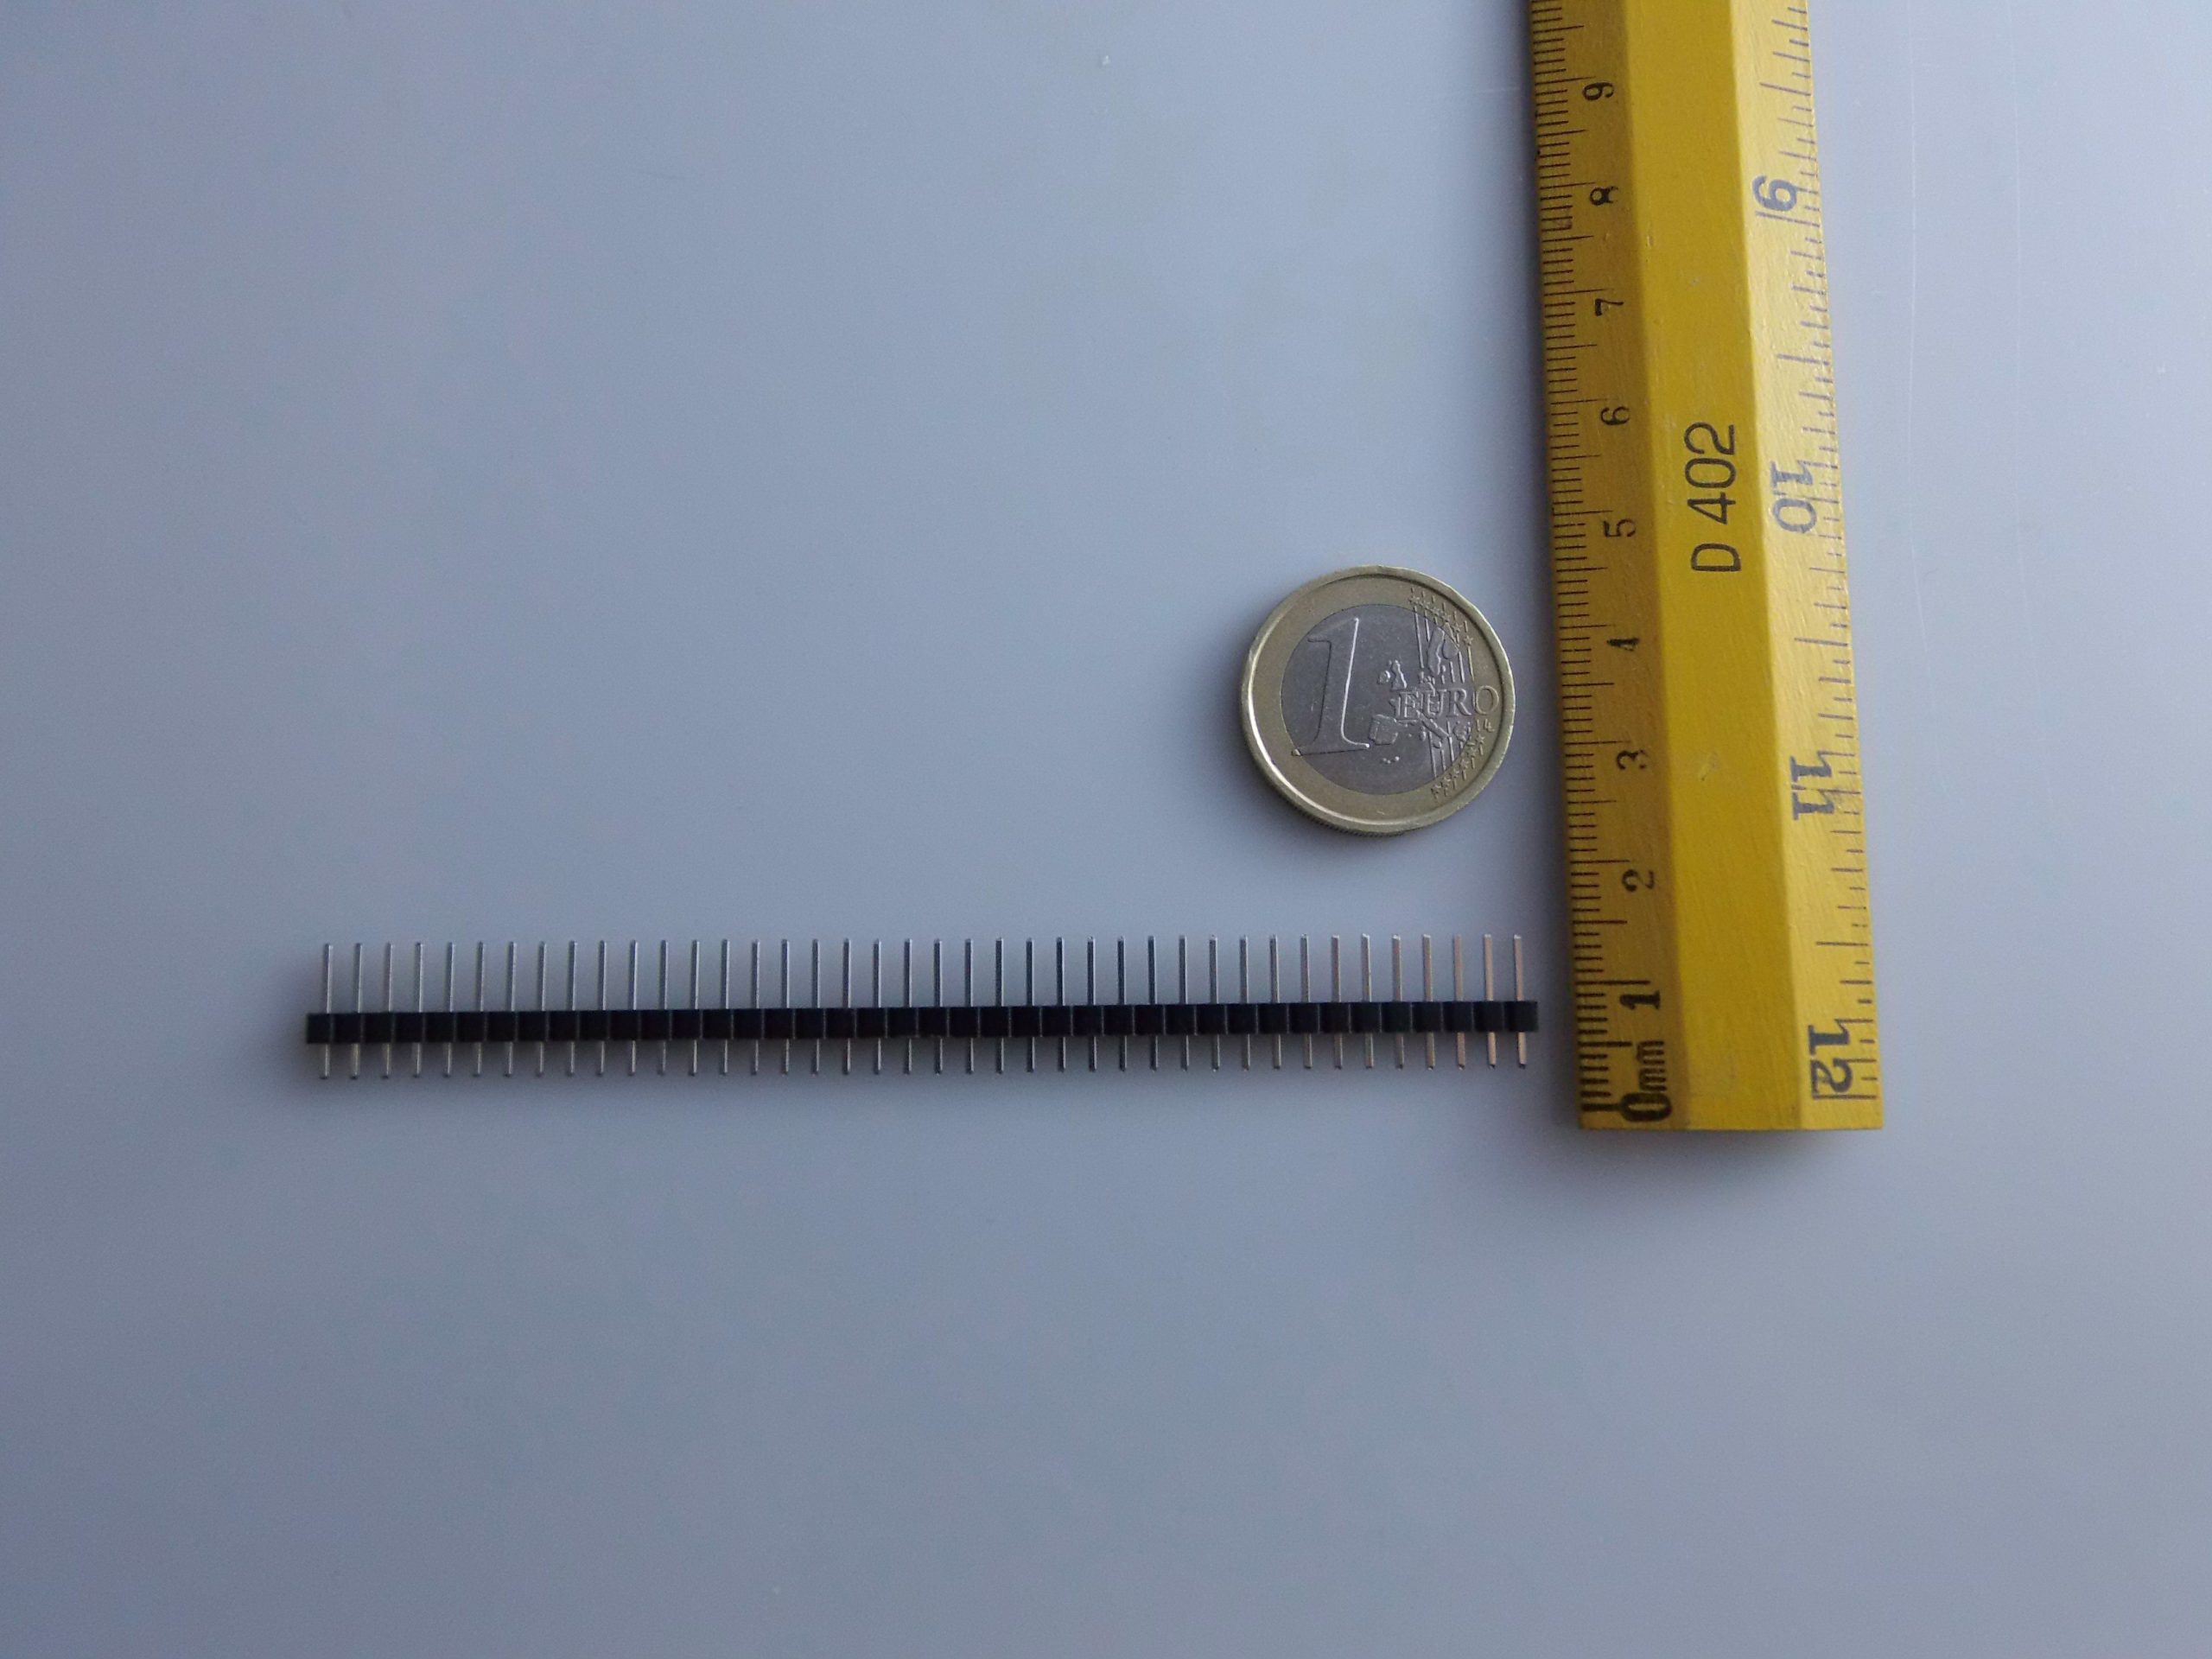
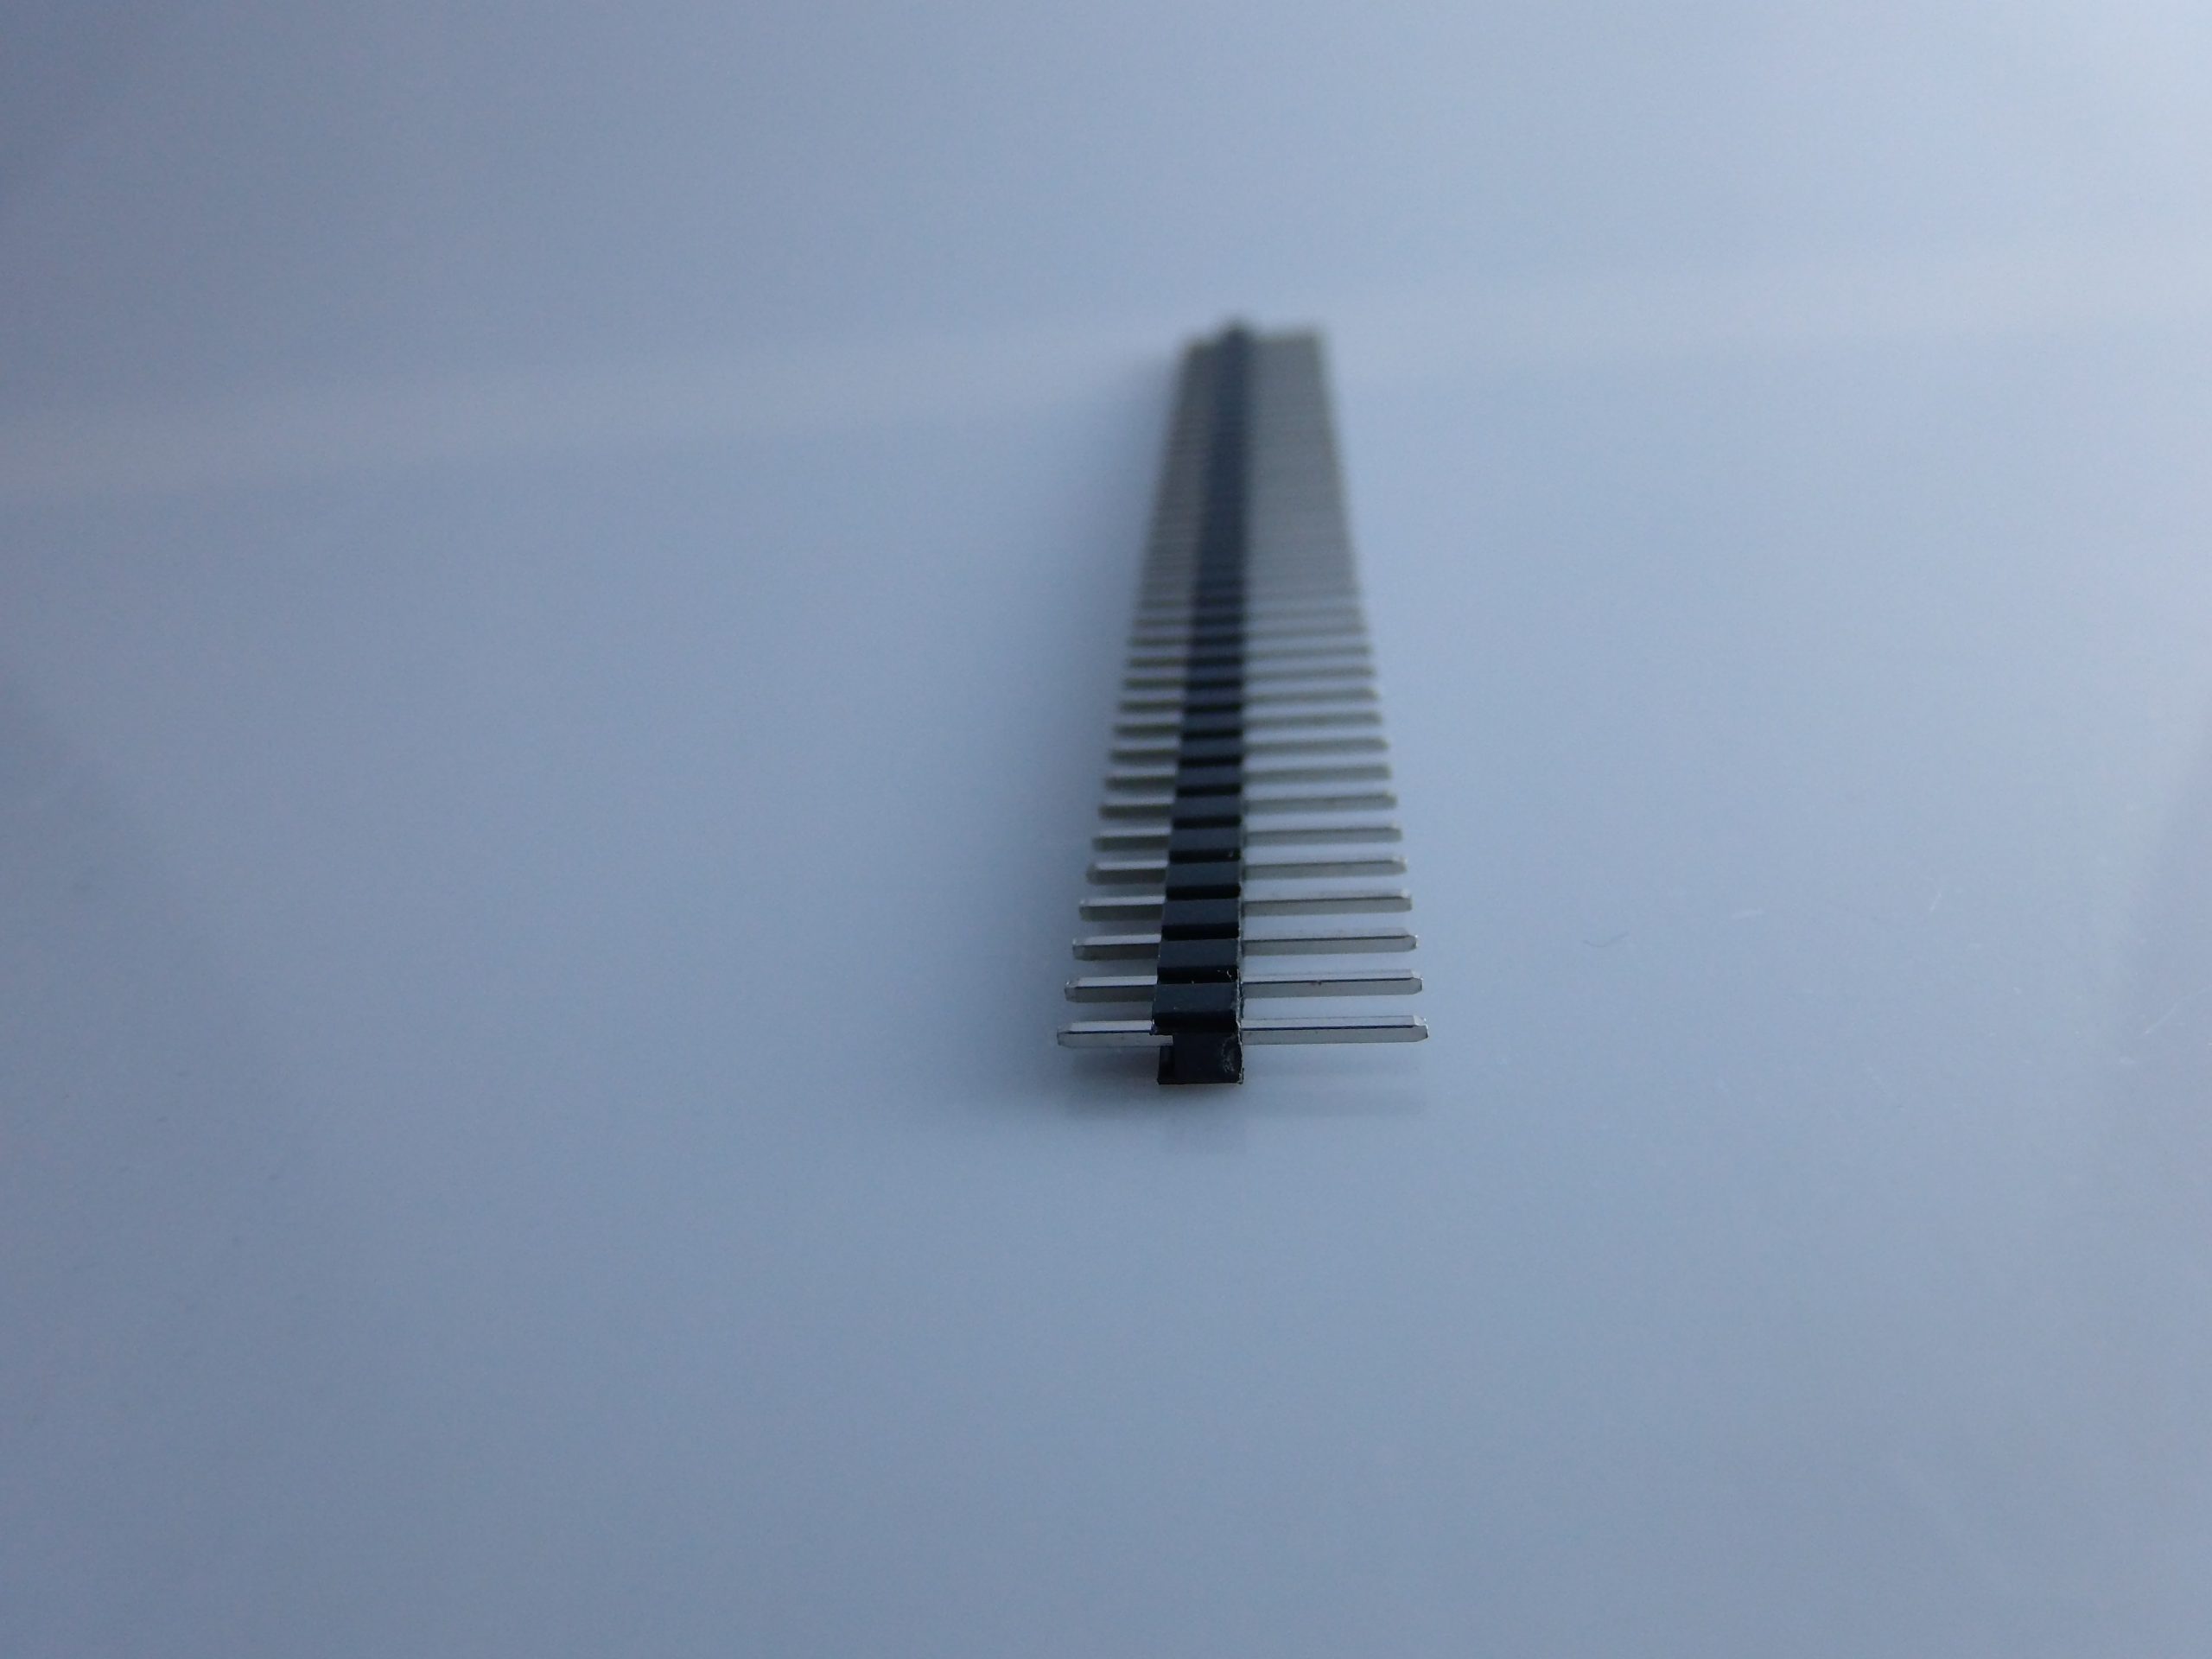
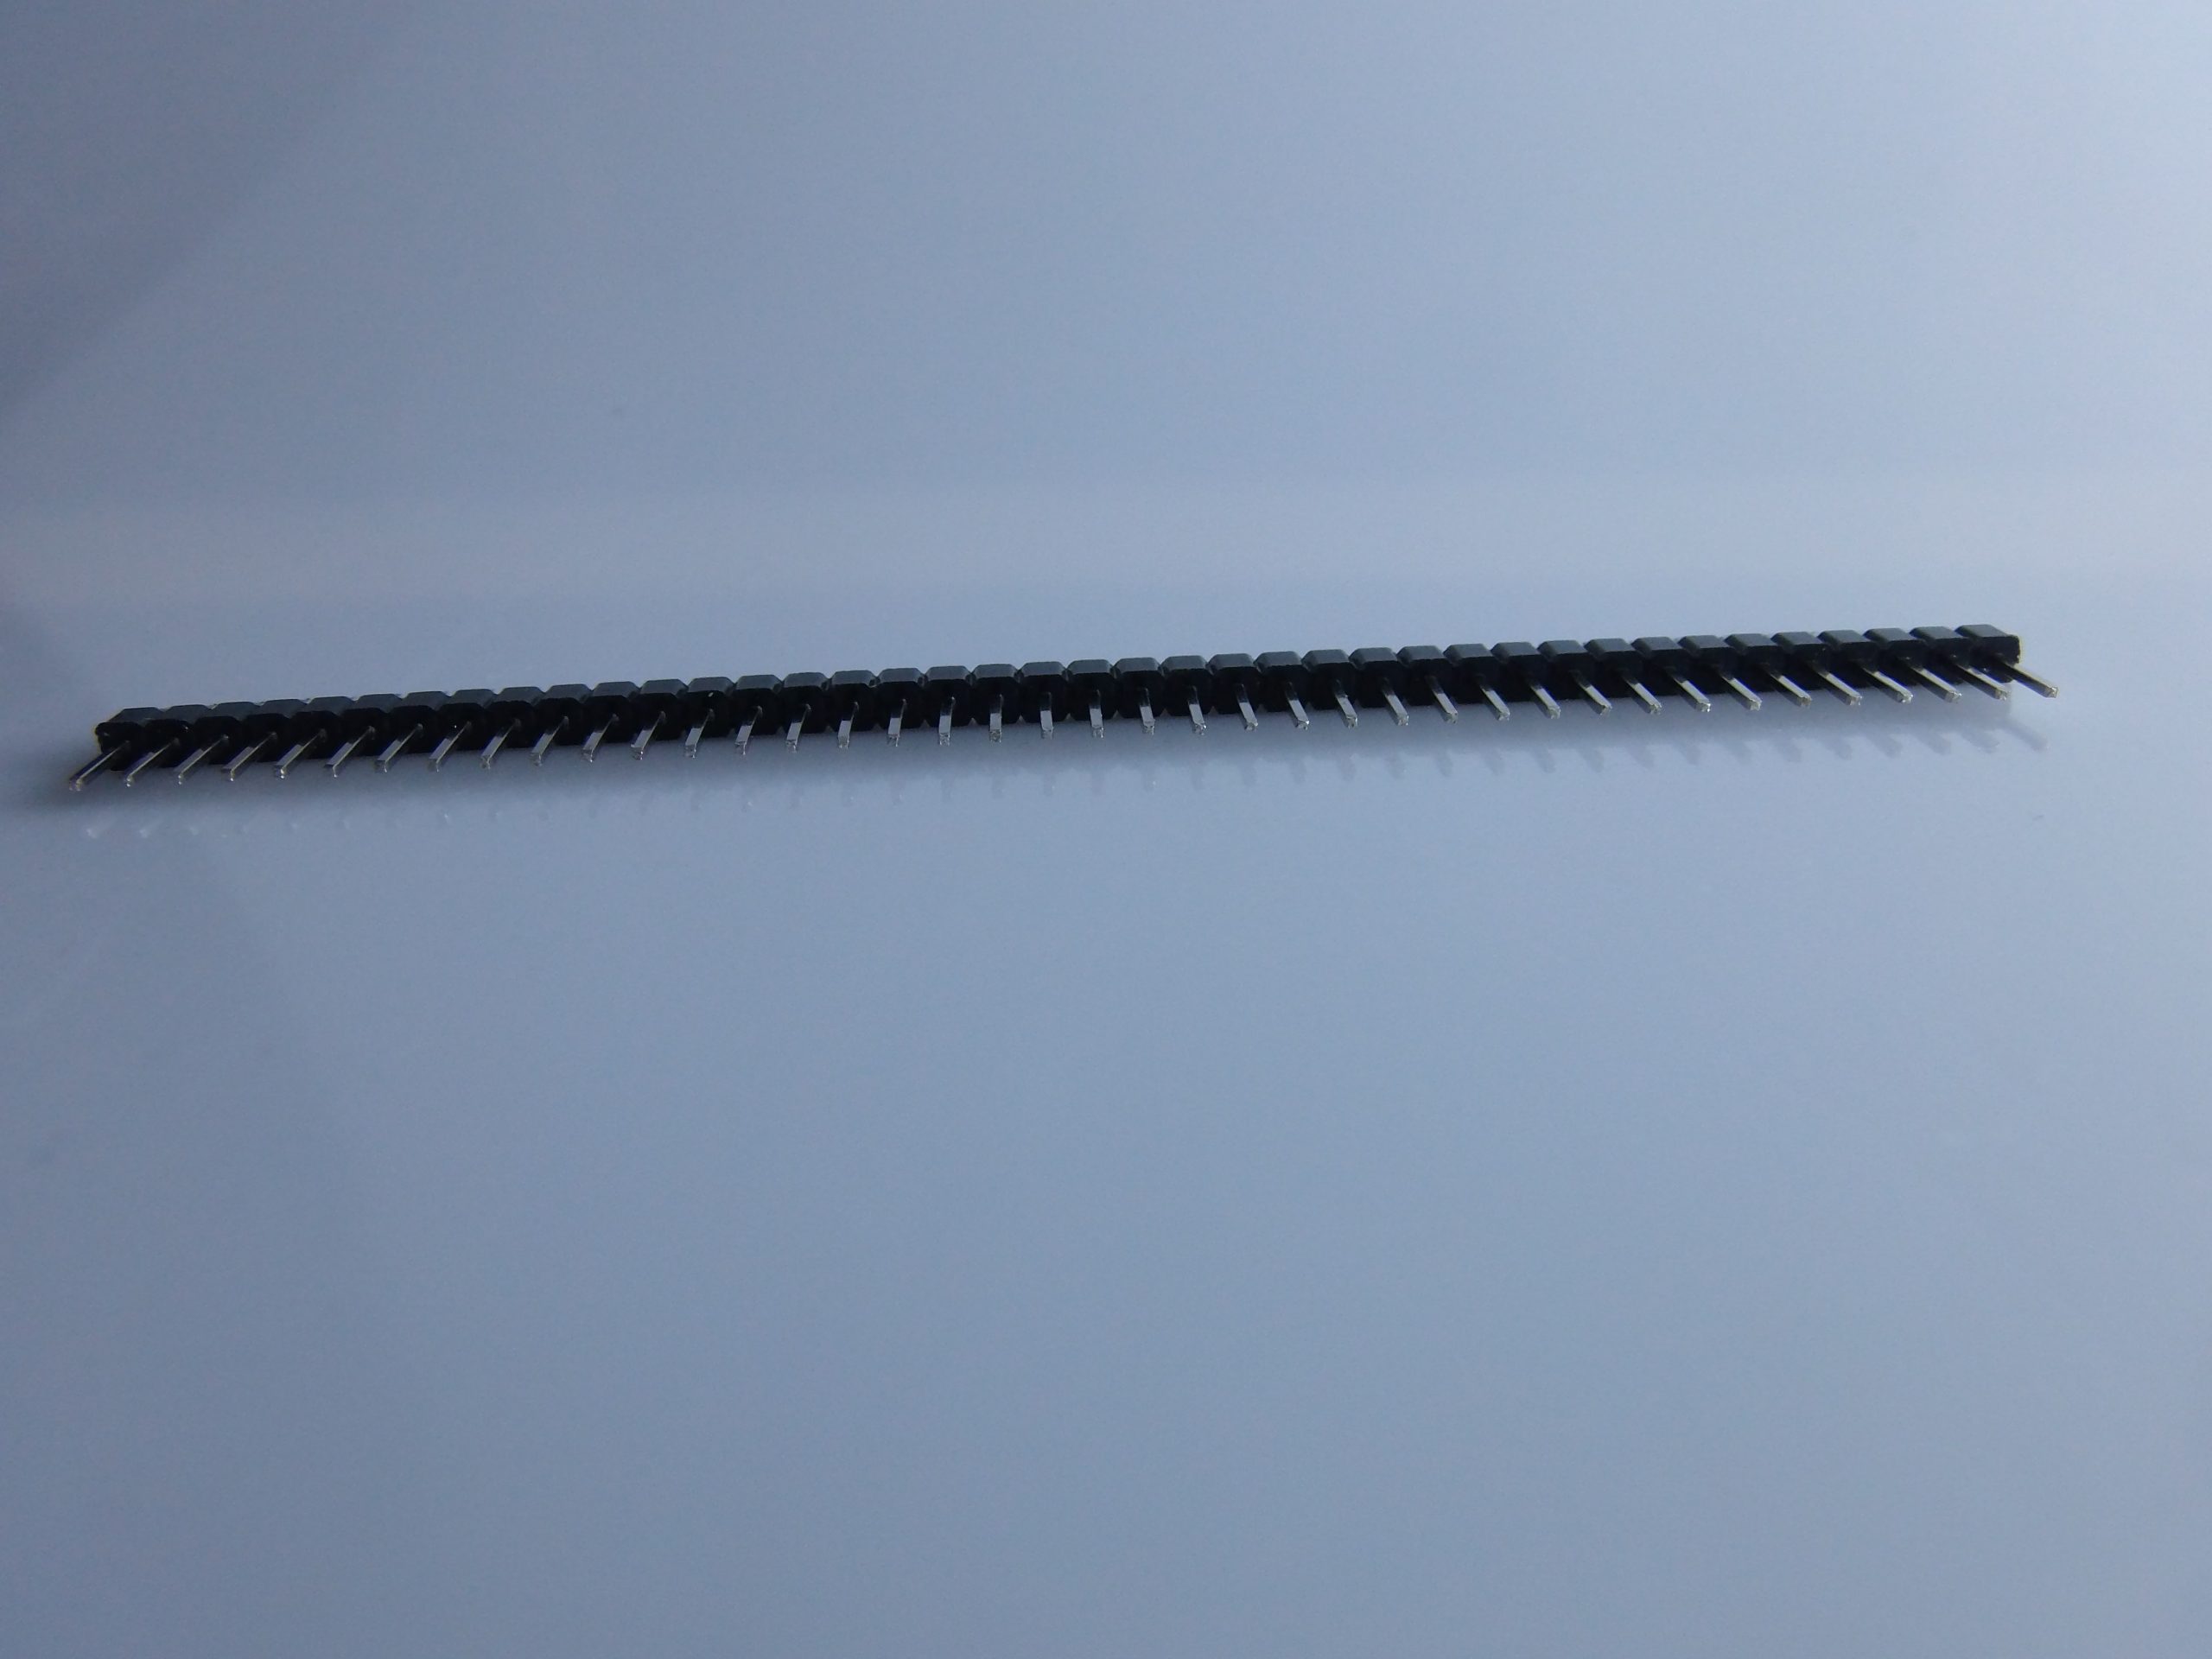
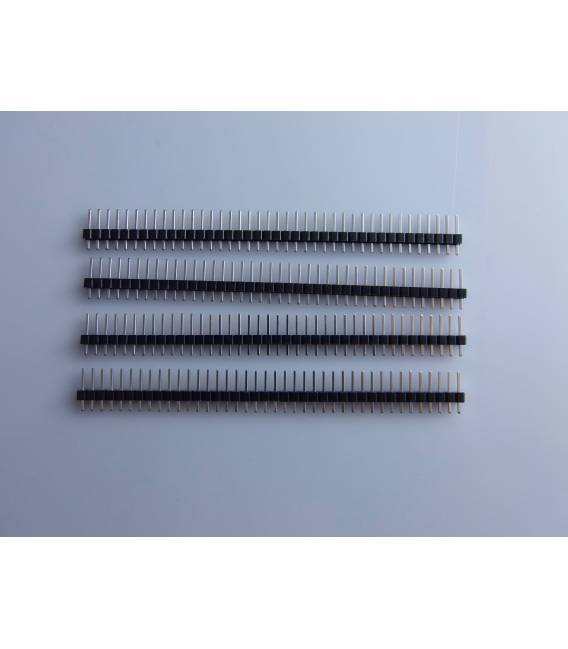
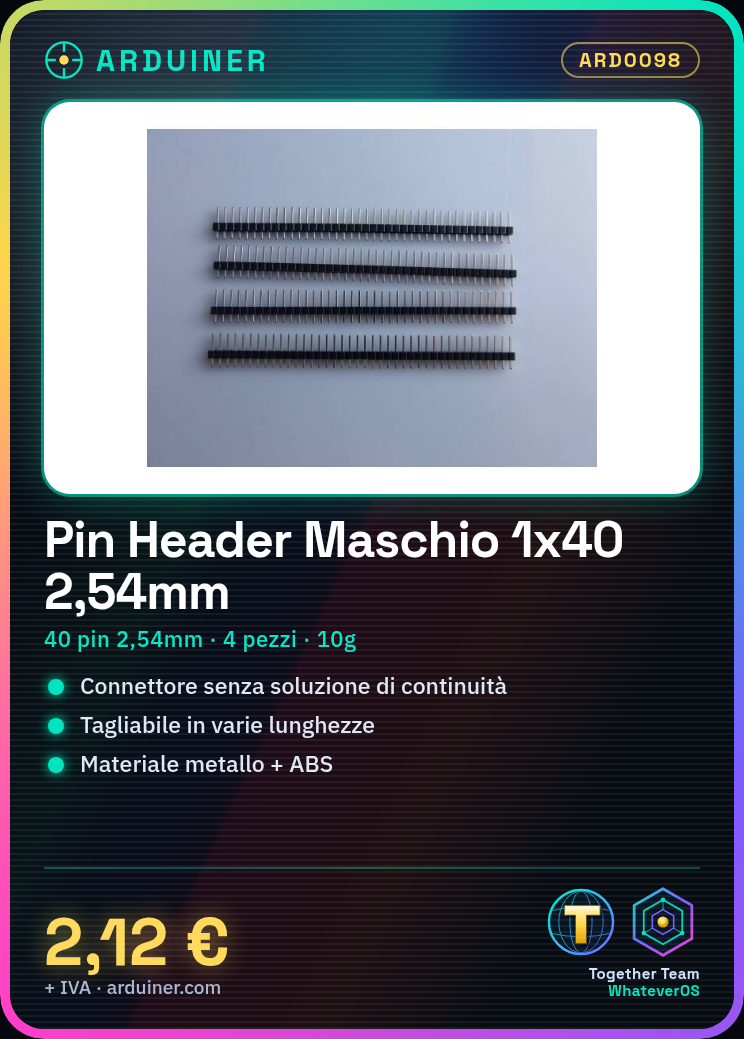
The product in question is a male pin header connector with a 2.54 mm pitch, available in a 1×40 pin configuration. This type of connector is used to connect electronic components on a breadboard or a PCB, allowing for easy connection and disconnection. The pin headers can be cut to different lengths to suit various projects.
Male pin headers are used to connect the Arduino module to expansion slots or other modules. They are essential for beginner and intermediate makers working on prototyping and testing projects.
Compatibility with Arduino and other electronic modules is guaranteed, but it is important to verify the dimensions and pin layout to ensure a proper connection.
Key Specifications
| Parameter | Value |
| Model | Male connector pin |
| Quantity | 4 pieces |
| Dimensions | 10 x 1.2 x 0.5 cm |
| Product weight | 10g |
| Package Weight | 0.155 kg |
| Package Dimensions | 15 x 10 x 2 cm |
| Materials | Metal + abs |
| Voltage | N/D (see manufacturer’s datasheet) |
| Current | N/D (see manufacturer’s datasheet) |
| Interface | Male pin header 1×40 |
| Container | Standard packaging |
Installation and Usage
- Check that the pin headers are suitable for the project (check on the datasheet)
- Insert the pin headers into the breadboard or PCB
- Use wire cutters to bend the ends if necessary
- Connect the Arduino module to the pin headers
- Run an initial test to verify the connection
Compatibility and Requirements
- The product is compatible with Arduino and other electronic modules.
- A breadboard or PCB is required to connect the pin headers.
- For maintenance and prototyping, an electronic connector kit is necessary.
- The pin headers can be used to connect integrated circuits on a PCB.
Limitations and Important Notes
- The pin headers cannot be used directly on integrated circuits without a continuity solution.
- It is important to check the compatibility of the pin size and layout.
- To prevent the pin headers from slipping out of the breadboard, slightly bend the ends.
- Make sure not to insert the pin headers in the wrong direction.
Troubleshooting
The pin headers do not connect properly to the breadboard.
Probable cause: The pin headers were inserted in the wrong direction.
Solution: Remove the pin headers and insert them in the correct direction.
The pin headers slip out of the breadboard.
Probable cause: The ends of the pin headers were not bent correctly.
Solution: Bend the ends of the pin headers slightly to secure them in the breadboard.
The Arduino module does not respond.
Probable cause: The pin headers were not connected properly.
Solution: Check the connection of the pin headers and try again.
The pin headers are damaged.
Probable cause: The pin headers were bent too forcefully.
Solution: Replace the damaged pin headers with new components.
Use cases
Prototyping an electronic circuit.
Objective: Test and verify the functionality of the circuit.
What is needed: Male pin header 1×40.
Steps: 1) Check the compatibility of the pin header with the project. 2) Insert the pin header into the breadboard. 3) Connect the Arduino module to the pin header. 4) Run an initial test.
Expected result: The electronic circuit works correctly.
Maintenance of an integrated circuit.
Objective: Remove and replace an integrated circuit.
What is needed: Male pin header 1×40.
Steps: 1) Check the compatibility of the pin header with the integrated circuit. 2) Insert the pin header into the PCB. 3) Remove the integrated circuit. 4) Replace the integrated circuit. 5) Connect the new integrated circuit to the pin header.
Expected result: The integrated circuit has been replaced correctly.
Test an Arduino module.
Objective: Verify the functionality of the module.
What is needed: Male pin header 1×40.
Steps: 1) Check the compatibility of the pin header with the Arduino module. 2) Insert the pin header into the breadboard. 3) Connect the Arduino module to the pin header. 4) Perform an initial test.
Expected result: The Arduino module works correctly.
Repair of an electronic circuit.
Objective: Repair a damaged circuit.
What’s needed: Male pin header 1×40.
Steps: 1) Check the compatibility of the pin header with the circuit. 2) Insert the pin header into the PCB. 3) Remove the damaged components. 4) Replace the damaged components. 5) Connect the new components to the pin header.
Expected result: The electronic circuit has been repaired correctly.
Automation of an electronic system.
Objective: Connect the system to an Arduino module.
What’s needed: Male pin header 1×40.
Steps: 1) Check the compatibility of the pin header with the system. 2) Insert the pin header into the breadboard. 3) Connect the system to the Arduino module. 4) Run an initial test.
Expected result: The electronic system is correctly connected to the Arduino module.
Testing an integrated circuit.
Objective: To verify the functionality of the integrated circuit.
What you need: Male pin header 1×40.
Steps: 1) Check the compatibility of the pin header with the integrated circuit. 2) Insert the pin header into the PCB. 3) Connect the integrated circuit to the pin header. 4) Run an initial test.
Expected result: The integrated circuit functions correctly.
Maintenance of an Arduino module.
Objective: To remove and replace an Arduino module.
What you need: Male pin header 1×40.
Steps: 1) Check the compatibility of the pin header with the Arduino module. 2) Insert the pin header into the breadboard. 3) Remove the Arduino module. 4) Replace the Arduino module. 5) Connect the new Arduino module to the pin header.
Expected result: The Arduino module has been replaced correctly.
Electronic system repair.
Objective: To repair a damaged system.
What you need: Male pin header 1×40.
Steps: 1) Check the compatibility of the pin header with the system. 2) Insert the pin header into the PCB. 3) Remove the damaged components. 4) Replace the damaged components. 5) Connect the new components to the pin header.
Expected result: The electronic system has been repaired correctly.
In the package
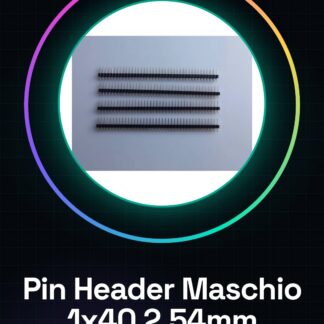
- 4 pieces Male Pin Header 2.54 1*40 Arduino
Complete the project
- 6 Pieces Bent Header Pin Male 2.54 1*40: For prototyping electronic circuits.
- 4 Pieces Blue 1*40 2.54 Gold Plated Copper Male Pin Header: For maintenance and repair of modules and integrated circuits.
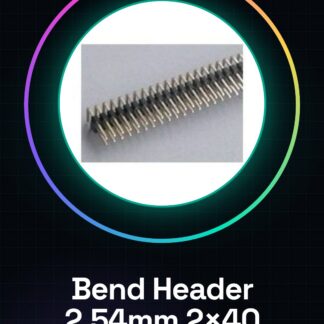
- 4 Pieces Male Header Pin 2.54 2*40: For testing electronic components on a breadboard.
Technical FAQs
Can pin headers be used with other modules?
Yes, but check the dimensions and pin layout.
How can I prevent pin headers from slipping out of the breadboard?
Slightly bend the ends to secure them.
What are the usage limitations of pin headers?
Pin headers cannot be used directly on integrated circuits without a continuity solution.
What are the steps to connect an Arduino module to pin headers?
Check the pin header compatibility with the Arduino module, insert the pin headers into the breadboard and connect the Arduino module to the pin headers.
Tutorial: How to Use Male Pin Header 1×40
Pin headers are essential for connecting your Arduino to expansion slots or other modules. Useful for beginner and intermediate makers.
What you need
- Arduino
- Breadboard
- Wire stripper
Steps
- Check that the pin headers are suitable for your project (check the datasheet)
- Insert the pin headers into the breadboard or PCB
- Use a wire stripper to bend the ends if necessary
- Connect the Arduino module to the pin headers
Mini project
Create a simple circuit with an LED and resistors using the pin headers
Common mistakes
- Inserting the pin headers in the wrong direction
- Not bending the ends of the pin headers correctly
Recommended accessories
- Breadboard
- Connection wires
- Wire stripper
Frequently asked questions
Can pin headers be used with other modules?
Yes, but check the dimensions and pin layout
How can I prevent the pin headers from slipping out of the breadboard?
Slightly bend the ends to lock them in place
Reviews
There are no reviews yet.