 EN
 IT Italiano
 ES Español
 FR Français
 DE Deutsch

Description
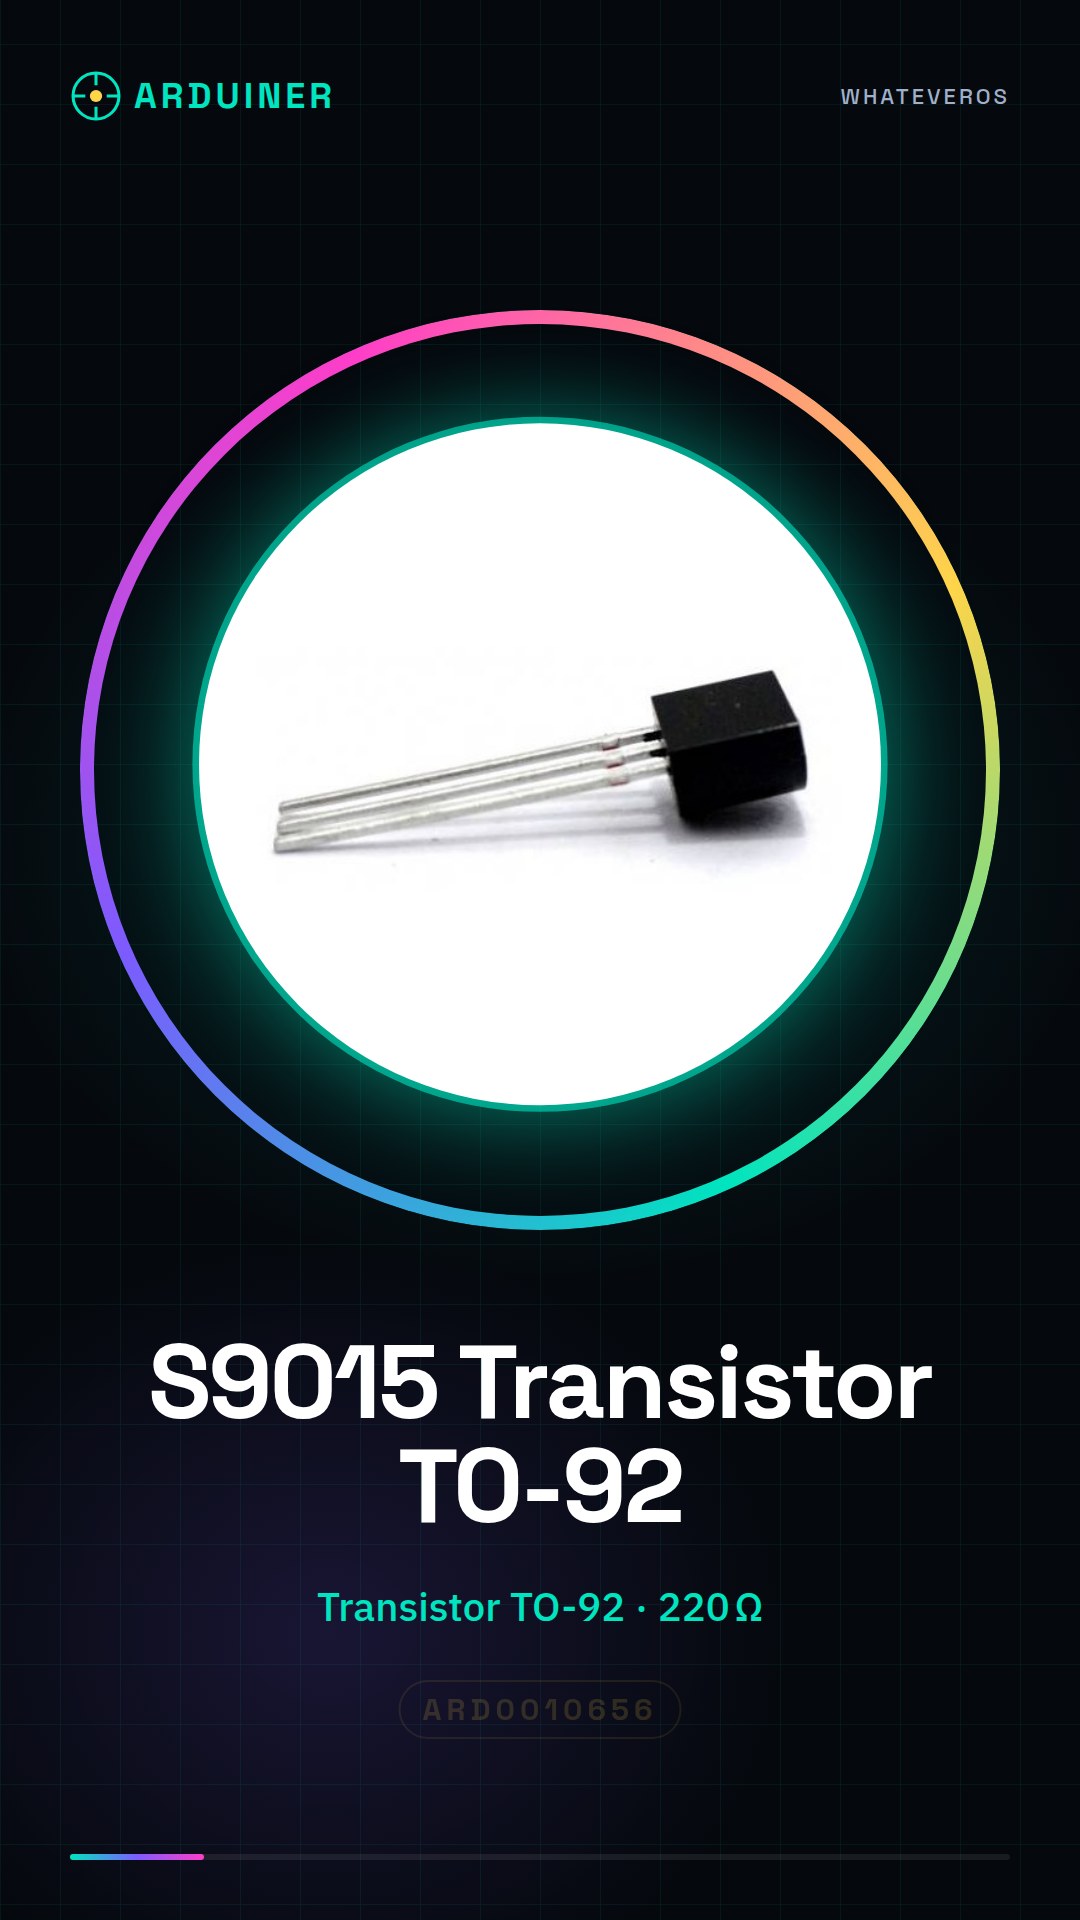
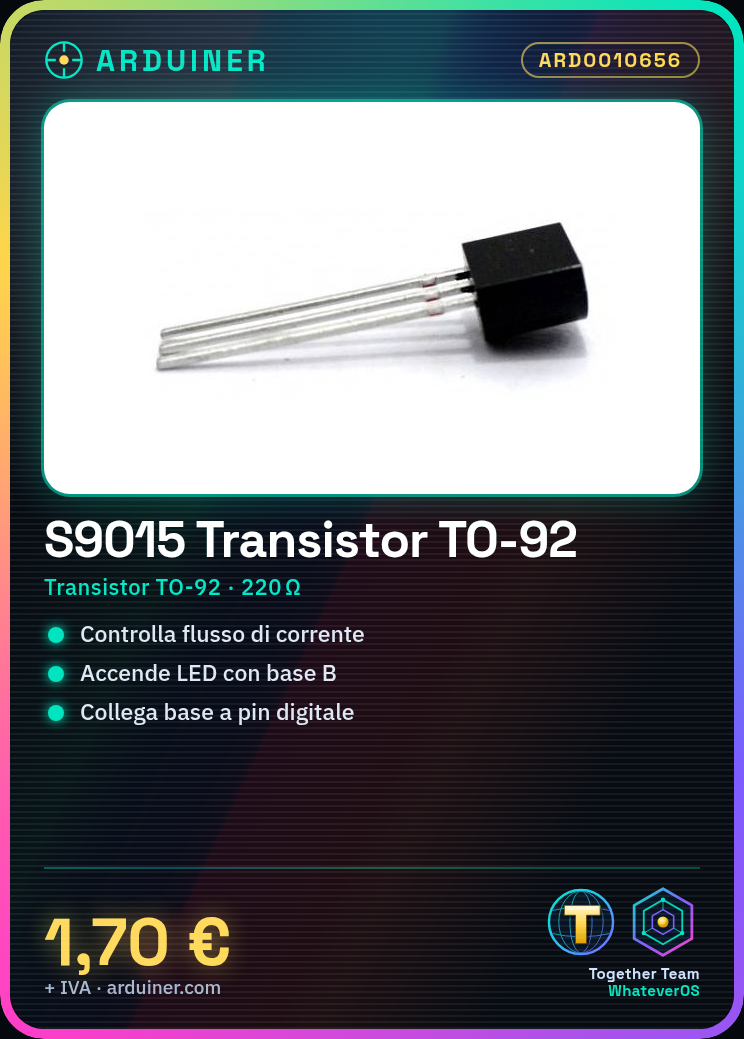
S9015 Transistor TO-92 IC Integrated Circuits
Tutorial: How to Use S9015 Transistor TO-92
The S9015 transistor is a fundamental component for those venturing into the world of electronics. It is primarily used to control the flow of electrical current in circuits, making it ideal for projects that require the activation of devices such as LEDs or motors.
What you need
- Arduino Uno
- LED
- 220 Ohm Resistor
- Connectors
- Double Insulated Wire
Steps
- Connect one end of the resistor to a digital pin on the Arduino and the other end to the base (B) pin of the S9015 transistor.
- Connect the emitter (E) pin of the transistor to the ground of the Arduino.
- Connect the positive side of the LED to the emitter (E) of the transistor through another resistor (check the datasheet for the correct resistor value).
- Connect the collector (C) pin of the transistor to the positive terminal of the power supply.
- Connect the other LED lead to the Arduino ground.
Example code
void setup() {
  pinMode(2, OUTPUT);
}

void loop() {
  digitalWrite(2, HIGH);
  delay(1000);
  digitalWrite(2, LOW);
  delay(1000);
}
Mini project
Create a simple alarm system that turns on an LED when triggered by a motion detector. Use the S9015 transistor to control the LED.
Common mistakes
- Incorrect pin connection of the transistor
- Incorrect resistor value
- LED polarity connected backwards
- Insufficient power supply
Recommended accessories
- PIR motion sensor
- Buzzer
- Relay for Arduino
- Light sensors LDR
Frequently asked questions
Can the S9015 transistor be used with other microcontrollers?
Yes, the S9015 is compatible with most microcontrollers such as ESP32 or Raspberry Pi.
What are the advantages of using a transistor over a relay?
The transistor has low energy dissipation and can be faster in commands, but the relay is better for controlling high voltage circuits.

Reviews
There are no reviews yet.