 EN
 IT Italiano
 ES Español
 FR Français
 DE Deutsch
Description
What it is
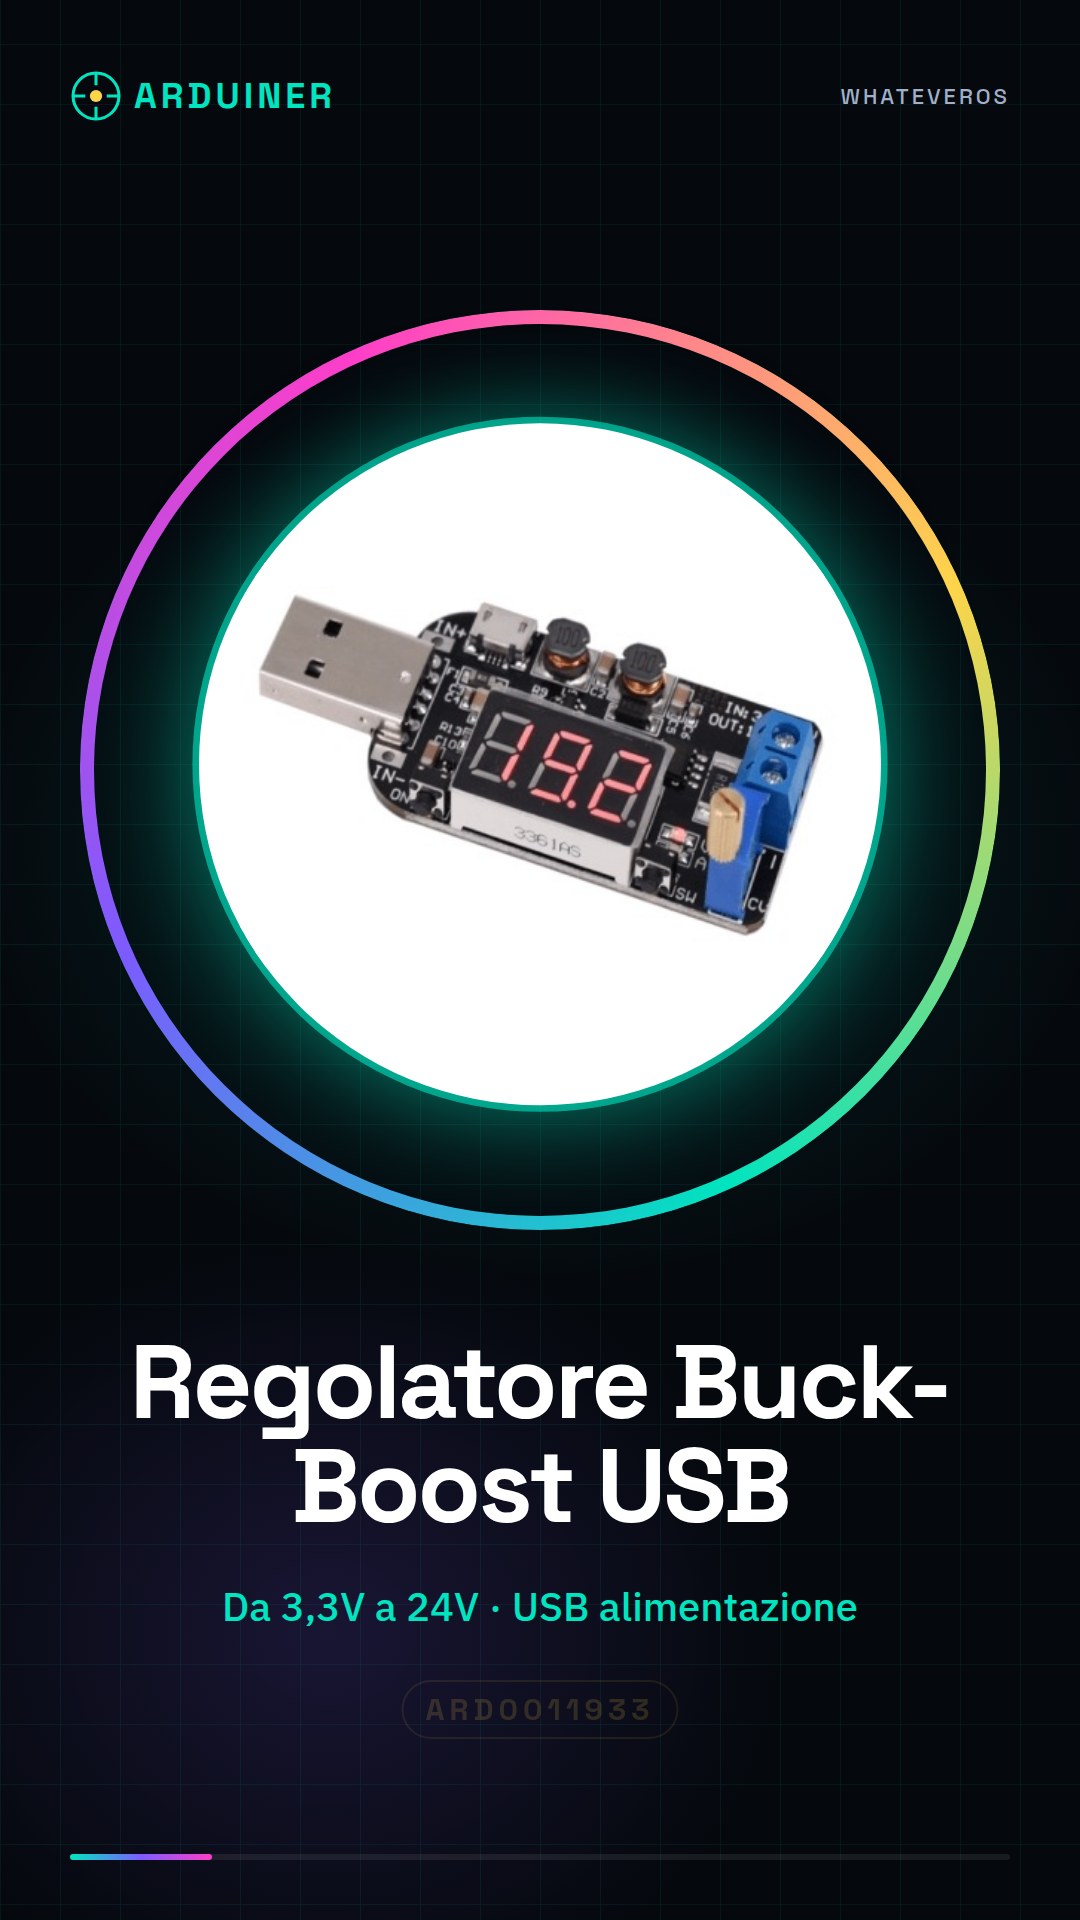
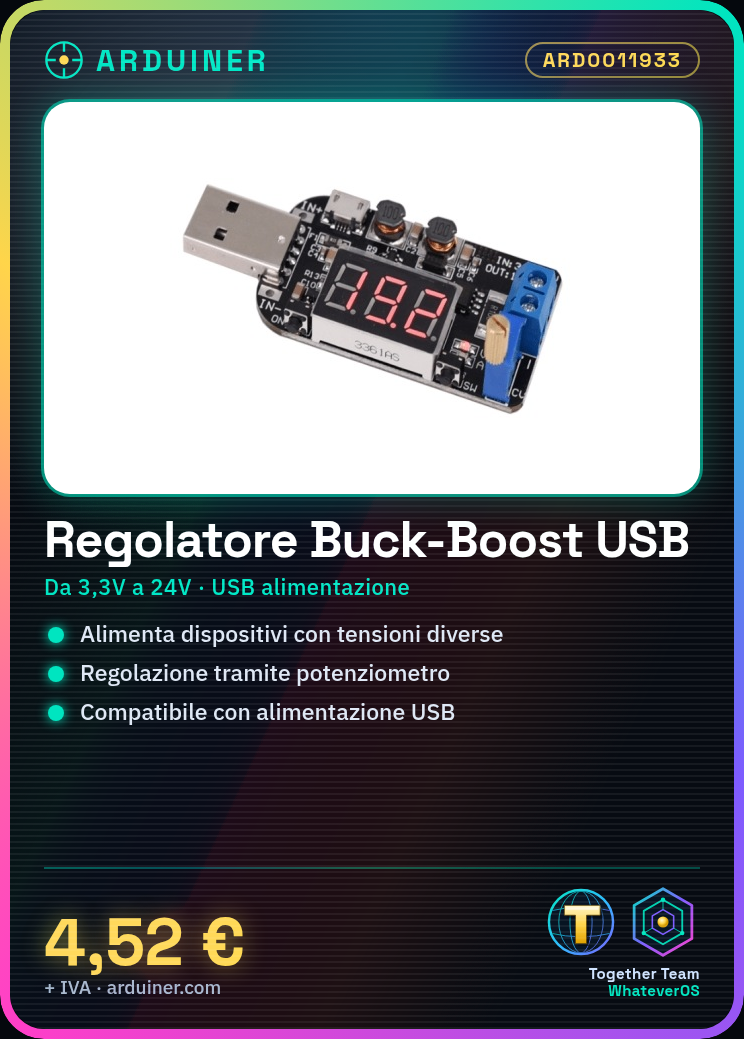
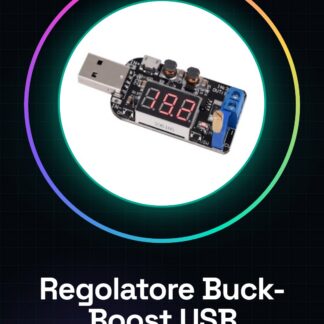
The DPL buck-boost voltage regulator module is an electronic component that allows the conversion of the power supply voltage. It can increase or decrease the input voltage to achieve the desired output. It is adjustable via a potentiometer.
Features
- Voltage conversion buck-boost
- Adjustable via potentiometer
- USB power supply
- Adjustable output from 3.3V to 24V
- Current: check the datasheet
What it is for
This module is useful for powering electronic devices with different voltages. For example, it can be used to power an Arduino or an ESP32 with a voltage different from the standard 5V. It can also be used in DIY projects that require flexible voltage conversion, such as LED projectors or power supplies for electronic devices.
Tutorial: How to use DPL Buck-Boost Voltage Regulator Module
The DPL voltage regulator module is an essential component for projects requiring flexible voltage conversion, both from low to high and vice versa. It is ideal for beginner and intermediate makers who want to power devices with different voltages without complications.
What you need
- DPL Voltage Regulator Module
- Arduino Uno or compatible
- USB connection (for power supply)
- Capacitors
- Cables to connect
Steps
- Connect the module to the power supply through the VIN and GND pins.
- Connect the module’s output to the device requiring a regulated voltage using the VOUT and GND pins.
- Check the desired voltage in the module’s datasheet to correctly set the output voltage.
- If necessary, connect a capacitor between VIN and GND to improve power supply stability.
- Connect the control pins to the Arduino microcontroller following the documentation provided by the manufacturer.
- Write the Arduino sketch to adjust the output voltage if necessary.
- Test the module output with a multimeter to ensure it matches the desired voltage.
- Monitor the temperature during use and verify that it does not exceed safety limits.
Example code
void setup() {
  // Imposta il voltaggio di uscita (esempio: 3.3V)
  analogWrite(OUTPUT_PIN, desiredVoltage);
}

void loop() {}
Mini project
Create a portable LED projector with adjustable battery and USB power supply.
Common mistakes
- Set the output voltage above the maximum allowed limit.
- Omit the capacitors necessary for power supply stability.
- Connect the Arduino directly to the module output without protection.
- Do not regularly check the temperature during intensive use.
Recommended accessories
- Electrolytic capacitors
- Universal connection cables
- Digital multimeter
- Arduino Uno or compatible
Frequently asked questions
Q: How can I adjust the output voltage?
Follow the datasheet instructions to connect the control pins to the microcontroller and write the appropriate Arduino sketch.
Q: Can I use this module with batteries?
Yes, but make sure the battery voltage is within the limits specified in the module’s datasheet.
Reviews
There are no reviews yet.