 EN
 IT Italiano
 ES Español
 FR Français
 DE Deutsch
Description
Technical Specifications
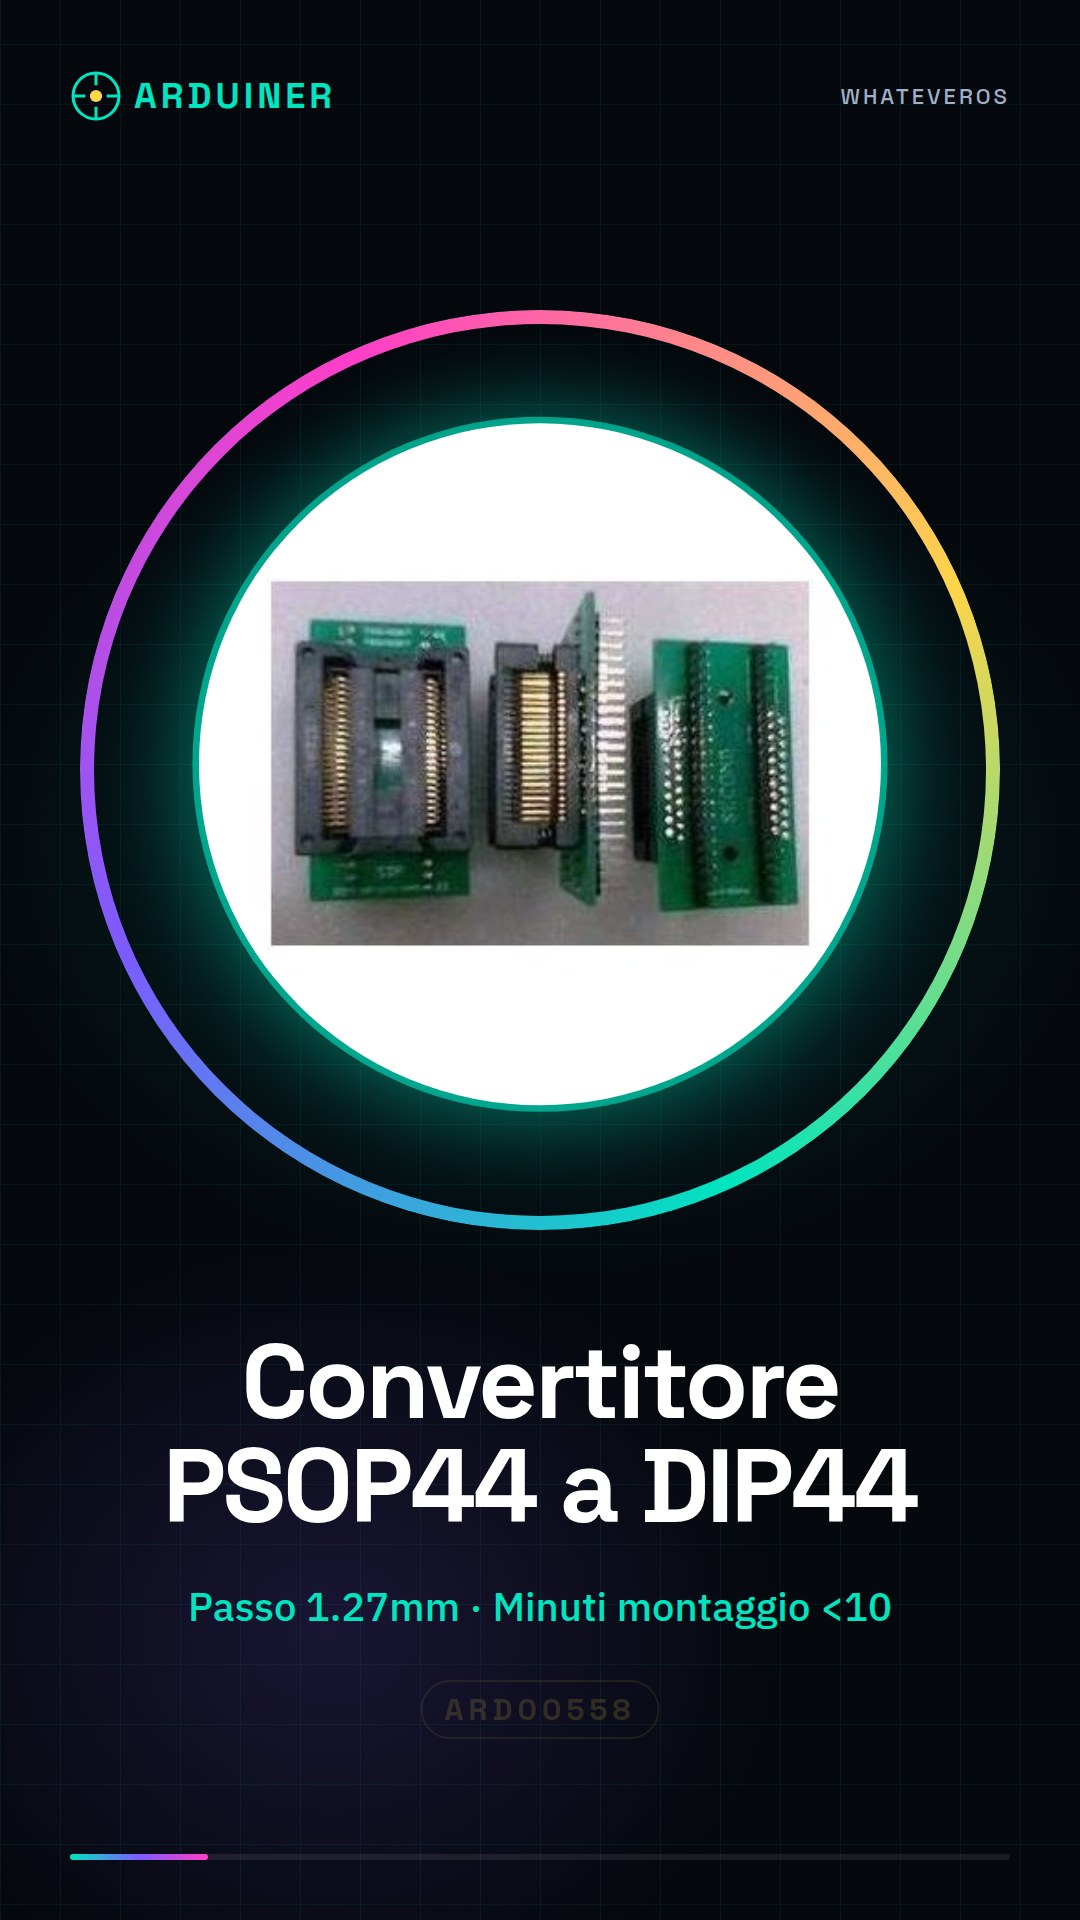
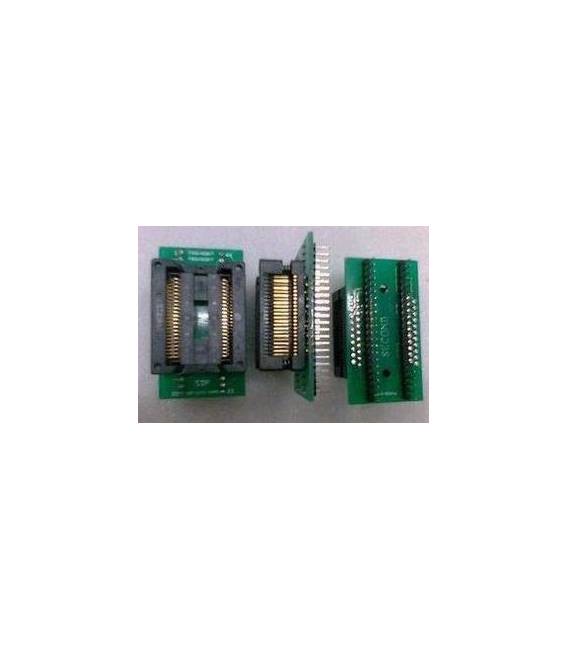
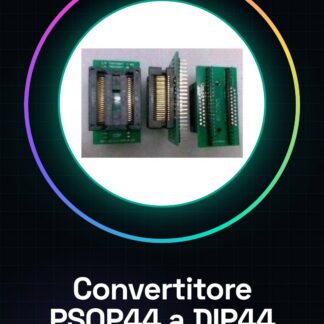
The PSOP44 to DIP44 adapter, with 1.27mm pitch, is a component used to facilitate the use of PSOP44 components on DIP44 sockets. This tool allows connecting PSOP44 format electronic components to circuits that require a DIP44 format, maintaining compatibility and simplifying prototyping and maintenance.
The adapter functions as a physical bridge between the two socket formats, allowing the use of PSOP44 components on DIP44 sockets without having to modify the component or the circuit. It is particularly useful for electronics projects and prototypes that require maximum flexibility in component selection.
To use the adapter converter, it is necessary to verify the compatibility of the PSOP44 component with the DIP44 socket and ensure that the pin pitch is correct (1.27mm). Additionally, it is important to verify that all pins are correctly connected and to test the circuit to ensure proper operation.
Key Specifications
| Parameter | Value |
| Model | PSOP44 to DIP44 Adapter Converter |
| Pin Pitch | 1.27mm |
| Number of Pins | 44 |
| Interface | PSOP44 to DIP44 |
| Package | N/D (see manufacturer’s datasheet) |
Installation and Usage
- Verify the component PSOP44 dimensions on the datasheet.
- Connect the PSOP44 component to the adapter converter.
- Insert the adapter converter into the DIP44 socket.
- Check the pin position to ensure proper connection.
- Test the circuit to ensure it works correctly.
Compatibility and Requirements
- The adapter converter is compatible with PSOP44 components and DIP44 sockets.
- It is necessary to use PSOP44 components and DIP44 sockets with a 1.27mm pitch.
- To use the adapter converter, you need to have a PSOP44 component and a DIP44 socket available.
Limitations and Important Notes
- The adapter converter cannot change the function of the PSOP44 component.
- It is important to check the compatibility of the PSOP44 component with the DIP44 socket before using the adapter converter.
- Make sure the pin pitch is correct (1.27mm) to avoid damage to the component or socket.
- The adapter converter does not provide power to the PSOP44 component.
Troubleshooting
The PSOP44 component is not recognized by the circuit.
Probable cause: Incorrect pin connection.
Solution: Check the pin positions and correctly reconnect the PSOP44 component to the adapter converter.
The circuit does not work properly.
Probable cause: Omission of circuit testing.
Solution: Test the circuit to ensure all connections are correct and that the PSOP44 component is functioning properly.
The PSOP44 component overheats.
Probable cause: Omission of current limiting resistor.
Solution: Add a current limiting resistor between the PSOP44 component and the power supply.
The adapter converter does not connect properly to the DIP44 socket.
Probable cause: Incorrect pin spacing.
Solution: Check that the pin spacing is 1.27mm and correctly reconnect the adapter converter.
Use cases
Garage parking sensor
Objective: To create an alarm system for the garage parking area.
What is needed: PSOP44 to DIP44 adapter converter, distance sensors, control circuit.
Steps: 1) Verify the compatibility of the distance sensor with the adapter converter. 2) Connect the distance sensor to the adapter converter. 3) Insert the adapter converter into the control circuit. 4) Test the system to ensure it works correctly.
Expected result: The garage parking area alarm system functions correctly.
Laboratory temperature control system
Objective: To monitor the temperature of the laboratory.
What is needed: PSOP44 to DIP44 adapter converter, temperature sensor, control circuit.
Steps: 1) Verify the compatibility of the temperature sensor with the adapter converter. 2) Connect the temperature sensor to the adapter converter. 3) Insert the adapter converter into the control circuit. 4) Test the system to ensure it works correctly.
Expected result: The laboratory temperature monitoring system works correctly.
Home lighting circuit
Objective: To create a lighting system controlled by a motion sensor.
What is needed: PSOP44 to DIP44 adapter converter, motion sensors, control circuit.
Steps: 1) Verify the compatibility of the motion sensor with the adapter converter. 2) Connect the motion sensor to the adapter converter. 3) Insert the adapter converter into the control circuit. 4) Test the system to ensure it works correctly.
Expected result: The motion-controlled lighting system works correctly.
School prototyping project
Objective: To create a prototype of an electronic circuit.
What is needed: Adapter converter from PSOP44 to DIP44, electronic components, control circuit.
Steps: 1) Verify the compatibility of the electronic components with the adapter converter. 2) Connect the electronic components to the adapter converter. 3) Insert the adapter converter into the control circuit. 4) Test the prototype to ensure it works correctly.
Expected result: The electronic circuit prototype works correctly.
Office security system
Objective: Monitor office access.
What’s needed: PSOP44 to DIP44 adapter converter, access sensors, control circuit.
Steps: 1) Verify the compatibility of the access sensors with the adapter converter. 2) Connect the access sensors to the adapter converter. 3) Insert the adapter converter into the control circuit. 4) Test the system to ensure it works correctly.
Expected result: The office security system works correctly.
Humidity control circuit for the garden
Objective: Monitor soil moisture.
What’s needed: PSOP44 to DIP44 adapter converter, humidity sensors, control circuit.
Steps: 1) Verify the compatibility of the moisture sensors with the adapter converter. 2) Connect the moisture sensors to the adapter converter. 3) Insert the adapter converter into the control circuit. 4) Test the system to ensure it works correctly.
Expected result: The soil moisture monitoring system works correctly.
Hobby prototyping project
Objective: To create a hobby electronic circuit prototype.
What is needed: Adapter converter from PSOP44 to DIP44, electronic components, control circuit.
Steps: 1) Verify the compatibility of the electronic components with the adapter converter. 2) Connect the electronic components to the adapter converter. 3) Insert the adapter converter into the control circuit. 4) Test the prototype to ensure it works correctly.
Expected Result: The hobby electronic circuit prototype works correctly.
Temperature Control System for the Physics Lab
Objective: Monitor the temperature of the physics lab.
What’s needed: PSOP44 to DIP44 adapter converter, temperature sensor, control circuit.
Steps: 1) Verify the compatibility of the temperature sensor with the adapter converter. 2) Connect the temperature sensor to the adapter converter. 3) Insert the adapter converter into the control circuit. 4) Test the system to ensure it works correctly.
Expected Result: The physics lab temperature monitoring system works correctly.
In the package
- 1 piece
Complete the project
- From PLCC44 to DIP44? IC Test Adapter Adapter, Seat Convert Seat Adapter: To connect SOP16 to DIP16 components in prototyping projects.
Technical FAQs
Can any PSOP44 component be used with this converter?
Check the datasheet to verify that PSOP44 components are compatible with this converter.
Does the converter work with all types of DIP44 carriers?
Use only DIP44 carriers compatible with 1.27mm pitch.
How long does it take to install the adapter converter?
Installing the adapter converter takes just a few minutes, but it depends on the complexity of the project.
What are the usage limitations of the adapter converter?
The adapter converter cannot change the function of the PSOP44 component and does not provide power to the PSOP44 component.
Tutorial: How to use PSOP44 to DIP44 Adapter Converter
This converter allows you to use PSOP44 components on a DIP44 socket, making it compatible with many electronic circuits. Useful for beginner and intermediate makers working with various types of sockets.
What you need
- PSOP44 to DIP44 Adapter Converter
- PSOP44 Component
- DIP44 Socket
- Pliers
Steps
- Check the datasheet dimensions of the PSOP44 component.
- Connect the PSOP44 component to the converter.
- Insert the converter into the DIP44 socket.
- Check the pin positions.
- Verify that all pins are correctly connected.
- Test the circuit to ensure it works properly.
Mini project
Create a simple lighting circuit with an LED. Connect the PSOP44 LED to the converter, then to the DIP44 socket. Use a resistor to limit the current and a power supply.
Common mistakes
- Connect the PSOP44 component to the converter incorrectly.
- Insert the converter into the DIP44 socket without checking the pin positions.
- Omit the circuit test.
- Forget to use a resistor with the LED.
Recommended accessories
- Pliers
- Power supply
- Resistor
- LED
Frequently asked questions
Can you use any PSOP44 component with this converter?
Check the datasheet to verify that PSOP44 components are compatible with this converter.
Does the converter work with all types of DIP44 sockets?
Use only DIP44 sockets compatible with a 1.27mm pitch.
How long does it take to mount the component?
The process should take less than 10 minutes.
Can you use this converter with components of different sizes?
Check the datasheet to verify that components are compatible with the converter.
Reviews
There are no reviews yet.