 EN
 IT Italiano
 ES Español
 FR Français
 DE Deutsch
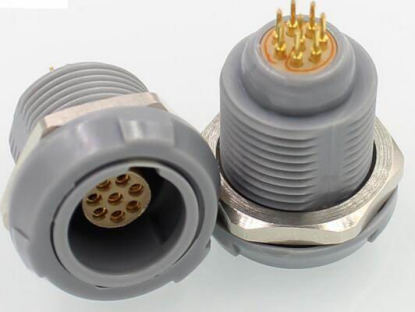
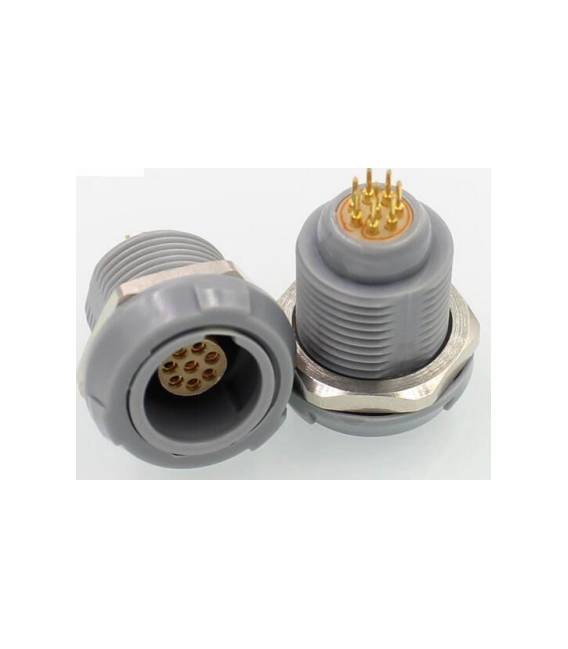
Description
Features:
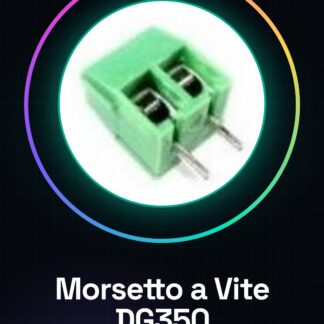
Provides a secure and reliable connection. Lightweight, plastic, push-pull, self-locking.
The connector (key, latch coupling) is ideal for medical electronics, test and measurement, automotive, industrial electronics, dental equipment, used to transfer data and provide power.
Tutorial: How to use PKG 2P PCB Socket 5P
The PKG 2P PCB Socket 5P is a plastic push-pull connector ideal for data transfer and power supply in electronic applications.
What you need
- PCB
- Cables or wires
- From the mounting equipment
Steps
- 1. Check the datasheet for the connector specifications.
- 2. Prepare the PCB with the appropriate positions.
- 3. Mount the PCB pins on the circuit.
- 4. Assemble the PKG 2P PCB Socket 5P on the circuit.
- 5. Connect the cables or wires to the connector.
- 6. Check the push-pull connection.
- 7. Test the connectivity and data transfer capability.
- 8. Check the self-locking feature of the connector.
Mini project
Build a simple electronic power supply circuit with an Arduino microcontroller and an LED display. Connect the PKG 2P PCB Socket 5P to provide power to the microcontroller.
Common mistakes
- Do not check the specifications on the datasheet.
- Omit the check for self-locking.
- Do not test connectivity.
- Mount the connector without first mounting the pins on the PCB.
Recommended accessories
- Arduino microcontroller
- LED display
- Cables
- Of the mounting equipment
Frequently asked questions
How can I check connectivity?
Use a multimeter to measure the resistance between the pins and the cables.
Does the connector support continuous power supply?
Check the datasheet for the supported current specification.
Is there a risk of damage due to self-locking?
No, the self-locking feature is designed to protect the connection.
How can I mount the pins on the PCB?
Follow the datasheet instructions for proper mounting.
Reviews
There are no reviews yet.