 EN
 IT Italiano
 ES Español
 FR Français
 DE Deutsch
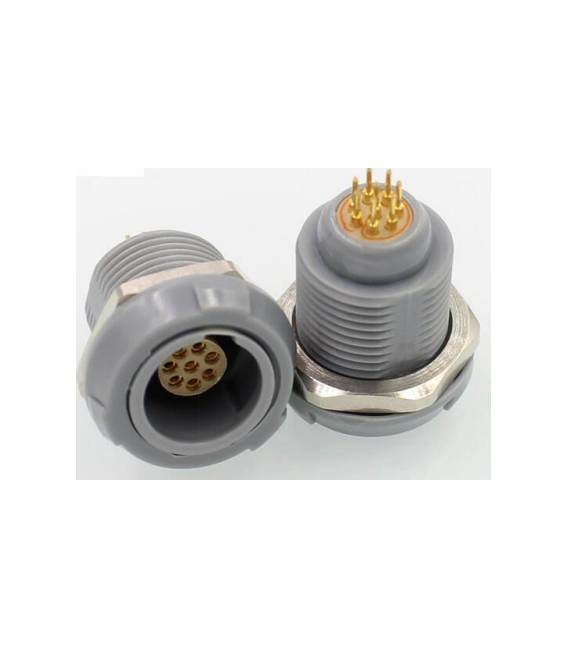
Description
Features:
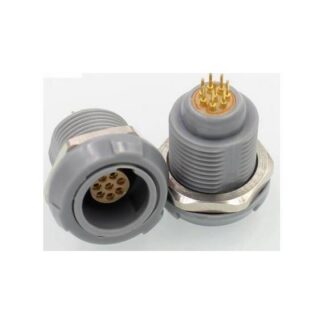
Provides a secure and reliable connection. Lightweight, plastic, push-pull, self-locking.
The connector (key, latch coupling) is ideal for medical electronics, test and measurement, automotive, industrial electronics, dental equipment, used to transfer data and provide power.
Tutorial: How to use Lemo PKG Connector Socket 8 Pin
The Lemo PKG Connector Socket 8 Pin is perfect for connecting various components in your Arduino project. Useful for beginners and intermediates, it simplifies the connection of 8 pins.
What you need
- Lemo PKG Connector Socket 8 Pin
- Test Lead
- Multimeter
- Soldering Iron
Steps
- 1. Check the specifications on the datasheet.
- 2. Prepare the test lead.
- 3. Solder the pins to the lead.
- 4. Connect the lead to the 8 pin socket.
- 5. Check the connection with the multimeter.
- 6. Install the 8 pin socket in your circuit.
- 7. Verify the connection.
- 8. Ready for use!
Mini project
Create a simple lighting circuit with a button and an LED.
Common mistakes
- Do not check the connection before installation.
- Do not use an unsuitable soldering iron.
- Do not check the polarity of the components.
- Do not read the instructions in the datasheet.
Recommended accessories
- Lemo PKG Connector 8 Pin
- Soldering Iron
- Multimeter
- Test Lead
Frequently asked questions
Can I use this connector with a different number of pins?
Check the datasheet to see if the connector supports other pin numbers.
Which soldering iron to use?
Use a soldering iron suitable for the diameter of the pins.
Is a multimeter necessary for the connection?
It is not required, but recommended to check the connection.
Reviews
There are no reviews yet.