 EN
 IT Italiano
 ES Español
 FR Français
 DE Deutsch
Description
What it is
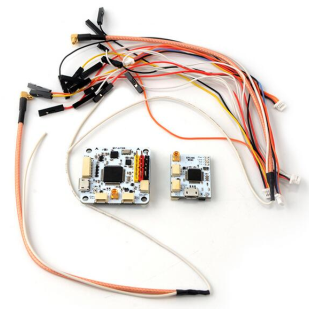
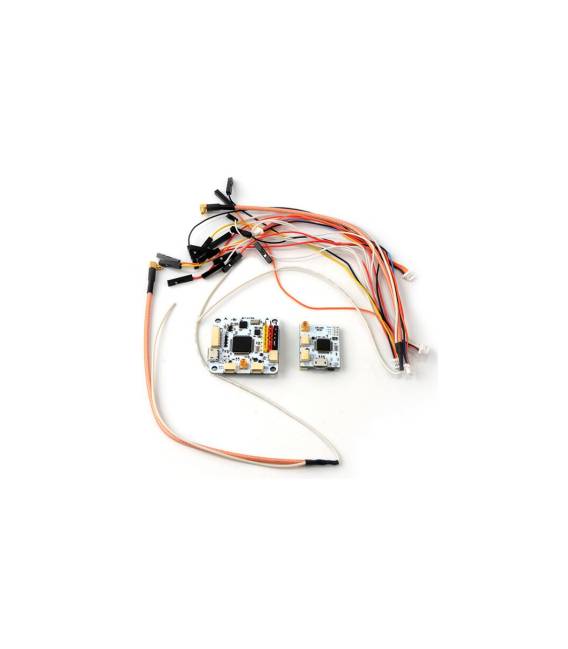
The TX RX OPLink CC3D module is a device that allows the transmission and reception of radio signals for the remote control of drones and model aircraft.
Features
- Integrated transmitter and receiver
- Frequency: check the datasheet
- Protocol: check the datasheet
- Connectivity: check the datasheet
What it is for
The OPLink CC3D module is ideal for creating robust communication systems between a pilot and a drone or model aircraft. It can be used for remote piloting, data transmission, and control of electronic devices. Its compatibility with Arduino and ESP can be verified in the datasheet.
Tutorial: How to use TX RX OPLink CC3D Module
The TX RX OPLink CC3D module is ideal for drone and model aircraft projects that require robust communication between the pilot and the propeller. Useful for beginners and intermediate users.
What you need
- TX RX OPLink CC3D Module
- Arduino or compatible microcontroller
- Power cable
- TX and RX antennas
Steps
- 1. Check that the OPLink CC3D module is in good condition.
- 2. Connect the TX antenna to the TX pin of the module.
- 3. Connect the RX antenna to the RX pin of the module.
- 4. Connect the module to the microcontroller using the VCC, GND and DATA pins.
- 5. Check the power specifications in the datasheet.
- 6. Load the provided Arduino code.
- 7. Check the communication between TX and RX.
- 8. Test the module in a safe environment.
Example code
```
#include <SoftwareSerial.h>

SoftwareSerial mySerial(2, 3); // RX, TX

void setup() {
  mySerial.begin(1000000);
}

void loop() {
  if (mySerial.available()) {
    Serial.write(mySerial.read());
  }
}
```
Mini project
Create a communication system between a small drone and the ground using the OPLink CC3D module. In 30 minutes, mount the antenna, connect the module to the microcontroller and send a signal.
Common mistakes
- Incorrect power: check the datasheet.
- Incorrect antennas: make sure the antennas are attached to the correct pins.
- Incorrect connections: check the VCC, GND and DATA pins.
- Incorrect frequency: check the frequency in the datasheet.
Recommended accessories
- OPLink TX antenna
- OPLink RX antenna
- Arduino Microcontroller
- 5V 2A Power Supply Cable
Frequently asked questions
How can I verify communication between TX and RX?
Use a software serial monitor or another RX module to receive data sent from the TX module.
Which pins of the microcontroller to use?
Use the VCC, GND and DATA pins. Check the datasheet for detailed specifications.
Does the module work with Arduino Nano?
Yes, the module is compatible with Arduino Nano. Check the datasheet for power supply specifications.
Reviews
There are no reviews yet.