 EN
 IT Italiano
 ES Español
 FR Français
 DE Deutsch
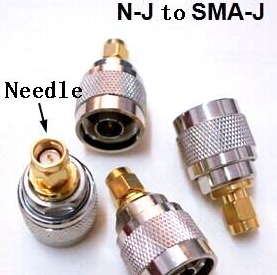
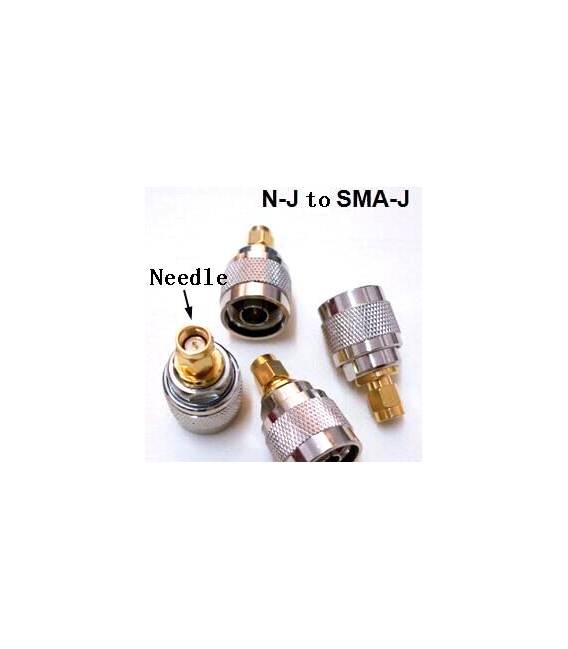
Description
From N-J to SMA-J
Tutorial: How to use the From N-J to SMA-J
This connector allows you to easily connect electronic antennas, ideal for amateur radio projects or to improve signal reception in any Arduino device.
What you need
- N-J
- SMA-J
- Antenna
- Arduino
Steps
- 1. Check that the N-J and SMA-J are compatible.
- 2. Turn on the Arduino.
- 3. Connect to the Arduino device via the development software.
- 4. Check the datasheet for the connector specifications.
- 5. Connect the N-J to the antenna.
- 6. Connect the SMA-J to the Arduino.
- 7. Verify the connection and proper use of the connectors.
- 8. Test the connection to ensure everything is working correctly.
Mini project
Build a small radio signal receiver using an Arduino, a reception module, and this connector to connect the antenna.
Common mistakes
- Do not check the specifications on the datasheet.
- Connect the connectors incorrectly.
- Do not test the connection before using the device.
- Use incompatible connectors.
Recommended accessories
- Compatible antenna
- Arduino
- Arduino development software
- SMA cable
Frequently asked questions
How can I check if the connectors are compatible?
Check the size and shape of the connectors.
Can I use this connector with any antenna?
Make sure the antenna is compatible with the SMA-J connector.
Can the connector work with any type of Arduino?
Check the datasheet to see if the connector supports the voltage and current flow of your Arduino.
Reviews
There are no reviews yet.