 EN
 IT Italiano
 ES Español
 FR Français
 DE Deutsch
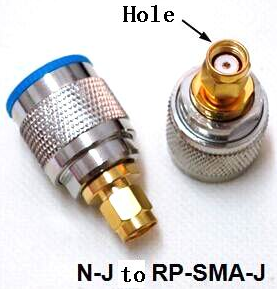
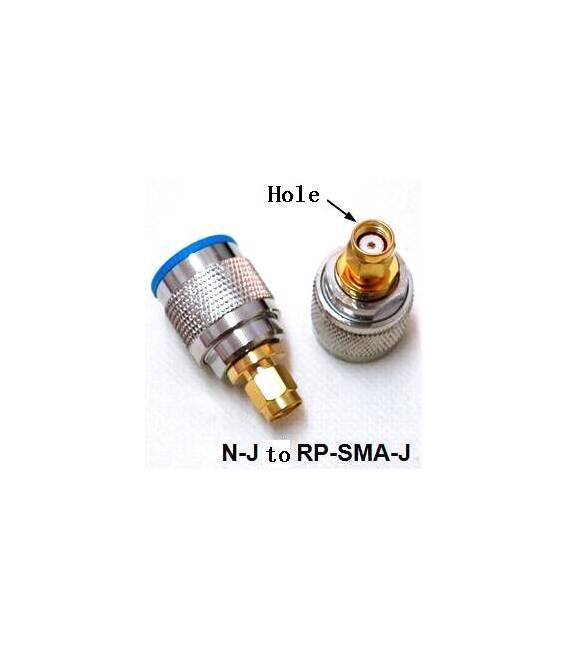
Description
N-J to RP-SMA-J
Tutorial: How to use the N-J to RP-SMA-J
This connector allows for easy connection of antennas to Arduino circuits, ideal for radio or wireless communication projects.
What you need
- N-J to RP-SMA-J
- Tool for cutting and breaking wires (optional)
Steps
- 1. Check the datasheet for the correct cable size to use.
- 2. Prepare the N-J cable: cut the cable to the precise length.
- 3. Break the N-J cable in half.
- 4. RP-SMA-J connector: cut the RP-SMA-J cable to the precise length.
- 5. Break the RP-SMA-J cable in half.
- 6. Assemble the N-J to RP-SMA-J: connect the two broken cables.
- 7. Check the connection with a multimeter.
- 8. Install the connector on Arduino or circuit.
Mini project
Build a radio receiver module using an FM receiver and an LCD display to show the received frequency.
Common mistakes
- Do not use cables that are too short or too long.
- Check polarity before connecting.
- Ensure contacts are clean and free of dust.
- Do not apply excessive force during assembly.
Recommended accessories
- N-J cable
- RP-SMA-J cable
- Multimeter
- Basic electronic tools
Frequently asked questions
Can I use cables of different sizes?
Check the datasheet for recommended sizes.
What tools are necessary?
Tools for cutting and stripping wires (optional).
How can I verify the connection?
Use a multimeter to check the connection.
Can I use this connector to connect different types of antennas?
This connector is designed for RP-SMA antennas. Check compatibility.
Reviews
There are no reviews yet.