 EN
 IT Italiano
 ES Español
 FR Français
 DE Deutsch
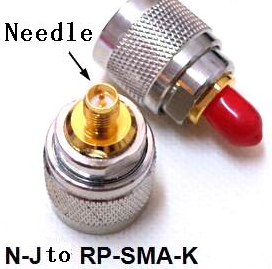
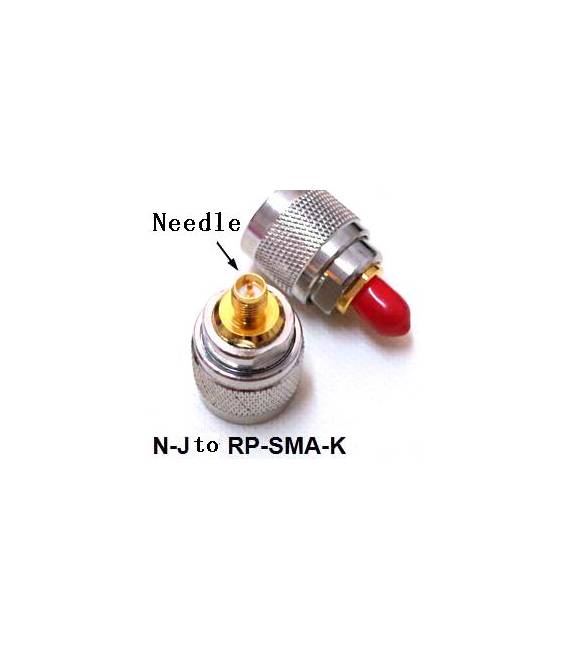
Description
N-J to RP-SMA-K Connector
Tutorial: How to Use the N-J to RP-SMA-K Connector
This connector allows you to easily connect antennas to Arduino boards or RF devices. Useful for radio and communication projects.
What you need
- N-J to RP-SMA-K Connector
- Tool for cutting and breaking wires
- RP-SMA Cable
- Arduino Board with Serial Port
Steps
- 1. Check the cable RP-SMA specifications on the datasheet.
- 2. Cut the RP-SMA cable to the desired length.
- 3. Break the RP-SMA cable in half.
- 4. Connect the N-J connector to the RP-SMA cable.
- 5. Connect the RP-SMA connector to the RF device or Arduino board.
- 6. Verify the connection with a multimeter.
- 7. Test the communication between the RF device and the Arduino board.
- 8. If necessary, adjust the position of the RP-SMA connector to optimize the signal.
Mini project
Build a simple transceiver using an RFM69 module and an Arduino board.
Common mistakes
- Do not use RP-SMA cables different from those specified in the datasheet.
- Do not try to connect the antenna directly without an RP-SMA connector.
- Do not forget to check the connection with a multimeter.
- Do not adjust the RP-SMA connector without first ensuring the connection is correct.
Recommended accessories
- RFM69 module
- Arduino UNO board
- RF antenna
- Multimeter
Frequently asked questions
Can I use a different RP-SMA cable than the one specified in the datasheet?
No, use only the RP-SMA cable specified.
What are the steps to check the connection?
Use a multimeter to measure continuity between the two connectors.
How can I adjust the signal?
Adjust the position of the RP-SMA connector to optimize the signal, but check the connection first.
Reviews
There are no reviews yet.