 EN
 IT Italiano
 ES Español
 FR Français
 DE Deutsch
Description
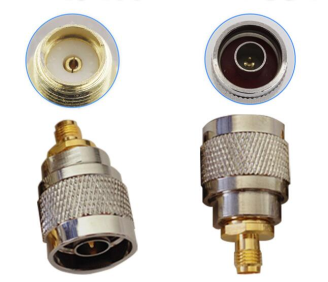
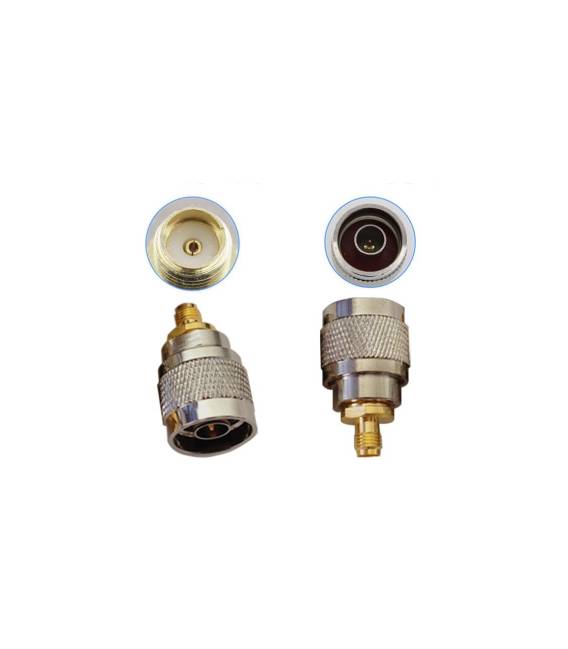
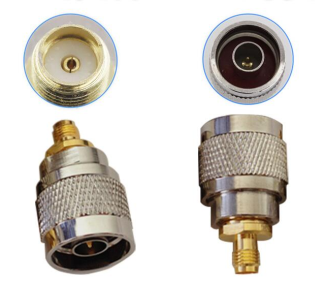
N-J to SMA-K
Tutorial: How to Use N-J to SMA-K
The N-J to SMA-K connector allows for easy connection of antennas to Arduino devices, making your project more flexible and compact. Useful for beginner and intermediate makers.
What you need
- N-J to SMA-K
- Cutting Tool
- Electric Soldering Flux
- Drainage
Steps
- 1. Check the specific datasheet for maximum voltage.
- 2. Prepare the N-J cable and the SMA antenna.
- 3. Use the cutting tool to cut the N-J cable if necessary.
- 4. Connect the N-J cable to the SMA-K connector.
- 5. Ensure the connection is secure.
- 6. Apply electric soldering flux to protect the connection.
- 7. Mount the SMA antenna on the SMA-K connector.
- 8. Check the connection and ensure it is stable.
Mini project
Build a simple GPS tracking system. Connect the GPS antenna to a GPS module and then to the N-J to SMA-K connector. Connect this to an Arduino to receive GPS data.
Common mistakes
- Connect the connector to voltages higher than the maximum specified.
- Omit the application of electrical jelly.
- Do not check the connection stability.
- Use an incompatible N-J cable.
Recommended accessories
- N-J cable
- GPS SMA Antenna
- GPS Module
- Arduino
Frequently asked questions
How can I verify the maximum voltage?
Check the datasheet.
Is it necessary to apply electrical jelly?
Yes, to protect the connection.
Can I use any N-J cable?
Check compatibility on the datasheet.
Reviews
There are no reviews yet.