 EN
 IT Italiano
 ES Español
 FR Français
 DE Deutsch
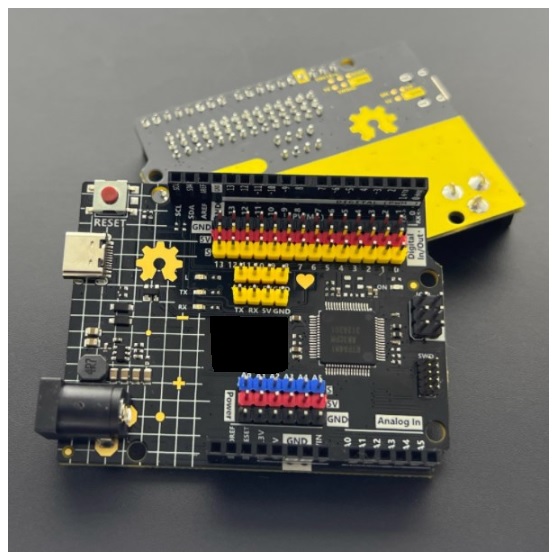
Description
What it is
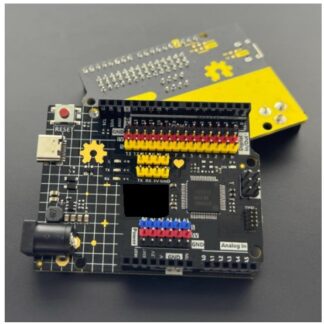
The Minima Development Board is an integrated circuit compatible with Arduino UNO R4, designed for developing and testing small electronic projects. This board is ideal for reducing power consumption while maintaining the essential features of Arduino.
Features
- Compatible with Arduino UNO R4
- Perfect for small projects
- Reduces power consumption
- Maintains the essential features of Arduino
What it is for
The Minima board is suitable for beginners and makers who want to create lightweight and portable devices. It can be used to create a light-up clock by connecting an LCD display and a light sensor to blink an LED when the room is dark.
Tutorial: How to use Minima Board compatible with Arduino UNO R4
The Minima board compatible with Arduino UNO R4 is ideal for small-scale projects and for reducing power consumption while maintaining the essential features of Arduino. This board is perfect for beginners and makers who want to create lightweight and portable devices.
What you need
- Minima Board Compatible with Arduino UNO R4
- USB A-Micro B Cable
- Computer with Arduino IDE software installed
Steps
- 1. Connect the Minima board to a computer via the USB A-Micro B cable.
- 2. Open Arduino IDE and select the correct board in ‘Tools’ > ‘Boards’ > ‘Arduino UNO R4’.
- 3. Check the connection by pressing the RESET button on the board.
- 4. Download an example sketch from the menu ‘File’ > ‘Examples’ > ’01.Basics’ > ‘Blink’.
- 5. Upload the sketch to the microcontroller by pressing ‘Upload’ in the Arduino IDE menu.
- 6. Verify that the LED connected to pin 13 blinks at a rate of one second.
- 7. Modify the code to change the blinking rate and reload the microcontroller.
- 8. Try connecting sensors or other devices to the GPIO pins of the Minima board to expand its functionality.
Example code
void setup() {
  pinMode(13, OUTPUT);
}

void loop() {
  digitalWrite(13, HIGH);
  delay(1000);
  digitalWrite(13, LOW);
  delay(1000);
}
Mini project
Create a glowing clock with the Minima board compatible with Arduino UNO R4. Connect an LCD display and a light sensor to blink an LED when the room is dark.
Common mistakes
- Make sure the USB driver is installed correctly.
- Check that the power supply voltage is adequate.
- Check the USB cable connection.
- Verify that the firmware is updated in the ‘Tools’ menu > ‘Boards’ > ‘Arduino UNO R4’.
Recommended accessories
- USB A-Micro B cable
- 16×2 LCD display
- Light sensor
- 3.7V LiPo battery
Frequently asked questions
Which components are compatible with the Minima board?
Most components compatible with Arduino UNO R4 should work with the Minima board.
How can I upload sketches to a Minima board without a computer?
Use a USB bootloader or a separate sketch uploader like USBasp.
How energy-efficient is the power consumption of the Minima board?
Check the datasheet for precise power consumption data.
Reviews
There are no reviews yet.