 EN
 IT Italiano
 ES Español
 FR Français
 DE Deutsch
Description
What it is
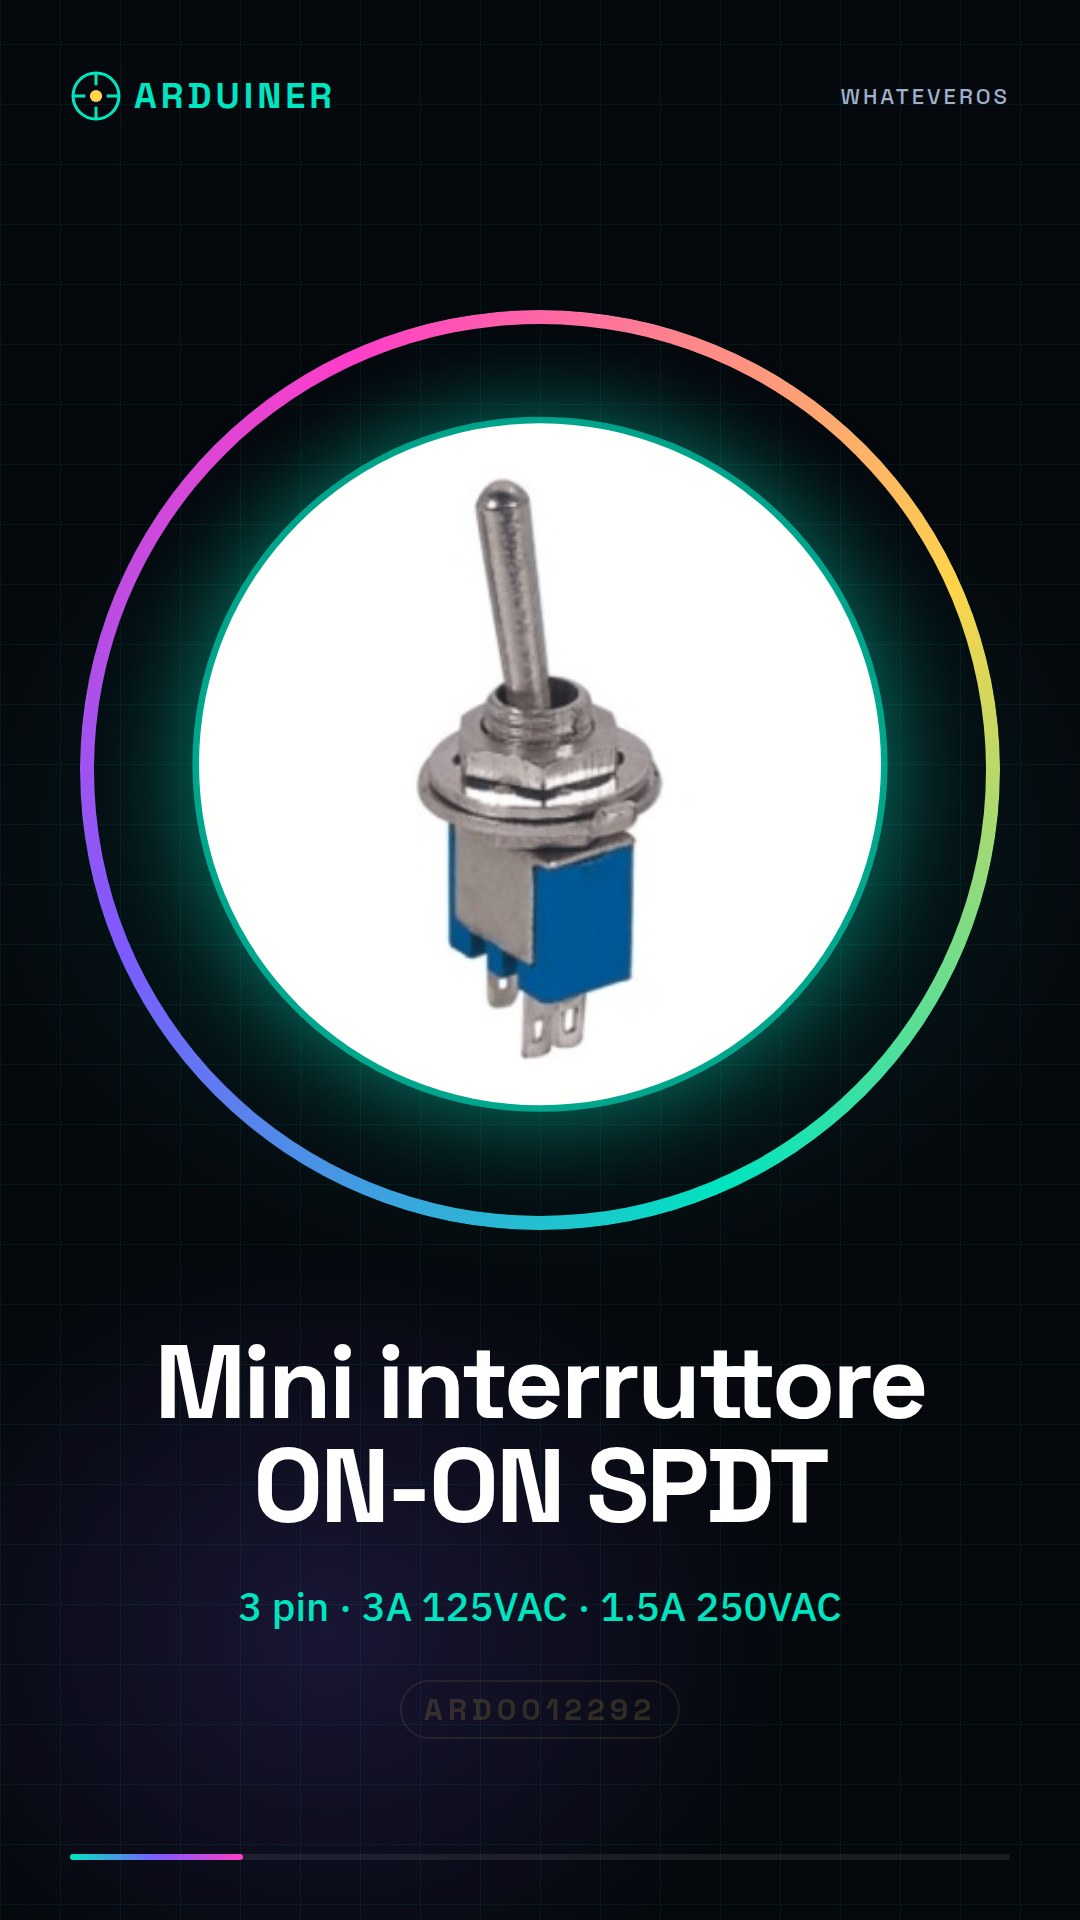
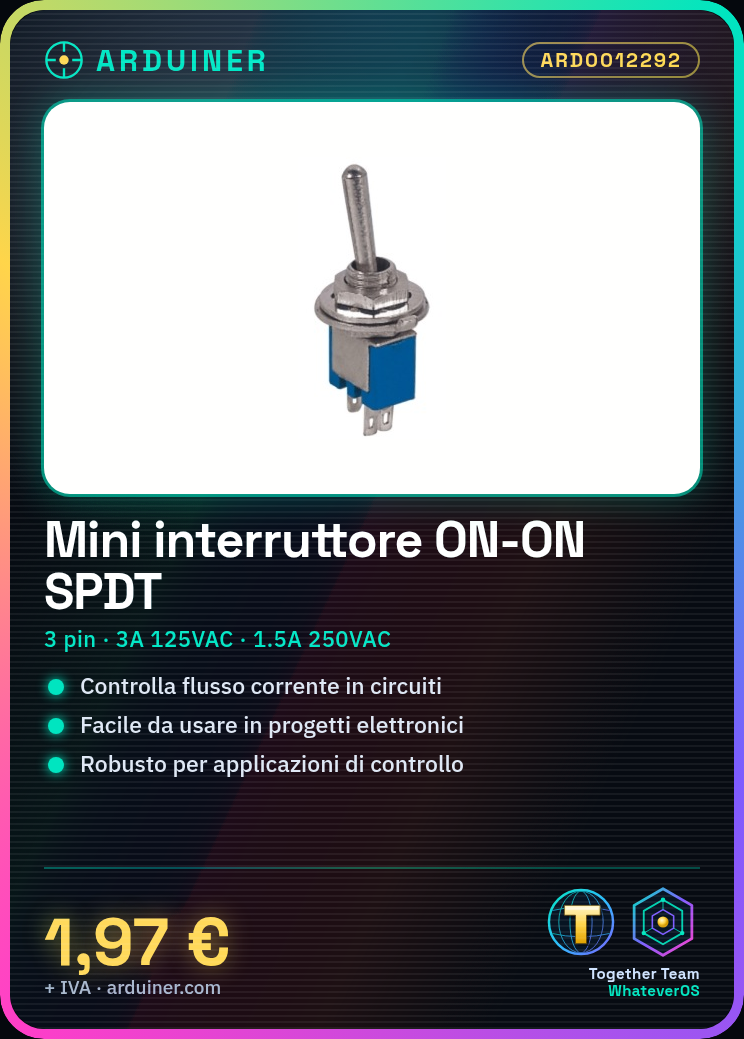
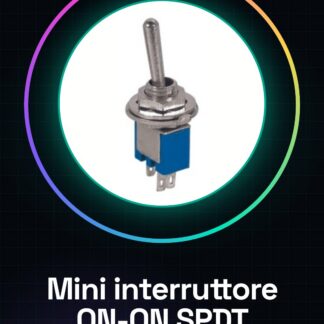
The SMTS-102 Lever ON-ON Snap SPDT 3-pin SMT Switch is an electronic component used to control the flow of current in electronic circuits. It is designed for applications requiring a robust and easy-to-use switch.
Features
- Type: ON-ON Snap SPDT
- Number of Pins: 3
- Maximum Current: 3A 125VAC, 1.5A 250VAC
- Terminal: Solder 2-way
- Model: SMTS-102
What it is for
This switch is ideal for electronic projects that require manual control of the current flow. It can be used in various devices, such as light systems controlled by a lever switch. It is compatible with several electronic platforms, including Arduino and ESP.
Tutorial: How to use SMTS-102
The SMTS-102 is a lever SPDT ON-ON switch for electrical control applications. Useful for beginner and intermediate makers who require a robust switch for circuits.
What you need
- SMTS-102
- Arduino or microcontroller
- Resistor (10kΩ)
- Test lead
Steps
- 1. Check that the SMTS-102 is compatible with your power supply (125VAC/250VAC). Check the datasheet.
- 2. Connect the SMTS-102 to your circuit using the 3 pins.
- 3. Connect the lever to the microcontroller to control the state of the switch.
- 4. Connect a resistor (10kΩ) between the output pin and GND to protect the microcontroller.
- 5. Write a simple code to read the state of the switch.
- 6. Test your circuit with a test button.
- 7. Verify that the microcontroller responds correctly to various lever positions.
- 8. Test the circuit in various conditions to ensure it works correctly.
Example code
void setup() {}
void loop() {
  int state = digitalRead(pin);
  if (state == HIGH) {
    Serial.println("Interruttore ON");
  } else {
    Serial.println("Interruttore OFF");
  }
}
Mini project
Create a simple lighting system controllable by a toggle switch.
Common mistakes
- Do not properly verify power supply compatibility.
- Connect the microcontroller directly to the output pin without a protection resistor.
- Neglect testing the circuit under various conditions.
- Do not follow the connection steps correctly.
Recommended accessories
- Arduino Uno
- USB cable
- Multimeter
- Protective cases
Frequently asked questions
Can I use this switch with power supplies different from 125VAC/250VAC?
Check the datasheet for other compatibilities.
Which resistor should I use to protect the microcontroller?
A 10kΩ resistor is sufficient.
How can I test the circuit under various conditions?
Put the circuit under various switch states and check the state of the microcontroller.


Reviews
There are no reviews yet.