 EN
 IT Italiano
 ES Español
 FR Français
 DE Deutsch
Description
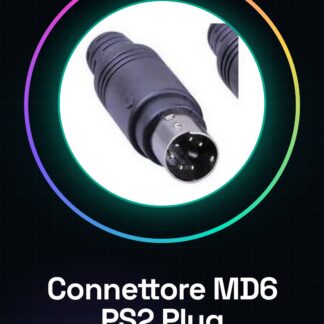
Tutorial: How to Use the MD6 PS2 Plug Connector
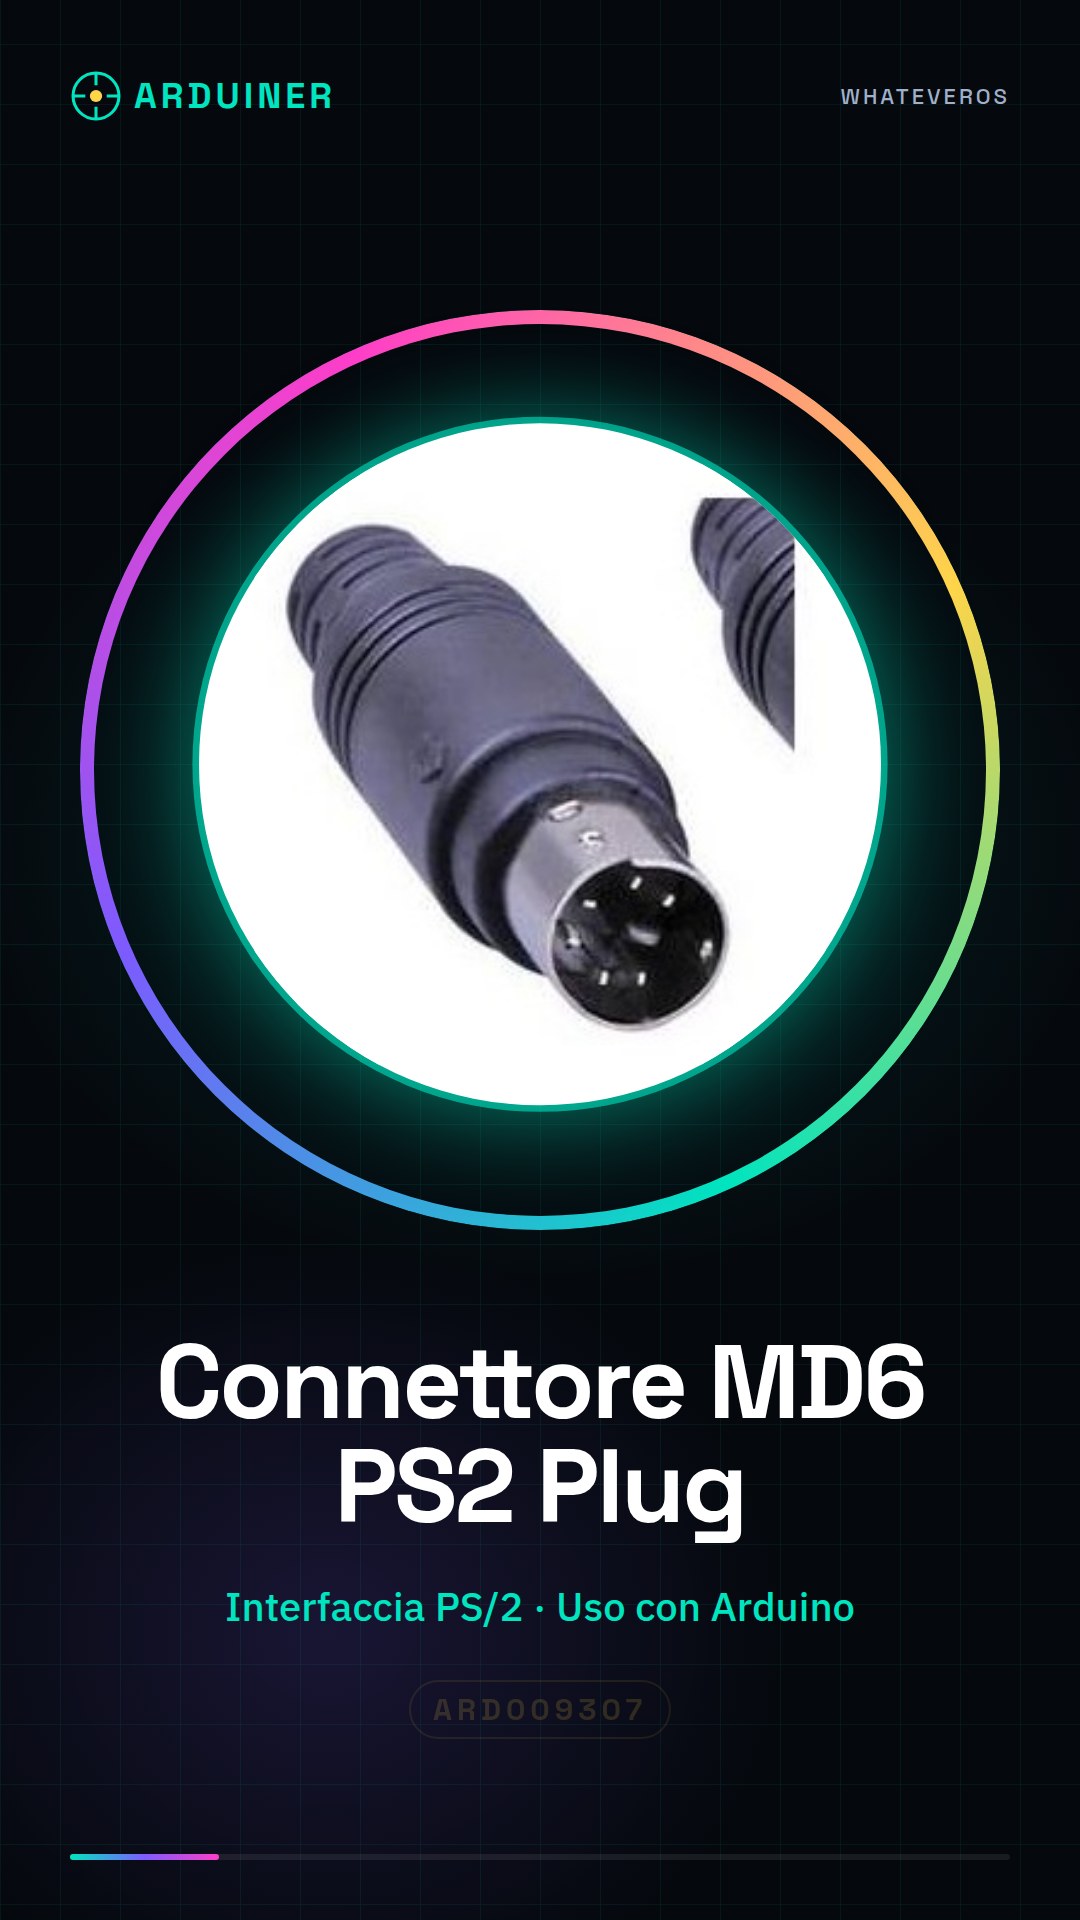
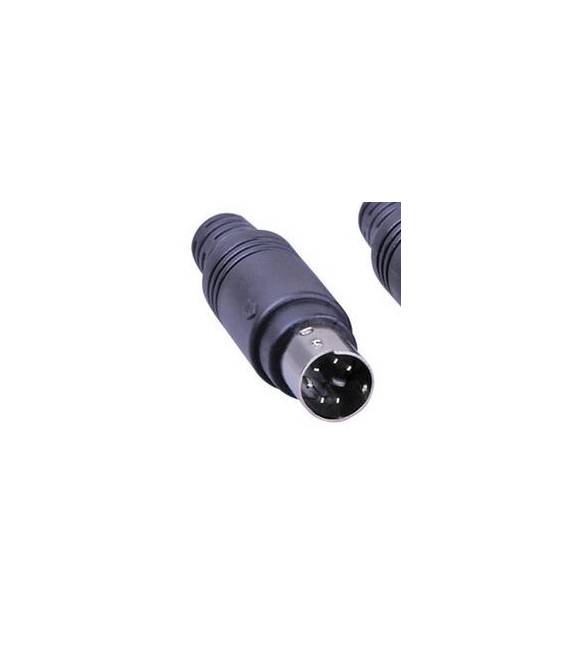
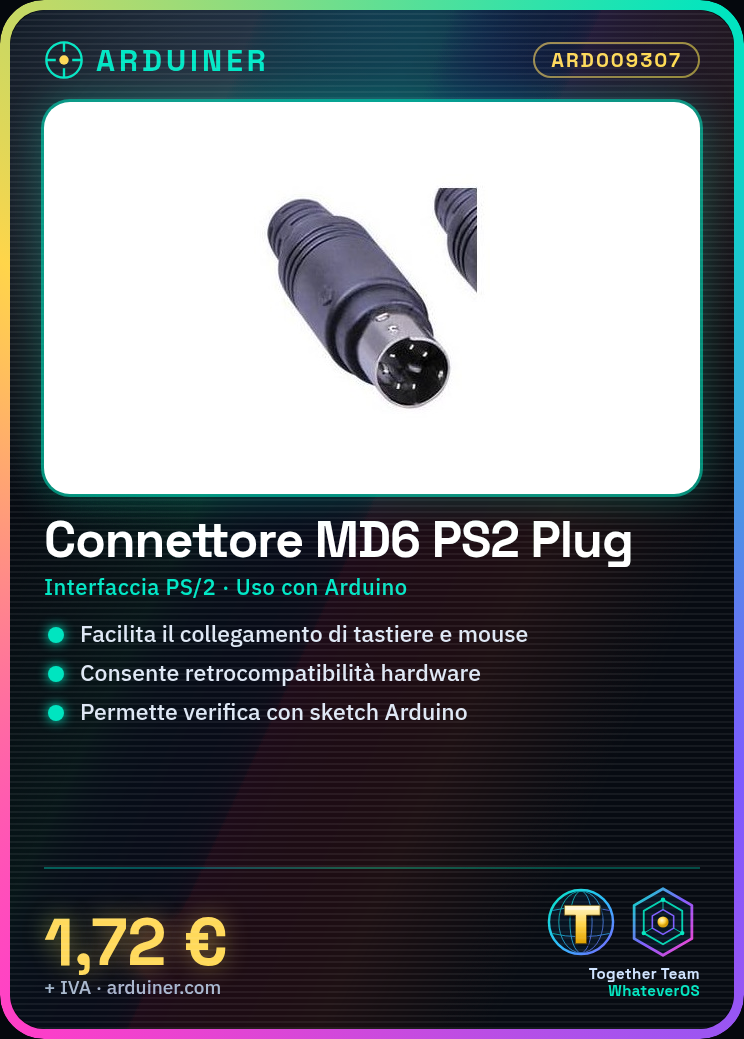
The MD6 PS2 Plug Connector is a crucial component for connecting devices with PS/2 interfaces, such as keyboards and mice. Ideal for retro compatibility projects or modification of existing hardware. This tutorial will guide you step by step in using the MD6 PS2 Plug Connector in a simple and effective manner.
What you need
- PS/2 Connection
- Electronic project with Arduino or analog circuits
Steps
- Check that your device has a PS/2 switch.
- Get the appropriate connection wires for your device’s PS/2 interface.
- Connect the pins of the MD6 PS2 Plug Connector to the corresponding pins of your circuit or Arduino board.
- Verify pin compatibility between the connector and the target hardware (check the datasheet).
- Physically connect the connector to the device through pressure or other securing mechanism.
- Test the connection with a simple Arduino sketch to ensure that the data is transmitted correctly.
Mini project
[‘Design a PS/2 compatible keyboard using the MD6 PS2 Plug connector and an Arduino circuit for key press management.’, ‘Estimated time: 30 minutes’]
Common mistakes
- Do not verify pin compatibility before connecting.
- Connect the wires incorrectly or reverse polarity.
- Fail to test the connector after installation to ensure everything works correctly.
Recommended accessories
- Insulated wires
- Soldering pliers
- Arduino Uno R3
Frequently asked questions
How can I verify pin compatibility?
Check the datasheet of the MD6 PS2 Plug connector and compare it with the specifications of your device.
Which Arduino sketch do you recommend for testing the connection?
A simple sketch that reads data from the connector and displays it on the Serial Monitor.
Reviews
There are no reviews yet.