 EN
 IT Italiano
 ES Español
 FR Français
 DE Deutsch
Description
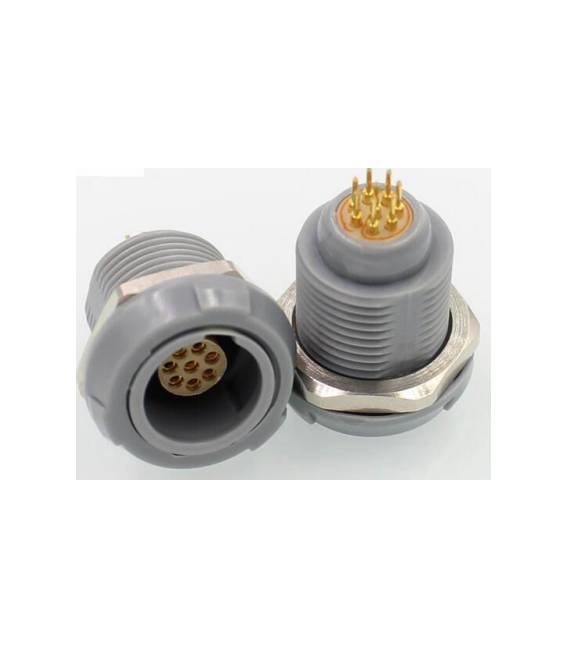
Tutorial: How to Use Lemo PKG Socket Connector 7 Pin
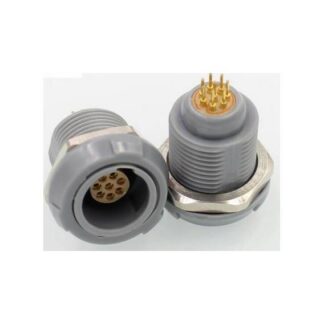
The Lemo PKG Socket Connector 7 Pin is ideal for connecting circuits and components in prototypes and electronic projects. Useful for beginners and intermediates, it allows for flexible and reliable connections.
What you need
- Lemo PKG Socket Connector 7 Pin
- 7-pin cable
- Components to connect
- Soldering iron
Steps
- 1. Check the connector specifications on the datasheet.
- 2. Prepare the 7-pin cable.
- 3. Solder the cable to the connector.
- 4. Verify the solid connection between the cable and the connector.
- 5. Connect the connector to a component, such as a sensor.
- 6. Verify the connection and the component’s functionality.
- 7. Repeat for all components to connect.
- 8. Test the entire circuit.
Mini project
Build a simple alarm circuit based on an infrared sensor and an LED. In 30 minutes, learn how to connect the sensor to the connector and the microcontroller.
Common mistakes
- Do not use a soldering iron that is too hot.
- Do not attach the wire to the connector with too much force.
- Always check the connection before starting the circuit.
- Do not forget to test the entire circuit.
Recommended accessories
- 7-pin wire
- Arduino microcontroller
- Infrared sensor
- LED
Frequently asked questions
How can I verify the solid connection between the wire and the connector?
Check that the wire does not move when you gently pull it.
Which specifications should be verified on the datasheet?
Check the number of pins, the operating voltage, and the solder flow.
Can I use this connector with components from other manufacturers?
Yes, but check the pin compatibility.
How can I prevent short circuits?
Ensure that the pins are not in contact with each other or with other components.
Reviews
There are no reviews yet.